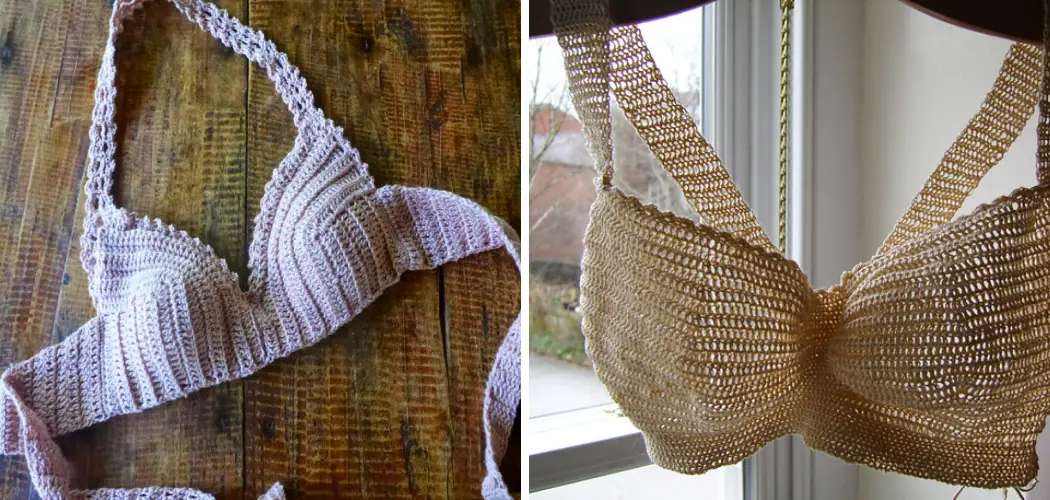
Welcome, all crochet enthusiasts and lingerie DIY-ers! Whether you’re a seasoned hook-wielder or a curious beginner, this blog post guides you through the fascinating world of crocheted bra cups. Yes, you heard it right – crochet and lingerie combine to create the perfect blend of comfort, style, and creativity. Get ready to explore the exciting techniques, patterns, and tips that will elevate your bra-making game to a new level.
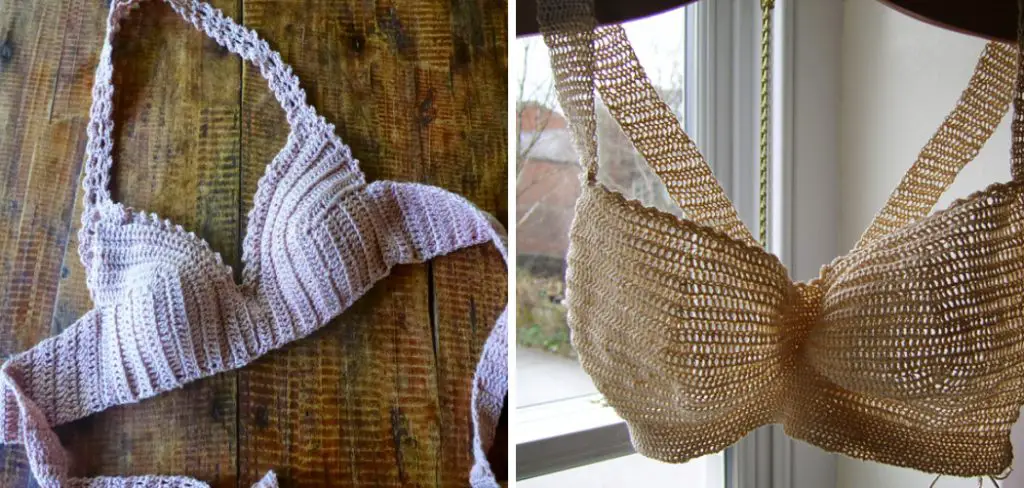
From delicate lace creations to supportive padded designs, we will dive deep into the world of how to crochet bra cups, empowering you to craft unique, custom-fit undergarments that are as fun to make as they are to wear. So grab your hooks, unleash your imagination, and let’s embark on this crochet adventure together!
What Will You Need?
To start crocheting bra cups, you’ll need some basic supplies. If you’ve previously worked on crochet projects, you probably already have most of these in your stash. Here’s a quick rundown of the essentials:
- Yarn: Choose soft and comfortable yarn against the skin, such as cotton or bamboo blends.
- Crochet hooks: Depending on your pattern, you may need a range of hook sizes. It’s always good to have a few options on hand.
- Stitch markers: These help keep track of your stitches and are essential for more complex patterns.
- Needle and thread: You’ll use these to attach the bra cups to the bra straps and band.
- Bra cups: You can purchase pre-made bra cups or make your own using foam, padding, or other materials.
- Scissors: Always handy for snipping yarn and thread.
Once you have these basic supplies, you’re ready to get started on your crochet bra cups!
10 Easy Steps on How to Crochet Bra Cups
Step 1: Measure for Size
Before you begin to crochet, it’s essential to measure for size. Use a tape measure to determine the size of your bust and underbust. These measurements will guide you in creating bra cups that fit you perfectly. Patterns may require different measurements, so always check the pattern you use for specific instructions.
Step 2: Choose Your Pattern
Once you have your measurements, choose a crochet pattern that fits your style and comfort preferences. Countless free and premium patterns that cater to various skill levels and design preferences are available online.
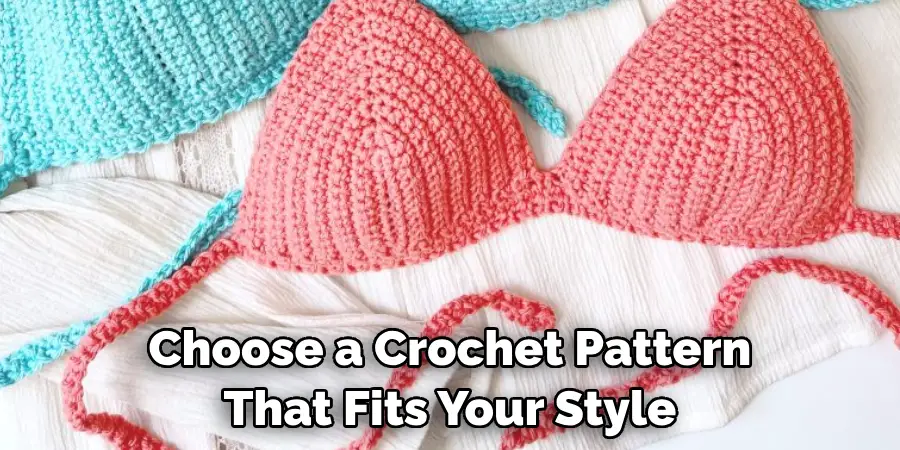
Some ways might suit delicate lace designs, while others will guide you in creating a more supportive and padded bra cup. Remember to cross-reference the measurements you’ve taken with the instructions in the pattern to ensure a comfortable and secure fit.
Step 3: Start Crocheting
After selecting your pattern, it’s time to start crocheting! Begin by making a foundation chain according to the instructions in your chosen pattern. This chain will form the base of your bra cups. From here, you’ll work in rounds or rows, depending on your pattern, using a combination of stitches such as single crochet, double crochet, or treble crochet.
Count your stitches carefully and use stitch markers if necessary to keep track of your progress. Don’t rush and take your time, especially if you are a beginner or working on a more intricate design. Remember, practice makes perfect!
Step 4: Checking the Fit
As you progress with the crocheting, it’s important to check the fit of your bra cups periodically. This can be achieved by simply placing the crochet work over your bust to see if any adjustments are needed. Remember that crochet stretch, so the fit should be snug. If the bra cup seems too small or too large, you can adjust it by adding or removing rows.
Keep in mind that the right and left bra cups should be symmetrical, so be sure to take notes during the process to replicate the same pattern and size for the second bra cup. Once you’ve achieved the perfect fit, you can move on to the next step.
Step 5: Finishing the First Bra Cup
When your crocheted bra cup meets the right size and shape according to your pattern and personal fit, it’s time to finish the first cup. To do this, cut your working yarn with scissors, leaving a tail of about six inches. Then, yarn over your hook and pull through the loop on the hook. Pull the bottom of the thread through to secure your stitches and prevent unraveling. Congratulations, you have completed your first crocheted bra cup!
Step 6: Start the Second Bra Cup
Starting the second bra cup follows the same process as the first. Remember to follow your pattern exactly as you did for the first cup to ensure symmetry. If you made any adjustments to the first bra cup, incorporate those same changes here. This consistency is crucial for a balanced, comfortable fit.
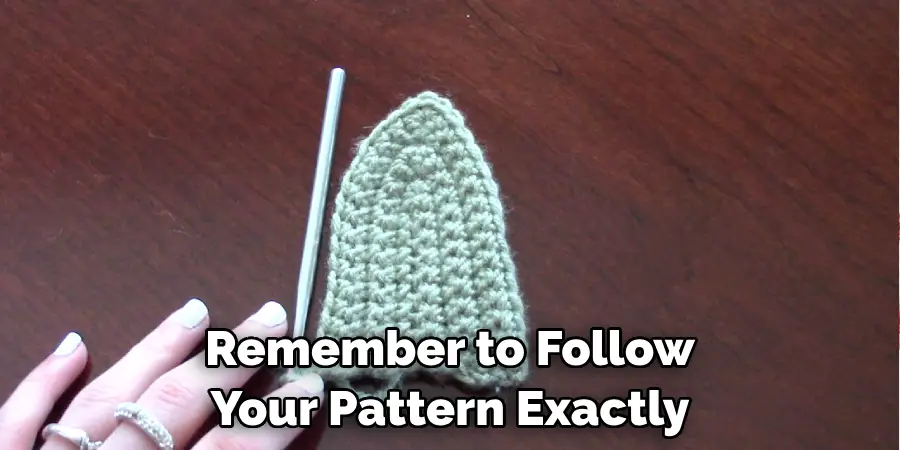
Like before, periodically check the fit of the bra cup and make any necessary adjustments. Finish off your second bra cup once you’re satisfied with the size and shape. With both cups now complete, you’re ready to move on to the next step in creating your crochet bra.
Step 7: Join the Cups
With both bra cups complete, it’s time to join them together. Depending on your preference and the specific bra design, you can join the cups directly together or leave a small space in between for a more traditional bra look. To join the cups, align them side by side with their right sides together.
Using your yarn and crochet hook, begin at the bottom of one cup and make a row of slip stitches along the sides of the cups, joining them together. Keep your tension consistent to ensure a secure join. Once you reach the top of the cups, finish off this row and cut your yarn, leaving a tail for weaving in later.
Step 8: Add Straps
After joining the cups together, the next step is to create and attach the straps. The length and thickness of the straps will depend on your comfort and the style of the bra. To begin, create a chain of stitches long enough to comfortably reach from the top of the bra cup over your shoulder and around to the back. Repeat this process for the second strap.
Once your straps are the desired length, attach them to the top of each bra cup using a slip stitch. Try on the bra to ensure the straps are at a comfortable distance. Adjust as necessary. Once you are happy with the fit, cut the yarn and weave in any loose ends.
Step 9: Create and Attach the Band
The next step is to create and attach the band. The band is the bra part that wraps around your torso, providing support and structure. Start by forming a chain of stitches that is long enough to fit around your underbust comfortably. Make sure to account for some stretch, as crochet fabric often has a bit of give.
Once you have your chain, crochet back and forth in rows until your band is the desired width. Once your band is complete, attach it to the bottom of your bra cups using slip stitches. The band should be snug but comfortable, so try on the bra and make any necessary adjustments. When satisfied with the fit, cut the yarn and weave in any loose ends.
Step 10: Final Adjustments and Finishing Touches
The final step in creating your crochet bra is to make any last adjustments and add finishing touches. Try on the bra one last time to check for overall comfort and fit. If you feel the straps are too loose, add more rows to the band or adjust the length.
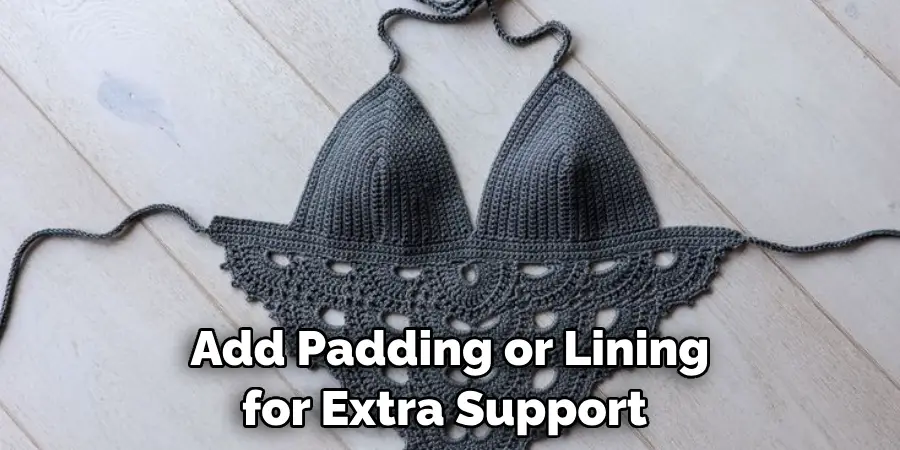
Add padding or lining for extra support and comfort if the cups don’t fit perfectly. You could also add decorative elements like bows, buttons, or beads to personalize your bra. Once you’re delighted with the fit and look of your bra, cut the yarn and weave in all loose ends. You’ve now completed your handmade crochet bra!
By following these steps, you can successfully crochet your bra cups and create a unique and comfortable piece of clothing.
5 Things You Should Avoid
- Over-tightening Stitches: Avoid pulling your stitches too tight, as it can produce an overly rigid fabric that’s uncomfortable to wear. Aim for consistent and moderate tension in your stitches.
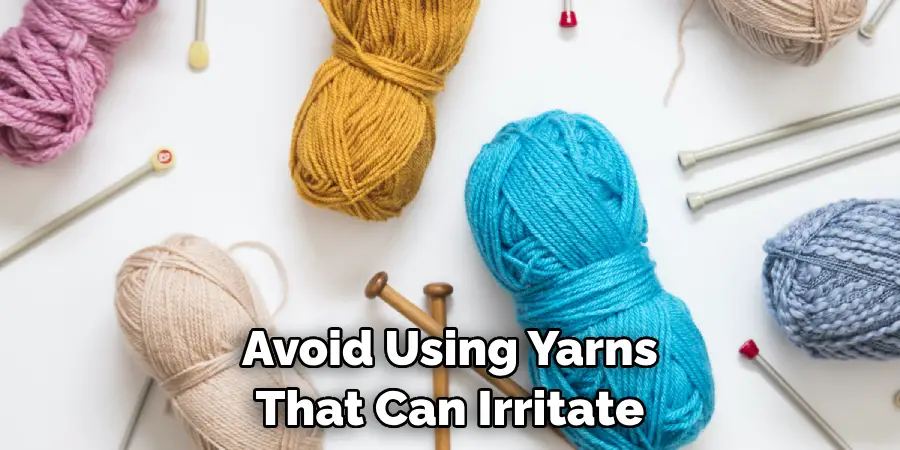
- Choosing the Wrong Yarn: Avoid using yarns that can irritate, like pure wool. Adventures with a high content of synthetic fibers can also lead to discomfort and sweating.
- Ignoring Gauge Swatch: Only start your project with a gauge swatch. This step is crucial in ensuring your bra cups will be the correct size.
- Skipping Stitch Counts: Skipping stitch counts can lead to uneven bra cups. Count your stitches after each round to ensure accuracy.
- Forgetting to Block: Remembering to block your finished bra cups can result in a shape that fits better than expected. Blocking helps to set the condition of your crochet piece, providing a better fit.
By avoiding these common pitfalls, you can improve your crocheting skills and produce bra cups that are comfortable, well-fitted, and attractive.
Conclusion
In conclusion, how to crochet bra cups may seem daunting initially, but with these simple steps and tips, you can create beautifully crafted cups that will elevate your outfits and provide comfort and support. It’s important to remember that practice makes perfect, so keep going if your first attempts are not perfect. Keep experimenting with different patterns and yarn types to find your ideal fit.
And remember to have fun while crocheting! Take breaks when needed and enjoy the calming process of creating something with two hands. With this new skill in your hand (or should I say cup?), get ready to stand out in any outfit you wear.
So grab your crochet hook and yarn, and start making those gorgeous bra cups today! Happy crocheting!
Expertise:
Crafting expert with a focus on innovative techniques and diverse materials.
Specialization:
- Textile arts (weaving, embroidery, and fabric dyeing)
- Woodworking and furniture design
- Mixed media and upcycling projects
Recognition:
- Featured in local art exhibits showcasing innovative craft projects
- Collaborated with community organizations to promote crafting workshops
- Received accolades for contributions to sustainable crafting initiatives
Mission:
- To inspire and empower crafters of all levels to discover their creative potential
- Encourages experimentation and self-expression through hands-on projects

