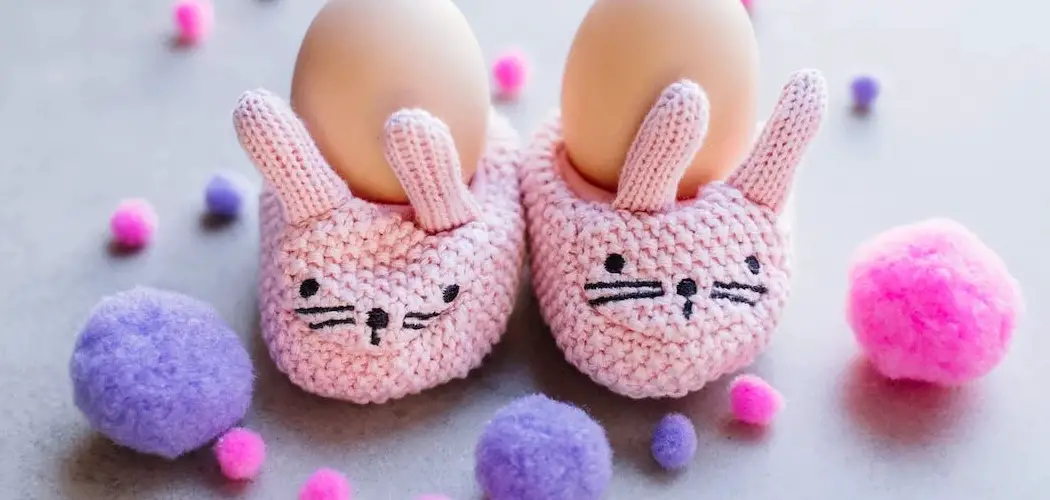
Easter is just around the corner, and what better way to celebrate than by making your own crochet Easter Bunny? Not only is it a fun and easy project to complete, but it also makes for a great decoration and gift idea. Whether you are a beginner or have some experience in crocheting, this tutorial will guide you through the steps on how to crochet an easter bunny. So, grab your crochet hook, and let’s get started!
Can You Crochet an Easter Bunny?
With Easter just around the corner, you may wonder how to get into the festive spirit. One fun way to do so is by crocheting an adorable Easter bunny! Not only does this give you a cute decoration to display, but it can also be a fun, creative project to work on.
With a wide range of yarn colors and patterns, you can customize your bunny to fit your style perfectly. Whether you’re a beginner or an experienced crocheter, this project will surely bring a little joy to your Easter celebrations. So gather your supplies and prepare to create a one-of-a-kind bunny that will delight everyone “hopping”!
Why Should You Crochet an Easter Bunny?
The arrival of spring brings the promise of new beginnings and the joy of Easter celebrations. Crocheting an Easter bunny can be a fun and creative way to add some festive decor to your home or to give as a thoughtful gift to someone special.
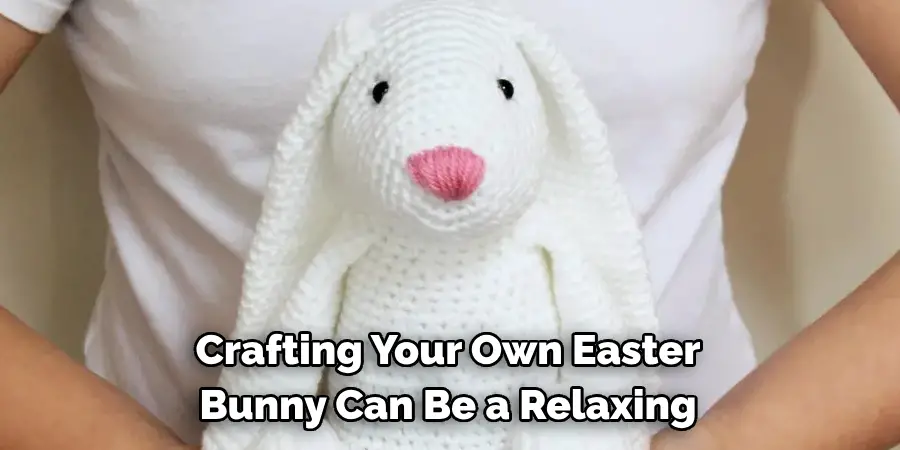
Crafting your own Easter bunny can be a relaxing and fulfilling experience, allowing you to unleash your creativity and make something unique. Whether you use traditional pastel colors or mix them with bold hues, the possibilities are endless. Plus, your one-of-a-kind bunny will be cherished and loved for years. So, why not pick up some yarn and a crochet hook to start working on your own Easter bunny today?
How to Crochet an Easter Bunny – in 7 Easy Steps
Step 1: Choose Your Yarn and Hook
The first step in any crochet project is to choose your materials. For this project, you will need a 4mm crochet hook and some fluffy white yarn. To add some character to your bunny, you can also use colored yarn for the ears, eyes, nose, and tail. Make sure to pick a soft yarn that is easy to work with, and do a tension swatch to see if you need to adjust your hook size.
Step 2: Begin with Magic Circle
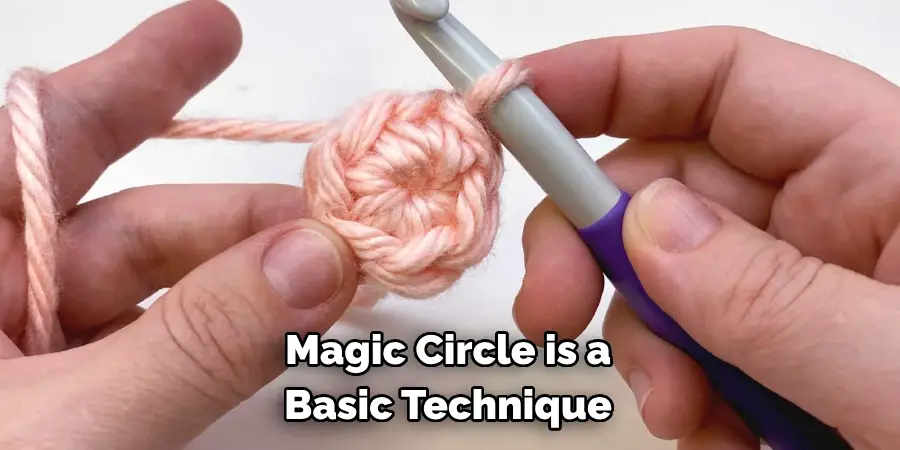
The magic circle is a basic technique used to start most crochet projects in the round. It creates a tight center that can be adjusted to any size and is perfect for making the round body of your bunny. To begin, create a loop with your yarn, insert your hook, and pull up a loop. Continue to work single crochets into the loop, pulling the tail to tighten the circle.
Step 3: Work in Amigurumi Style
Amigurumi is the Japanese art of crocheting small stuffed animals and toys in the round. It involves working single crochets in a spiral without turning your work and using stitches to increase and decrease the shape. To make your bunny, work single crochets around the magic circle until you have a circle that measures about 3 inches in diameter. Then, increase evenly around the circle until you have a wider oval shape.
Step 4: Add the Features
Once you have the basic shape of your bunny, it’s time to add some features to give it character. Use colored yarn to crochet ears, eyes, nose, and tail, and then sew them onto the body. To make the ears, chain ten stitches and work single crochets, decreasing at the end until you have a pointed shape. For the eyes and nose, use black yarn to create small circles and sew them onto the head. For the tail, use white yarn and work a small pom-pom using a cardboard template. Sew the tail onto the back of your bunny.
Step 5: Stuff and Shape
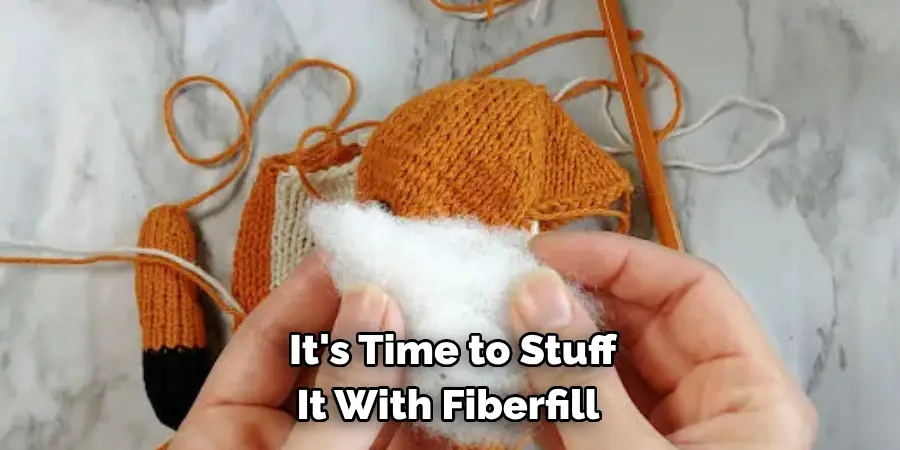
Now that your bunny has its features, it’s time to stuff it with fiberfill. Begin by placing small amounts of filling inside the body and use a chopstick or crochet hook to push the stuffing into all corners. Add more filling until you have a firm and evenly shaped bunny.
Step 6: Close the Bunny
Once your bunny is stuffed and shaped, it’s time to close the bottom. Use a tapestry needle to weave the yarn through the stitches on the last round of single crochets. Pull tight to close the gap and weave in any remaining ends. Your bunny should now have a smooth closure at the bottom.
Step 7: Add Finishing Touches
To finish your Easter bunny, you can add details, such as a bow around its neck or a small flower on its ear. Be creative and make your bunny unique! Once you are happy with all the final touches, your crochet Easter bunny is ready to hop into your home and bring some joy to your Easter celebrations.
Now that you know the basics of how to crochet an Easter bunny, you can use this technique to create different sizes and variations of bunnies. You can also experiment with different colors and patterns to make your bunny truly one-of-a-kind.
5 Considerations Things When You Need to Crochet an Easter Bunny
1. Yarn Choice
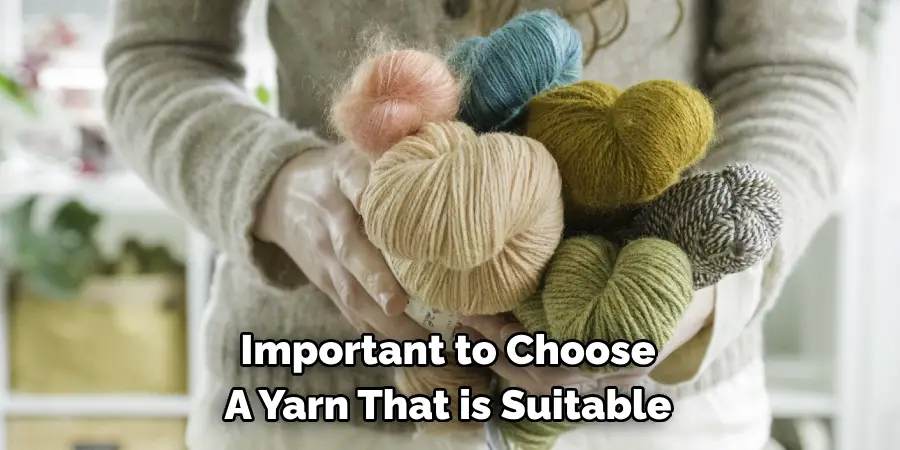
When crocheting an Easter bunny, the first consideration should be the type of yarn to use. The yarn chosen will determine the size and texture of the finished product, so it is important to choose a yarn that is suitable for the project. A lightweight yarn such as cotton or acrylic would work well for a small bunny, while a heavier yarn such as wool or alpaca would be better for larger bunnies. Choosing a soft and fuzzy yarn can also help create a more realistic-looking bunny.
2. Color Selection
When crocheting an Easter bunny, the next step is to select colors for the body and accessories. It is important to pick colors that complement each other and create an aesthetically pleasing design. For example, white and pink could be used for a traditional Easter look, while bright colors like yellow and blue could be used for something more whimsical. Adding small details such as stripes or polka dots can help bring the design to life.
3. Pattern Selection
Once you have chosen your yarn and colors, it’s time to select a pattern for your Easter bunny. Many different patterns are available online, ranging from simple shapes to more complex designs with multiple pieces that need to be assembled together. Starting with a basic pattern may be best if you are new to crochet or want something quick and easy. However, if you are looking for something more challenging, plenty of intricate patterns are available as well.
4. Accessories & Embellishments
No Easter bunny is complete without some accessories! Adding small details such as ears, eyes, whiskers, and even clothing can give your creation personality and make it unique. You can also add embellishments such as buttons or ribbons to further customize your design and give it some extra flair!
5. Finishing Touches
The final step in creating an Easter bunny is finishing it! This may include adding stuffing into certain body parts or using embroidery thread to stitch on facial features like eyes or nose. You can also use fabric paint or permanent markers to draw on additional details if desired – this is especially helpful if you want your bunny’s face to look more realistic!
4 Common Mistakes People Make When Trying to Crochet an Easter Bunny
1. Not Using the Right Yarn
One of the most common mistakes people make when trying to crochet an Easter Bunny is not using the right yarn. It’s important to use a lightweight yarn that will be easy to work with and won’t be too bulky. A cotton or acrylic blend is usually best for crocheting a bunny, as it will be easier to manipulate and will give your finished product a nice, even texture.
2. Not Following Instructions Carefully
Another mistake people often make when trying to crochet an Easter Bunny is not following instructions carefully. Crocheting can be tricky, so it’s important to pay close attention to each step in the pattern and make sure you understand what you are doing before moving on. If you find yourself getting lost or confused, take a break and review the instructions again until you feel comfortable enough to continue.
3. Not Using the Right Hook Size
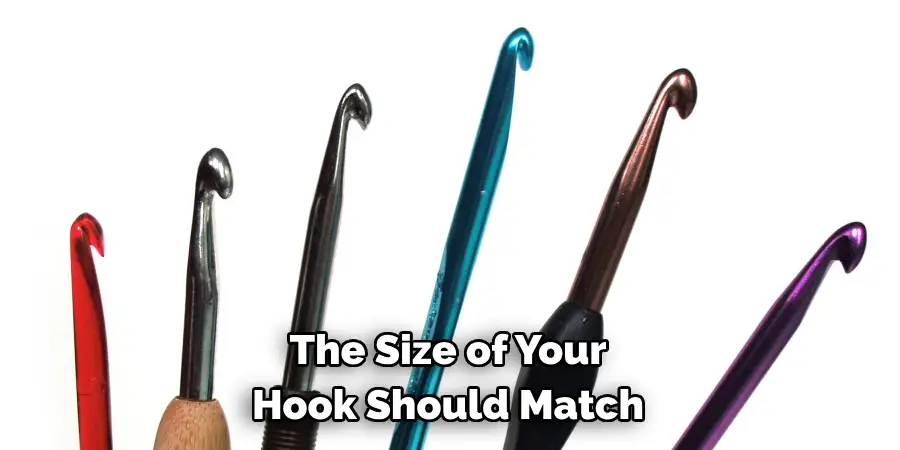
Using the wrong hook size can also lead to disaster when trying to crochet an Easter Bunny. The size of your hook should match the weight of your yarn; if you use a hook that is too small for your yarn, it will result in a tight stitch that won’t allow your bunny to move properly when stuffed. On the other hand, using a hook that is too large for your yarn will result in a loose stitch that won’t hold its shape when stuffed, either!
4. Not Stuffing Properly
Finally, stuffing your bunny incorrectly can also cause problems when trying to crochet an Easter Bunny. It’s important not to overstuff or understuff your bunny; instead, aim for just enough stuffing so that all parts of your bunny look even and full without being overly puffy or lumpy. Additionally, make sure you evenly distribute the stuffing throughout all parts of the bunny so none of them become misshapen or lopsided!
Conclusion
Crocheting an Easter Bunny is a fun and easy project perfect for adding festive decorations to your home or giving as a gift. By following these simple steps, you can create your cute and fluffy bunny in no time.
Whether you are a beginner or have some experience in crocheting, this tutorial will help you create a personalized bunny that will make your Easter season even more special. So, grab your hook and yarn, and hop on over to creating your own Easter Bunny today! Thanks for reading our post about how to crochet an easter bunny.

