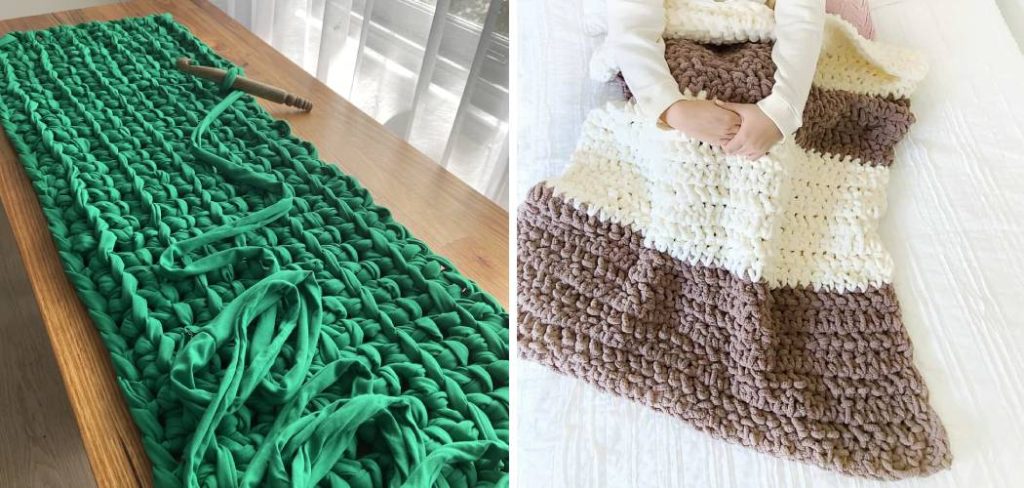
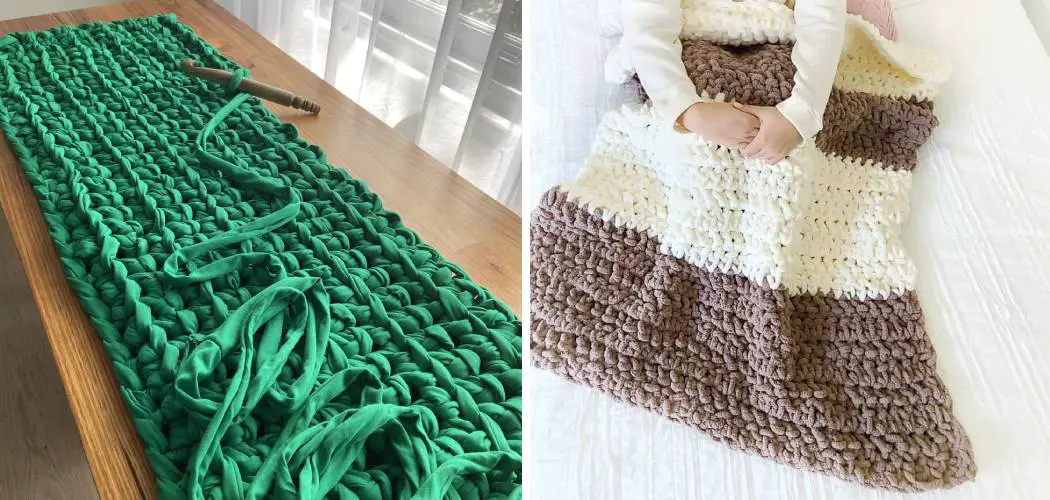
Are you looking to make a weighted blanket but don’t know how? Look no further! This blog post will break down the steps for creating the perfect crochet weighted blanket so you can have your own custom-made creation. Adding weight to your crochet projects has proven to be beneficial in many ways – it helps provide extra comfort and support when needed and can even help reduce anxiety. Plus, crocheting one yourself means unlimited design possibilities – from choosing colors and textures that match your decor or personal style to being able to customize the size of your project.

Creating a cozy and comforting environment is essential for your physical, mental, and emotional well-being. And what better way to do that than make your very own weighted blanket? We all know how comforting it can be to feel the weight of a nice heavy blanket on us during the cold winter months. With just some basic crochet skills, you, too, can create your own homemade weighted blanket! In this blog post, we will discuss how to crochet a weighted blanket step by step so that you can reap the benefits of having one in your home today.
Why May You Want to Crochet a Weighted Blanket?
There are many reasons why you may want to crochet a weighted blanket. Such as:
1. Warmth and Comfort
One of the most common reasons people choose to crochet a weighted blanket is for warmth and comfort. Weighted blankets are designed to be heavier than regular blankets, which helps them keep you more insulated from the chill in the air. Additionally, since they wrap around your body snugly, they help keep you feeling cozy and secure.
2. Stress Relief
Weighted blankets are often used to help reduce stress. This is because the deep pressure stimulation provided by the weight of the blanket has a calming effect on the body, helping you feel relaxed and secure.
3. Sleep Improvement
Weighted blankets are also known for their ability to help improve sleep quality. The consistent pressure of the blanket helps activate your proprioceptive system, which can help promote a feeling of safety and security. This helps make it easier to drift off into a peaceful sleep.
No matter why you decide to crochet a weighted blanket, the process is fairly simple and straightforward. With just a few basic supplies and some patience, you can create your own unique creation that will provide you with warmth, comfort, and stress relief for years to come.
How to Crochet a Weighted Blanket in 7 Easy Steps
Step 1: Gather Your Supplies
The first step is to ensure you have all the necessary supplies for your project. You’ll need yarn, a crochet hook, and poly pellets (or something similar) to provide the weight for the blanket.
Step 2: Calculate How Much Yarn You Need
To calculate how much yarn you need for your weighted blanket, use this formula:
Yarn Needed = (Length of Blanket + Width of Blanket) x 4. This will ensure that you have enough yarn for the front and back of your blanket.
Step 3: Begin Crocheting
Once you’ve calculated how much yarn you need, it’s time to get started! Begin by chaining the desired width of your blanket. You can make a single or double crochet stitch to create the length of the blanket. Make sure to check and adjust your tension regularly as you go.
Step 4: Insert the Poly-Pellets
Once you’ve crocheted the desired length of your blanket, it’s time to insert the poly pellets. To do this, simply open up the stitches along one side of your work and fill them with pellets until they are about two-thirds full. Then, close the stitches back up.

Step 5: Finish Crocheting the Blanket
Next, continue crocheting until you have reached your blanket’s desired size and weight. Make sure to keep checking and adjusting your tension during this process as well. Also, be sure to keep an eye on the poly-pellets to make sure they stay evenly distributed.
Step 6: Weave in Your Ends
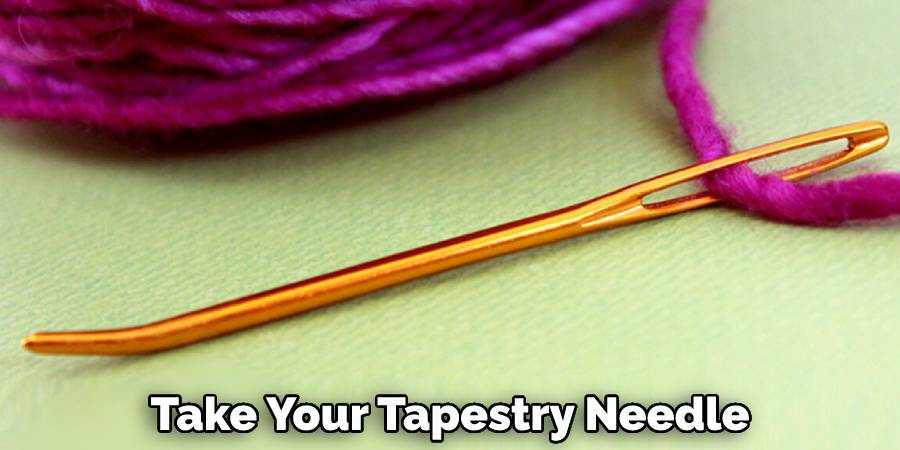
Once you’ve finished crocheting your blanket, it’s time to weave in all the loose ends. Take your tapestry needle and begin weaving the tails into the back of your work. This will help keep your blanket looking neat and clean.

Step 7: Double Check
The final step is to double-check your work. Look over the entire blanket and ensure that everything looks even and no loose ends are hanging out. If all looks good, then congratulations! You have successfully crocheted a weighted blanket.
Some Tips to Crochet a Weighted Blanket
1. Do Not Rush
One of the most important tips when learning how to crochet a weighted blanket is not to rush the process. If you rush, you can make mistakes, and the blanket can take longer to finish. Take your time with each step and ensure that it is correct before moving on to the next one.
2. Choose The Right Yarn
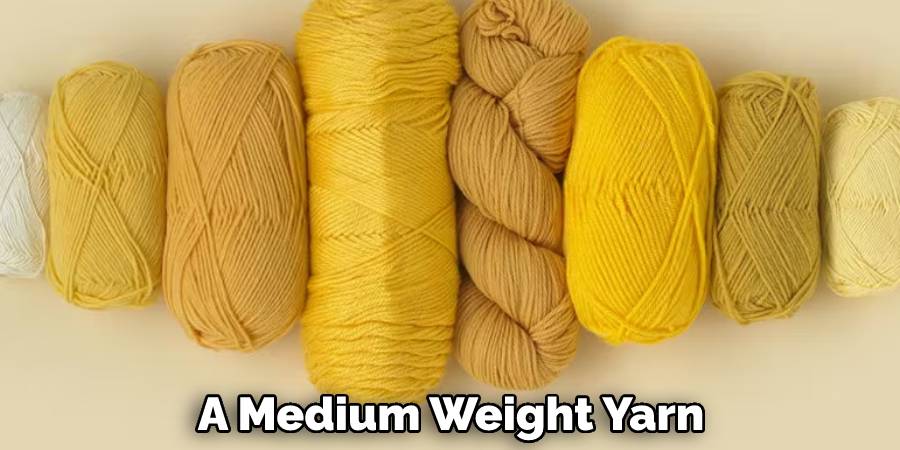
It is important to choose the right yarn for your project. If you are making a weighted blanket, it is best to go with a medium weight yarn that can hold its shape and structure. Be sure to check the label on the yarn for instructions on how much to use and what type of hook size works best.

3. Plan Ahead
When you are learning how to crochet a weighted blanket, it is essential to plan ahead. This means that you need to allocate the right amount of time for the project and determine which stitches are best for your design. Taking some time to create a pattern or design can help you stay organized and on track as you finish your project.
4. Make a Swatch
When learning how to crochet a weighted blanket, it is always helpful to make a swatch first. This helps you determine what size hook and type of yarn will work best for your project. It also helps you get used to the stitches before starting on the larger piece.
These are some of the tips for those who are learning how to crochet a weighted blanket. By planning and creating a swatch, you can ensure that your project is successful and looks professional when finished. With patience, practice, and these tips, anyone can easily learn how to crochet a weighted blanket!
Frequently Asked Questions
What Precautions Should I Take When Making a Weighted Blanket?
When making a weighted blanket, it is important to take extra precautions. Make sure to use hypoallergenic materials and use the correct weight for the person you are making the blanket for – too heavy may be uncomfortable, and too light may not provide enough pressure relief. Also, secure the blocks of the weighted blanket with strong stitches to ensure they stay in place. Lastly, make sure to regularly check the blanket for any signs of wear and tear or lose threads and replace it as necessary.
What is the Best Yarn for Crocheting a Weighted Blanket?
The best yarn for crocheting a weighted blanket is one that won’t stretch or pill over time. Look for acrylic yarns that are strong and durable. If you’d like to use natural fibers, wool or cotton may be an option, but they can be more expensive. Also, make sure to use a larger hook size than the recommended one for the yarn you’re using as it will help keep stitches tight and secure.
What is The Best Way to Fill A Weighted Blanket?
The best way to fill your weighted blanket is by using plastic pellets or poly-pellets. They are non-toxic and hypoallergenic, but make sure to check the label when purchasing them. You can also use glass beads, but they are heavier and may be too much for some people. To ensure an even distribution of weight, it is best to divide the blanket into sections and add poly-pellets in each one before sewing them together.

What is the Ideal Weight for a Weighted Blanket?
The ideal weight of a weighted blanket depends on the person using it. Generally, adults should use blankets weighing 5 – 15 lbs, and children should use blankets weighing between 3 – 7 lbs. It’s best to consult with your doctor if you’re unsure of the ideal weight for you or your loved one.
Conclusion
Now you know how to crochet a weighted blanket in no time. As long as you have the right materials and follow the instructions, you can create a cozy blanket for yourself or someone else.
After you’ve finished, be sure to take pictures of your creation and share it with others. Not only will that show off your work, but it might inspire other crochet enthusiasts who are considering making their own. Best of luck with your endeavor, and have fun!


