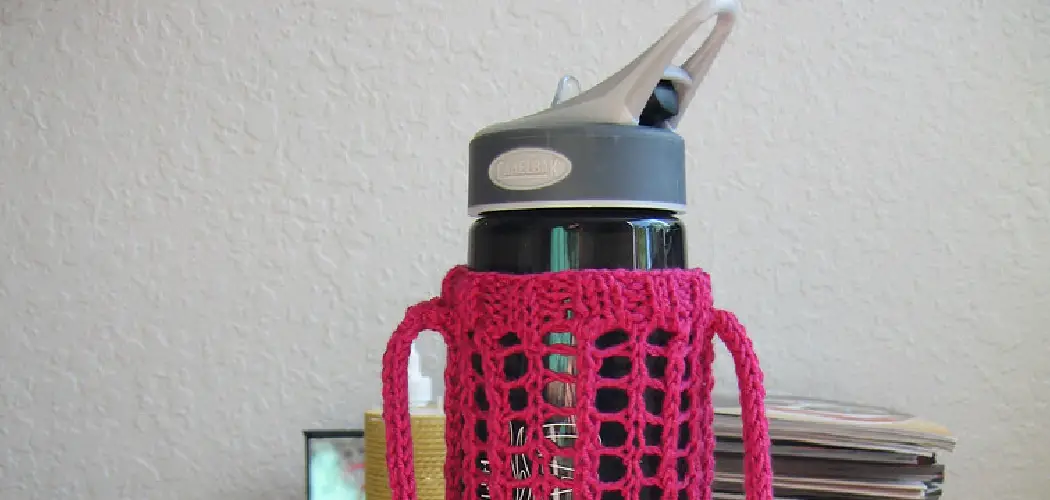
Are you looking for a creative and useful way to upcycle your empty water bottles? Have you been wanting to learn how to crochet but don’t know where to start? Look no further! This blog post will show you, step-by-step, all the key techniques necessary for crocheting a cute and stylish water bottle holder.
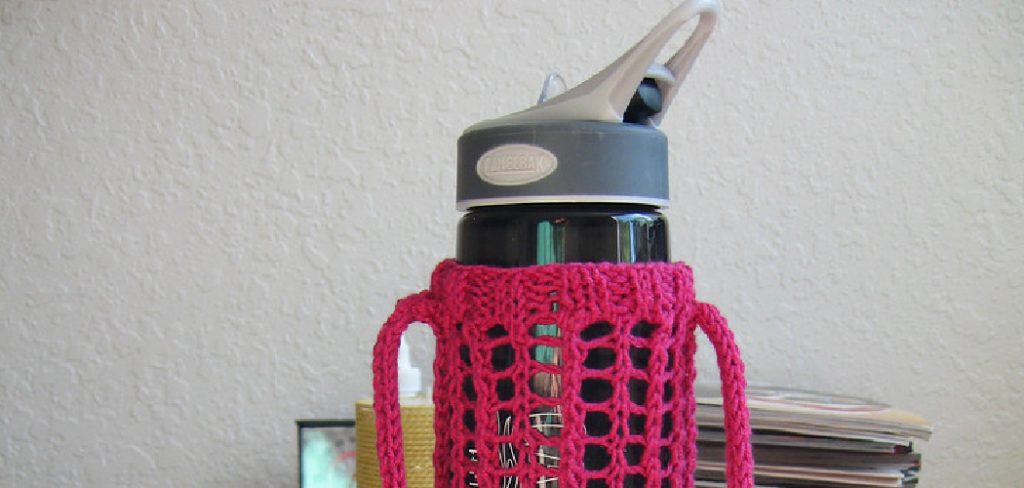
The perfect companion for wherever life takes you – it’s easy enough for total beginners with no experience needed on how to crochet a water bottle holder, as well as being great fun once you get going. Keep reading if you’re ready to learn the basics of crochet and make an awesomely useful recycled project!
What is Crocheting?
Crocheting is an art form and craft of creating items from yarn, thread, and a crochet hook. It is similar to knitting in that it uses loops and knots to create the finished product. Crocheting can be used for making clothing, blankets, toys, and more! We will focus on using basic stitches for our water bottle holder – and once you’ve mastered these simple stitches, you can create all kinds of things with crochet.
Materials Needed
- Yarn (We used a yarn that is labeled as medium weight, but any type of yarn would work)
- Crochet hook size “G” or 4mm
- Scissors
- Water Bottle
- Tapestry needle (optional)
10 Steps on How to Crochet a Water Bottle Holder
1. Wrapping
Wrap the yarn around your water bottle, from bottom to top and from left to right, until you have created as many loops as desired (we chose 15). And then, cut the yarn, leaving a tail of at least 10 inches long. So, for example: If you wanted to crochet a water bottle holder with 15 loops (rows), you would wrap the yarn around the bottle 15 times. Make sure to keep the loops even throughout.
2. Creating a Slip Knot
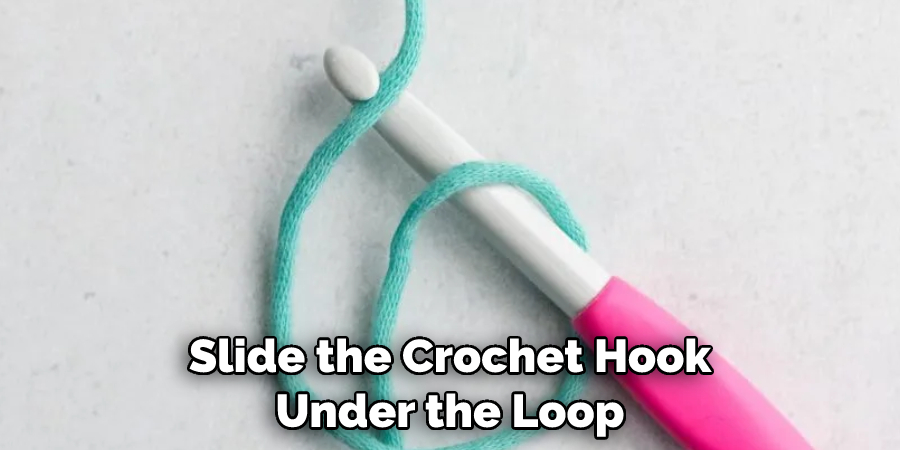
Next, take your crochet hook and use it to grab one of the loops from the bottom row and pull it up over the tail end of your yarn. Then, once you have pulled that loop up, place your thumb and middle finger on either side of the loop, and wrap the yarn around your fingers. Finally, slide the crochet hook under the loop and grab hold of it before pulling it through the original loop. You have now created a slip knot!
3. Making Single Crochet Stitches
Now that you’ve created your slip knot begin by making single crochet stitches (abbreviated as “sc”). To do this, insert the crochet hook in between the yarn loops from the top row and grab the slip knot. Then, wrap the yarn around your hook once before pulling it through both of the loops on your hook. You have now made one single crochet stitch!
4. Continue Crocheting
Continue making single crochet stitches across the entire row, going from left to right. Make sure you’re keeping the loops even and tight throughout. When you reach the end of the row, chain at least 2-3 stitches before turning your work and starting a new row of single crochet stitches.
5. Continue Rows
Continue making rows of single crochet stitches until you have reached your desired length. For our water bottle holder, we made 15 rows in total. Once you’ve finished crocheting the last row, cut the yarn with your scissors and tie off the end by pulling it through the loop on your hook.
6. Weave in Ends
Take the tail end of your yarn and weave it back into the rows of single crochet stitches that you’ve made. This will help keep everything secure and make sure your water bottle holder doesn’t come undone. You can do this with a tapestry needle or by simply pushing the yarn through with your fingers.
7. Fold Over the Top Edge
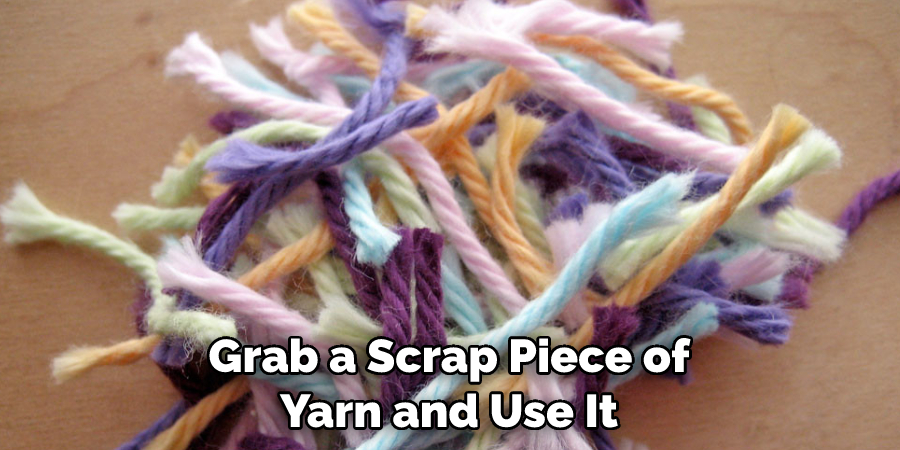
Take the top edge of your water bottle holder and fold it over so that the single crochet rows line up evenly. Then, grab a scrap piece of yarn and use it to sew the two sides together until they are secure. You can do this by using the tapestry needle or simply by knotting the yarn together.
8. Trim Ends
Cut off any extra pieces of yarn that are hanging from your water bottle holder with a pair of scissors. You can also use this time to trim any uneven edges, so everything looks neat and tidy. Make sure to leave at least a few inches of yarn on the end so you can tie it off later.
9. Attach Handle
To make a handle for your water bottle holder, cut two equal lengths of yarn and then use them to create a loop. Make sure the handle is secure before attaching it to your holder with an extra piece of yarn. Tie the extra piece of yarn to the handle and then use it to sew the handle onto your holder until it’s securely in place.
10. Tie Off
Now that you’ve attached your handle take the extra length of yarn at the top of your water bottle holder and tie a knot with it. This will ensure that your holder is secure and won’t come undone. And you’re done! Congratulations on making a gorgeous crochet water bottle holder. How to Crochet a Water Bottle Holder | Step-by-Step Guide is complete! We hope you enjoyed learning about how to make this useful accessory. Now, you have a great way to stay hydrated on the go.
8 Common Mistakes
When Crocheting a Water Bottle Holder
Crocheting is a fun hobby, but it can be tricky to get the hang of at first. Here are a few common mistakes to look out for when making a water bottle holder:
1. Not Creating an Even Number of Stitches
When counting your stitches, make sure you have an even number of them. This will help ensure that your rows line up evenly and are symmetrical.
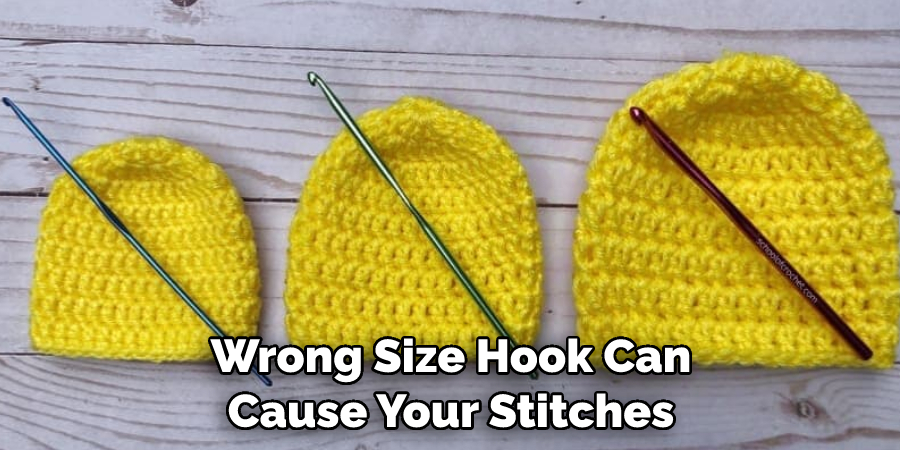
2. Not Using the Right Hook Size
When choosing a hook size, make sure you’re using one that is appropriate for the type of yarn you are using. The wrong size hook can cause your stitches to be too tight or too loose.
3. Not Weaving in the Ends
When you’re done crocheting, make sure to weave your ends back into the rows of stitches. This will help keep everything secure and prevent your holder from coming undone.
4. Using Uneven Tension
When crocheting, make sure you’re using even tension throughout your project. This will help keep your stitches neat and uniform. Make sure you can easily slip your hook through the center of each stitch.
5. Not Following the Pattern
When following a pattern, make sure to read it carefully and follow it exactly. If you don’t pay attention to the instructions, your holder may come out looking different than what is pictured.
6. Using the Wrong Type of Yarn
The type of yarn you use can have a huge impact on how your project turns out. Make sure you’re using a yarn that is appropriate for the type of water bottle holder you’re making.
7. Not Measuring Your Work
As you go, make sure to measure your work to make sure it’s the right size. This will help you know if you need to add more rows or cut a few out.
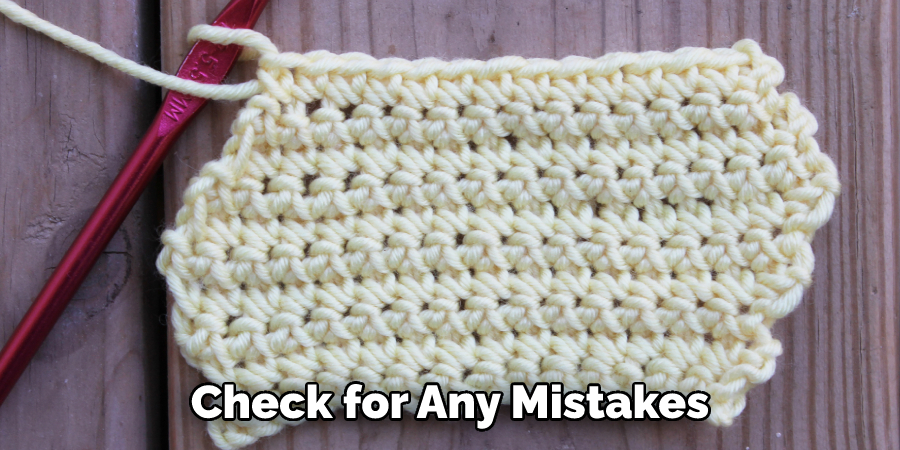
8. Not Checking for Mistakes
Before tying off your holder, make sure to check for any mistakes that may have been made along the way. Doing this will help ensure that you have a perfect water bottle holder when you’re finished.
Making a crochet water bottle holder can be tricky, but with a bit of practice and patience, you can easily make one that looks great and serves its purpose. We hope this How to Crochet a Water Bottle Holder | Step-by-Step Guide was helpful!
Frequently Asked Questions
How long does it take to make a crochet water bottle holder?
How long it takes to make a crochet water bottle holder will depend on your skill level and the size of the project. Generally, an average-sized holder can be completed in 2-3 hours. It depends on the pattern, size, and type of yarn used.
Do I need to block my holder once I’m done?
Blocking is not necessary for a water bottle holder, but it can help keep the shape of your project and make it look more professional. If you choose to block it, use cold water and a light steam setting on your iron.
Conclusion
To conclude, crocheting a water bottle holder is an easy and affordable craft project that anyone can do. The main material is a skein of yarn and a crochet hook, with very few supplies required to create something beautiful and functional. The process of following directions similar to that of learning the steps to any new activity—practice, determination, and patience will result in success.
If a step within the pattern seems challenging or difficult, it may be beneficial to refer back to online video tutorials on how to crochet a water bottle holder or additional resources to help guide the way. Whether it’s for yourself or as a gift for someone special, creating a handmade water bottle holder will be well worth it! Make sure to share photos with friends when your project is finished- soon enough, you’ll have crafted something unique and inspiring from one little yarn skein!

