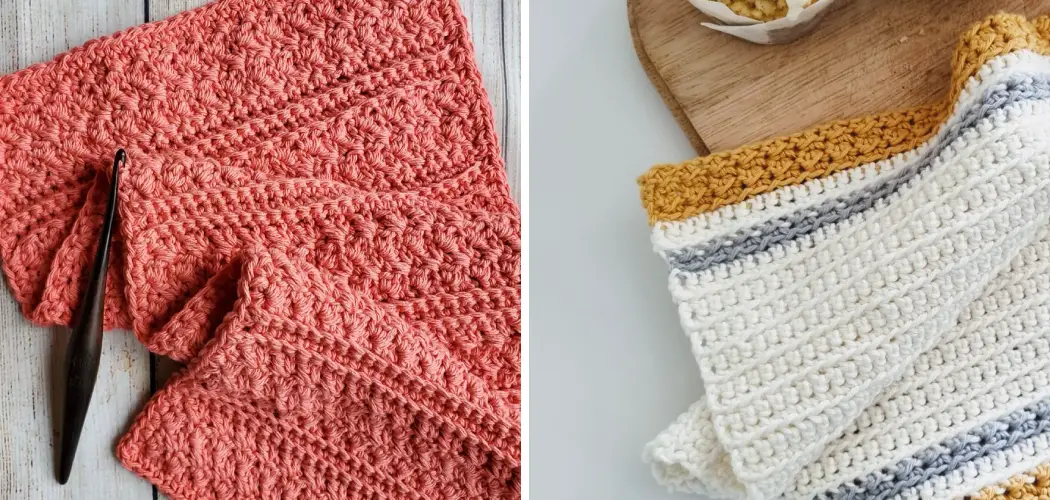
Crocheting has been around for centuries and is still popular today. It’s a versatile craft that can be used to create a variety of items, from clothing to home decor. One item that you may not think could be crocheted is a towel. But in fact, crocheted towels are not only functional but also add a unique touch to your bathroom.
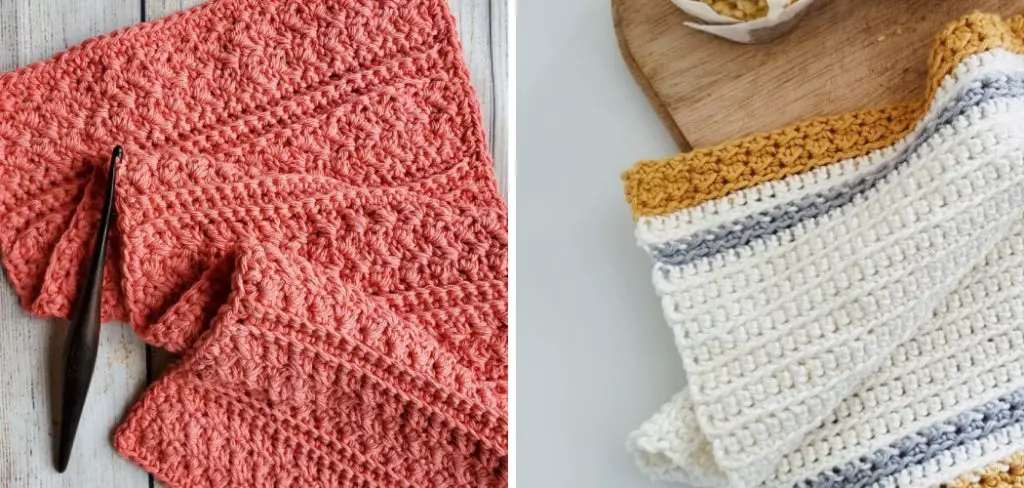
Whether you’re new to crochet or have some experience, learning how to crochet a towel will allow you to create personalized pieces for yourself or as gifts for loved ones. In this blog post, we’ll go over the materials and steps needed to make your own crocheted towel. Get ready to learn something new and add another skill under your belt with this fun and practical project!
Tools and Materials You Will Need to Crochet a Towel
- A towel (preferably a plain one)
- Worsted-weight cotton yarn
- Crochet hook size H/8 or 5mm
- Scissors
- Yarn needle
- Stitch markers (optional)
Step-by-step Guidelines on How to Crochet a Towel
Step 1: Choose Your Yarn and Towel
The first step to crochet a towel is to select your materials. When it comes to yarn, we recommend using worsted-weight cotton yarn for its absorbency and durability. As for the towel, choose one that is plain without any ribbing or patterns.
This will make it easier to work with and showcase your crocheting skills. Choosing a towel with a loop or border at the top will also make it easier to attach your crocheted edging later on.
Step 2: Prep Your Towel
Before you can start crocheting, you’ll need to prepare your towel. Begin by folding the towel in half lengthwise, making sure the edges line up. Next, use a yarn needle to sew a running stitch along the folded edge about an inch away from the edge.
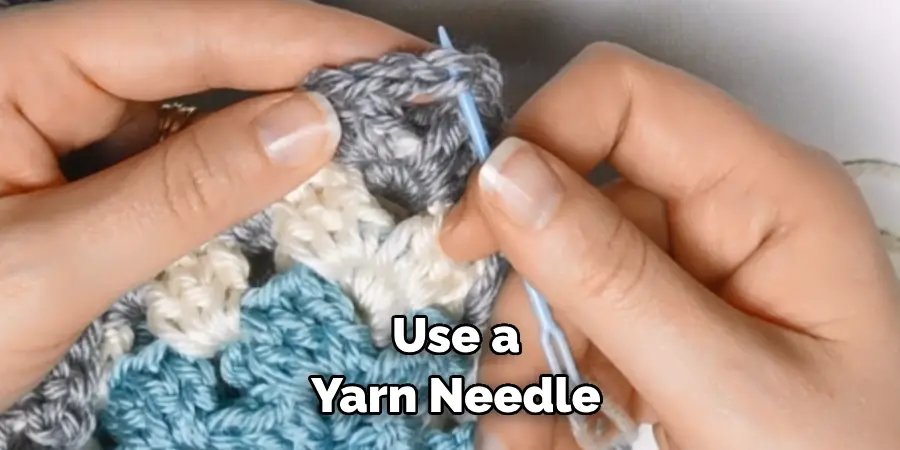
This will create a casing for your crochet hook to work through later. Preparing your towel this way will help keep the edges smooth and prevent stretching as you work on your project.
Step 3: Make a Slip Knot
To begin crocheting, make a slip knot with your yarn. To do this, create a loop with the yarn and pull the tail through. Tighten the loop onto your crochet hook by pulling the yarn tail while holding the loop in place.
Place your slip knot on your hook and tighten it by pulling the tail end of the yarn again. While holding the loop in place, pull the yarn tail to tighten the knot onto your hook.
Step 4: Work Single Crochet Stitches Across the Towel’s Edge
Now you’re ready to start crocheting! Insert your crochet hook into the first stitch of your towel’s edge through both layers of fabric. Yarn over and pull up a loop through the stitch. Yarn over again and pull through both loops on your hook to complete your first single crochet (sc) stitch.
Continue working sc stitches across the folded edge of your towel until you reach the end. Make sure to work through both layers of fabric to create sturdy and secure stitching.
Step 5: Create a Foundation Row
Once you have crocheted across one edge, it’s time to create a foundation row for your towel. To do this, turn your work 90 degrees clockwise and continue working sc stitches along the side of your towel’s edge.
This will create a foundation row for your towel’s main crocheted edging. When you reach the end, slip the stitch to join the last stitch with the first stitch of your foundation row.
Step 6: Begin Your Main Crocheted Edging
Now that you have your foundation row, it’s time to start crocheting your main edging. We recommend using a simple stitch pattern, such as single or double crochet, to create a border around the towel.
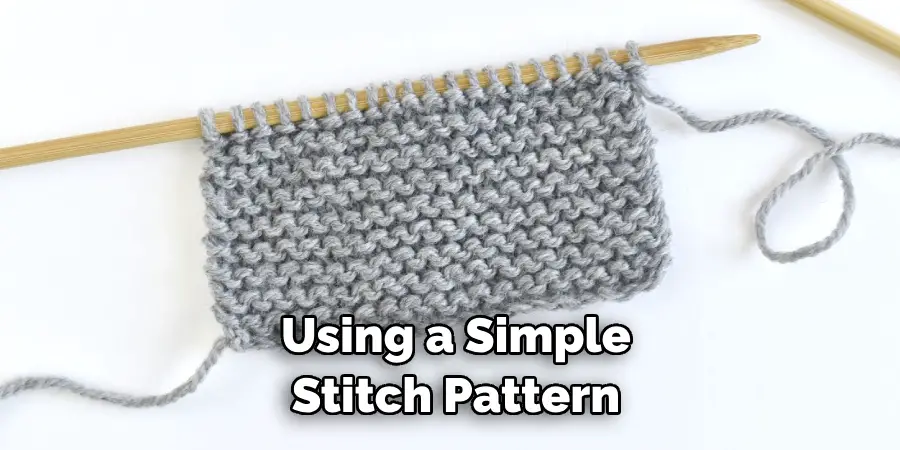
You can also get creative and experiment with different stitches or patterns for a more intricate design. Work along each edge of the towel until you reach the beginning of your edging, then slip stitch to join and tie off the yarn.
Step 7: Attach Your Edging to the Towel’s Top Edge
Next, it’s time to attach your crocheted edging to the top edge of your towel. Take your yarn needle and weave in any loose ends from where you tied off your yarn. Then, use the same needle to sew your crocheted edging onto the towel’s top edge by weaving it through the casings you created earlier. This will ensure that your edging stays securely in place. Once you’ve reached the end, weave in any remaining loose ends and snip off any excess yarn.
Following these steps will allow you to create a beautiful and functional crocheted towel. You can also experiment with different yarn colors and stitch patterns to create unique designs that suit your style. Crocheting towels are a great way to add a personal touch to your home or give as thoughtful gifts for special occasions. Have fun and happy crocheting!
Additional Tips and Tricks to Crochet a Towel
1. If you are new to crocheting, it is important to start with a simple pattern and practice before attempting more complex designs. This will help you gain confidence and improve your skills.
2. When choosing the yarn for your towel, consider the absorbency of the fiber. Cotton or bamboo yarns tend to be more absorbent, making them ideal for towels.
3. To avoid the edges of your towel from curling up, make sure to add a border or edging. This will also give your towel a more polished and finished look.
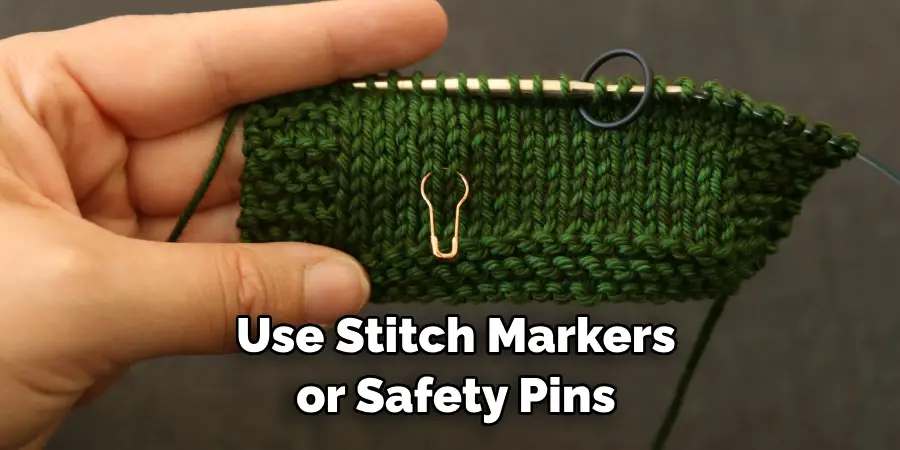
4. To keep track of your stitches and rows, use stitch markers or safety pins. This will help you avoid mistakes and keep your pattern consistent.
5. When changing colors in your towel, make sure to carry the yarn along the edge of your work rather than cutting and restarting. This will save you time and also create a neater finish.
6. Don’t be afraid to experiment with different stitch patterns or textures for your towel. You can even combine different stitches to create a unique design.
7. When weaving in ends, make sure to weave them in at least 3 different directions to secure them in place. This will prevent your towel from unraveling over time.
8. If you want a thicker and more absorbent towel, try using two strands of yarn at once instead of one. This will create a denser fabric.
9. Always make sure to block your finished towel by lightly wetting it and shaping it into the desired size before letting it dry. This will give your towel a professional and polished look.
Following these additional tips and tricks will help you create a beautiful and functional crocheted towel. Remember to have fun and be patient with yourself as you learn and improve your crochet skills! Happy crocheting!
Precautions Need to Be Followed for Crocheting a Towel
1. First and foremost, it is important to use the right type of yarn for your towel project. Cotton or linen yarns are ideal choices as they are absorbent and durable.
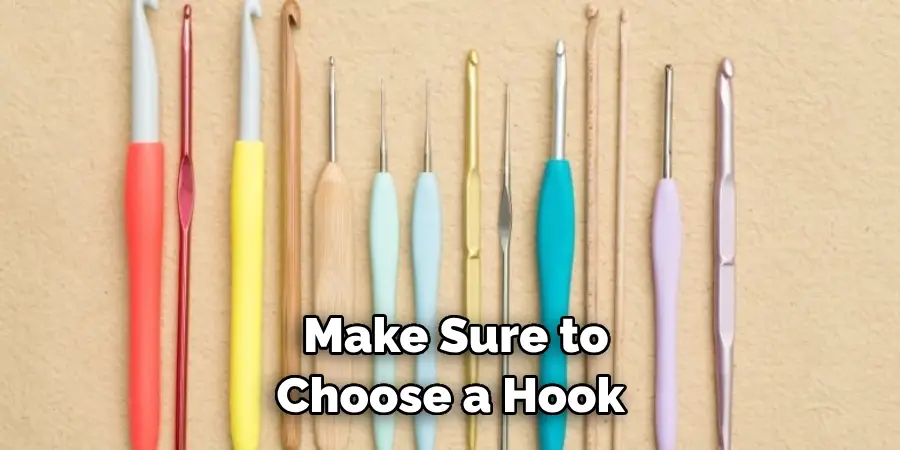
2. Make sure to choose a hook size that matches the thickness of your chosen yarn. This will help you create even and consistent stitches throughout your project.
3. When starting your towel, it is recommended to begin with a chainless foundation row instead of the traditional starting chain. This will create a more stable and smooth edge for your towel.
4. It is also important to pay attention to your tension while crocheting. If your stitches are too tight, your towel may become stiff and difficult to use. On the other hand, loose tension can result in a droopy and uneven fabric.
5. To prevent your towel from curling at the edges, you can incorporate a border or ribbing stitch in your design. This will help give your towel structure and stability.
6. When working with multiple colors or switching yarns, it is crucial to weave in your ends securely. This will not only create a neater finish but also ensure that your towel does not unravel over time.
7. It is recommended to wash and block your towel after completion to give it its final shape and dimension. This will also help even out any slight discrepancies in tension.
8. Finally, always refer to the pattern or instructions for any additional precautions specific to your project. Each pattern may have its unique pointers that can contribute to the overall success of your towel.
Following these precautions will ensure that you have a beautiful and functional crocheted towel to add to your collection. With practice, you can master the art of crocheting towels and create your unique designs. Happy crocheting!
Conclusion
In conclusion, learning how to crochet a towel is not only a practical skill but also a creative outlet and a wonderful way to add a personal touch to your home. I hope this blog post has inspired you to pick up a hook and some yarn and give it a try. Keep in mind that practice makes perfect and don’t be discouraged if your first few attempts don’t turn out exactly as you imagined.
With patience and dedication, you will soon have beautiful crocheted towels that you can proudly display in your bathroom or gift to friends and family. And remember, the possibilities are endless when it comes to colors, patterns, and designs, so don’t be afraid to experiment and make each towel unique.
Whether you’re an experienced crocheter looking for a new project or a beginner eager to learn something new, follow these steps and create your one-of-a-kind towel. Happy crocheting!

