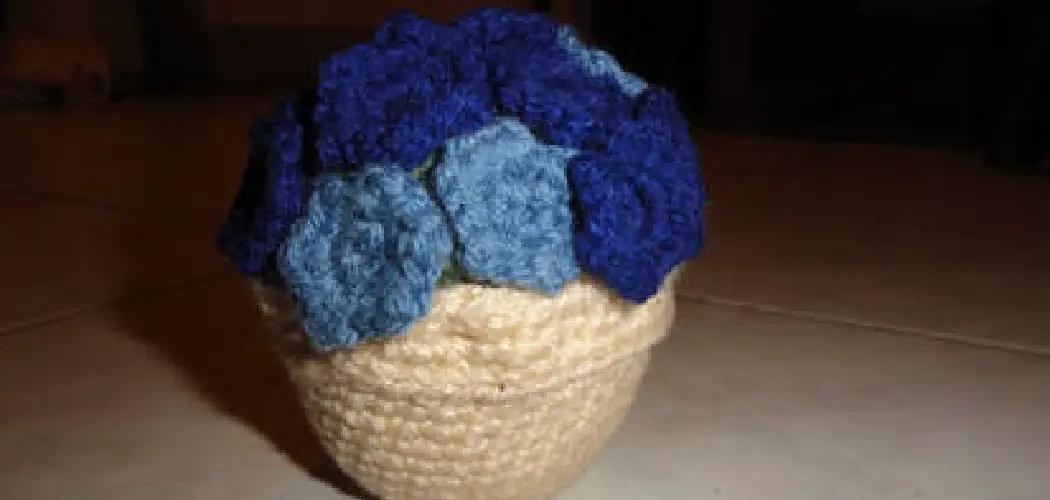
Bring a touch of nature indoors and add a charming handmade element to your home decor by learning how to crochet a potted plant. Crocheting a potted plant allows you to create a delightful, low-maintenance ornament that adds a pop of color and warmth to any space.
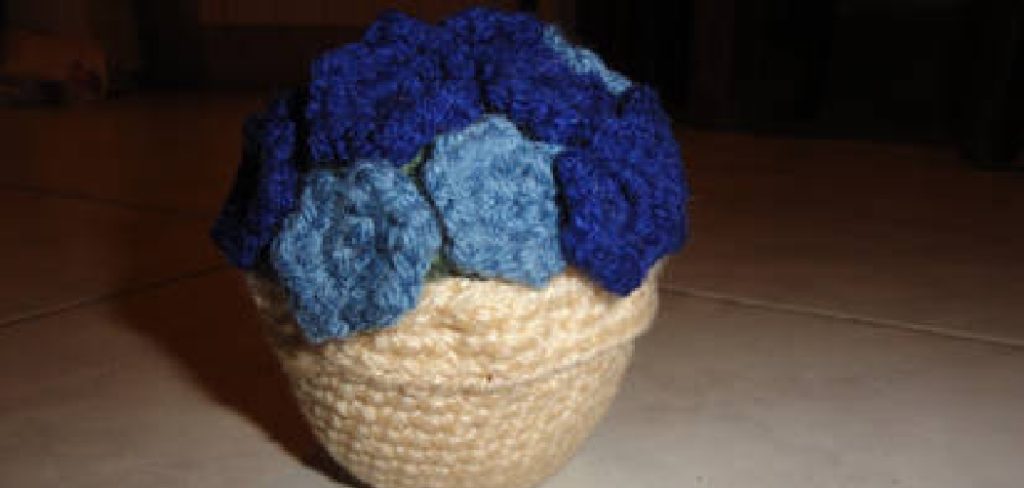
Whether you’re a seasoned crocheter or a beginner looking to explore a new avenue of creativity, this craft offers endless possibilities for customization and expression.In this article, we’ll guide you through the step-by-step process of crocheting a potted plant, from selecting the right yarn and stitches to mastering shaping techniques that bring your crochet creation to life.
Whether you’re looking to craft a playful cactus, a lush succulent, or any other botanical wonder, join us on this creative journey and discover how the art of crochet can transform yarn into an everlasting symbol of nature’s beauty.
The Appeal of Crocheting a Potted Plant and Its Aesthetic
When it comes to crafting a potted plant, the beauty lies in its versatility. With crochet, you can create a range of shapes and sizes that mix and match different textures, colors, and design elements to bring your creation to life. Plus, with the right materials and techniques, you can craft a plant that looks beautiful year-round without needing any watering or pruning.
Aside from being an easy project to handle, creating a potted plant with crochet is also incredibly cost-effective. With minimal supplies such as yarn, stuffing material, and a few other basics, you can make your own custom plants at a fraction of the price of store-bought decor—and have fun doing it!
The Creativity and Customization of Crocheted Plants
Crochet is a versatile craft that can be used to create unique and beautiful items. From clothes to jewelry, bags to home decor, crochet offers endless possibilities for creativity. One of the most creative projects you can do with crochet is creating potted plants! With this project, you can customize your own plants that will never die and are perfect for adding a special touch to any room.
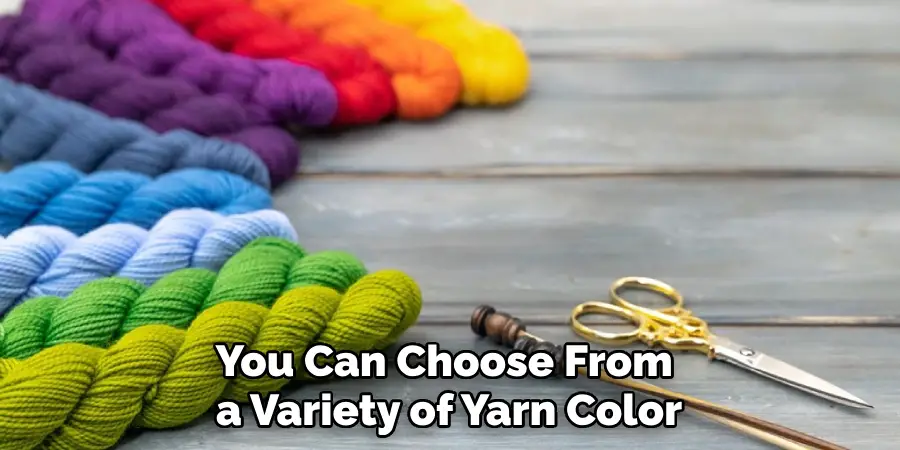
When crocheting a potted plant, you can choose from a variety of yarn colors and textures to create the look that best suits your taste. You can also experiment with different crochet stitches to give your plant texture or special details. If you want to get really creative, consider adding extra embellishments to your plants such as googly eyes, felt leaves, pom-poms, and more.
List of Materials Required for Crocheting a Potted Plant
To begin your journey into creating a crochet potted plant, you will need the following materials:
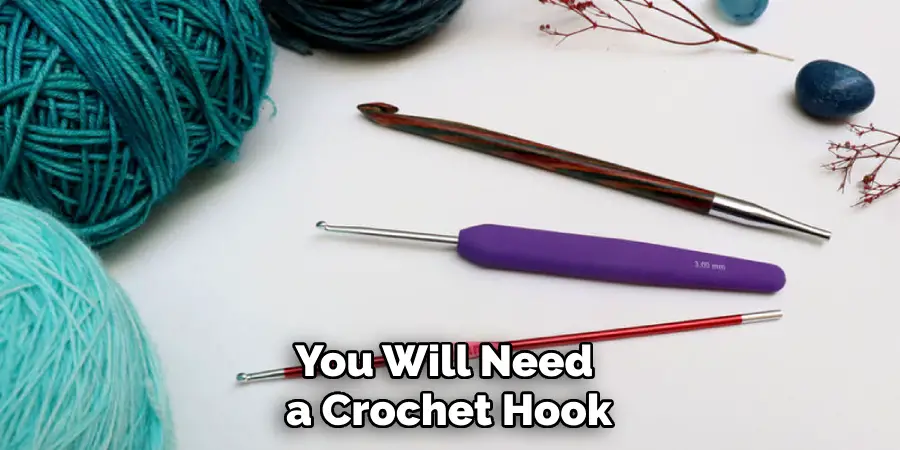
- Crochet Hooks: A size suitable for the yarn you have chosen. A 4mm or 5mm hook is generally a good starting point for this project.
- Yarn: Choose colors and textures that will represent the plant and pot. Green for leaves, brown or grey for the pot, and perhaps a flower color if you’re feeling creative.
- Fiber Fill: This is used to stuff the crocheted plant and pot to give them shape.
- Yarn Needle: For weaving in loose ends of yarn and sewing together the different parts of your plant.
- Scissors: For cutting the yarn.
- Optional Embellishments: Googly eyes, felt leaves, pom-poms, or any other decorative items you’d like to add to your plant for extra character.
Remember, these materials can be found at any craft store or can be ordered online. Happy crocheting!
11 Steps How to Crochet a Potted Plant
Step 1: Gather Your Materials:
Before you get started with your crocheting project, make sure you have all the materials you need. For this project, you will need a crochet hook (size E-4 is recommended), worsted weight yarn in two colors, scissors and stuffing for the finished product.
However, if you don’t have these materials on hand, you can always purchase them from your local craft store. Though crocheting a potted plant may seem intimidating, all you need is patience and a few simple techniques!
Step 2: Choose the Plant Design
Select the type of plant you’d like to crochet. Whether it’s a cactus, succulent, or flowering plant, having a clear design in mind will guide your yarn and stitch choices. To get the most realistic look for your plant, it helps to research what kind of colors and textures the real-life version has. This will help you select appropriate yarns and threads that closely match the original.
Step 3: Understand Basic Stitches
Familiarize yourself with basic crochet stitches, including single crochet, double crochet, and slip stitch. These stitches form the foundation of your crocheted plant. Make sure you can comfortably transition from one stitch to the other and understand which stitch works best for what parts of your project.
To make the potting soil, single crochet in a continuous spiral around the chain stitches. Be careful not to pull too tightly as this will deform your pot’s shape. As you continue crocheting, add more stitches when necessary to maintain the size of your pot.
Step 4: Begin with the Base
Start by crocheting the base of your potted plant. This forms the foundation on which you’ll build the plant’s structure. Begin with a magic circle or a chain of stitches joined to form a ring, and work single crochet stitches into the ring. Work increases into each stitch as you move around to make the base larger.
When you reach the desired diameter, start decreasing stitches until the ring is no longer increasing in size. Finish by joining your last stitch with the first one and fastening off. Your base should now look like a flat circle or oval shape.
Step 5: Create the Plant’s Structure
Shape the plant’s structure using various crochet stitches. For example, to create the cylindrical shape of a cactus, work rounds of single crochet stitches. For a succulent with leaves, incorporate increases and decreases to achieve the desired shape. You can adjust the height and width of your plant’s structure by adding or subtracting stitches each round.
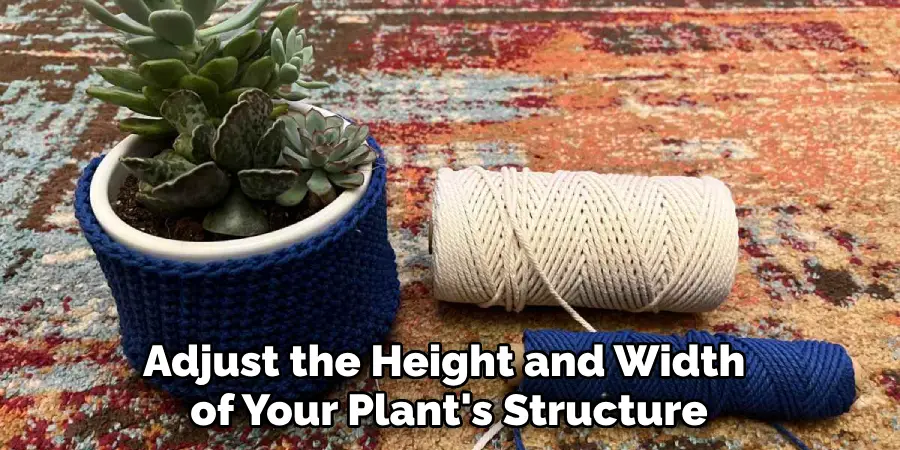
Once you have achieved the desired shape and size for your potted plant, fasten off with an invisible join. To make the structure more stable, add a few rounds of single crochet all around. This will help to secure the structure in place.
Step 6: Add Texture and Detail
Enhance the authenticity of your crocheted plant by adding texture and detail. Use different stitch techniques to replicate the patterns found on real plants, such as raised bumps or ridges. Additionally, use a small hook to add details like “leaves” or other features found on your chosen plant. Make sure to fasten off all the ends of the yarn for a polished look.
Once you have added texture and detail, your crocheted potted plant is ready to be shown off! Place it in an area where it can be admired and enjoyed. Not only will your handmade plant look great, but it will also be a conversation starter for anyone who sees it.
Step 7: Assemble the Plant
Once you’ve crocheted all the necessary components of your plant, it’s time to assemble them. Attach leaves, petals, or other parts using slip stitches or single crochet stitches. Place the stem and leaves inside the pot, and attach them to the base. Finally, you can add a few finishing touches such as eyes or smiley faces with embroidery floss.
For smaller plants, you may want to place some moss on top of the soil for a more realistic look. You can also use hot glue to secure small decorative items like rocks or pebbles to the outside of the pot.
Step 8: Stuff the Plant
Stuff your crocheted plant with polyester fiberfill or cotton stuffing to give it volume and a three-dimensional appearance. Adjust the amount of stuffing to achieve the desired firmness. You can use a spoon or chopstick to help push the stuffing into small areas.
Once you are satisfied with your stuffed plant, close the opening by stitching it shut with a yarn needle and yarn of the same color as your pot and crocheted plant.
Step 9: Attach the Plant to the Base
Attach your crocheted plant to the potted base using a hot glue gun or by sewing the base and plant together with a tapestry needle and matching yarn. Ensure the plant is securely anchored to the base. You should also add a few stitches to the base of your plant for added stability.
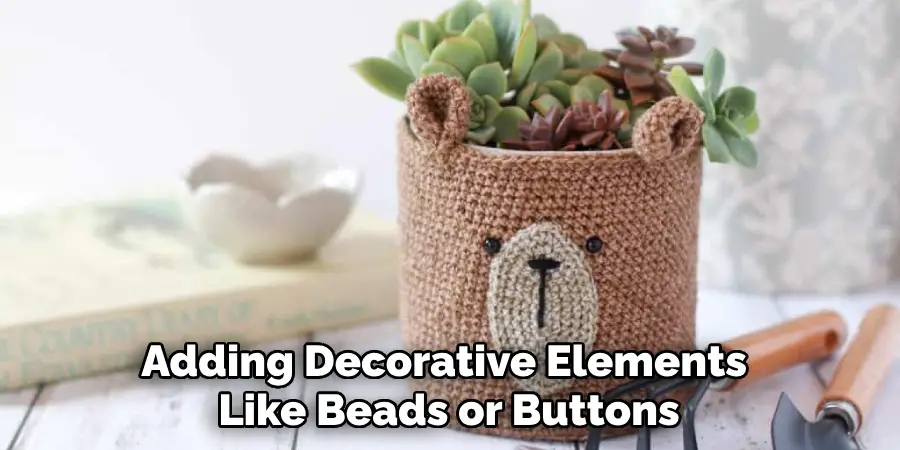
Add extra decorations such as beads, buttons or ribbons tied around the plant’s stem or leaves. Embellishments can spruce up your creation and make it even more unique!
Step 10: Add Final Details
Add any final details or embellishments to enhance the realism of your crocheted potted plant. These details might include stitching on small flowers, creating thorns or spikes for a cactus, or adding decorative elements like beads or buttons.
You can even use the same yarn colors to make a miniature version of your plant, or add on small leaves or petals for an extra special touch. Experiment and have fun with the details – that’s what makes each project unique! When you’re finished, tie off the end of the yarn and weave in any loose ends. Your crocheted potted plant is now ready to enjoy!
Step 11: Display Your Creation
Find the perfect spot to display your crocheted potted plant. Whether it’s on a shelf, a windowsill, or as part of a centerpiece, your handmade creation will add a touch of nature and creativity to your space. With a bit of time and patience, you can make your own original potted plant that looks just like the real thing – without ever having to water it!
Conclusion
To summarize, learning how to crochet a potted plant can be a fun and rewarding project that yields you a wonderful finished product. It is important to first choose a pattern that matches your skill level and materials. Then, follow directions carefully as you knit your yarn with metal or plastic hook into a flowerpot-shaped structure.
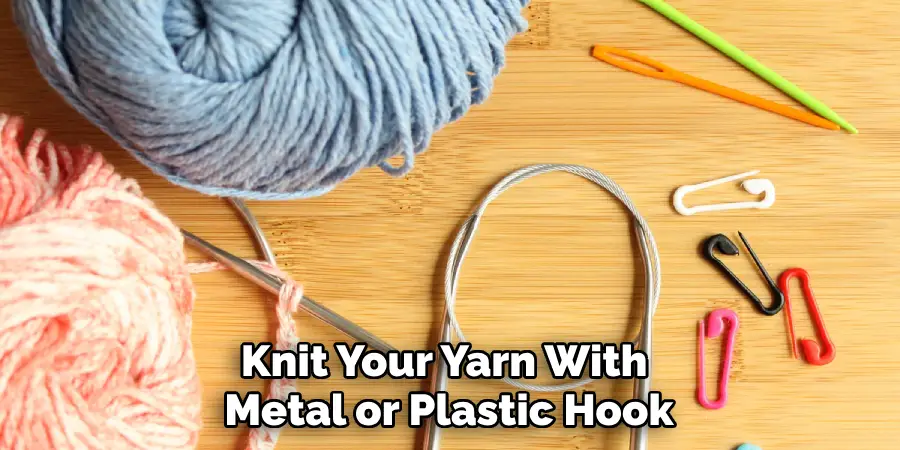
Use different colors for shading and other details to create a custom design that’s sure to brighten up any room in your home! Finally, leave some stuffing or filler material within the pot structure itself to support the base and let it dry before proudly displaying it in your home.

