

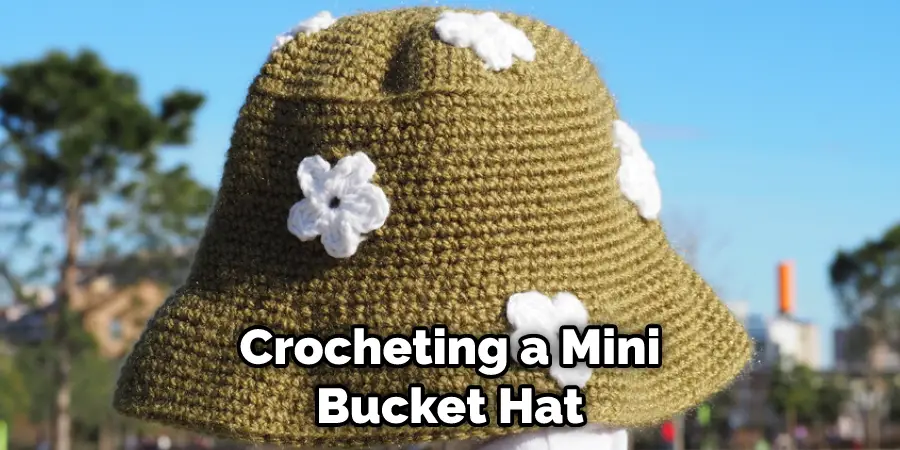
If you’ve wanted to learn how to crochet a mini bucket hat, then you’re in luck! Crocheting a hat is a great way to get creative with crafts and make something special for yourself or someone else. Whether you are an experienced crocheter, have never picked up the hook before, or just need a refresher course on working with yarn, this helpful guide will teach you everything from start-to-finish about how easy it can be to create your own mini bucket hat.
With simple instructions and step-by-step illustrations along the way, it’s easy for adults of all skill levels to learn how to crochet this classic style that looks stylish yet comfortable at any time of year. So grab those needles, and let’s get started!
Things to Consider Before Starting
Before you dive into crocheting your mini bucket hat, there are some important considerations to keep in mind.
First and foremost, select the right materials for the job. You’ll need light-weight yarn that is labeled 3 or 4 weight on the label for best results. Any type of acrylic, cotton, wool, or alpaca yarn will do the trick, but make sure that it is at least four inches in diameter. In terms of crochet hook size, a G or H hook would be best for this project.
You should also plan out the size and shape of your mini bucket hat ahead of time, as it can help you better visualize the finished piece and make it easier to map out the pattern. Lastly, consider how you want to embellish your mini bucket hat by choosing fun colors or adding details, such as a flower or pom-pom.
Needed Tools
You’ll need the following tools and materials to get your project started:
- Yarn of your choice
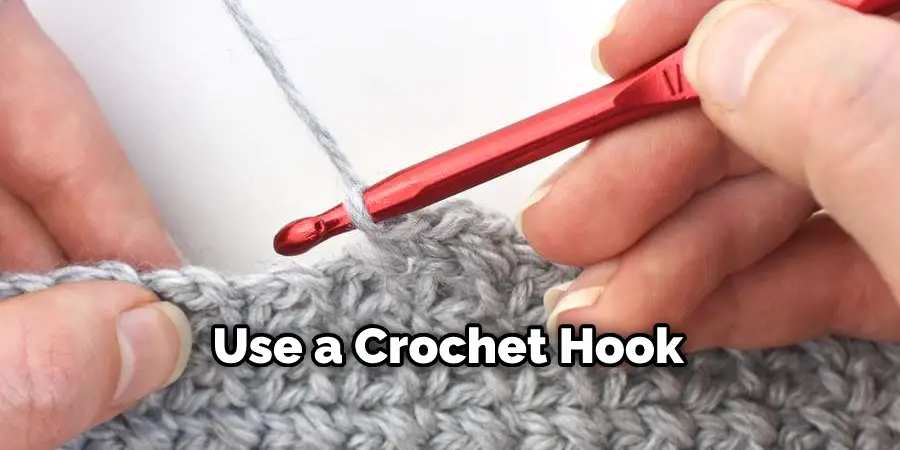
- Crochet hook size H or I
- Scissors
- Tape measure
- Tapestry needle
10 Instructions on How to Crochet a Mini Bucket Hat
- Start by chaining 70 stitches with your yarn and hook. Chain an additional stitch and turn. Turn your work so that the back side is facing you.
- Single crochet in the second chain from your hook, and each chain stitch across. Chain one at the end of your row and turn. Crochet three more rows, making sure to chain one at the end of each row.
- Start your fourth row with a single crochet of three stitches and then make two double crochets in the same stitch, followed by a single crochet into the next stitch. Repeat this pattern across, ending with a single crochet and three stitches.
- Chain one and turn. Single crochet into the next stitch and then make two single crochets in each double crochet from the previous row. Single crochet across and chain one to end your row.
- Repeat this pattern for five more rows, making sure to finish your last row with three single crochets in each stitch.
- Chain three stitches and then make a double crochet in each stitch across the row. Chain one and turn your work.
- Single crochet into the next stitch, followed by two single crochets in the same stitch. Repeat this pattern across and end with three single crochets in each stitch on the last row.
- Chain four stitches and turn your work. Make a double crochet in each stitch across the row and chain one to end your row.
- Single crochet into the next stitch, followed by two single crochets in the same stitch. Repeat this pattern across and chain three at the end of your row.
- Slip the stitch into the first stitch and fasten off. Weave in any loose ends to finish the project, and enjoy your new mini bucket hat!
Now that you know how to crochet a mini bucket hat, why not try it out for yourself? With just a few simple supplies and these directions, you can create an adorable accessory that is sure to become a cherished favorite.
8 Common Mistakes to Avoid
- Crocheting with the wrong yarn weight. When crocheting a mini bucket hat, it’s important to use lightweight yarn. If you choose too heavy of yarn, it won’t create the desired shape and appearance for your hat.
- Skip the gauge swatch. Before you start your project, make sure to create a gauge swatch, so you know how many stitches and rows your yarn requires. This will help you determine if the size of your hat is right for you.
- Not paying attention to pattern instructions. Mini bucket hats may look simple, but they require specific instructions that you need to follow carefully. Give yourself enough time to understand the instructions before starting your project.
- Forgetting to mark increases and decreases. When crocheting a mini bucket hat, you’ll often find yourself increasing and decreasing stitches. As you go, make sure to mark your increases and decreases so that you don’t get lost or confused about where you are in the pattern.
- Using a hook that’s too big or too small. To create the best mini bucket hat, use a crochet hook size that matches your yarn weight. This can help you achieve the right tension and shape for your hat.
- Rushing through the pattern. Crocheting a mini bucket hat requires concentration and patience, so don’t rush through it! Take your time to make sure that you are following all of the instructions correctly and paying attention to detail.
- Not blocking your hat after completion. Blocking is an important step once you’re done with your mini bucket hat. It helps even out your stitches and gives the hat a finished look.
- Forgetting to weave in ends. Don’t forget to weave in all of the loose ends when you’re done with your hat. This helps to secure the stitches and make sure that your mini bucket hat looks perfect from every angle!
By avoiding these common mistakes when crocheting a mini bucket hat, you can ensure that your project turns out just the way you want it to.
Frequently Asked Questions
How Long Will It Take?
Depending on your crochet speed, it should take around 2-3 hours to complete the Mini Bucket Hat. Mini Bucket Hats are great projects to work on as they generally require only a few rounds of pattern, and they can be worked up rather quickly. It depends on your skill level too, if you have more experience crocheting, it will be faster.
Do I Need Special Supplies?
No special supplies are required for a Mini Bucket Hat – all you need is any type of worsted-weight yarn and an appropriate-sized crochet hook. If desired, you can add embellishments like pom-poms or buttons to your Mini Bucket Hat once it is finished.
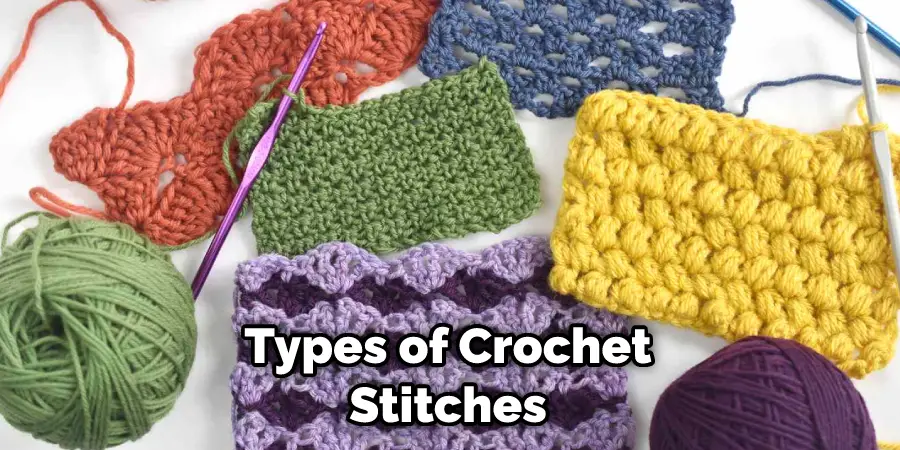
What Types of Stitches Do I Need?
The Mini Bucket Hat only requires a few basic crochet stitches, including single crochet, half double crochet, and slip stitch. If you are new to crocheting, this project can be a great way to learn and practice these stitches. Stitch diagrams are available on many websites and YouTube tutorials.
Can I Make a Mini Bucket Hat in Any Size?
Yes! You can easily customize the size of your Mini Bucket Hat by adjusting the number of stitches you use, or using a different type of yarn. For example, if you want to make the hat bigger, you can use a thicker type of yarn and a larger crochet hook. If you want to make the hat smaller, you can use a thinner type of yarn and a smaller crochet hook.
Do I Need to Make Adjustments for Different Sizes?
Yes, you will need to make some adjustments if you want to change the size of your Mini Bucket Hat. The pattern is written for one size only – but it can easily be adjusted by adding or removing rounds from the original pattern. This can be done by following the instructions for each stitch but using different numbers of stitches and rounds.

Once you have made your adjustments, it is important to measure the circumference and height of the hat to make sure that it fits properly. If needed, you can add or remove more rounds until you are satisfied with the size.
Conclusion
Crafting an aesthetically pleasing mini bucket hat doesn’t have to be difficult. With the step-by-step instructions provided in this blog post, you should be able to craft one with ease. Are you looking for a stylish variation? Why not add stripes or flowers for a personalized touch? As long as you’re following basic crochet guidelines and ensuring that each stitch is evenly tensioned, there’s no limit to the possibilities when it comes to crocheting a mini bucket hat.
And let’s not forget the special feeling of accomplishment that comes after taking the time to complete this unique project. You can proudly show off your new mini headgear and bring some added creativity into your everyday life! So, go ahead and start your next craft adventure—with our tips and tricks on how to crochet a mini bucket hat at hand, you’ll be done before you know it!