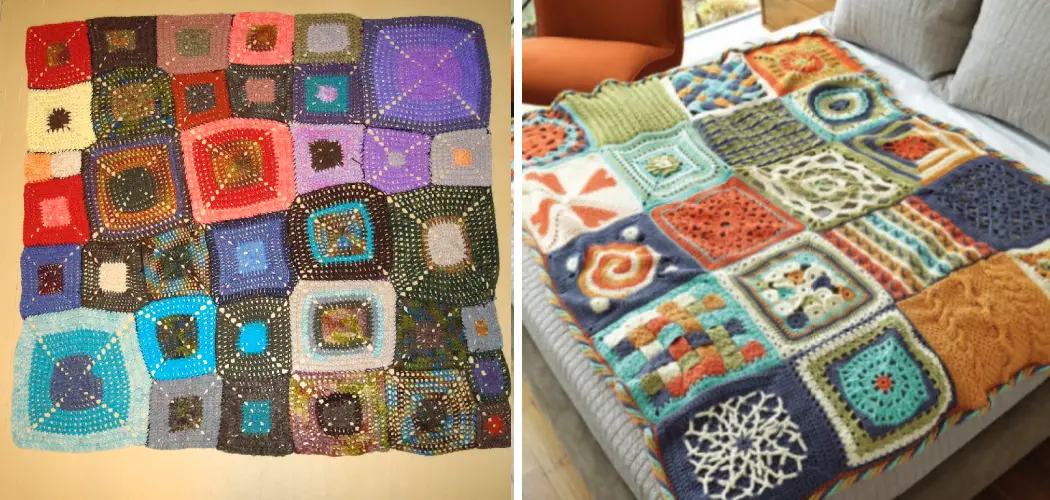
Crocheting is an art form that allows for boundless creativity, and combining it with the concept of incorporating pictures into blankets creates a unique and cherished keepsake. Crocheting a picture into a blanket adds a personal touch, preserving memories or showcasing intricate designs in a cozy and functional piece.
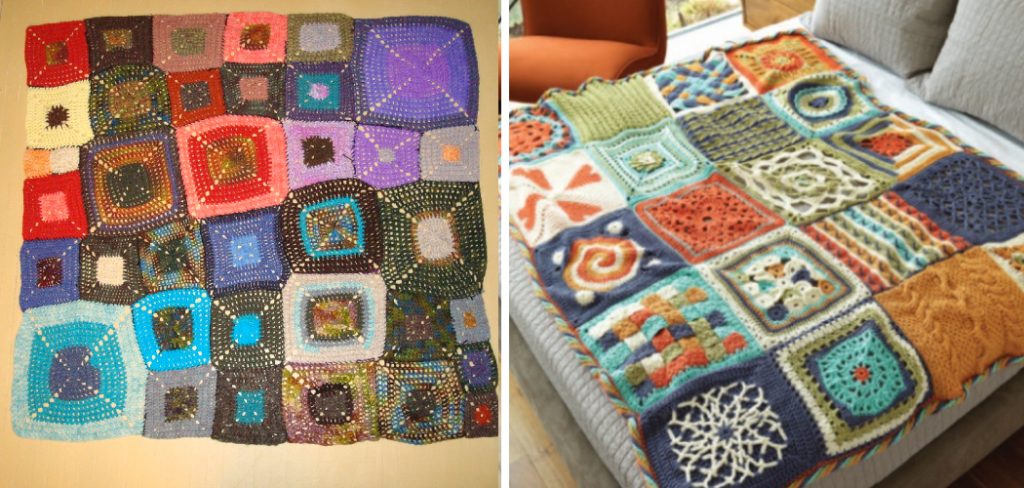
This innovative technique merges the worlds of crafting and storytelling, making each stitch a brushstroke that brings your chosen image to life through yarn. Whether you’re looking to create a personalized gift or capture a moment in time, learning how to crochet a picture into a blanket opens up a world of possibilities.
In this guide, we’ll explore the step-by-step process of transforming a photograph or design into a beautifully crocheted masterpiece that can be treasured for generations to come.
The Unique and Creative Concept of Crocheting a Picture into a Blanket
Crocheting a picture into a blanket is an incredibly unique and creative concept for adding a special touch to any blanket. Not only can you add any image you want, but you can also put your own unique spin on the design. With this method of crocheting, it’s possible to turn your favorite wedding photo or family portrait into a meaningful memory that can be treasured for years.
The process of crocheting a picture into a blanket is not so difficult as it may seem. All you need are some basic supplies, such as yarn, a crochet hook, and your desired image printed on fabric or paper. You will also need a reference chart to follow the pattern of your chosen image. Once you have all the necessary items, you can begin to crochet your picture into a blanket.
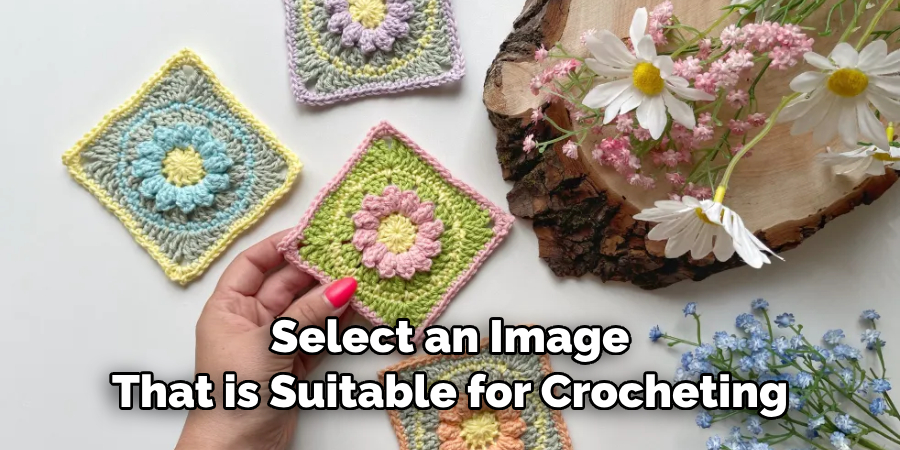
First, you will need to select an image that is suitable for crocheting. Choose something that is simple and easy to recreate in yarn. Consider using a black and white photo or one with basic colors like blue or red. Once you have chosen your image, you will need to transfer it onto a fabric or paper. This will serve as your reference when crocheting the image into the blanket.
Next, you can begin crocheting the actual picture into your blanket. Start by creating a base foundation with single crochet stitches and then move on to the more intricate elements of the design. Consider using slip stitches for finer details like facial features and delicate patterns. Work horizontally across the blanket until the picture is complete, then add a border of single crochet stitches to finish it off.
Importance of Selecting a High-Contrast, Clear, and Well-Defined Image
When choosing a picture or photo to crochet into a blanket, it’s important to select one with high-contrast and well-defined details. This will ensure that the pattern is as clear and easy to recognize when crocheted onto the blanket. Choose an image that has clearly defined outlines of each object in the photo so that each one can be replicated accurately through your crochet work.
For example, photos of a sunset or a beach scene would not be ideal due to the lack of clearly defined objects. However, a picture of a person’s face or landscape with distinct shapes may be better suited for crocheting into a blanket.
Additionally, it’s important that the colors in your image are very vibrant and do not blend too much into each other. Having clear delineations between colors will aid in creating a pattern that is easy to replicate with crochet stitches.
It’s also recommended to select an image with minimal detail if crocheting a blanket as a beginner. It may be tempting to choose an intricate picture with lots of small details, but it can be much more difficult to achieve the same level of detail in the crochet work. Choose a picture with simpler shapes and lines that are easy to recognize and replicate on the blanket.
10 Steps How to Crochet a Picture into a Blanket
Step 1: Choose Your Image
Select a photograph or design that holds personal significance. Keep in mind that intricate images with clear lines and distinct colors work best for this technique. It’s advisable to start with a simple image if you’re new to crocheting pictures.
Step 2: Gather Your Materials
Collect the necessary materials, including yarn in various colors to match the image, a crochet hook suitable for the chosen yarn weight, and a printed or digital graph of your image. The graph will serve as a visual guide for translating the image into crochet stitches.
Step 3: Create a Graph
If your chosen image doesn’t come with a graph, you’ll need to create one. You can do this by using graph paper or digital software that allows you to convert the image into a pixelated version. Each square on the graph represents a single crochet stitch.
Step 4: Choose a Crochet Technique
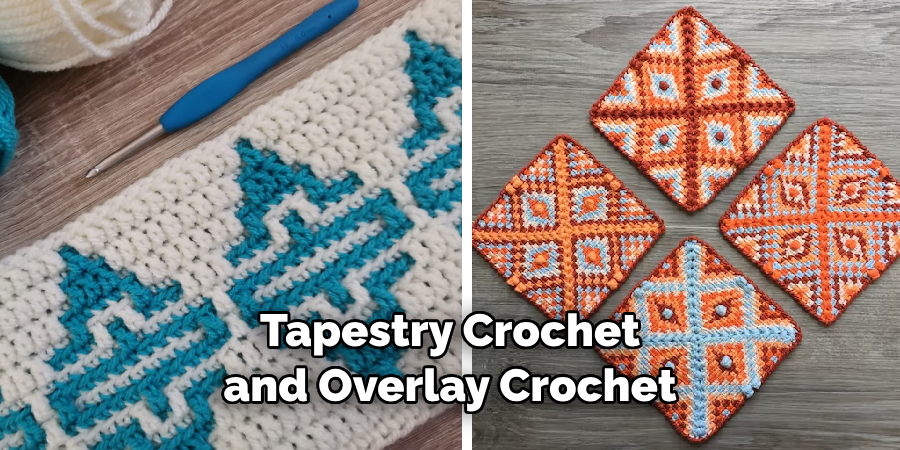
There are two main techniques for crocheting pictures into blankets: tapestry crochet and overlay crochet. Tapestry crochet involves carrying the unused yarn behind the stitches, while overlay crochet uses a base blanket and stitches worked on top to create the image. Choose the technique that suits your skill level and desired outcome.
Step 5: Start Your Base Blanket
Begin crocheting your base blanket using the main color of yarn. This will serve as the background for your picture. The size of the base blanket will depend on the dimensions of your image.
Step 6: Translate the Image
Following your graph, start crocheting the picture onto the base blanket using the appropriate colored yarns. Each square on the graph corresponds to a single crochet stitch. Pay close attention to the placement of colors and stitches to accurately represent the image.
Step 7: Carry Yarn and Change Colors
In tapestry crochet, carry the unused yarn behind your stitches as you switch colors. This will create a clean and neat backside of the blanket. Be cautious not to carry the yarn too tightly, as it could distort the shape of your stitches.
Step 8: Adjust Tension and Gauge
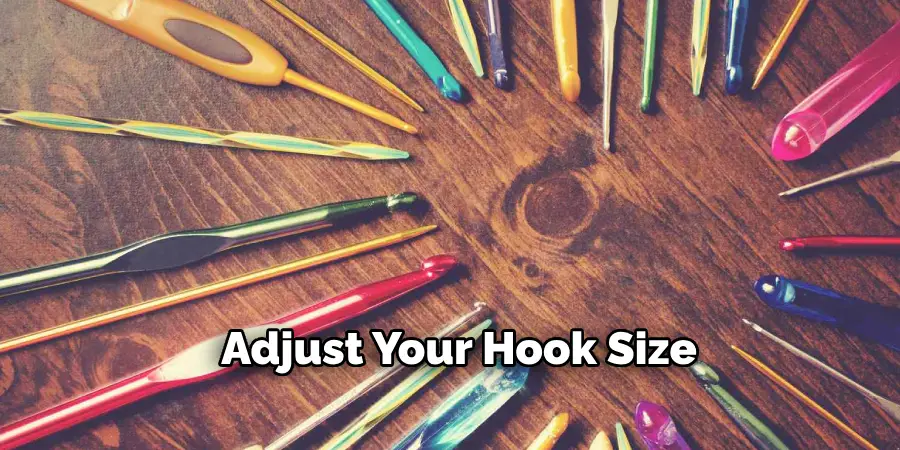
Maintain a consistent tension and gauge throughout the entire process to ensure that your image doesn’t become distorted or uneven. Adjust your hook size if necessary to match the tension of your base blanket.
Step 9: Add Details and Finishing Touches
Incorporate fine details and highlights to enhance the image’s accuracy. This can be achieved by using single crochet, half-double crochet, or other stitches to create shading and dimension.
Step 10: Secure Loose Ends
After completing your picture, weave in any loose yarn ends using a yarn needle to ensure a tidy finish. Once all ends are secured, your crocheted picture blanket is ready to be enjoyed or gifted as a cherished keepsake.
Things to Consider When Crocheting a Picture into a Blanket
When you’re ready to crochet a picture into a blanket, there are a few things to consider.
First, be sure to select the right type of yarn for your project. Choose yarn that is soft and easy to work with. Keep in mind that the colors you choose will affect the overall design of the blanket, so pick your colors carefully!
You will also need to decide on the size of your blanket. If crocheting a large picture, make sure the blanket is big enough to fit it comfortably. You can always add more squares if necessary, but it’s much easier to start with a larger blanket if you know what size your picture will be.
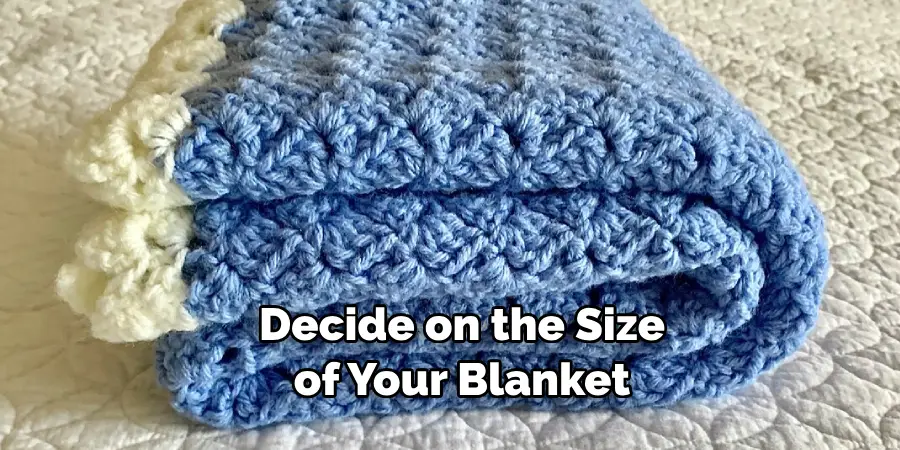
Also consider which type of stitch you will use to create your blanket. Different stitches give different appearances, so try out a few and see which one you prefer for the look of the picture. In addition, if you want to add texture or raised shapes in your picture, choosing a stitch with more height is better.
Finally, before getting started on crocheting your blanket think carefully about how much time and effort you want to put into it. Making a picture blanket is very rewarding, but can take some time and patience. If this will be your first project, choose something simple like a cartoon or abstract design.
No matter what type of picture you choose to crochet into a blanket, the most important thing is to have fun with it! With careful consideration of the type of yarn, size and stitch you choose, your unique crochet blanket will be sure to stand out from the rest.
Conclusion
Crafting is a great way to express your creativity and make something beautiful for yourself or as a gift. With that goal in mind, crocheting images into an afghan or blanket is an amazing project to complete. It’s a rewarding process and the result will undoubtedly make for chic decorations that promise years of warmth and comfort.
Don’t forget to take your time with activities like these, since it’s crucial to ensure proper execution of each stitch. With some practice, patience, and tolerance for mistakes, everybody can learn how to crochet a picture into a blanket. As always, be sure to read through the instructions several times before you start – there may be small details that are easily missed.

