
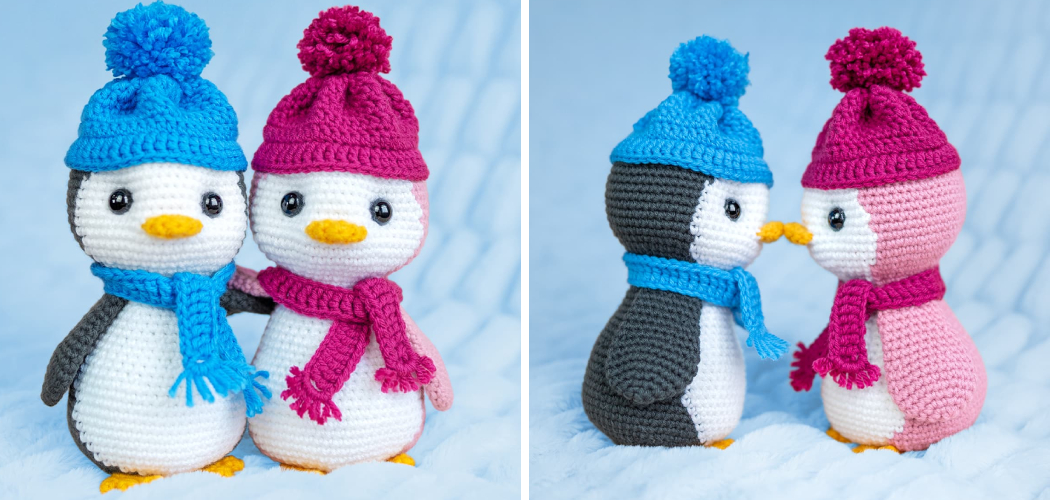
Are you looking for a fun and creative way to beat the winter blues? You must know how to crochet a penguin. If so, why not pick up a crochet hook and start making your very own handmade penguin? Whether it’s your first time attempting to crochet or you’re just in the mood for something new.

Making this cool bird is a great way to make something special that everyone will enjoy. In this blog post, we are going to give you all of the tips and tricks needed to create an adorable little bird with wings! So grab your hooks, and some yarn and let the crafting begin – you’ll soon have a feathered friend that stands out from all others!
Tools You Will Need
- Crochet hook
- Worsted weight yarn (black, white, and the color of your choice for the beak)
- Polyester fiberfill stuffing or scrap yarn.
- Tapestry needle
6 Steps Guide on How to Crochet a Penguin
1. Make a Magic Ring
If you want to learn how to crochet a charming penguin, then all you need is yarn, a crochet hook, and some stuffing! The first step is creating the magic ring – just wrap the yarn around your crochet hook twice, then draw the resulting loop through the front loop on your hook.
Then you’ll chain two stitches so that it forms a ring. You can then start creating your penguin using different crochet techniques. Increase your stitches to form two curves that make up the body of the penguin.

Once you have connected these curves with some single crochets, it’s time for shaping: create a beak and wings by increasing and decreasing stitches as needed, and use rows of single crochets to mark each flipper.
Stuff your beloved creation before closing off the opening and giving them little eyes! With patience and focused attention, you’ll soon have an adorable penguin made from yarn!
2. Make 8 Single Crochet Stitches
You can use your crochet hook to start creating a cute little penguin. To begin crafting, wrap your yarn around your finger to create a loop and then double-stitch the first 8 single crochet stitches into the loop.
Now you have the foundational 8 stitches that will form the body of your penguin. Make sure each stitch is correctly placed by counting them off until you have all 8. You can then continue with other steps to build your unique little bird!
3. Increase in Every Stitch
Crocheting a penguin is a fun and rewarding experience! To achieve it, you’ll need to start by increasing your stitch count – using any stitch of your choice, increase the number of stitches by 16. This will give you the base to build upon in crafting your not-so-waddling friend.
Once you’ve laid down the groundwork, you can continue stitching and shaping until the cutie before you resemble an actual penguin. Don’t forget to stuff it with love (and yarn!) as well to add some extra hugs and cuddles.
As long as you follow these basics, there’s no limit to what kind of variations of designs you can craft- so go ahead, have fun with it!
4. Make 4 More Rounds of Single Crochet
Crocheting a penguin can be a fun and thoughtful gift for the special person in your life. To create this soft and cuddly creation, it is necessary to make four more rounds of single crochet, each with an increased number of stitches. Start with a base of twenty stitches, followed by rounds of twenty-four, twenty-eight, and thirty-two stitches respectively.
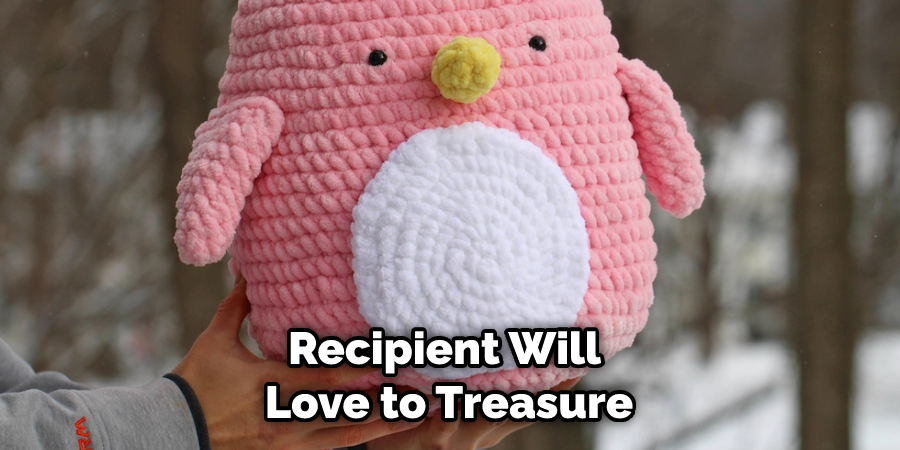
After these four rounds are complete you will have the foundation on which to craft an adorable penguin amigurumi that your recipient will love to treasure. Be sure to use the appropriate yarn weight and complementary colors to ensure the best result possible. Happy crocheting!
5. Make Decreases for the Next 3 Rounds
As you come to the end of your crochet project and begin to shape it into a penguin, the next few rounds of instructions will involve decreasing your stitch count. For every round, take one stitch away until you have completed three consecutive rounds that each include a decrease.
To ensure accuracy, add stitch markers so that you don’t miss any decreases. Doing this will gradually narrow your work, allowing you to craft the beak and head of your much-anticipated penguin.
6. Fasten Off With a Long Tail for Sewing
To finish your project, the last round requires a single crochet decrease in every other stitch – 16 stitches.
The importance of fastening off with a long tail for sewing cannot be overstated. After completing the decreases, weave in all ends, then grab the long tail you left earlier.
Gently gather two crocheted pieces around it and start sewing them together to create your stuffed penguin! Once complete, your soft and huggable creation will bring joy and warmth wherever it goes!
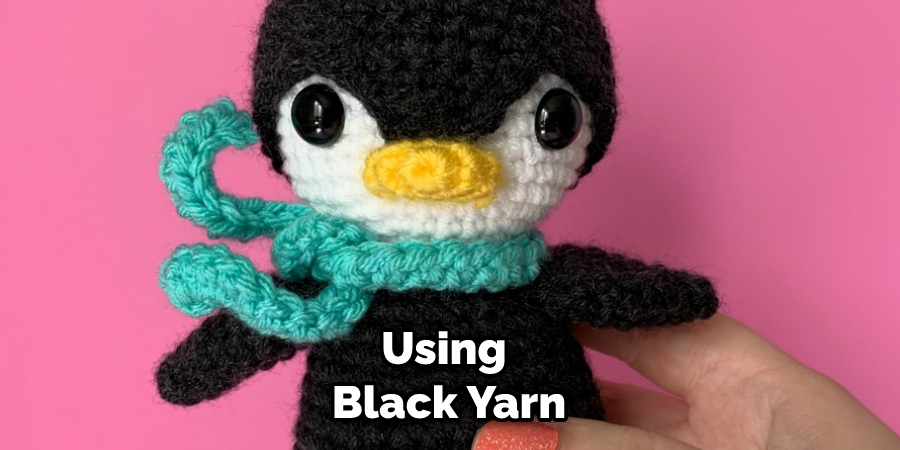
Using black yarn, create the wings by making 2 half circles with 8 single crochet stitches each. Sew them onto the body using a tapestry needle.
Tips to Crochet a Penguin
- Choose the right yarn. The type of yarn you use will affect the finished product, so it’s important to choose wisely. For a penguin, you’ll want to use a worsted-weight yarn in a light color. Avoid using black yarn, as it can be difficult to see the stitches.
- Choose the right size hook. The size of the crochet hook you use will also affect the finished product. A smaller hook will result in a smaller penguin, while a larger hook will result in a larger penguin. Use a size G or H hook for this project.
- Start with a magic ring. To start, you’ll need to make a magic ring. This is simply a loop of yarn that you’ll pull tight to create an opening in the center. To make a magic ring, wrap the yarn around your index finger and then insert the hook into the center of the loop. Draw up a loop of yarn and then pull the end of the yarn to tighten the loop around the base of your finger.
- Crochet six single crochet stitches into the ring. Once you have your magic ring, you’ll need to crochet six single crochet stitches into it. To do this, insert your hook into the center of the ring and then draw up a loop of yarn. Yarn over and pull through both loops on your turn to complete one single crochet stitch. Repeat this five more times for a total of six stitches.
- Join with a slip stitch and chain one. After crocheting your six stitches, join with a slip stitch and then chain one stitch. This will create an opening that you’ll work into in the next round.
- Crochet two single crochet stitches into each stitch around. In this round, you’ll need to crochet two single crochet stitches into each stitch around. To do this, insert your hook into the first stitch and then draw up a loop of yarn. Yarn over and pull through both loops on your turn to complete one single crochet stitch. Insert your hook into the same stitch again and repeat the process for a total of two stitches in that one stitch.
How to Create a Cuddly Penguin with Your Own Two Hands?
Creating the perfect cuddly penguin is easier said than done. The first step to building your personal friend is to gather all of the necessary supplies, such as stuffing, fabric, black felt, and thread. Next, you will need to make a pattern out of some sturdy paper or card stock.
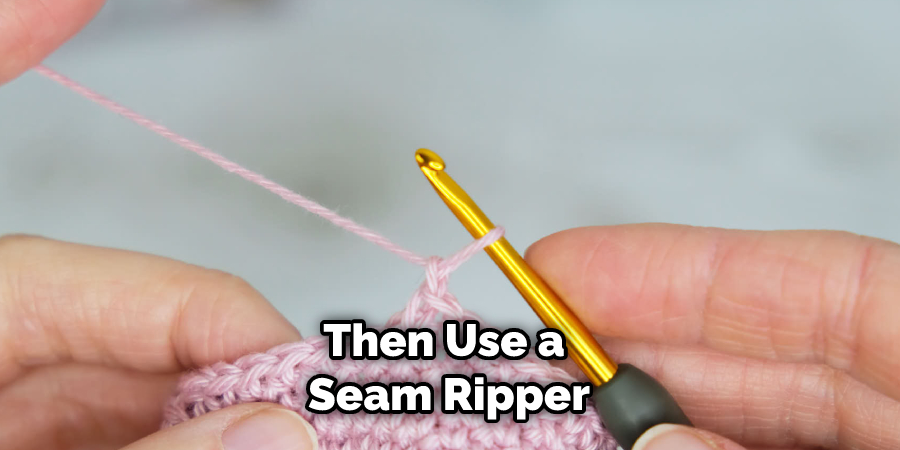
This includes two main body parts and wings that are cut the same. Once your pattern has been made it is time to trace it onto fabric and then use a seam ripper or scissors to cut it out of the material.
To finish up strong the last steps are sewing together all pieces, adding stuffing, stitching on eyes and beak, and finally accenting with some additional decorations such as felt feathers or embroidery design. After following these simple instructions, you will quickly achieve that perfect cuddly penguin!
How to Make the Perfect Penguin from Yarn and a Crochet Hook?
Creating a penguin with just yarn and a crochet hook is surprisingly easy. All you need is two colors of yarn, preferably one light-colored and one dark-colored, plus a size 8 crochet hook.
Start by making the head; this can be done by simply crocheting in circles around the starting point until it reaches the desired size. Next, crochet two small oval shapes for feet and finish off with two round eyes. After that, it’s time to make the body which can be achieved by making continuous rounds until it reaches the length you’d like.
Make sure to stuff the body tightly with fiberfill before sewing on the head and feet! Finally, create a couple of wings from half-circle shapes and attach them under each side of the head for an added pop of personality. Congratulations – you’ve now made your very own unique penguin!
How to Craft an Unforgettable Soft Toy for Kids?
Making a soft toy that is truly unforgettable is not a difficult task, you just need to make sure your toy has the right combination of personality, creativity, and playfulness. To start, think of what type of toy your child might like – whether it be an animal, a mythical creature, or even something inspired by their favorite TV character.
Once you have chosen the type of soft toy you can start designing! Think about details like color schemes, fabrics, and extra elements such as buttons or charms to personalize the look.
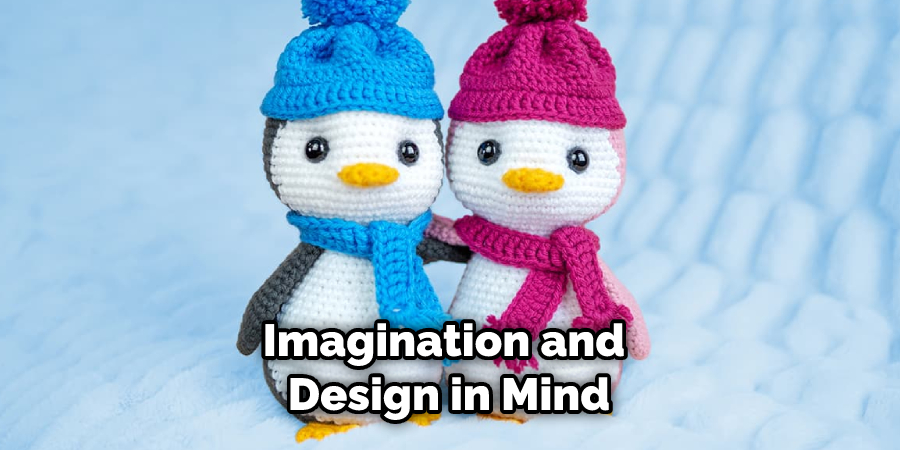
Finally, don’t forget to make sure the toy is secure for use and keep any removable parts small enough so your kids won’t swallow them. With a bit of imagination and design in mind, you can craft an unforgettable soft toy that will bring a smile to your little one’s face!
Conclusion
Now that you know how to crochet a penguin, it’s time to get creative! Try adding your personal touch to your new crochet toy. Whether you make a whole family of penguins or just one, these amigurumi animals are sure to bring smiles and warmth to everyone who sees them. Thanks for reading and happy crocheting!