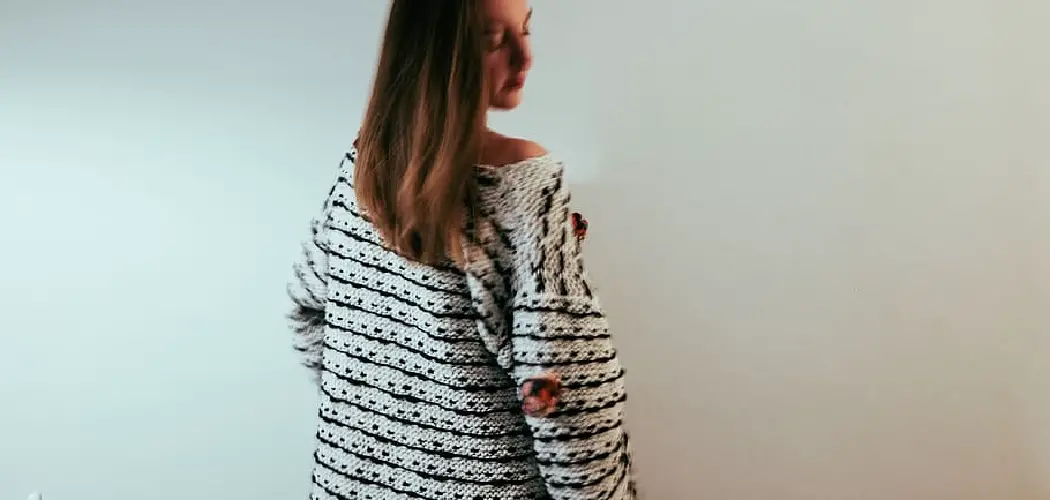
Crocheting a neckline on a sweater is a great way to add your own personal touch to your clothing. It allows you to create unique, one-of-a-kind pieces that are not only stylish but also reflect your individuality and creativity. Moreover, crocheting a neckline on a sweater provides endless possibilities for customization. You can choose from various crochet stitches, patterns, and colors to achieve the desired style and design.
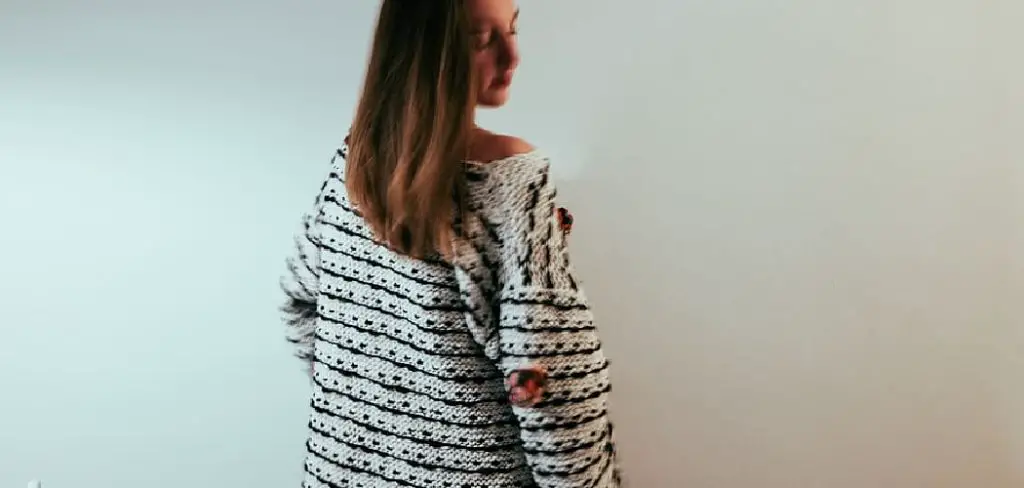
The main advantage of learning to crochet a neckline on a sweater is the ability to create customized and unique pieces that stand out from store-bought clothing. By incorporating your own crocheted neckline, you can transform a plain and simple sweater into a fashion statement. In this blog post, You will learn in detail how to crochet a neckline on a sweater.
Step by Step Processes for How to Crochet a Neckline on a Sweater
Step 1: Inspect the Sweater
Before you start crocheting, it’s important to inspect your sweater and make sure there are no holes, tears or other damages that may affect the neckline. If there are any issues, it’s best to address them before starting the crochet process.
Step 2: Choose Your Yarn
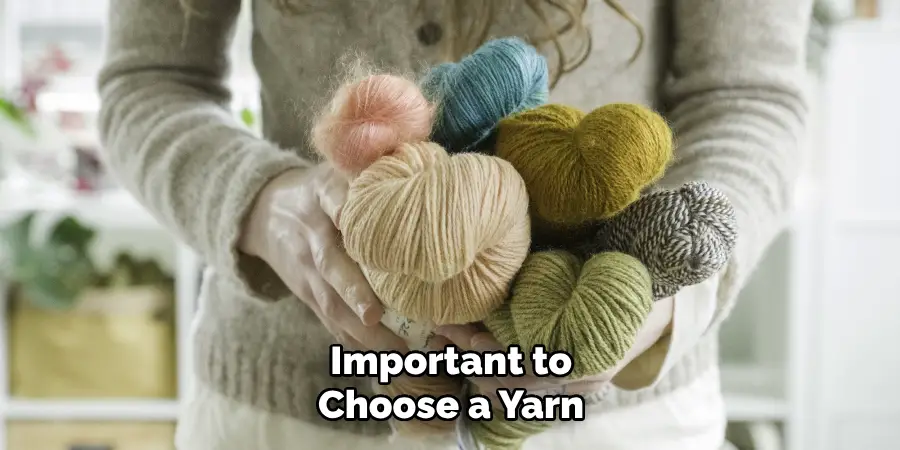
When choosing a yarn for your neckline, consider the weight and texture of the yarn. A heavier weight yarn will create a sturdier neckline, while a lighter weight yarn will result in a more delicate look. Also, think about the color and how it will complement your sweater.
Step 3: Determine Neckline Design
Decide on the type of neckline you want for your sweater. This could include a round neckline, V-neck, boatneck, or even a cowl neck. Consider the style of your sweater and what type of neckline would best suit it. Using a measuring tape, measure the circumference of your desired neckline. This will help you determine how many stitches you will need to create in order to reach the desired size.
Step 4: Create Foundation Chain
Using a crochet hook that is appropriate for your chosen yarn, create a foundation chain with the desired number of stitches. This will serve as the base for your neckline. Choose a stitch pattern that you want to use for your neckline. This could include single crochet, double crochet, or any other stitch pattern of your choice. Work in this pattern until you reach the desired height for your neckline.
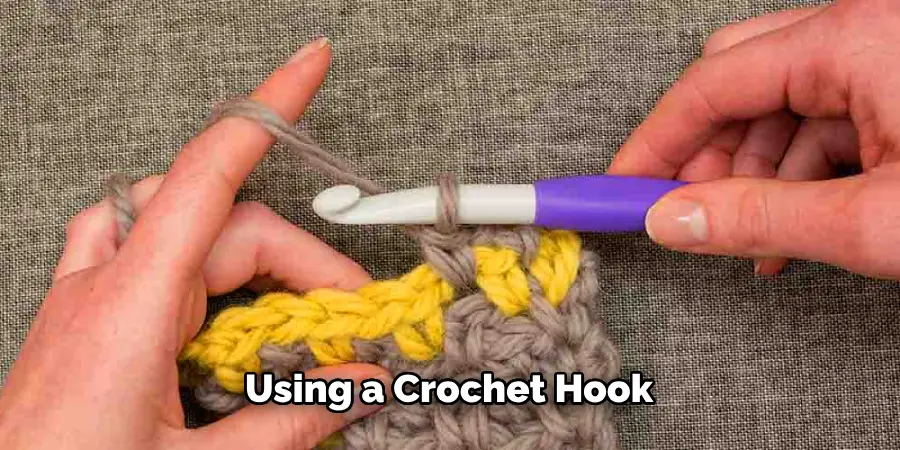
Step 5: Create Neckline Shaping
If you want a more fitted neckline, you can create shaping by increasing or decreasing stitches along the edges of your work. This will give your neckline a more tailored look. Once you have reached the desired height and shaping for your neckline, you can join the edges together to create a seamless finish. This can be done by slip stitching or sewing the edges together.
Step 6: Add Embellishments (optional)
To add a personal touch to your neckline, you can choose to add embellishments such as buttons, beads, or embroidery. This is a great way to make your sweater unique and add some extra flair.
Once your neckline is complete, you can seamlessly incorporate it into your sweater by sewing or slip stitching it onto the existing neckline. This will give your sweater a professional finish and ensure that your new crochet neckline stays in place.
By following these simple steps, you can easily crochet a neckline on your sweater and give it a whole new look. With endless possibilities for designs and styles, crocheting your own neckline is a fun and creative way to personalize your clothing.
Precautions for How to Crochet a Neckline on a Sweater
- Use stitch markers to keep track of your progress and ensure your neckline is symmetrical on both sides.
- Always use sharp scissors when cutting yarn or fabric to avoid any accidents or injuries.
- Before starting, make sure you have enough yarn to complete the project. This will save you from having to join more yarn in the middle of crocheting the neckline.
- Take frequent breaks to avoid straining your hands and wrists. Crocheting can be a repetitive activity, so it’s important to give yourself a break every now and then.
- If using a pattern, read through the instructions carefully before starting. This will help you understand the construction of the neckline and prevent any mistakes.
- Use proper lighting when working on your crochet project. Poor lighting can cause eye strain and make it difficult to see your stitches clearly.
- If you are new to crocheting, consider seeking guidance from a more experienced crocheter. They can provide helpful tips and techniques for creating a neckline, as well as answer any questions you may have.
Crocheting a neckline on a sweater can be a fun and rewarding project, but it’s important to also prioritize safety. By following these precautions, you can ensure a smooth and accident-free crocheting experience. Remember to always be mindful of your surroundings, take breaks when needed, and seek help if necessary.
Are There Any Special Techniques or Tips for Creating a Clean and Smooth Neckline?
There are a few techniques and tips that can help you achieve a clean and smooth neckline in your sewing projects. Here are some of them:
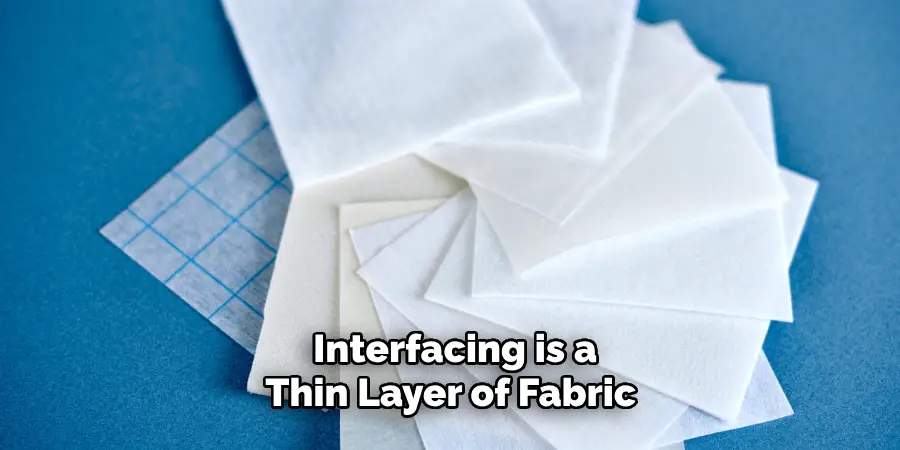
- Use Interfacing: Interfacing is a thin layer of fabric that is used to give stability and structure to the fabric. It can be fused or sewn onto the wrong side of the neckline fabric before stitching, which helps prevent the fabric from stretching and keeps the neckline in shape.
- Clip or Notch Curves: Curved necklines can be tricky to sew, but clipping or notching the seam allowances can help eliminate bulk and create a smoother curve. This technique is especially useful for fabrics that tend to fray easily.
- Understitch the Facing: Understitching is when you stitch the facing or lining to the seam allowance, keeping it in place and preventing it from rolling outwards. This technique helps create a clean and smooth edge along the neckline.
- Use Stay Tape: Stay tape is another type of stabilizing material that can be used to keep necklines from stretching. It’s typically applied on the wrong side of the fabric before stitching, similar to interfacing.
- Press Carefully: Proper pressing is crucial for achieving a clean neckline. Use a pressing cloth and press on the wrong side of the fabric to avoid any shine marks or creases on the right side.
- Trim Excess Fabric: After stitching, trim away any excess fabric from seam allowances, especially in curved areas. This will reduce bulk and help the neckline lay flat.
It’s also important to choose the right fabric for your neckline. Fabrics that are lightweight and have some drape, such as cotton lawn or silk crepe de chine, tend to be easier to work with and create a cleaner neckline compared to stiff and heavy fabrics.
Are There Any Common Mistakes to Avoid When Crocheting a Neckline on a Sweater?
When it comes to crocheting a neckline on a sweater, there are certain mistakes that can easily be made. To avoid these mistakes and ensure a clean, professional finish, here is a step-by-step guide.
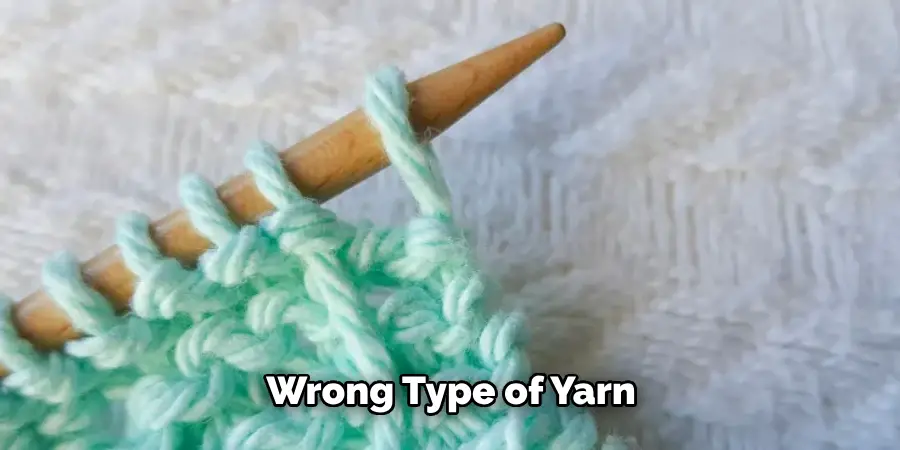
- Choose the Right Yarn: The first mistake many beginners make is choosing the wrong type of yarn for their project. For crocheting necklines on sweaters, it is important to choose a yarn that is soft and not too bulky. Yarns made from natural fibers such as cotton or wool are ideal for this type of project.
- Measure Accurately: Before beginning your neckline, make sure to measure the circumference of the neck opening on your sweater. This will ensure that you create a neckline that fits snugly without being too loose or too tight.
- Mark the Center: Once you have measured the circumference, mark the center point of your neckline with a stitch marker or a piece of contrasting yarn. This will serve as a guide for creating symmetrical decreases on either side of the neckline.
- Determine the Desired Depth: Depending on your personal preference, decide on how deep you want your neckline to be. This will determine the number of rows you will need to work before starting the decreases.
- Start With a Firm Foundation: Begin by creating a row of single crochet stitches around the neck opening. This will serve as a strong and stable foundation for your neckline.
- Create Decreases: To shape your neckline, you will need to create decreases on both sides of the center point. This can be done by working single crochet decreases or double crochet decreases, depending on the desired effect.
- Check for Symmetry: As you work your decreases, it is important to continuously check for symmetry between both sides of the neckline. This will ensure a clean and balanced finish.
- Finish With a Neat Edge: Once you have completed all of your decreases, finish off the neckline with a row of slip stitches for a neat and tidy edge.
- Block if Necessary: If your sweater is made from natural fibers, you may want to block your neckline to achieve an even smoother and more professional look.
- Practice Makes Perfect: The most important tip when it comes to crocheting necklines on sweaters is to practice. As with any new technique, it may take a few attempts to perfect your skills, but with practice, you will be able to create beautiful and flawless necklines on all of your sweaters. So don’t get discouraged if your first attempt isn’t perfect – keep practicing and you will see improvement over time.
By following these steps and avoiding common mistakes, you can confidently crochet a neckline on any sweater with ease. Remember to choose the right yarn, measure accurately, mark the center, determine desired depth, create a firm foundation, check for symmetry, finish with a neat edge, and practice until you achieve the perfect neckline.
Conclusion
In conclusion, crocheting a neckline on a sweater is not as complicated as it may seem. With the right materials, tools and techniques, anyone can create a beautiful and unique neckline design that will elevate their sweater game.
One important tip to keep in mind when crocheting a neckline is to always start with a smaller hook size than what you would use for the body of the sweater. This will help create a tighter and more defined neckline.
It is also important to take your time and work slowly when crocheting a neckline, as it requires precision and attention to detail. Don’t be afraid to unravel and redo a few rows if necessary, as the end result will be worth it. Lastly, have fun with your neckline design and don’t be afraid to let your creativity shine.
Crocheting is a form of art, so embrace your individual style and make your sweater truly unique. I hope this article has been beneficial for learning how to crochet a neckline on a sweater. Make Sure the precautionary measures are followed chronologically.

