
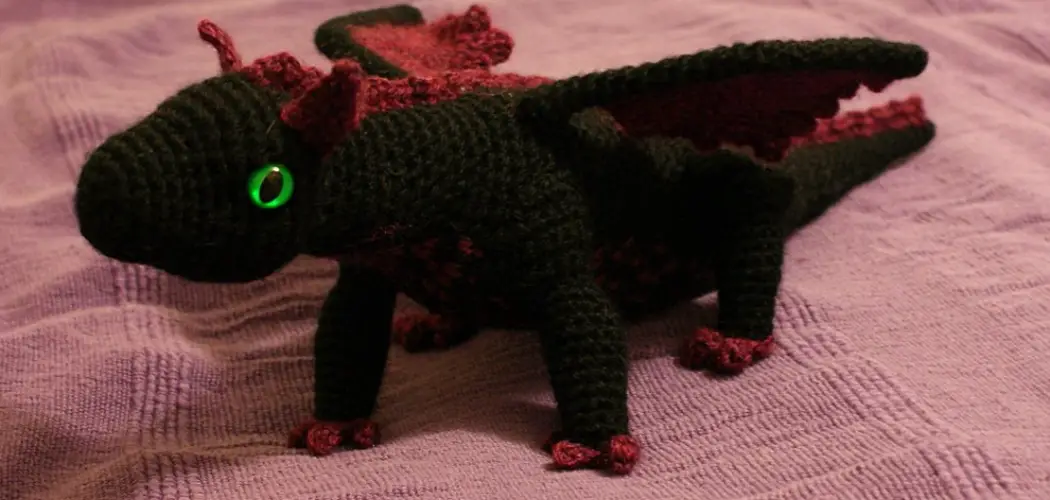
Are you interested in mastering the art of crochet and creating something unique? If the answer is yes, then creating a dragon could be the perfect project for you!
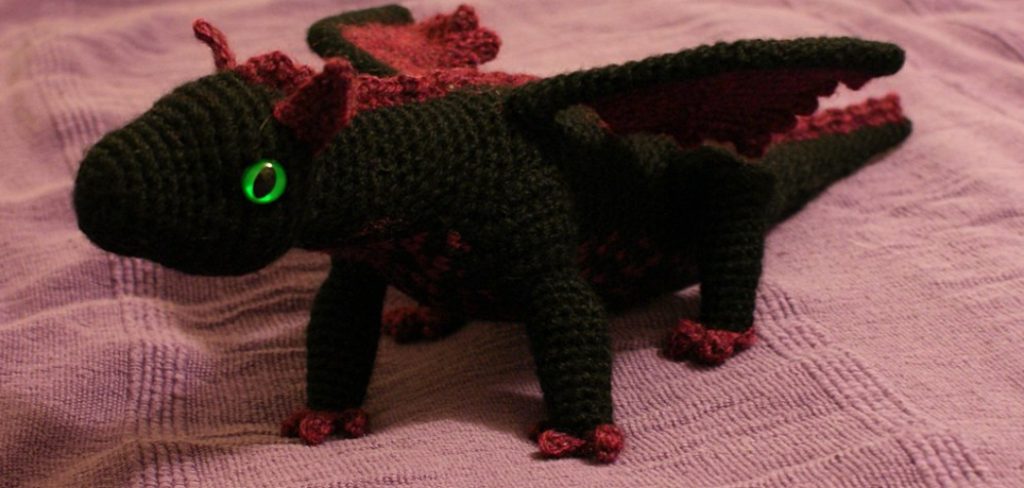
Crocheting a dragon may seem intimidating for someone who has just started learning how to crochet, but with this blog post, we are here to show that anyone can make their own crocheted dragon. Even better, dragons provide much-needed whimsical decor to any home or dedicated area. They look great when hung from walls and shelves and are even used as accents on blankets or bags!
In this blog post, we’ll go over all the basics of how to crochet a dragon for beginners – from choosing the right materials and supplies, going through each step of crocheting your project, and adding details like wings and horns up to finish off the piece. So roll up your sleeves and get ready!
What Will You Need?
Before you start crocheting your dragon, you must ensure you have the right materials and supplies. Here is what you should gather before beginning:
- Yarn: You will be using yarn to crochet your dragon. Pick a color that suits your design!
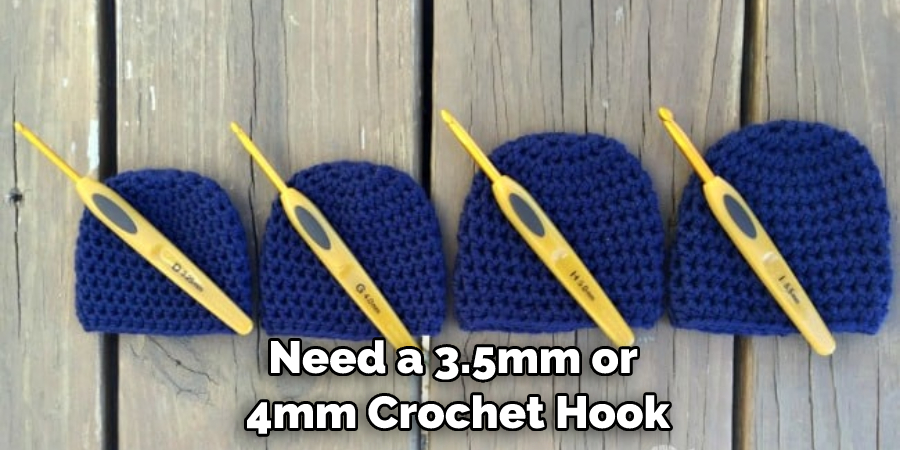
- A crochet Hook: Depending on how thick or thin your yarn is, you will need a 3.5mm or 4mm crochet hook.
- Needles: You will also need a needle to sew in any loose ends and attach pieces of the dragon together.
- Stuffing Materials: You’ll need something to stuff your dragon that makes it look “fluffy,” such as cotton batting or stuffing foam.
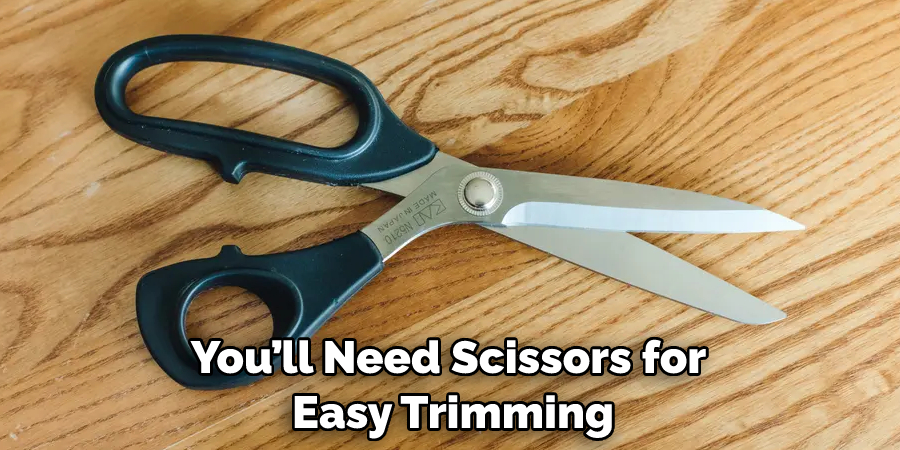
- Scissors: To cut off the yarn after each stitch, you’ll need scissors for easy trimming!
- Optional Embellishments: If desired, you can add wings, horns, and other decorations to make your dragon unique!
Now that you have all the materials ready to go, you can start crocheting your dragon!
10 Easy Steps on How to Crochet a Dragon for Beginners
Step 1. Make a Chain:
Start by creating a tight chain of the desired length. You can use single crochet stitches for this step. Be careful not to make it too tight, as the chain will be how you form your dragon’s body. If you need help on how to make a chain, check out our blog post on how to make crochet chains!
Step 3. Create the Body:
Now you can use single crochet stitches to start forming your dragon’s body. Leave enough room for stuffing in each row so that your rows don’t become too tight as you stitch. Don’t forget to stuff the body as you go!
Step 4. Stuff Your Dragon:
Once you have reached the desired length and shape of your dragon’s body, begin stuffing it with batting or foam until it is nice and full! You can add additional stuffing for wings and other details.
Step 5: Attach the Tail and Head:
You can crochet a chain and attach it to the body to create your dragon’s tail. For the head, you will need to create two small balls for each side of the head and sew them together. Once sewn, attach them to either end of the dragon’s body with your needle.
Step 6: Add Details like Wings, Horns, and Feet:
For additional details like wings, horns, or feet – use a patterned stitch such as half-double crochet to create shapes that can be attached to your dragon. Sew in any loose ends as necessary! Ensure that all of your pieces are securely attached.
Step 7: Attach Embellishments (optional):
If desired, embellishments like googly eyes or sequins can be added to your dragon’s face. Sew them into place, and voila, you have a beautiful, customized dragon! Additionally, you can use glue or felt to create 3-D features.
Step 8: Finishing Off the Dragon:
Once your dragon is complete with all of its details, finish it off by securing any loose ends. You can do this by weaving in all of the tails that are left over from sewing together pieces and making sure everything is securely sewn in place. There you have it – your dragon is complete!
Step 9: Attach Accessories (optional):
You can also add accessories such as wings or horns to your dragon for an extra touch of whimsy. Attach these pieces using small stitches with yarn, so they stay secure. Don’t forget to have fun and customize your dragon!
Step 10: Give Your Dragon Some Love!
Now that you’ve finished crocheting your dragon, it’s time to give it some love. Show off your beautiful creation and enjoy how awesome you now look with a dragon on your shoulder! Remember to take care of your dragon and keep it safe.
Congratulations, you’ve just created a dragon of your very own! Whether you are a beginner or an experienced crocheter, this is a great project that anyone can enjoy. Have fun, and don’t forget to take lots of pictures along the way!
5 Additional Tips and Tricks
- Gather all the supplies you need before starting. This includes yarn, a crochet hook, stuffing, scissors, and any other items necessary to complete the project.
- Start by creating the dragon’s body first and then build on it from there. This will help ensure each component of the dragon is proportional and looks how you want it to.
- When stitching the pieces together, use a sturdy yarn like a cotton blend, so the seams remain secure.
- Use stuffing to add shape and texture to your dragon but don’t overstuff it. Too much stuffing can make the dragon look lumpy and even cause it to misshapen.
- Have fun with your project! Feel free to get creative and make your dragon unique by adding stripes, spots, or other decorations.

With a little bit of creativity and patience, you’ll have a dragon of your own in no time!
5 Things You Should Avoid
- Don’t be intimidated by how complicated the dragon may look. It is actually a relatively easy pattern to follow, and once you understand how to crochet, you can easily make your very own dragon.
- Don’t try to rush the process. Crocheting a dragon may take some time, so remember to be patient when working on the project.
- Don’t use too big of a hook. Bigger hooks can cause your stitches to become loose and sloppy, making it harder for you to complete the pattern correctly.
- Don’t forget how important it is to keep track of how many stitches you have worked into a row or round. This will help ensure that your dragon looks symmetrical and even in the end.
- Don’t forget how important it is to add stuffing as you go along with your crochet work – this will ensure your dragon looks full and fluffy! Additionally, don’t forget how vital it is to tie off all ends securely after you’re done so that your dragon lasts you a long time.
Good luck with your dragon-crocheting journey! With these tips in mind and a bit of practice, you’ll be able to create your own amazing crochet dragons! Have fun!
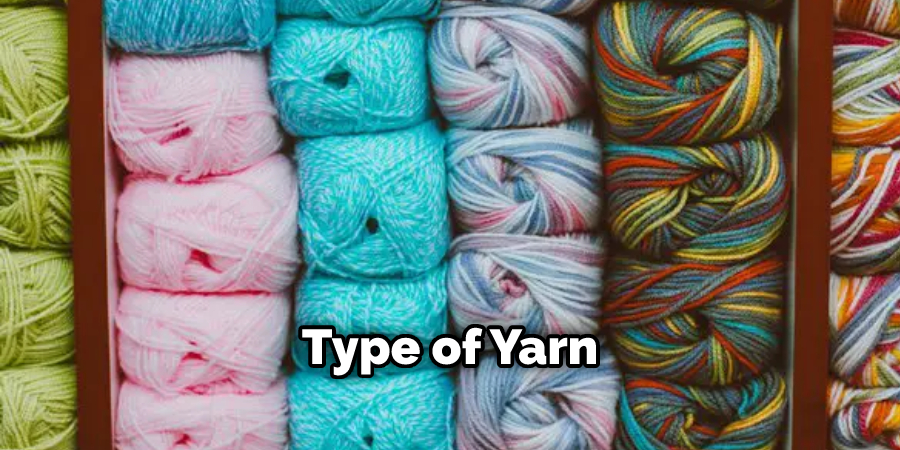
What Type of Yarn Is Best For Crocheting A Dragon?
The type of yarn you use for crocheting a dragon will depend on how durable and stiff or soft you want your dragon to be.
Acrylic, wool, and cotton blends are all great options for making dragons due to their ability to hold shape well.
Additionally, using variegated yarns can add color and texture to the dragon’s scales. If you’re looking for something extra special, consider using metallic or sparkly thread for some of the details.
Moreover, be sure to use the right-sized hook for your yarn, as using a smaller hook can cause your stitches to be too tight and increase how long it will take you to finish the project. With all these tips in mind, you’re ready to start crocheting your dragon!
No matter what type of yarn you choose, ensure it is strong enough to securely hold the design together when stuffed. Have fun experimenting with different textures and colors!
Conclusion
Crafting a dragon can be a very rewarding experience. With a bit of patience, creativity, and determination, you can create an impressive creature from start to finish. While individual results may vary, the tips provided in this guide should provide you with the foundational knowledge you need to create your own crochet dragon. Don’t forget to show off your project – it will impress you! Many other tutorials are available that provide helpful information if you find yourself stuck or need some inspiration.
Whether it’s your first time crafting or one of many, this guide should help make creating your own dragon as stress-free and enjoyable as possible. So grab some yarn and let’s begin – it’s time to bring these mythical creatures into the real world!
Hopefully, this guide on how to crochet a dragon for beginners has left you feeling confident and inspired to crochet your own dragon. Good luck!