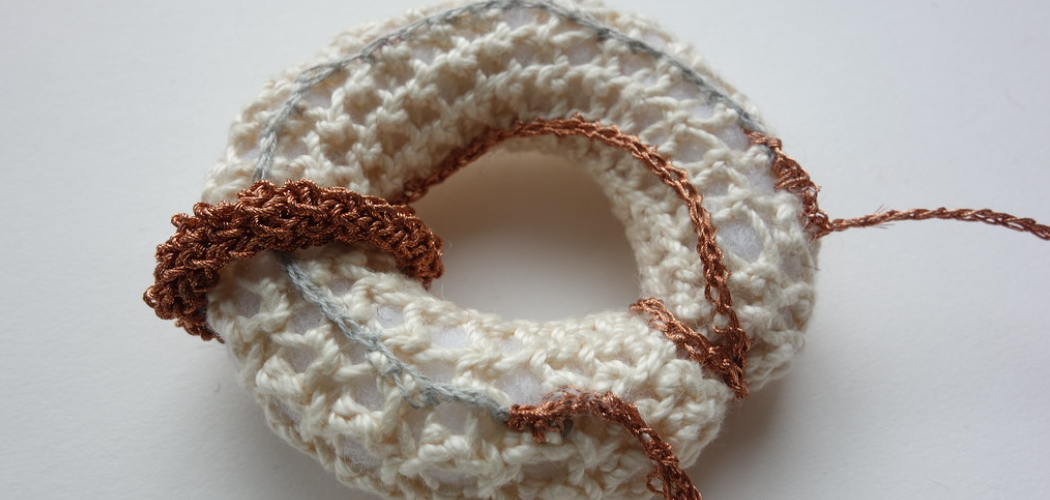
Are you looking for a fun and creative new way to design some colorful creations? Have you been wanting to try something different than the classic knitting projects? Look no further! Crochet is an amazing crafting technique that allows for both convenience and creativity – and with just a few simple steps, you can make your own cozy donut in no time at all!
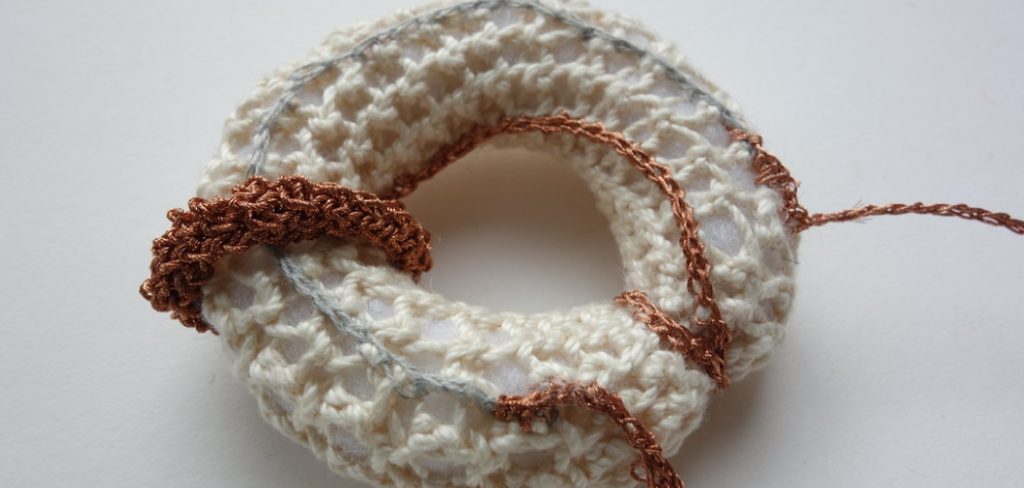
In this blog post, we’ll tell you on how to crochet a donut and everything from getting the materials needed to completing your very own unique donut. Whether you’re brand new to crochet or have been honing your skills for years, this project will be sure to give even experienced hands a chance to flex their muscles! So what are we waiting for? Let’s get crocheting!
Why You Should Love to Crochet a Donut?
1. Crocheting a donut is a great way to get creative, as there are so many varieties of color, materials and textures that can be used to customize your donut!
2. Donuts make for fun decorations and gifts in any room or occasion. Plus, they’re easy to create; all you need is yarn and basic crochet techniques.
3. Crocheting a donut can be both therapeutic and rewarding, as you watch your creation come to life through the colorful yarn!
4. You can also make multiple donuts quickly due to its simple design, so you’ll have plenty of time to experiment with different colors, designs and materials in order to make your donut unique.
5. Donuts are a great craft project for beginners, as it is one of the easiest crochet patterns to learn.
Materials Needed for Crocheting Donut
- Yarn of your choice (for the donut base)
- Crochet hook
- Tapestry needle
- Polyester fiberfill
- Scissors and/or pinking shears (for trimming edges)
- Embroidery floss, fabric paint, and/or craft eyes (optional)
Detailed Instructions on How to Crochet a Donut
1. Choosing Yarn
Start by choosing the yarn and crochet hook size you want to use. The yarn should be of a medium weight or lighter, while the hook size will depend on how tightly you like your stitches (generally F-5/3.75mm is good for beginners). Never start a project with someone else’s crochet hook, as it won’t be the same size and gauge.
2. Making the Chain Stitches
Crochet a chain of 5 stitches loosely and join it with a slip stitch to make a loop. Make sure not to twist the chain when joining it together. Remember the number of stitches used in the chain will determine the size of your donut. When working with the chain, make sure to handle it gently and not pull too tight.
3. Forming the Center Ring
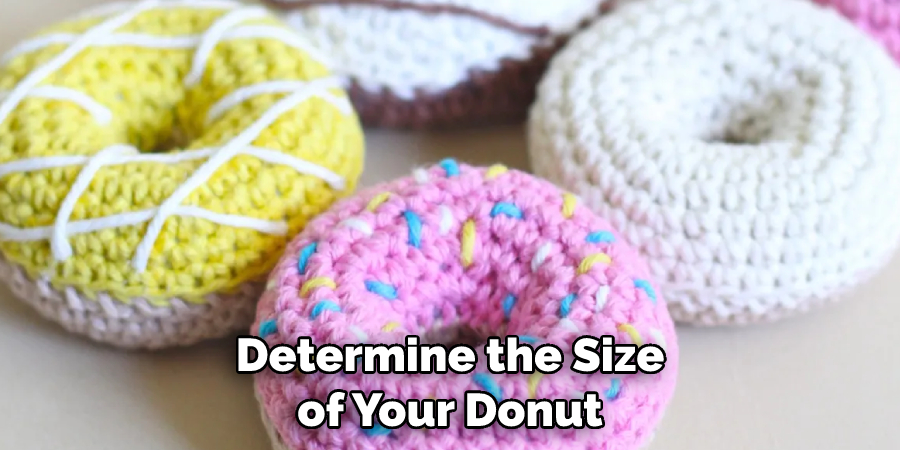
Now you’ll need to form the center ring of your donut shape. To do this, crochet 7 single crochet stitches into the center of the loop you created in Step 2. Don’t forget to slip stitch into the beginning when you finish your last stitch.
4. Forming the Donut Wall
To make a wall around your donut, crochet two single crochets into each of the 7 single crochet stitches you created in Step 3, for a total of 14 single crochets around. Join with a slip stitch in the first stitch. Whichever stitch you join with will be the one you need to crochet 2 single crochets into in the following round.
5. Making Single Crochet Stitches
Single crochet 8 stitches around the loop you just made. You should now have 9 single crochet stitches total, including the one on your hook. To finish off this round, join it with a slip stitch to the first single crochet stitch. In case you have an odd number of stitches, make sure to join the round with a single crochet stitch in the next available space.
6. Working in Rounds
From this point forward, you will be working in rounds – meaning that all of your stitches should go into the same space. You can mark or count the beginning of each round with a stitch marker if it helps you keep track. Single crochet 2 stitches into each chain around for 8 rounds, or until your donut is the size that you want.
7. Finishing the Donut
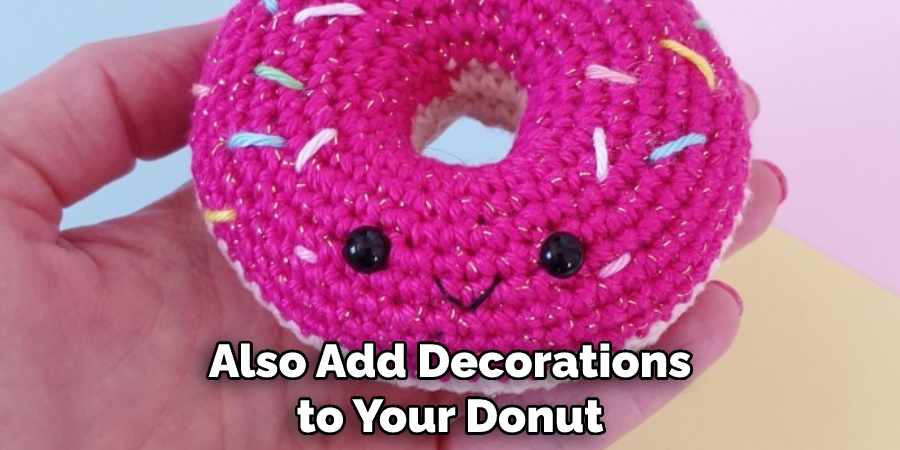
At the end of each round, join it with a slip stitch to the first single crochet stitch. Finish off your last round and weave in your ends using a tapestry needle. If you want, you can also add decorations to your donut such as sprinkles or icing.
How to Crochet a Donut: Top 10 Attractive Patterns
1. Classic Donut Pattern
The classic donut pattern is a great place to start if you’re just learning how to crochet a donut. It’s simple and easy to make, making it perfect for beginners. When you’re finished, you can decorate the donut or simply leave it as is. To get started, you’ll need to make a magic circle with your yarn and then crochet 6 single crochets into that loop. Then, slip stitch into the first stitch to close the round. You will then chain 2 and double crochet around
2. Sprinkled Donut Pattern
The sprinkled donut pattern is an adorable way to spruce up your donuts! You can use any color of yarn that you want for the donut, and any color of sprinkles to add a little more pizzazz. This pattern starts off just like the classic donut pattern – with a magic circle and 6 single crochets in that loop.
3. Rainbow Sprinkles Donut Pattern
If you want a more eye-catching donut pattern, then the rainbow sprinkles donut is for you! This pattern combines the classic and sprinkled donut patterns, with a few extra steps. Start off by creating the classic donut pattern, but this time you’ll use 3 colors of yarn to create the stripes around the donut.
4. Glazed Donut Pattern
A glazed donut is a classic that won’t go out of style anytime soon. To make this pattern, start off by creating the classic donut pattern but with a slightly different twist – before slip stitching into that first stitch, you’ll need to add a few single crochets around the outside of the donut. This will create a thicker, “glazed” look that is sure to impress.
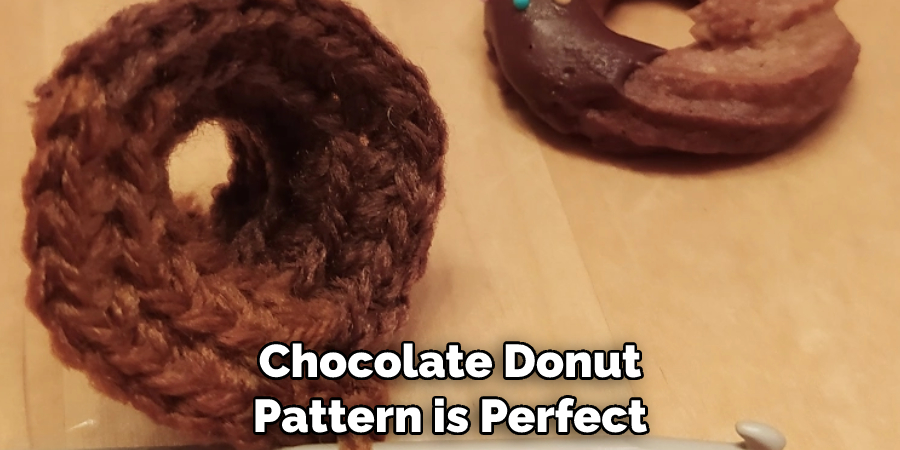
5. Chocolate Donut Pattern
This chocolate donut pattern is perfect for those who prefer their treats on the darker side. To make this pattern, start off by creating the classic donut pattern then slip stitch into that first stitch and chain 2. Then you’ll double crochet around but add 5-6 half double crochets into each stitch instead of 4 to create the chocolate “frosting”.
6. Coffee Donut Pattern
When you want to make a coffee donut pattern, the steps stay the same as any other crochet donut pattern. Start by making a magic circle and then using single crochets to make the round base of your donut.
From there you will use increases and decreases to shape your donut into its proper form. To create decreasing stitches, insert your hook into one stitch and make a single crochet stitch. Then, do the same in the next stitch and combine the two stitches together with another single crochet before moving onto the next stitch.
7. Gummy Bear Donut Pattern
This gummy bear donut pattern is a fun way to add some color and texture to your crocheted creations. Start by chaining the number of stitches needed for the circumference of your donut. Then, single crochet around in a spiral until you reach the desired height. Add gummy bears to the top and bottom rows before stitching them together with slip stitches. Finally, use some stuffing to fill in any gaps inside the donut and sew it shut!
8. Donut with Icing Pattern
This donut with icing pattern is a sweet way to add some texture and interest to your crocheted creations. Love to add a bit of color to your work? This pattern is perfect for that!
Start by chaining the number of stitches needed for the circumference of your donut. Then, single crochet around in a spiral until you reach the desired height. Add some rows of different colored yarn to create the icing effect before stitching them together with slip stitches. Finally, use some stuffing to fill in any gaps inside the donut and sew it shut!
9. Jelly Donut Pattern
This jelly donut pattern is perfect for anyone who loves a classic treat with a twist. Start by chaining the number of stitches needed for the circumference of your donut. Then, single crochet around in a spiral until you reach the desired height. Add some rows of different colored yarn to create the “jelly” effect before stitching them together with slip stitches. Finally, use some stuffing to fill in any gaps inside the donut and sew it shut!
10. Pretzel Donut Pattern
This pretzel donut pattern is a unique way to add texture and interest to your crocheted creations. Start by chaining the number of stitches needed for the circumference of your donut. Then, single crochet around in a spiral until you reach the desired height.
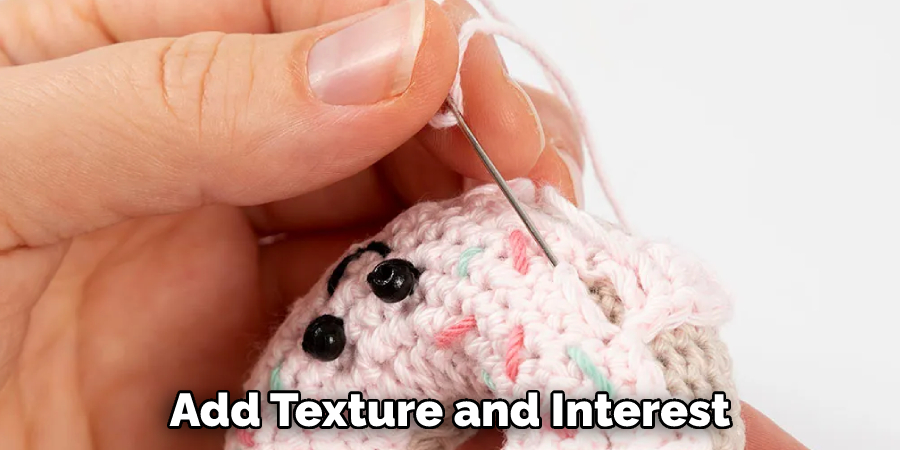
Add some rows of different colored yarn to create the “pretzel” effect before stitching them together with slip stitches. Finally, use some stuffing to fill in any gaps inside the donut and sew it shut!
With these 10 patterns you can easily create a variety of different donuts by reading the whole article on how to crochet a donut for your very own crochet collection! Have fun experimenting to see which one you like best.
Important Precautions
1. Before starting, make sure you have the right supplies. This includes a crochet hook in the size recommended for your yarn and the corresponding yarn of your choice.
2. Measure out enough yarn for your project—a heavier weight yarn will work better than a lighter one as it is easier to see and manipulate stitches with a thicker diameter thread.
3. Read through the instructions before beginning so that you understand what each step is asking you to do.
4. Keep track of your stitch count as you go, and don’t be afraid to frog (rip out) your work if it isn’t turning out correctly.
5. Make sure to practice tension control . This means keeping a consistent tension on your yarn as you work, which will ensure that your stitches are even and smooth.
Final Verdict
Crafting donuts can be a fun, creative activity that can help pass the time in a calm, productive way. Whenever you use yarn to bring your vision to life and create something been, not only are you investing yourself in a skillful and mindful practice, but you’re also able to do so safely from home. Don’t be afraid of making mistakes or feeling overwhelmed with the process; just take your time and have patience in what you craft.
Now that you know how to crochet a donut you can impress yourself and others with your creative eye and stitches. So go ahead, give it a shot and see where it takes you—you might be surprised with what comes out!

