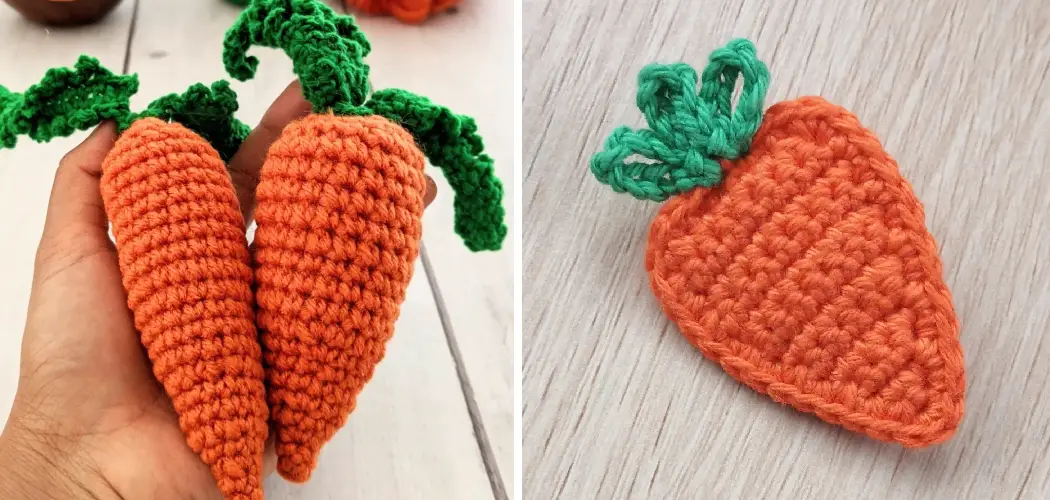
If you want to take your crochet skills one step further, why not try and make something whimsical – like a crochet carrot
Not only does creating a realistic-looking replica of this favorite vegetable provide the perfect opportunity to practice different stitching techniques such as single crochet (SC), half double crochet (HDC) and magic ring increases but it’s also an incredibly fun way to get creative!
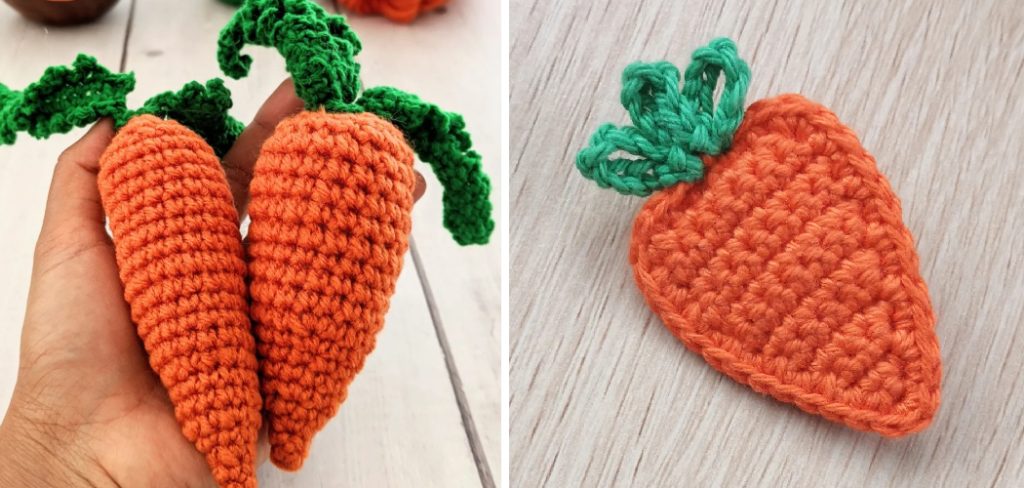
In this post, I’ll walk you through every step in the process of crocheting your own lifelike carrot. From making the base body shape all the way to adding tiny green leaves on top, let’s explore everything there is to know about how to crochet a carrot!
Whimsical and Playful Creations: Crocheted Carrots
Crocheted carrots make for a fun and interesting craft project that can be done all year round! Whether you’re making them as a decoration or as part of a costume, crocheted carrots are sure to bring a smile to anyone’s face. With just some basic materials and tools, you can create your own collection of whimsical and playful creations!
To start off, find the right yarn for your project. You’ll need an orange-colored yarn for the carrot body itself, but feel free to choose any other colors you like for the leaves. Cotton yarn is usually best since it won’t stretch too much when crocheting in tight circles.
Make sure you also have a good size crochet hook – thick enough that it won’t break while stitching through the stitches but small enough that it will still fit in the tight circles needed for the carrot body.
Now comes the fun part: crocheting your carrot! Start off by making a slip knot in your yarn and then chain 3 stitches. Turn the work over so that you’re looking at the wrong side, and make a row of single crochet stitches until you have created a tube with 18-20 total stitches.
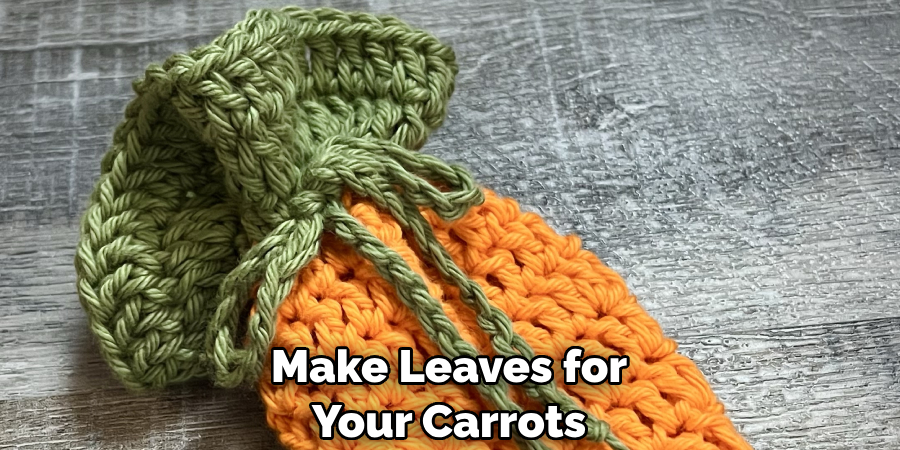
Now, turn the work again and start to decrease each stitch on either end (this will give your carrot its tapering shape). Once the body is finished, change colors if desired and make leaves for your carrots using treble crochet stitches – this can be done while still attached to the main body or separately as an appliqué.
Materials Needed for Crocheting a Carrot
To crochet a carrot, you need some basic materials. These include:
- Orange yarn – this should be a medium-weight worsted weight (4) yarn.
- Green yarn – choose a light-weight sport or baby weight (3) yarn for the leaves.
- Crochet hook in size G/6 (4 mm).
- Stuffing or fiberfill for stuffing the carrot body.
- Yarn needle for weaving in ends and sewing up seams, if needed.
- Safety eyes or black embroidery floss to make the face of your carrot character if desired.
- Scissors and stitch marker to help with your crochet.
Once you have all the materials, you’re ready to begin crocheting your carrot! Be sure to read and understand the pattern before starting, so that you know what stitches and techniques are needed for successful completion. And don’t forget to have fun – it’s always more enjoyable when crocheting with a smile on your face!
10 Steps How to Crochet a Carrot
Step 1: Gather Materials
Before starting your crocheting project, gather all the necessary materials. You will need a crochet hook (size G or H works well for medium weight yarn), orange and green yarn (or colors of your choice for the carrot and the top), scissors, stuffing material, and a yarn needle.
Step 2: Make a Slip Knot
To begin crocheting the carrot, make a slip knot by creating a loop with the orange yarn, then inserting the end of the yarn through the loop. Pull the yarn to tighten the loop around the hook.
Step 3: Chain Stitch Foundation
Create a chain stitch foundation by yarning over (bringing the yarn over the hook) and pulling it through the slip knot loop on the hook. Continue this process to make a chain of desired length, which will determine the size of your carrot. A chain of about 15 stitches is a good starting point.
Step 4: Single Crochet in Second Chain
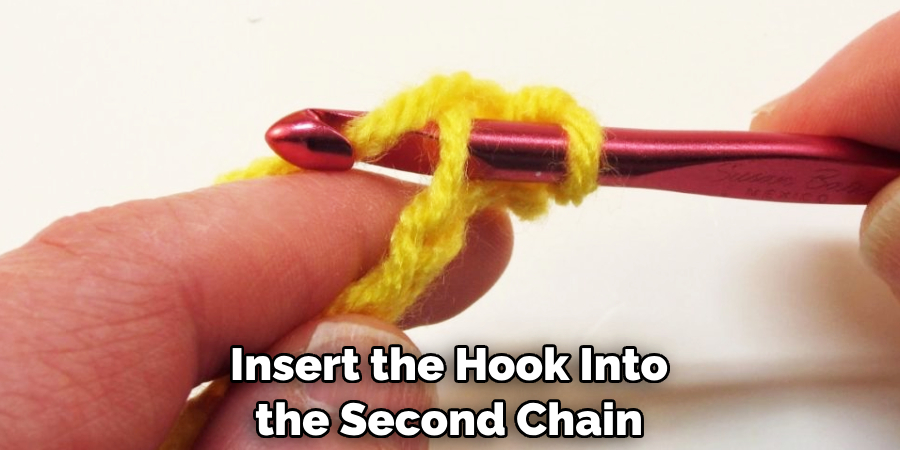
Insert the hook into the second chain from the hook, yarning over, and pulling the yarn through the chain stitch. Yarn over again and pull through both loops on the hook. This is a single crochet stitch. Repeat this process for each chain stitch in the foundation row.
Step 5: Single Crochet in Each Stitch
Continue working single crochet stitches in each chain stitch across the row until you reach the end. This will create a solid row of single crochet stitches.
Step 6: Continue Single Crochet Rows
Chain one and turn your work. Work single crochet stitches in each stitch across the row, chaining one and turning at the end of each row. Continue this process for the desired number of rows to achieve the length of your carrot. Remember to keep the edges straight by maintaining the same number of stitches in each row.
Step 7: Shape the Tapered End
To shape the tapered end of the carrot, you will decrease stitches gradually. Start by single crocheting two stitches together at the beginning of each row. To do this, insert the hook into the first stitch, yarning over, and pulling through.
Then insert the hook into the next stitch, yarning over, and pulling through. Yarn over again and pull through all loops on the hook. Repeat this decrease stitch at the beginning of each row until you have reached the desired tapered end.
Step 8: Fasten Off and Stuff the Carrot
Once you have reached the tapered end, fasten off the orange yarn. Cut the yarn, leaving a tail of a few inches. Pull the tail through the last loop on the hook to secure it. Use a yarn needle to weave in any loose ends. Stuff the carrot firmly with the stuffing material to give it a plump shape.
Step 9: Crochet the Carrot Top
To crochet the carrot top, make a slip knot with the green yarn and attach it to the top of the carrot. Crochet a chain of about 15 stitches. Then, work single crochet stitches in each chain stitch across the row. Repeat this process for a few rows until you have a leafy top that matches the desired length. Fasten off the green yarn, leaving a tail for sewing.
Step 10: Attach the Carrot Top and Finish
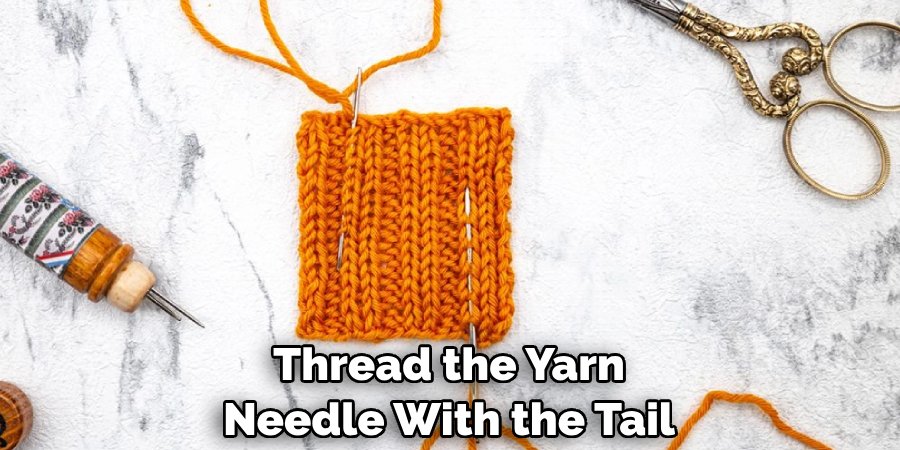
Using the tail left from the green yarn, attach the carrot top to the stuffed end of the carrot. Thread the yarn needle with the tail and sew the top securely to the carrot by stitching through both the top and the carrot. Make several stitches around the base of the top to ensure it stays in place. Weave in any loose ends.
Things to Consider When Crocheting a Carrot
When crocheting a carrot, there are several important considerations to keep in mind. Firstly, you will need to decide on the size of your carrot—larger carrots will require more yarn and take longer to make than small ones. You should also choose a yarn color that looks like a carrot!
1. Use the Right Type of Yarn.
Acrylic yarn is a good choice for crocheting carrots as it can be easily washed and will maintain its shape. Choose a yarn that is soft and has a nice texture; the smoother the yarn, the better your carrot will look when finished.
2. Choose an Appropriate Hook Size.
When crocheting carrots, use a hook size that is appropriate for the type of yarn you are using. If your carrot is to be larger than average, use a slightly larger hook to create the desired size.
3. Match Yarn and Stuffing Colors.
When choosing stuffing for your crocheted carrot, make sure it matches or complements the color of your yarn—this will help give your crochet project a polished look!
4. Stiffen Your Carrot After Completion
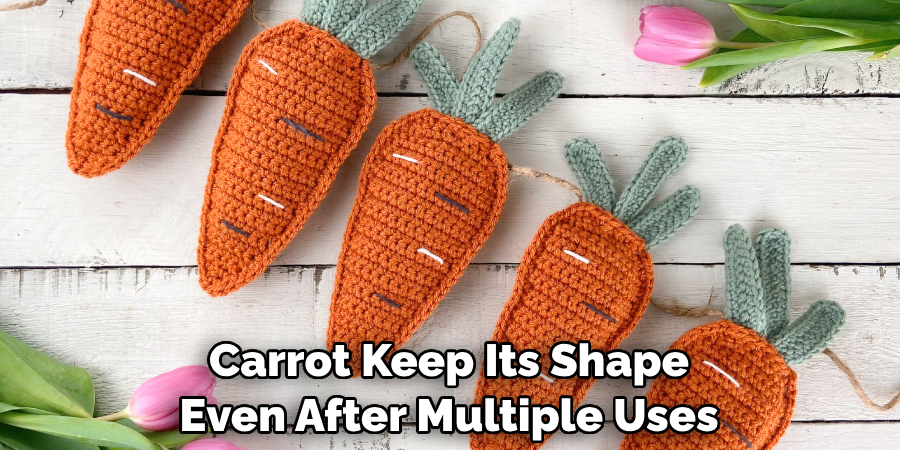
Once you have completed your crocheted carrot, you can stiffen it by lightly spraying it with aerosol starch and allowing it to dry. This will help the carrot keep its shape even after multiple uses.
By following these simple tips, you can create a beautiful crocheted carrot that is sure to be a hit in your home! So grab those hooks and yarns and get crocheting today!
Conclusion
Crafting can be a wonderful way to express your creativity and learn new skills. With some time and patience, anyone can learn how to crochet a carrot – a skill that is useful for Easter decor or adding fun elements to other projects. Plus, crocheting a carrot is easier than it looks!
By referencing the pattern in this blog, you will soon have mastered the art of crafting this veggie-inspired project. Use those newfound skills to make your own carrots in any shade of orange imaginable and get creative with decoration.
Whether you want to brighten up a mantlepiece or show off your crochet abilities, crafting a carrot is an excellent way to do so. So gather your materials, grab a hook and get ready to make something sweet. Happy crocheting!

