
Do you want to feel the satisfaction of creating something beautiful with your own two hands? Are you looking for a creative and meaningful project to spend time crafting? Look no further than learning how to crochet a butterfly top! With just a few tools, some yarn, and guidance from this blog post, we’ll teach you crocheting a butterfly top with limitless potential!
Crocheting is an enjoyable and inexpensive hobby that can yield great results when it comes to creating clothing items. With this guide, we’ll help you understand the different techniques needed so that you can make your very own unique butterfly top with ease!
Whether this is your first crocheting project or not, by the end of this post, you will be able to create something special of your own design confidently.
What Will You Need?
Before you get started, make sure that you have the following items.
- Crochet Hook (size 4mm)
- Yarn of your choice
- Scissors
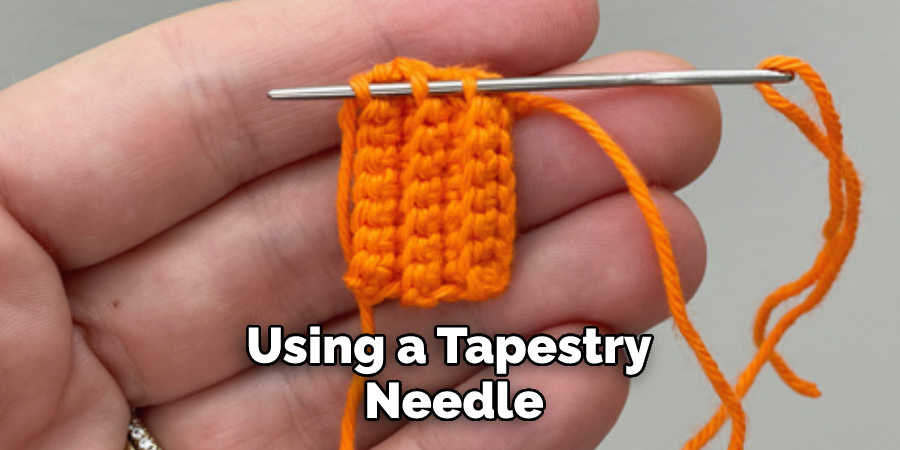
- Tapestry needle for weaving in ends
Once you have all of these items, you are ready to get started!
10 Easy Steps on How to Crochet a Butterfly Top
Step 1. Make a Foundation Chain
You will need to make a chain of 80 stitches and then join it into a circle with one slip stitch. Be careful not to twist your chain when joining it together. Because you will be crocheting in the round, your first stitch of each round should always be a chain stitch.
Step 2: Single Crochet Stitches
Now you will crochet single crochets all the way around in a spiral. You can make as many rounds of single crochet stitches as you want, depending on how long your top is. For our design, we used eight rounds of single crochet stitches. Don’t forget to start each round with a chain stitch!
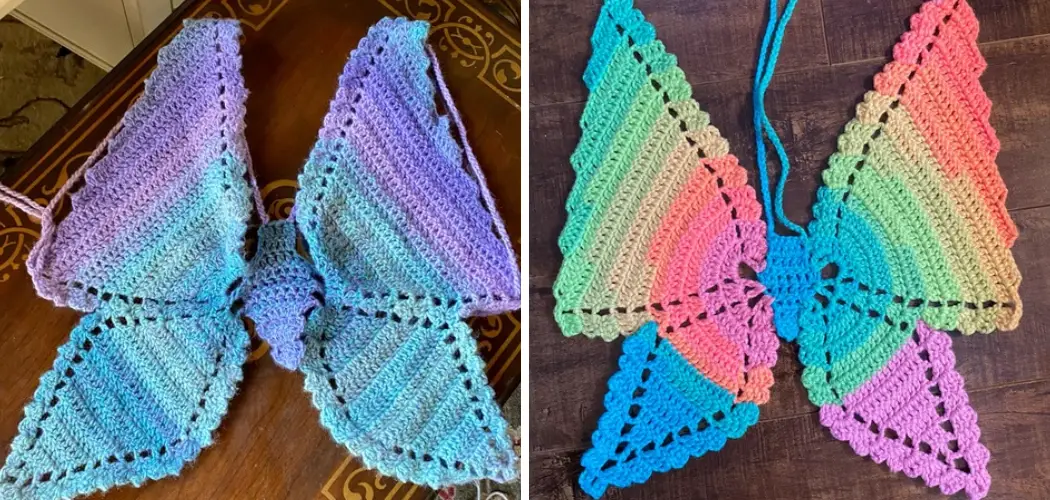
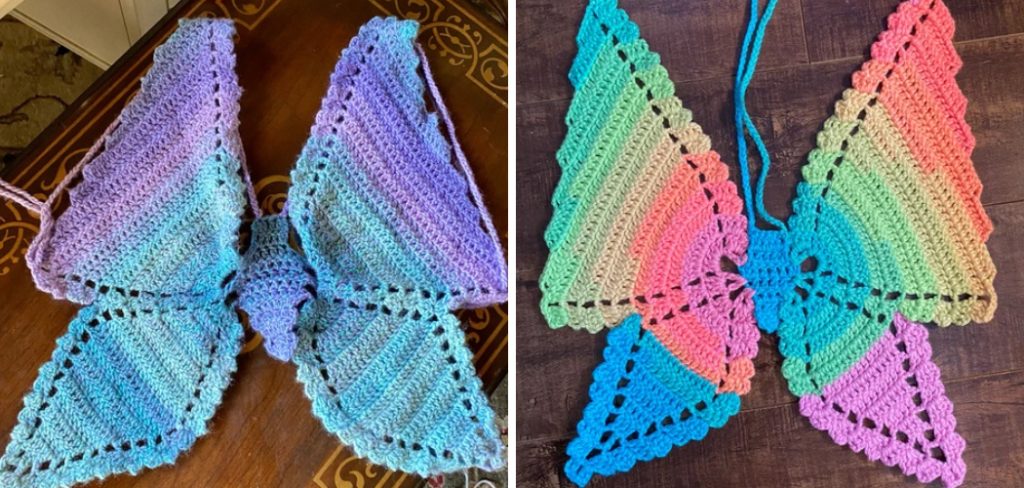
Step 3: Make the Butterfly Design
Once you have finished the body of your butterfly top, let’s start making the wings! To do this, make six double crochets into one stitch, skip two, and then make six more double crochets into one stitch. Repeat these instructions until you have reached the end of your foundation chain. When
Step 4. Fasten Off
Once you have finished your butterfly design, it’s time to fasten off. Cut the yarn and pull the end through the remaining loop. Secure the end with a knot and weave in the tail using a tapestry needle. Be careful not to pull the yarn too tight.
Step 5: Weave in All of Your Ends
It is important to ensure that all of your ends are woven in properly so that your top looks neat and tidy. Use a tapestry needle to weave in any loose ends for a professional finish. If you are unsure how to do this, you can find plenty of tutorials online.
Step 6: Block Your Top
Blocking is an important step in finishing off any crocheted item as it helps even out stitches and ensure that your work looks its best! Simply pin down your piece using rust-proof pins and give it a light spray of water. Leave it to dry overnight and then unpin the top.
Step 7: Sew on Buttons
Once your top is completely finished, you can add extra detail by sewing on some buttons. Choose how many buttons you want to use and how you would like them arranged on your butterfly top. You can also try adding decorative charms for an extra personal touch!
Step 8: Wear and Enjoy
And now, you’re ready to show off your beautiful crocheted butterfly top! Slip it on, wear it with pride, and enjoy the feeling of having created something unique with your own two hands! Remember, with a little patience and practice; you can crochet anything!
Step 9: Try Out Different Variations
You can use different sizes of yarn and hooks for different looks and experiment with different colors or stitch patterns to create something entirely your own. And if you ever get stuck, plenty of online resources can help guide you in the right direction. Try out different variations and be creative!
Step 10: Share it!
Once you’re satisfied with how your butterfly top looks, don’t forget to share it on social media and show off your hard work! You never know who might be inspired by what you have created. With enough practice, you will soon be an expert at crocheting beautiful items for yourself and others.
By following these easy steps, you will soon have a beautiful crocheted butterfly top that you can be proud of! Good luck, and have fun!
5 Additional Tips and Tricks
- When starting your butterfly top, chain at least 12 stitches to ensure the right width.
- Start with a circular row and then switch to a single crochet stitch as you create the sides of the wings.
- Use contrasting colors for the wings and body of the butterfly top to give it an eye-catching look.
- If desired, add decorative buttons or other embellishments to make your butterfly top even more unique.
- When you’re finished crocheting, block your work in order to help maintain its shape and size when laundering or ironing.
With these steps and tips, you’ll soon have a beautiful handmade butterfly top that will be admired! Have fun crocheting!
5 Things You Should Avoid
1. Avoid Working Too Tightly: Crocheting a butterfly top should be worked with a slightly looser tension than other pieces. This ensures it is easy to move and keeps the fabric flexible.
2. Avoid Using Small Hooks or Yarns: The thread used for crocheting a butterfly top is usually thicker than that used for other projects, so try to stick with large hooks and thick yarns to make sure the stitches stay together nicely.
3. Avoid Making Your Stitches Too Long: Longer stitches can cause fabric gaps, making your finished piece look sloppy and uneven.
4. Avoid Rushing Through the Process: Take your time cropping a butterfly top, as this will help ensure even stitchwork and prevent mistakes.
5. Avoid Over-Stuffing: If your butterfly top is too full, it can be difficult to manage and keep its shape. Be sure to stuff the piece lightly but evenly so that each stitch has enough room to move freely.
Following these tips will help you create a beautiful butterfly top with ease!
Different Kinds of Butterfly Design Ideas
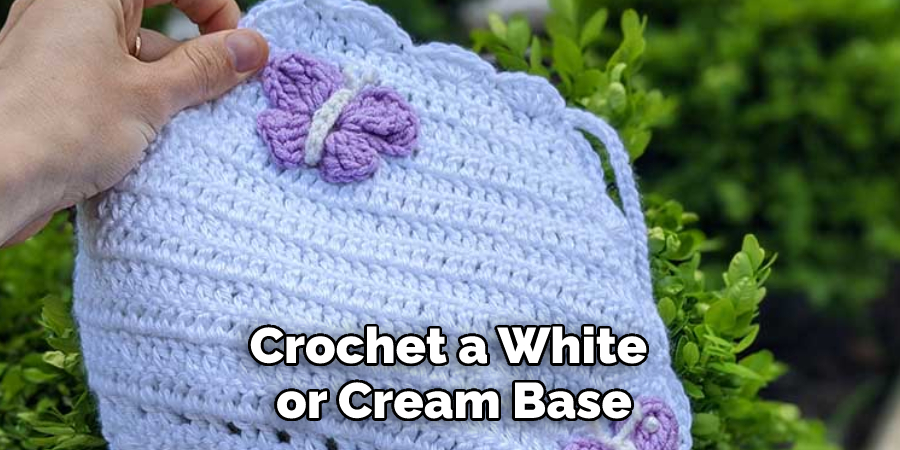
1. Floral Butterfly Top: Crochet a white or cream base and add colorful floral appliques to create a beautiful butterfly top with a feminine, nature-inspired touch.
2. Neon Butterfly Top: For a bold, contemporary look, opt for bright colors like green, yellow, pink, and blue for an eye-catching butterfly top.
3. Artistic Butterfly Top: Combine crochet stitches in different patterns, such as stripes or polka dots, to create an artful design on your butterfly top.
4. Rainbow Butterfly Top: Create a rainbow effect by crocheting each individual wing with its own color from the rainbow spectrum (red, orange, yellow, etc.).
5. Graphic Butterfly Top: Use graphic elements like chevrons, diamonds, or triangles to create an interesting, unique design on your butterfly top.
No matter how you choose to customize your butterfly top, the result will be a beautiful piece of clothing that is sure to turn heads! Have fun crocheting, and get creative with it!
What Kind of Yarn to Use?
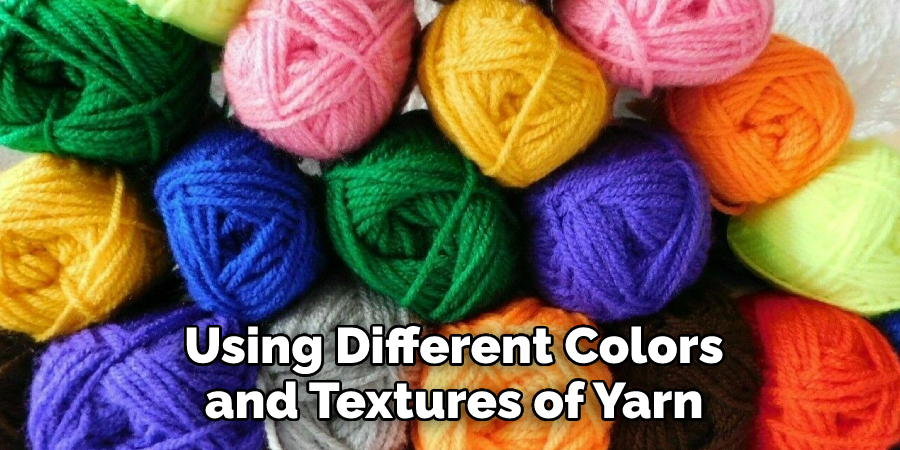
When crocheting a butterfly top, it is best to use thicker yarns such as worsted or bulky weight. This will help the stitches stay together better and give your finished piece a nice drape. You can also try using different colors and textures of yarn for a unique look. Be sure to choose colorfast yarn so that your top won’t fade over time!
Additionally, if you’d like to make a detailed pattern on your butterfly top, try using yarns with metallic threads or sequins for extra sparkle and shine. This will help make your piece stand out even more!
For best results, be sure to check the label on your yarn for recommended tension and hook size before you begin crocheting. This will ensure that your stitches come out looking nice and even.
Conclusion
If you’re looking for a crochet project that’s both fun and stylish, you can’t go wrong with a butterfly top. This design is relatively simple to make, and the end result is a garment that can be worn year-round. With just a little bit of time and effort, you’ll have a unique piece that will get compliments every time you wear it.
So, there you have it—a comprehensive guide on how to crochet a butterfly top. With these simple instructions and some practice, you’ll be able to create this beautiful garment in no time. And who knows what other Crochet creations you can tackle once you’ve mastered the butterfly top? The sky’s the limit!
Hopefully, this how-to guide has helped you feel inspired to create your own butterfly top. So, grab your hooks and yarn, and let’s get started! Good luck, and happy crocheting!
You Can Check It Out to Carry Yarn in Knitting