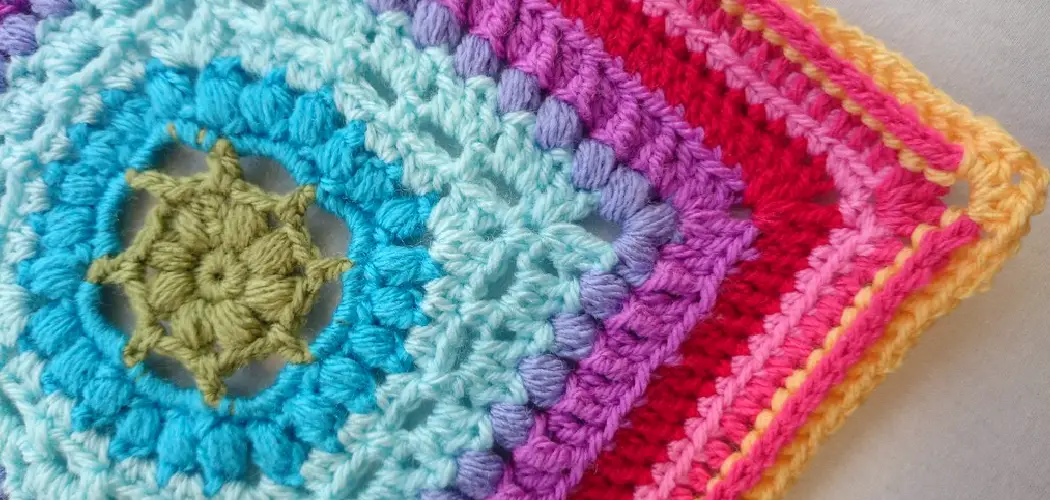
Knitting is a popular hobby that many people enjoy. One of the most commonly used materials for knitting is wool yarn. However, as with any adventure, there may come a time when you want to block your knitted project to achieve the desired shape or size.
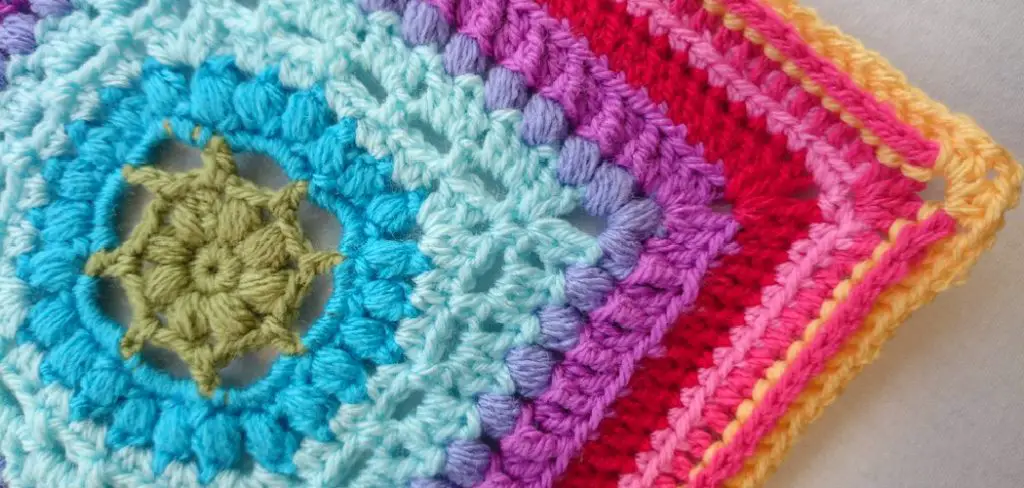
Blocking refers to reshaping or stretching out your knitted piece by hand or with the help of pins to ensure that it dries in the desired shape. This is especially important for wool yarn as it tends to shrink and lose its shape when wet. In this guide, we will discuss how to block wool knitting effectively.
Why Block Wool Yarn?
Wool yarn is known for its elasticity, which allows it to bounce back to its original shape even after being stretched or manipulated. However, this also means that when exposed to water and heat, wool yarn has a tendency to shrink and lose its shape. This can be problematic if you have spent hours knitting a project only to find out that it does not fit your desired size or shape.
Blocking helps to prevent this by allowing you to control the shape and size of your knitted piece while it is still wet. It also smoothens out any uneven stitches and gives a more professional finish to your project.
Necessary Items
To block your wool yarn, you will need the following items:
- A basin or sink large enough to hold your project
- Wool wash or mild detergent
- Towels
- Blocking mat or foam board
- Rust-proof pins (T-pins are recommended)
8 Things to Know Before You Start
1) Check the Label
Before you start blocking your wool yarn, it is essential to check the label to see if there are any specific instructions from the manufacturer. Some wool yarn may have different care instructions and require a different blocking method.
2) Use Wool Wash or Mild Detergent
Always use a mild detergent or specially formulated wool wash when washing your knitted project. This will help to preserve the shape and texture of the wool yarn. If you are still deciding, opting for a wool wash is best.

3) Avoid Agitation
When washing your project, avoid any aggressive rubbing or wringing, as this can cause the yarn to feel and become stiff. Gently squeeze out excess water instead. While blocking, handle your project delicately and avoid pulling or stretching it too much.
4) Choose the Right Surface
Choose a flat surface for blocking, such as a blocking mat or foam board. This will ensure that your project dries in the desired shape and size. Avoid using carpet or towels, as uneven surfaces can affect the condition of your project.
5) Protect Your Surfaces
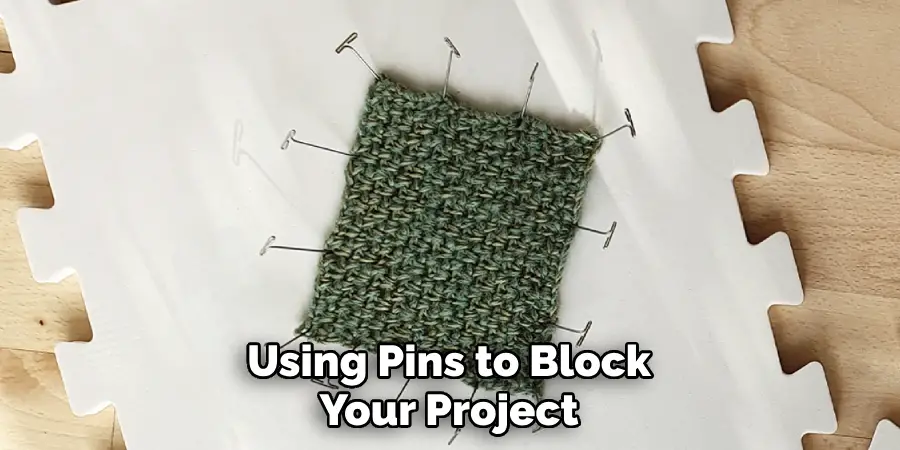
When using pins to block your project, make sure to place a towel or cloth underneath to protect your surfaces from any potential damage. Other materials, such as wood or cork boards, can also be used instead of foam boards.
6) Block Your Project When Wet
It is essential to block your project while it is still wet. This will allow the wool yarn to stretch and take on the desired shape. If you wait until it is dry, the fabric will have less give and may not block properly.
7) Pin Your Project From the Center
Start by pinning your project from the center to ensure that it is evenly stretched. This will also help to prevent any puckering or unevenness in the fabric. But be careful not to pull too tightly, as this can cause your project to warp.
8) Allow Enough Time for Drying
Wool yarn can take longer to dry than other materials, so make sure to allow enough time for your project to fully dry before unpinning. You can also use a fan or air conditioning to speed up the drying process.
Blocking is an essential step in knitting with wool yarn. It not only helps to achieve the desired shape and size but also gives a more professional finish to your project. With these tips on how to block wool knitting, you can now confidently block your knitted projects and achieve the best results every time.
Continued learning and experimenting with different techniques will help you perfect the art of blocking wool yarn for all your future knitting projects. Remember, practice makes perfect! So feel free to try new methods and make adjustments until you find the one that works best for you.
10 Steps on How to Block Wool Knitting Yarn
Now that you have all the necessary information and items, here are the ten steps to follow when blocking wool knitting yarn:
Step 1: Prepare the yarn
Start by gently washing your knitted piece with a mild detergent or wool wash according to the label instructions. Make sure to squeeze out excess water, but do not twist or wring the yarn. If the thread is very delicate, you can place it in a lingerie bag before washing it.

Step 2: Lay out towels
Lay out a towel on your blocking mat or foam board to absorb any excess water from your project. You can also use multiple towels if needed. And if you don’t have a blocking mat, you can utilize a clean towel or cloth on a flat surface instead.
Step 3: Flatten your project
Place your knitted piece on top of the towels and gently flatten it with your hands to remove any wrinkles or creases. This will also help to distribute the moisture evenly and prevent the yarn from stretching too much.
Step 4: Pin the corners
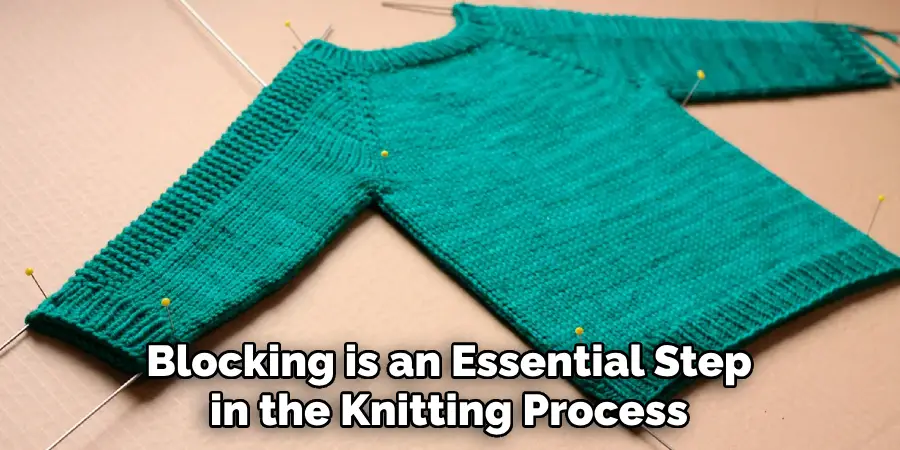
Start by pinning down the corners of your project to hold it in place. Use rust-proof pins such as T-pins and make sure they are evenly spaced. And remember to use a towel or cloth underneath the project to protect your surfaces.
Step 5: Pin the edges
Next, pin down the edges of your project, making sure they are straight and evenly spaced. This will help ensure your project dries in the desired shape and size. While pinning, gently stretch the yarn to achieve the desired measurements.
Step 6: Pin the center
Now, move on to pinning the center of your project. This will help to distribute any excess moisture evenly and prevent sagging or puckering in the fabric. Use more pins if needed for larger projects. Soaking the nails in warm water before using them can also help to prevent rusting.
Step 7: Allow for stretching
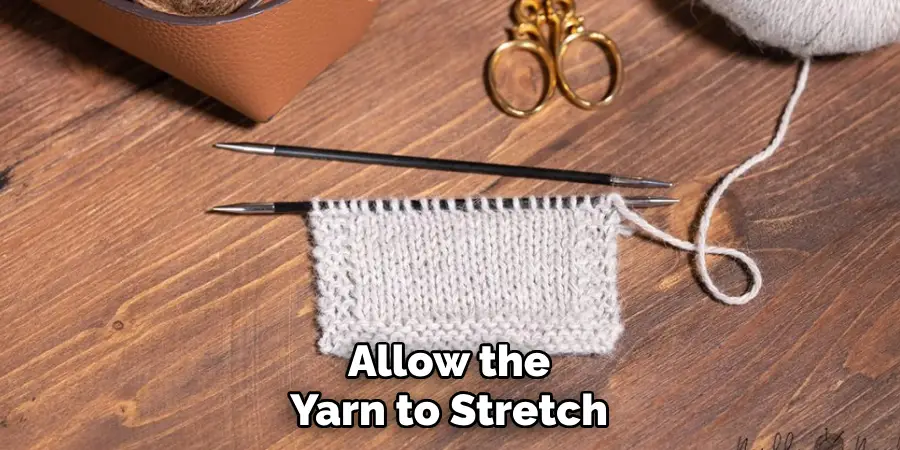
If you want your project to have a more stretched-out look, you can gently pull on the edges and center while pinning. This will allow the yarn to stretch and take on a longer or broader shape. Just make sure not to overstretch the string, as it may lose its shape when dry.
Step 8: Let it dry completely
Once your project is fully pinned, leave it to dry completely. This can take anywhere from a few hours to overnight, depending on the thickness of your yarn and humidity levels. You can also use a fan or air conditioning to speed up the drying process.
Step 9: Remove pins
Once your project is completely dry, carefully remove the pins. Make sure to avoid pulling or tugging on the yarn, as this can cause it to warp or lose its shape. Never cut the nails, as it can leave sharp edges that can snag your yarn.
Step 10: Enjoy your beautifully blocked project
Congratulations, you have successfully blocked your wool knitting yarn! Admire your finished product and enjoy the smooth, even stitches and professional finish. Your project is now ready to be worn or gifted with pride. Remember to permanently block your projects before wearing or storing them to maintain their shape and size.
Overall, blocking is an essential step in the knitting process that can significantly improve the appearance and fit of your finished project. With these simple steps and tips, you can confidently block your wool yarn and achieve beautiful results every time.
8 Things to Avoid When Blocking Wool Yarn
Even with the best intentions, mistakes can happen when blocking wool yarn. Here are eight things to avoid during the blocking process to ensure the best results:
1) Using Hot Water
Never use hot water when washing or soaking your project. Hot water can cause the yarn to shrink and lose its shape, creating a smaller and tighter fabric. Other natural fibers may also feel or become matted when exposed to hot water.
2) Twisting and Wringing
Twisting or wringing the yarn can cause it to lose shape and stretch unevenly. Instead, gently squeeze out excess water by toweling your project. Never twist or wring the tale, as it can also cause damage to delicate fibers.
3) Using a Hair Dryer
Avoid using a hair dryer or any direct heat source when drying your project. This can cause the yarn to warp and lose its shape. It may also create uneven drying, resulting in puckered or stretched-out areas.
4) Overstretching
While it’s okay to stretch the yarn when pinning gently, be careful not to overstretch it. This can cause the project to lose its shape and size when dry. Always refer to a measuring tape or ruler if you want your project to have specific measurements.
5) Using Cheap Pins
Using cheap pins that are not rust-proof can result in rust stains on your project. Always use high-quality rust-proof pins, such as T-pins, to avoid any unwanted discoloration. If you have to reuse old pins, make sure to soak them in warm water before use.

6) Skipping the Blocking Process
It may be tempting to skip the blocking process, especially for smaller projects. However, this can result in uneven stitches and a less polished finish. Taking the time to block your project will also help maintain its shape and size.
7) Blocking in a Humid Environment
Humidity levels can significantly affect the drying time of your project. Avoid blocking in high humidity to prevent your project from taking too long to dry and potentially growing mold or mildew. Not to mention, humid environments can also cause your pins to rust.
8) Cutting the Pins
Never cut the pins when removing them from your project. This can leave sharp edges that can easily snag your yarn and create holes or tears. Permanently carefully remove the pins one by one without cutting them.
Blocking wool yarn is a simple process that can significantly improve the overall appearance and fit of your knitted project. By following these steps on how to block wool knitting and avoid common mistakes, you can achieve professional results every time. Remember to permanently block your wool yarn before wearing or storing it to maintain its shape and size. With patience and practice, you’ll become a pro at blocking in no time!
8 Additional Tips for Blocking Wool Yarn
In addition to avoiding common mistakes, here are eight additional tips that can help you achieve even better results when blocking your wool yarn:
1) Use a Blocking Mat or Board
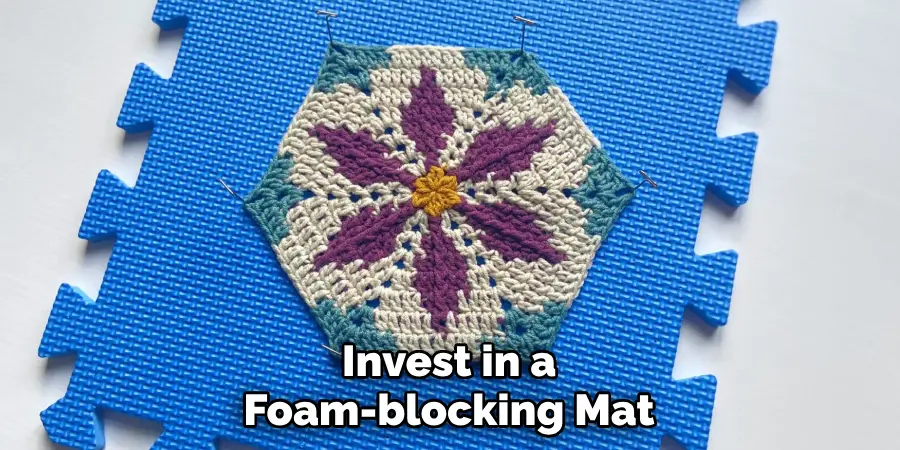
Invest in a foam-blocking mat or board to make the pinning process more accessible and more precise. The gridlines on these mats can also help you evenly space your pins and achieve symmetrical measurements.
2) Try Steam Blocking
Instead of soaking the yarn, you can also try steam-blocking. This involves using a steamer or iron to steam the project lightly, then pinning it in place until it dries. Steam blocking is excellent for more delicate fibers and can result in a softer finish.
3) Experiment with Different Pinning Techniques
There are many pinning techniques you can try, such as using a zigzag pattern or following the natural curvature of your project. Experimenting with different styles can help you achieve different shapes and textures.
4) Block in Sections
For larger projects, it may be easier to block in sections rather than all at once. This allows you to focus on each area and achieve more precise results.
5) Use Blocking Wires
If you’re working on a project with straight edges, blocking wires can help you achieve perfectly straight lines. These are thin, flexible wires that can be inserted along the edges of your project and pinned in place.
6) Add Weight for Stretching
If your project needs a little extra stretch, you can add weight to the edges while blocking. This can be done with small weights or even cans of food. Other methods include using elastic bands to stretch the boundaries or pulling them gently with your hands.
7) Use a Spray Bottle for Spot-Blocking
If you only need to block a specific area of your project, such as a lace section, you can use a spray bottle filled with water to target that area. Simply spritz the yarn lightly and pin it in place until it dries.
8) Block with Care
When removing your project from the blocking mat, be sure to do so with care. Gently remove the pins and avoid pulling or tugging on the yarn. This will help maintain its shape and prevent any damage to your hard work.
With these tips in mind, you can confidently block wool yarn and achieve beautiful, professional results every time. Happy knitting! So, don’t be afraid to experiment and find the best techniques that work for you and your project. Now, go forth and block with confidence, knowing that you have all the knowledge and skills needed to create perfectly shaped and sized projects.
Frequently Asked Questions
How Often Should I Block My Wool Yarn Projects?
It is recommended to block your wool yarn projects after every wash or when necessary. Some projects, such as lace or garments with shaping, may require more frequent blocking. It is always best to refer to the specific pattern instructions for the recommended blocking frequency.
Can I Use a Blocking Board for Other Types of Yarn?
Yes, you can use a foam-blocking mat or board for other types of yarn. However, it may not be necessary as some fibers may require less shaping and blocking than wool yarn does.
How Long Does it Take for a Project to Dry After Blocking?
The drying time can vary depending on the humidity levels and the thickness of your project. It is best to let your project air dry in a well-ventilated area and avoid placing it near direct heat or sunlight, as this can cause the yarn to shrink or feel. On average, most projects will take 24-48 hours to dry completely.
You can also use a fan or dehumidifier to speed up the drying process. So be sure to plan accordingly and give your project enough time to dry before wearing or storing it entirely.
Can I Block Projects with Different Types of Yarn Together?
It is not recommended to block projects with different types of yarn together, as they may have different blocking needs and could affect the overall shape and size of the project. It is best to block each assignment separately.
How Can I Tell if My Project Needs Blocking?
If your project looks uneven or misshapen, it may benefit from blocking. You can also check for curling edges or stitches that look too tight or puckered. Additionally, if your project has lace or intricate stitch patterns, blocking can help define and showcase these details. So trust your judgment and don’t be afraid to block even if you’re unsure if it’s necessary – it’s always better to be safe than sorry!
Conclusion
Blocking wool yarn is an essential step in any knitting project, and it’s more manageable than it may seem. By following these tips on how to block wool knitting and avoid common mistakes, you can achieve professional-looking results that will make your project stand out.
So take your time and enjoy the blocking process – it’s an essential step in creating beautiful, high-quality knitted pieces. So, don’t be afraid to experiment and find the best techniques that work for you and your project. Now, go forth and block confidently, knowing you have all the knowledge and skills needed to create perfectly shaped and sized projects. So, don’t be afraid to experiment and find the best techniques that work for you and your project.

