Ready to take your knitting skills up a notch? Blocking a knitted blanket is one of the simplest ways to transform a basic knit into something truly unique – and it’s easier than you might think! In this blog post, we’ll explain exactly how to block your knit project with step-by-step instructions that will ensure you end up with stunning results.

Whether you’re an experienced knitter looking for the perfect finishing touch or just beginning to explore the world of knitting and want to make sure your project looks its best, this guide will give you everything you need on how to block a blanket knitting. So grab your needles (or hooks!) and start making that baby blanket look fabulously finished!
Necessary Items
Before diving into the actual blocking process, let’s ensure you have all the necessary materials on hand. Here’s what you’ll need to get started:
- Your finished knit project
- Blocking mats or towels (alternatives: foam floor tiles, an old bed sheet)
- T-pins or blocking wires
- Measuring tape
- Spray bottle filled with water (optional)
- Iron (optional)
10 Steps on How to Block a Blanket Knitting
Step 1: Prepare Your Blanket for Blocking
Before starting, ensure your finished blanket is clean and free of loose yarn or debris. If needed, gently hand wash and dry the blanket before moving on to the next step. It’s essential to start with a clean and even surface for the best results.

Step 2: Choose Your Blocking Surface
Choose a flat, clean surface large enough to accommodate your blanket. This could be a table, bed, or even the floor. Lay out your blocking mats or towels to create an even surface for your project.
Step 3: Measure Your Blanket
Use a measuring tape to determine the dimensions of your blanket. This will help you block it to the correct size and shape. If your project is meant to be a specific size, ensure it matches the measurements before moving on.
Step 4: Soak Your Blanket
Fill a large basin or sink with lukewarm water and gently submerge your knit blanket. Let it soak for 10-15 minutes to allow the fibers to relax and become more pliable for shaping. If your project is made of delicate fibers, use a wool wash or particular blocking solution to prevent damage.
Step 5: Squeeze Out Excess Water
After soaking, gently squeeze out excess water from the blanket. Do not wring or twist the fabric, as this can cause it to stretch or deform. Lay the blanket on a clean towel and roll it up, gently pressing to remove more water.

Step 6: Lay Out Your Blanket on the Blocking Surface
Unroll your damp blanket onto the blocking surface, ensuring it is evenly spread out and all corners adequately aligned. Use T-pins or blocking wires to secure the blanket’s edges to the surface, creating a straight and even shape.
Step 7: Shape Your Blanket
Now is the time to shape your blanket into its desired size and dimensions. If you want a round or curved edge, use pins or wires to create the shape. For straight edges, pull and pin the corners to form right angles. Adjust as needed until you are satisfied with the overall shape of the blanket.
Step 8: Optional – Steam or Iron Your Blanket
For a more polished and professional look, you can use a steamer or iron to smooth out any wrinkles or unevenness in your knit project. Always check the care instructions for your specific yarn to prevent damage.
Step 9: Let it Dry Completely
Once you are satisfied with the shape and look of your blanket, let it dry completely before removing the pins or wires. This could take anywhere from a few hours to overnight, depending on the thickness of your project.
Step 10: Enjoy Your Beautifully Blocked Blanket!
Congratulations, you have successfully blocked your knit blanket! Once it is scorched, remove the pins or wires and marvel at the transformation. Now, you can proudly show off your beautifully finished project or give it as a gift to be cherished for years to come.
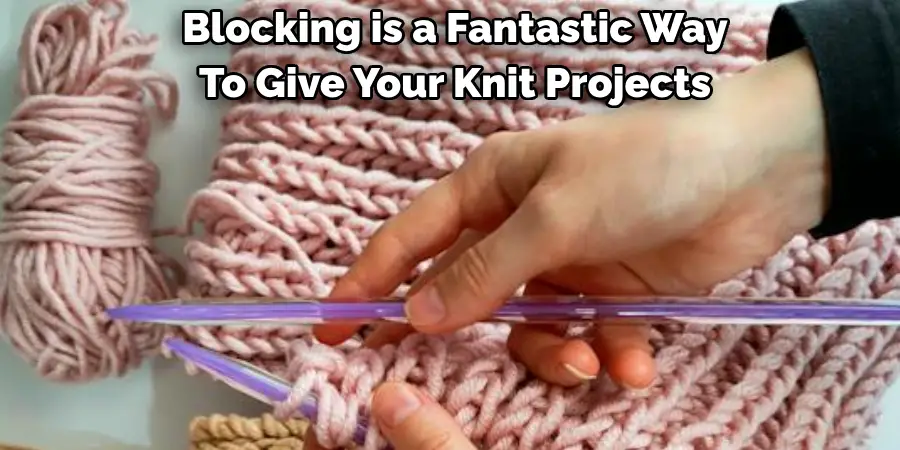
Blocking is a fantastic way to give your knit projects a professional and polished look. It can also help shape and create the perfect fit for wearable items like sweaters or hats. With these steps, you’ll be blocking like a pro in no time and taking your knitting skills to the next level. Happy knitting! So go ahead and try this technique on your next knit project, and watch as it transforms into a beautiful piece that you’ll be proud to show off. Remember, practice makes perfect, so feel free to experiment with different blocking methods until you find what works best for you.

8 Things to Avoid When Blocking a Blanket Knitting
While blocking can significantly enhance the look and feel of your knit project, some common mistakes can lead to less-than-desirable results. Here are eight things to avoid when blocking a blanket knitting:
1. Skipping the Pre-blocking Preparation
As mentioned earlier, starting with a clean and even surface is crucial for the best results. Skipping this step can lead to uneven blocking and even damage to your project. So wash and dry your blanket before starting the blocking process.
2. Using Too Much Water
While soaking your blanket is an essential step in the blocking process, using too much water can cause the fibers to become overly saturated and lead to stretching or distortion of the fabric. Use enough water to relax the fibers and avoid submerging the entire project if possible.
3. Leaving the Blanket Too Wet
Removing excess water from your blanket before laying it out for blocking is important. If not, the weight of the wet fabric can cause it to stretch and lose shape. Take extra care when squeezing out excess water, and use a towel to press out any remaining moisture gently.
4. Not Measuring Your Blanket
Skipping the measurement step can result in a blanket that is too small or too large for your desired dimensions. Take the time to measure and adjust before pinning your project into place.
5. Using the Wrong Blocking Surface
Using an uneven or dirty surface can lead to a blocked blanket that is also uneven and potentially stained. Make sure to choose a clean, flat surface for optimal results.
6. Overstretching the Fabric
Be careful not to pull and pin your blanket too tightly, as this can lead to overstretching and distorting the fabric. Instead, gently shape and adjust until you are happy with the overall look of your project.
7. Not Letting it Dry Completely
Removing pins or wires before the blanket is fully dry can result in the fabric losing shape and returning to its original form. Be patient and let your project dry completely before finishing.
8. Skipping Steam or Iron
While this step is optional, it can significantly enhance the overall look of your blocked blanket. Taking the time to steam or iron out any wrinkles or imperfections gently will give your project a more professional and polished finish. So, use a steamer or iron on your project when appropriate. Now that you know what to avoid, go forth and block confidently! Your knit blankets will thank you for it.

Frequently Asked Questions
Can I Block My Blanket Without Soaking It?
While soaking is the most common method for blocking, alternative methods include steam blocking or spraying with water and pressing with a cloth. However, these methods may not be as effective as soaking and relaxing the fibers for shaping.
How Long Does it Take for a Blocked Blanket to Dry?
The drying time can vary depending on the thickness of your project and the humidity in your area. It’s best to allow at least 24 hours for your blanket to dry completely before unpinning.
Can I Block My Blanket if It Has Buttons or Other Embellishments?
You can still block a blanket with buttons or other embellishments, but you may need to be more careful when pinning around these areas. It’s best to avoid stretching or pulling on the buttons and instead focus on shaping the fabric around them.
Can I Block Acrylic Yarn?
Yes, acrylic yarn can also benefit from blocking, although it may not hold its shape as well as natural fibers. It’s best to follow the care instructions for your specific yarn when blocking acrylic projects.
Can I Re-block My Blanket if it Gets Wrinkled or Misshapen?
Yes, you can re-block your blanket if needed. Simply soak and block again, following the steps outlined earlier in this guide. However, be careful not to over-block, as this can stretch and distort the fabric. So, use caution when re-blocking and adjust as needed for your specific project.
Conclusion
Blocking is an essential technique in knitting, and mastering it can significantly enhance your projects’ overall look and feel. By following these steps on how to block a blanket knitting and avoiding common mistakes, you’ll be well on your way to creating beautifully blocked blankets that you can be proud of.
So, grab your supplies and give it a try on your next blanket knitting project. Keep practicing and experimenting with different techniques, and soon you’ll be a blocking pro! Your knit projects will thank you for the extra care and attention, resulting in stunning pieces that will be cherished for years.

