
Are you looking to give your cabinets a fresh, new look without the hassle and expense of remodeling? Applying contact paper to your kitchen or bathroom cabinetry is an easy way to provide them with a stylish makeover that won’t break the bank.

Contact paper, also known as shelf liner or decorative paper, is a self-adhesive material in various colors, patterns, and textures. It is commonly used to line shelves and drawers but can also be applied to cabinets for a quick and simple upgrade.
In this blog post, we’ll walk through the steps of how to apply contact paper to cabinets quickly and easily. Discover how simple it can be for anyone to achieve professional results in no time!
What Will You Need?
Before you get started, make sure to gather all the necessary materials and tools. Applying contact paper requires minimal supplies and can be done in just a few simple steps.
- Contact Paper: Choose from various colors, patterns, and textures depending on your style and the look you want to achieve for your cabinets.
- Measuring Tape: Use this to accurately measure the dimensions of your cabinets and determine how much contact paper you will need.
- Scissors: You’ll need scissors to cut the contact paper to fit your cabinets’ measurements.
- Cleaning Supplies: Before applying contact paper, it’s essential to clean your cabinets’ surface thoroughly. Use a mild cleaner or a mixture of water and vinegar to remove dirt, grease, or grime.
- Squeegee: A squeegee will help you smooth out air bubbles and wrinkles as you apply the contact paper to your cabinets.
- X-acto Knife: This will be useful when trimming the contact paper around cabinet handles and other obstacles.
Once you have all your supplies gathered and your cabinets cleaned, it’s time to start the application process.
8 Easy Steps on How to Apply Contact Paper to Cabinets
Step 1: Measure Your Cabinets
The first step in applying contact paper to your cabinets is to measure the surface area you’ll cover. Use a measuring tape to get the height and width of each cabinet door, drawer, or side panel you plan to cover. Be sure to measure each piece separately, as sizes may vary.
Write down the measurements for each piece. In the next step, you’ll use these measurements to cut out the contact paper. Remember, it’s better to overestimate the size slightly, as you can always trim excess later.
Step 2: Cut the Contact Paper

After obtaining the precise measurements of your cabinets, the next step is to cut the contact paper according to these dimensions. Spread out the contact paper on a flat and clean surface, and using your measurements as a guide, mark the dimensions on the backside of the contact paper.
Be sure to add an extra half-inch around each side for adjustments. Now, carefully cut along the lines using a pair of scissors. Remember, it’s always better to cut a little extra than to come up short. You can always trim the excess later for a perfect fit.
Step 3: Apply the Contact Paper
To apply the contact paper, start at the top of your cabinet and gradually work your way down. Peel back a small portion of the backing and align the top edge of the paper with the top of the cabinet.
Press it firmly against the surface. Slowly peel off the rest of the backing while smoothing out the paper with your hand or a squeegee. Ensure that there are no bubbles or wrinkles as you apply. If you notice a bubble, you can lift the paper, reposition it, and smooth it down again. Remember, patience is key!
Step 4: Trim the Excess
Once you’ve applied the contact paper to your cabinet’s surface, trim the excess material for a neat and professional finish. Using an X-acto knife, carefully cut along the edges of the cabinet. Hold the blade at an angle to get a clean, sharp cut. Remember to trim around handles or other fixtures.
Remember, precision is crucial during this step to ensure a seamless look. After trimming, go over the edges with a squeegee or your fingers to ensure the contact paper is fully adhered to. Repeat these steps for each cabinet surface you wish to cover. With patience and care, you’ll soon have beautifully updated cabinets!
Step 5: Repeat the Process for Each Cabinet
With one cabinet done, it’s time to repeat the process for the rest of your cabinets. Follow the same steps: measure the cabinet, cut your contact paper according to these dimensions, apply the contact paper, and trim the excess. Remember, each cabinet door, drawer, and side panel may vary in size, so measure each individually. This step-by-step approach ensures that every cabinet is precisely covered for a uniform and professional appearance.
Step 6: Final Touches and Clean Up
After all your cabinets have been covered, take the time to look over your work. Make sure there are no bubbles or loose edges. If you find any, simply lift the contact paper and smooth it out again. Use your squeegee or a credit card to secure it tightly.

Finally, dispose of any leftover contact paper and clean up your workspace. Stand back and admire your newly updated cabinets! The application of contact paper is a simple, affordable way to breathe new life into your kitchen or bathroom. Enjoy your stylish and fresh cabinets!
Step 7: Maintenance and Care
Once your cabinets look fresh and stylish with their new contact paper, it’s essential to maintain this new appearance with proper care. Wipe spills immediately to prevent staining, and avoid using harsh cleaning chemicals that could damage the paper’s finish.

Regular dusting will also keep your cabinets looking new and vibrant. By taking care of your cabinets, you’ll ensure that your new contact paper lasts and keeps your cabinets looking fantastic for a long time!
Step 8: Celebrate Your Success
Congratulations on successfully applying contact paper to your cabinets! Take a moment to appreciate your hard work and the transformed appearance of your kitchen or bathroom. This cost-effective and simple DIY project can significantly improve your space’s look and even increase its value.
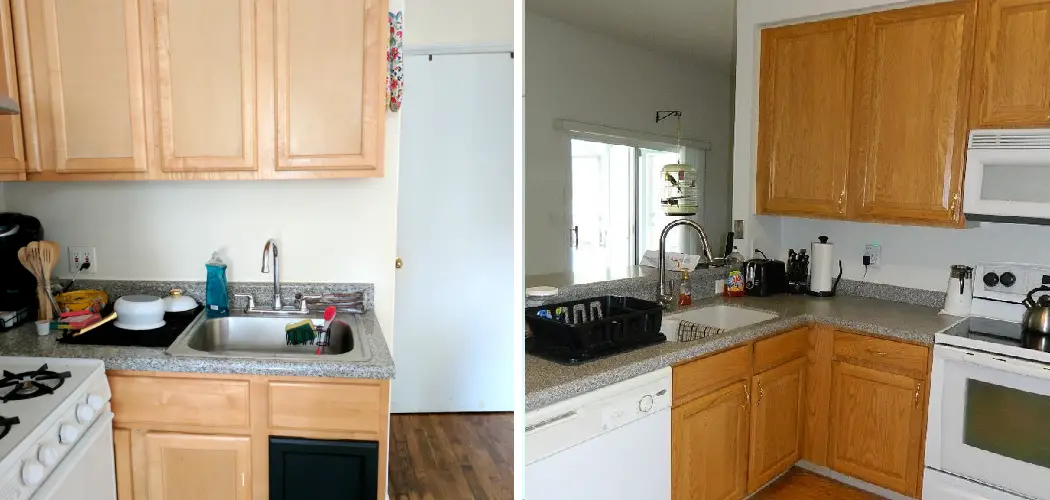
Remember to take before-and-after pictures to share with friends and family or to inspire others on their DIY journey. Remember, you’ve updated your cabinets and learned a new skill that can be used in future home improvement projects.
Following these easy steps, you can easily learn how to apply contact paper to cabinets and give any room a quick and affordable update. With the right supplies, patience, and precision, you can achieve professional-looking results that will leave your cabinets looking stylish and fresh for years to come.
5 Additional Tips and Tricks
- Pre-Cleaning: Before applying contact paper, thoroughly clean and dry the cabinet surfaces. This removes any grease or dust that could interfere with the adhesive.
- Measure Twice: Always measure the cabinet surfaces twice before cutting the contact paper. This helps to minimize waste and ensure a perfect fit.
- Application Tools: Use a smoothing tool or an old credit card to remove bubbles while applying the contact paper. Starting from the center and moving towards the edges helps achieve a smooth finish.
- Overlapping Edges: Consider slightly overlapping the edges when applying multiple contact paper pieces. This helps to prevent any gaps from appearing over time.
- Maintenance: For future care, gently clean the contact paper with a damp cloth and mild soap. Avoid harsh chemicals as they may cause discoloration or damage to the contact paper.

With these additional tips and tricks, you’ll be able to successfully apply contact paper to your cabinets and give them a fresh new look.
5 Things You Should Avoid
- Avoid Rushing: The process of applying contact paper requires patience. Rushing may lead to bubbles or wrinkles in the paper, which might ruin the appearance.
- Avoid Using Sharp Objects: Do not use sharp objects to smooth the paper as it can cause tears or scratches on the surface.
- Avoid Leaving Edges Unsealed: Leaving the edges of the contact paper unsealed can make it peel off easily. Always make sure to seal the edges properly.
- Avoid Direct Sunlight and Heat: Excessive sunlight and heat can cause the contact paper color to fade and the adhesive to weaken. Try to keep your cabinets away from direct sunlight and high heat sources.
- Avoid Excessive Water: While cleaning, do not use excessive water as it may seep into the edges and cause the paper to peel off. Instead, use a slightly damp cloth.
By avoiding these common mistakes, you can ensure that your new contact paper installation will last longer and continue to look great.
Conclusion
After learning how to apply contact paper to cabinets, you are now prepared to spruce up your kitchen on a budget. With these easy-to-follow steps, you’ll be sure to achieve the look of new cabinetry in just a few quick steps. Once it’s done, you may even enjoy the process so much that you won’t stop at cabinets–you may find yourself remodeling your other furniture as well!
To top it all off, transforming your cabinetry with contact paper can significantly increase your home’s value without breaking the bank. Ready to start crafting? Take a deep breath and begin with step one: clearing off all surface areas of dust and debris for optimum results.
And remember that when applying contact paper, a little patience goes a long way–even if it takes a few tries!