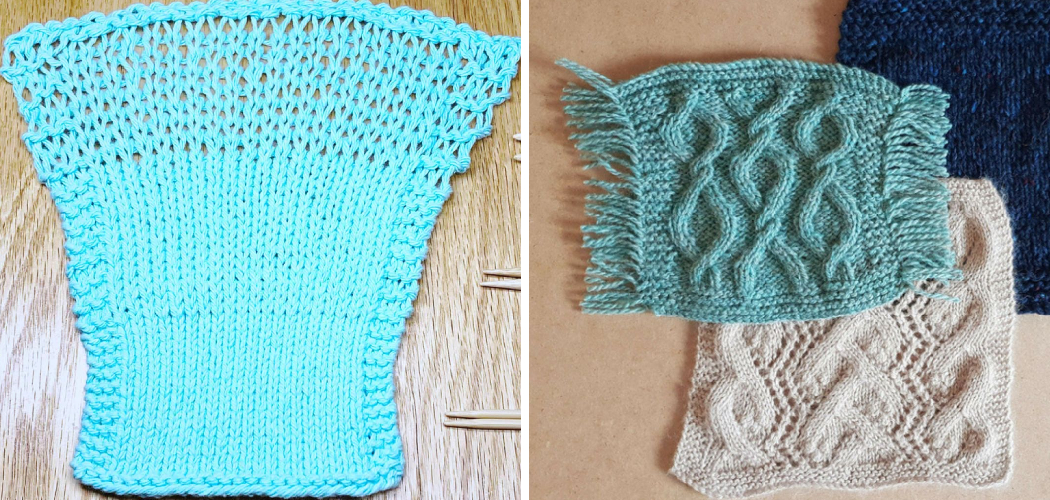
Are you frustrated by the seemingly impossible task of adjusting knitting gauge? With just a few simple steps, it’s easier than you think to make sure your knitted projects come out looking perfect. Whether you’re a beginner or an experienced knitter, these expert tips will ensure that your next project turns out exactly as planned!
From understanding how to take accurate gauge measurements to choosing the right needle and yarn for your pattern, let us guide you through the process of achieving perfect stitch counts every time.
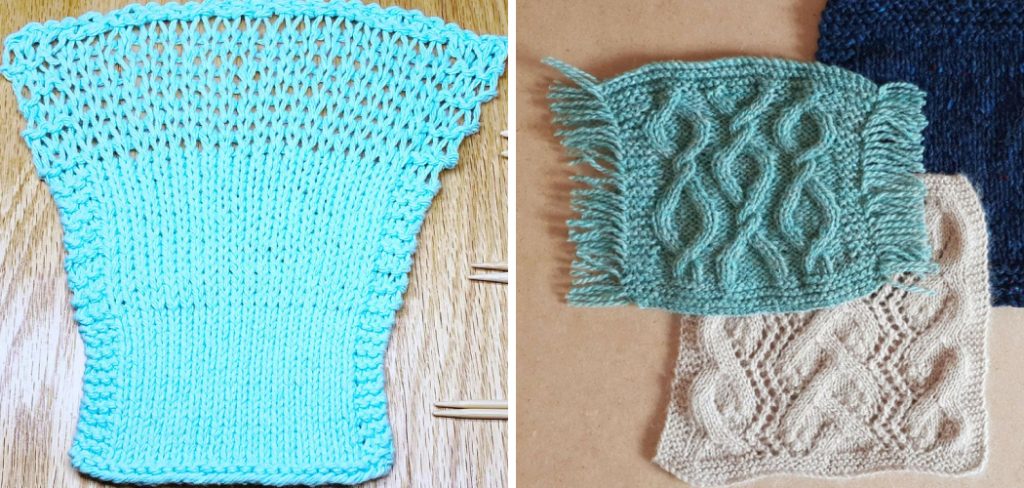
One of the primary difficulties every knitter faces is understanding how to adjust knitting gauge for their specific project. This issue frequently arises for experienced and novice knitters alike, as different patterns require greater precision when adjusting your yarn weight or needle size.
If you’re looking to perfect your tension on any given project, this guide is here to help! Here we cover in depth what knitting gauge really means, why it matters so much to the outcome of your project, and helpful tips on how you can make adjustments quickly and easily.
Why May You Want to Adjust Knitting Gauge?
1 . To Match the Fabric of a Pattern
When you follow a knitting pattern, it specifies a gauge. This is usually in terms of stitches and rows per inch or cm. When you knit with different yarn than the one specified by the pattern, your fabric will most likely not match the desired gauge. In this case, you need to adjust your knitting gauge to get an accurate size of the garment.
2 . To Control for Yarn Variation
Different yarns have different thicknesses and sizes, which can affect your gauge. If you knit with a thinner or thicker yarn than what the pattern calls for, it’s important to adjust your gauge accordingly so that the finished piece still fits as intended. This could mean knitting fewer stitches per inch with a finer yarn, or more stitches per inch with a thicker yarn.
3 . To Get the Desired Look and Feel
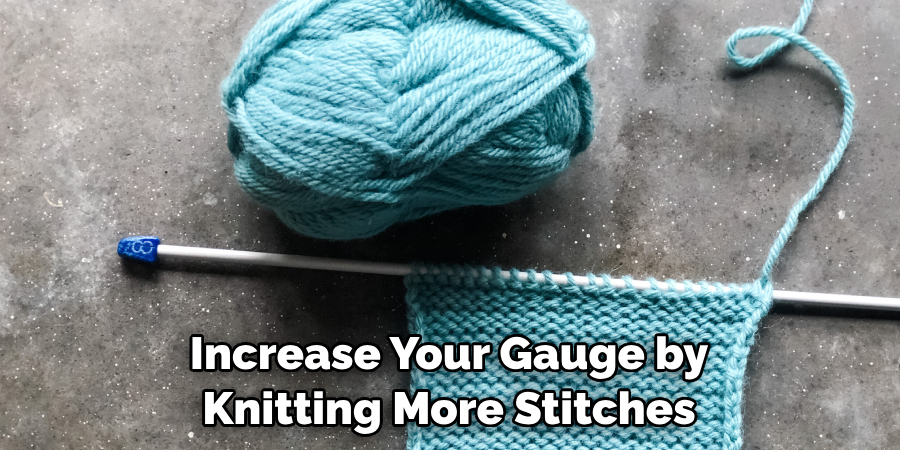
The gauge of your knitting also affects the look and feel of the fabric you create. If you want to create a denser fabric, for example, it’s important to adjust your gauge so that you knit fewer stitches and rows per inch. On the other hand, if you want to create a looser fabric, you’ll need to increase your gauge by knitting more stitches and rows per inch.
4 . To Fit Your Needs
Finally, adjusting knitting gauge can be important simply because it allows you to customize the size of the garment or accessory that you’re making. If you’re knitting a hat, for example, and your head is larger than what the pattern calls for, you can adjust your gauge to create a larger-sized hat that fits better.
No matter why you want to adjust your knitting gauge, it’s important to understand how it works before making any changes. This will help ensure that the finished item looks and fits as you intend it to.
How to Adjust Knitting Gauge in 6 Easy Steps
Step 1: Gather All The Tools
The very first step is to gather all the tools you need for adjusting your knitting gauge. This includes yarn, needles, a measuring tape or ruler, and a stitch counter if available.
Step 2: Check Your Current Gauge
Next up, it’s time to check your current gauge. To do this, take a swatch of fabric that’s at least 4 inches wide and 4 inches tall. Then, use a measuring tape or ruler to count the number of stitches in 1 inch (or cm). If it’s not the same as what the pattern calls for, then you need to adjust your gauge.
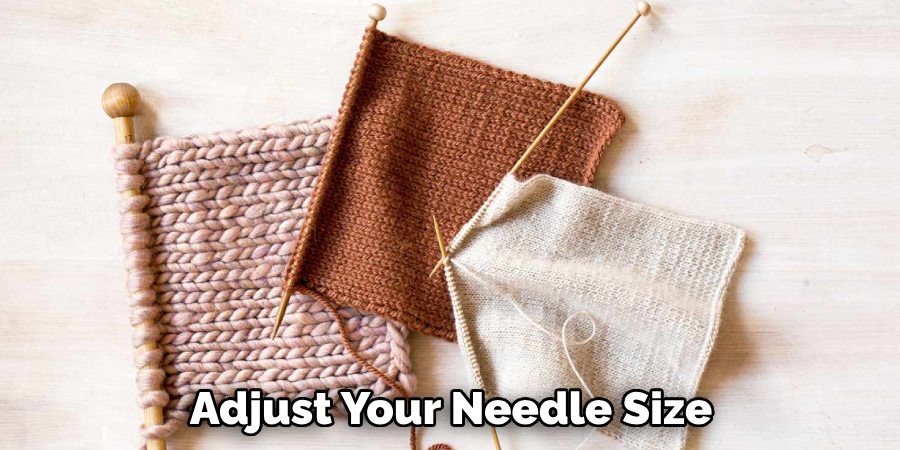
Step 3: Adjust Your Needle Size
Once you know that your gauge needs adjusting, it’s time to adjust your needle size. If you need to increase your gauge, then you’ll need to use larger needles; if you need to decrease it, then smaller needles are necessary.
Step 4: Re-check Your Gauge
Once you’ve adjusted your needle size, it’s important to re-check your gauge. Take another swatch of fabric that is at least 4 inches wide and 4 inches tall, and then measure the number of stitches in 1 inch (or cm). If it’s still not what you need, adjust your needle size again.
Step 5: Experiment With Different Needle Sizes
If adjusting your needle size once didn’t get the desired gauge, don’t be disheartened. It often takes a few tries to get the perfect gauge for your project. Keep experimenting with different needle sizes until you get the desired result.
Step 6: Continue Knitting
Once you’ve achieved the desired knitting gauge, you can start working on the project as per the pattern instructions. Just remember to use the same needle size throughout the project to ensure consistent results.
Adjusting knitting gauge can seem daunting at first, but with a bit of practice, you’ll get the hang of it in no time. And once you do, your projects will look and fit just as they’re supposed to!
Some Extra Tips to Adjust Knitting Gauge
1 . Use the Right Yarn
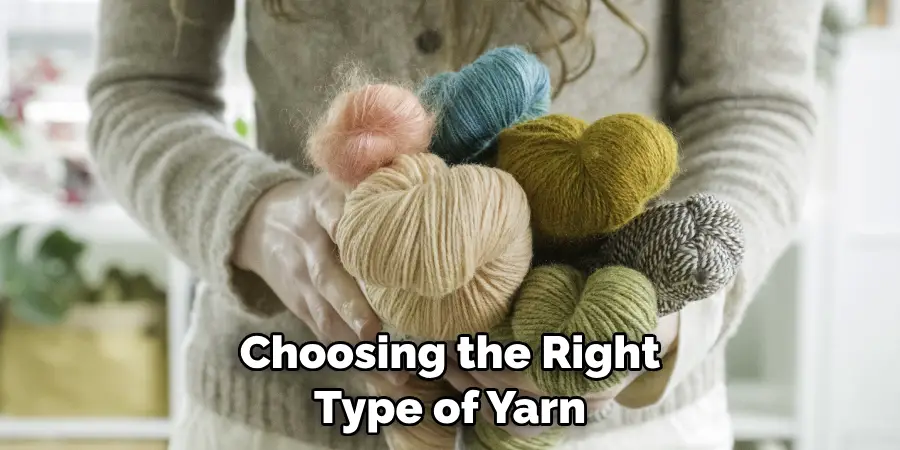
Choosing the right type of yarn for your project can have a big impact on the gauge you get. Each type of yarn has its own properties, so be sure to read up on how it behaves before making your selection. If you’re unsure about what kind of yarn is best for a given project, consult with an experienced knitter or ask your local yarn store for advice.
2 . Try Different Needle Sizes
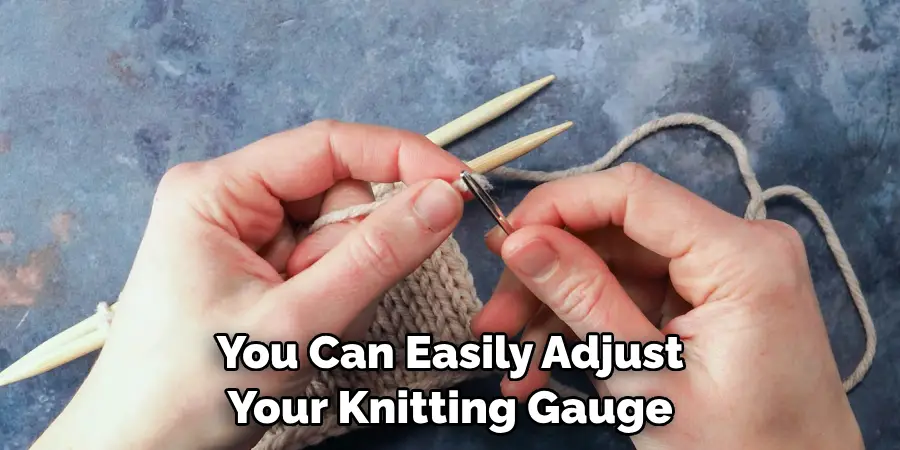
When adjusting the knitting gauge, needle size can make a huge difference. If your gauge is too loose, try using a smaller needle. Conversely, if the fabric is too dense, use a larger needle to loosen it up. It’s important to remember that the gauge you get with a size 8 needle won’t necessarily be the same as what you get with a size 10.
3 . Experiment With Different Stitches
Getting the right gauge in knitting can sometimes involve more than just adjusting the needle size. Trying different stitches can also help achieve your desired result. For example, if the stockinette stitch is giving you too tight of a fabric, try switching to a looser stitch such as seed or ribbing.
4 . Practice Consistency
No matter what type of knitting you’re doing, it’s important to maintain consistency throughout the project if you want to get the desired gauge. Keep tension even, avoid stretching stitches out too much, and make sure that your stitches are all the same size. These small details can make a big difference when it comes to your gauge.
5 . Keep Track of Your Progress
It’s also helpful to keep track of your progress as you adjust the knitting gauge. Take notes throughout the process, so that you have a reference if you need to refer back to it later. This will help ensure that you don’t make the same mistakes twice and will save time in the long run.
By following these tips, you can easily adjust your knitting gauge to get the perfect fit for your project. With practice and patience, you’ll be able to achieve beautiful results every time.
Frequently Asked Questions
What Precautions Should I Take When Adjusting the Knitting Gauge?
Before starting any knitting project, it is important to know the gauge of your yarn and use the right needle size for a successful result. It may also be helpful to knit a gauge swatch before starting any project as this will help you determine if the gauge is correct and that tension is even.
When adjusting the gauge, if you’re knitting with multiple strands of yarn, it is important to make sure that they remain even throughout the project. If you are adding an extra strand or two, ensure that you use one of the same weight and strand as the other yarns.
It may also be helpful to add a stitch marker at certain intervals during your project so that you can more easily count your stitches and keep an even tension throughout. Finally, when making any adjustments to the knitting gauge, remember to adjust both the stitch as well as row counts accordingly. This will ensure that your finished product looks uniform and even.
Can I Make Adjustments to the Knitting Gauge While Working on a Project?
Yes, you can make adjustments to the knitting gauge while working on a project. If your stitches are too tight or too loose, you can make changes by increasing (or decreasing) both the number of rows and stitches in proportion. However, it is important to remember that any changes you make may affect the overall size of your finished product.
It is therefore recommended that you swatch your project before making any adjustments. This will help you determine if the changes you make are necessary and if they will produce the desired result.
What Are Some Tips for Keeping an Even Knitting Gauge?
Maintaining an even knitting gauge is essential to achieving a uniform and professional-looking finished product. Here are some tips to help you keep an even gauge while knitting: Use the right needles for the yarn weight and size.
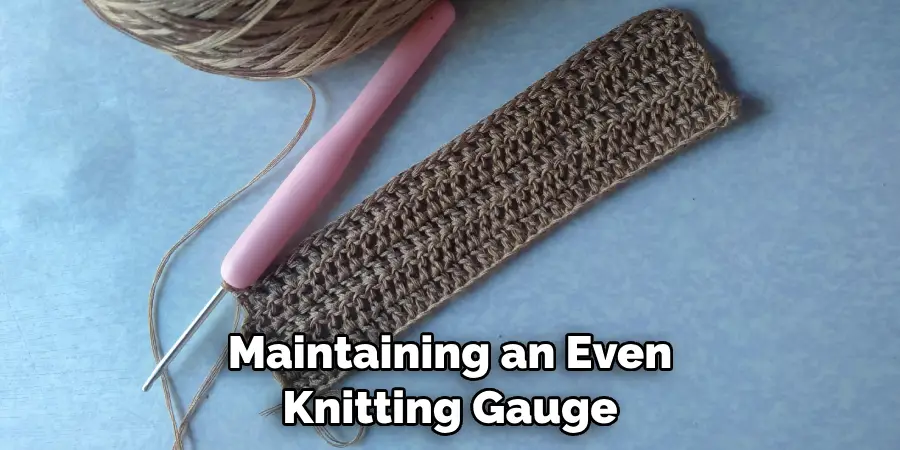
Always use a measuring tape to check your tension and make sure it is even throughout. Measure the stitches in multiple places on the project to ensure they are all uniform. Counting your stitches is also helpful in keeping an even tension. Start and end each row of stitches in the same place so that your edges are symmetrical.
Finally, always swatch your project before making any adjustments – this will help you ensure that any changes you make produce the desired result.
What Are Some Common Causes of a Uneven Knitting Gauge?
There are several common causes of an uneven knitting gauge, such as using the wrong size or weight needles for the yarn, not counting your stitches accurately, knitting too tightly or loosely, and starting and ending each row in a different place.
Another common cause is not using enough tension when knitting – this can make some rows tighter than others. Additionally, if you are working with multiple strands of yarn at the same time, it is important to make sure they are all even throughout the project.
Finally, if you are using a pattern that has complicated stitch instructions, this can also affect your tension and result in an uneven gauge.
What Are Some Tips For Preventing Uneven Tension When Changing Yarns?
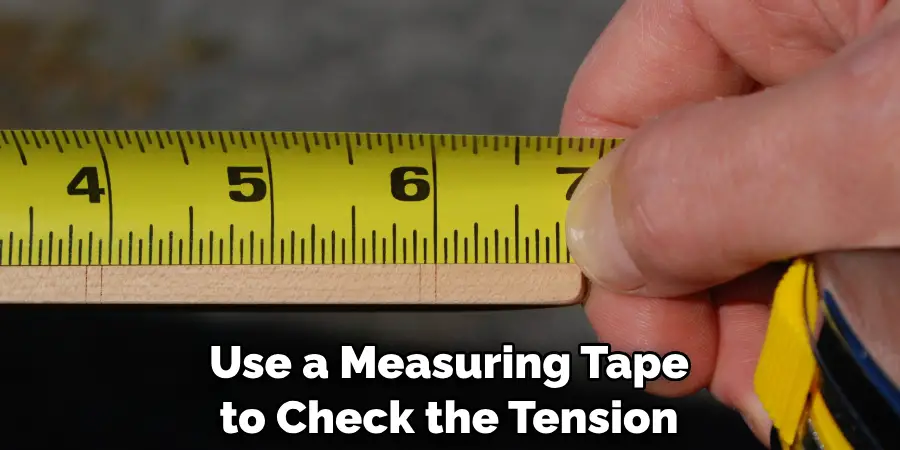
When changing from one yarn to another, it is important to maintain an even tension throughout. Here are some tips for preventing uneven tension when changing yarns: If you are working with multiple strands of yarn simultaneously, make sure they remain even and consistent in weight and texture. Always use a measuring tape to check the tension if you suspect any inconsistency.
By taking precautions and following these tips when adjusting or maintaining knitting gauge, you can ensure your finished product looks professional and uniform.
If you are still having difficulty achieving an even gauge, it may be helpful to seek additional guidance from a more experienced knitter. With patience and practice, you can learn to adjust and maintain the knitting gauge for all your projects.
Conclusion
Through this guide on how to adjust knitting gauge, we’ve seen that adjusting knitting gauge takes a bit of experimenting. It can be difficult to get the stitch and row count right on the first try – but it’s certainly possible with patience! And even if you don’t always match the gauge as closely as suggested, your project will likely still come out looking wonderful.
Remember that the joy of knitting is in creating something beautiful, not necessarily following a strict set of guidelines. So grab your needles and yarn, sit back, and let yourself relax into nature’s balm: happy crafting!

