

Do you want to add a shoulder strap to your bag but need to know how? If so, you’re in the right place. If you want to add extra style and convenience to your bag, one of the best things you can do is attach a shoulder strap. Not only will this make it easier for you to carry your belongings around, but you’ll also be able to switch up the look of your favorite accessory.
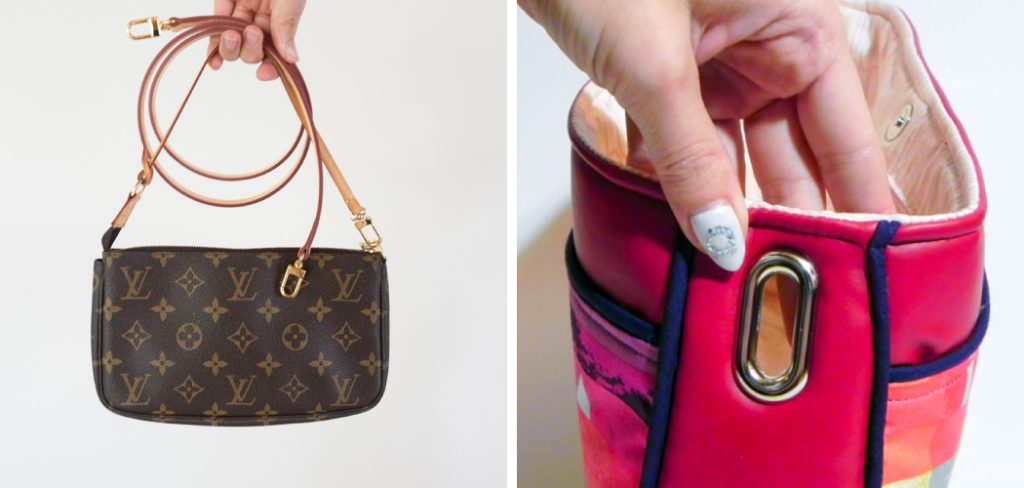
In this blog post, we will break down the step-by-step process of how to add shoulder strap to bag. We’ll explain what kind of hardware and supplies you may need for successfully attaching straps and provide tips and precautions to help ensure your shouldered bag is secure. So if you’ve been hesitant about taking on this DIY project, fear not – just follow these steps!
What Will You Need?
Before starting this project, it’s important to make sure you have the right supplies. Here is a list of what you will need:
- Shoulder straps
- Bag hardware (rings or swivel clips)
- Sewing needle and thread
- Hammer and nails (if needed)
Once you have everything ready, you can start the process of attaching the straps.
10 Easy Steps on How to Add Shoulder Strap to Bag
Step 1: Measure and Cut Straps
First, measure the length of the shoulder straps you want to use. Make sure you consider how long you want it to be while also accounting for any movement or adjustment during wear. Once you have this measurement, cut the straps to size with scissors or a sharp knife.
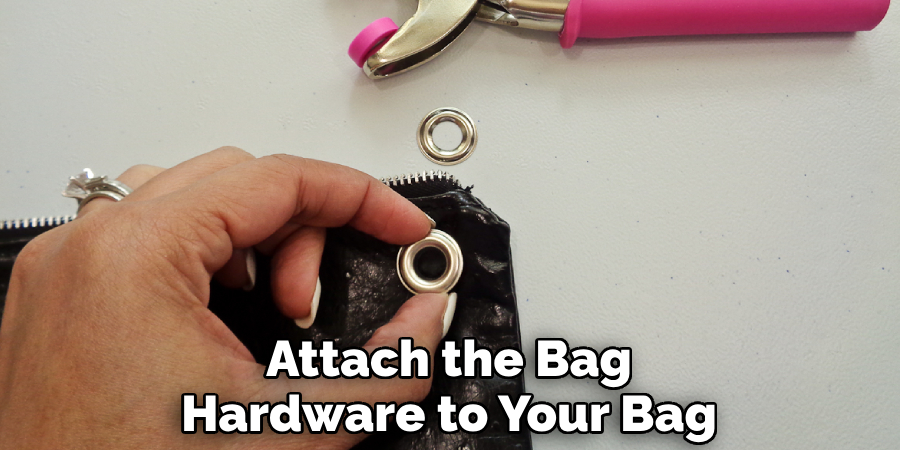
Step 2: Attach Bag Hardware
Next, attach the bag hardware (rings or swivel clips) to your bag. If your bag is leather and doesn’t already have pre-made holes, then carefully create slits in the material using a hammer and nails. Once done, insert the hardware through these slits and secure it on both sides of your bag’s exterior.
Step 3: Sew Straps Onto Hardware
Now it’s time to sew the straps onto the bag hardware. Starting with one end of the strap, thread your needle and stitch it around the metal ring or clip. Make sure you use a tight knot so that everything is secure. Once you have finished this part, repeat on the other side for both straps.
Step 4: Check Straps and Bag Hardware
You don’t want to finish this project only to discover something isn’t working correctly. So before you declare success, make sure all straps are securely connected to your bag and its hardware by giving them a good tug. If they feel like they are going to pull loose, then go back and re-sew any weak spots.
Step 5: Keep Going
Continue following the same process for all straps until they are all attached to your bag. If you have a lot of hardware, make sure you’re taking breaks between each one so you don’t overwork your hands. Be careful not to stitch too tightly either, as this could damage the material of your bag.
Step 6: Adjust Straps
Now it’s time to adjust your shoulder straps to fit how you want them on the bag. Pull both sides until they are tight and secure around the bag hardware. Ensure there is enough slack so that when you wear it, the straps aren’t too tight or loose.
Step 7: Check All Seams and Attachments
Once again, double-check all seams and attachments before moving on to step 8. Ensure everything is in the right place and all straps are securely attached to the bag hardware. If you spot any weak areas, re-sew them so your bag will be safe to carry.
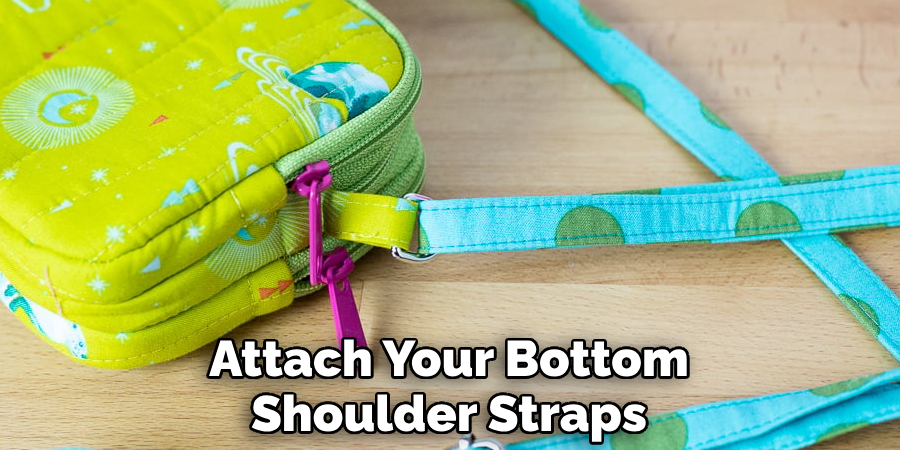
Step 8: Attach Bottom Straps
Next, attach your bottom shoulder straps. This step may be trickier than the rest since you’ll need to fit these straps between both sides of the bag’s exterior. But with some patience and precision, you can make sure they are secure and ready for wear.
Step 9: Tie Knots
To finish this project off, tie knots at both ends of each strap to ensure extra security when wearing your shouldered bag. Add a dab of glue on top of each knot for an even stronger bond! It will also prevent the knot from coming undone easily.
Step 10: You’re Done!
Congratulations – you have successfully added shoulder straps to your bag. All that’s left to do is enjoy your stylish and functional accessory. Remember always to check the straps and hardware before each use, just in case anything has come loose during wear.
You’ve now learned to add a shoulder strap to a bag in ten easy steps. These tips will help you get the most out of this DIY project and easily customize your favorite bag! So get creative while keeping safety in mind as you work on your shoulder bag.
5 Additional Tips and Tricks
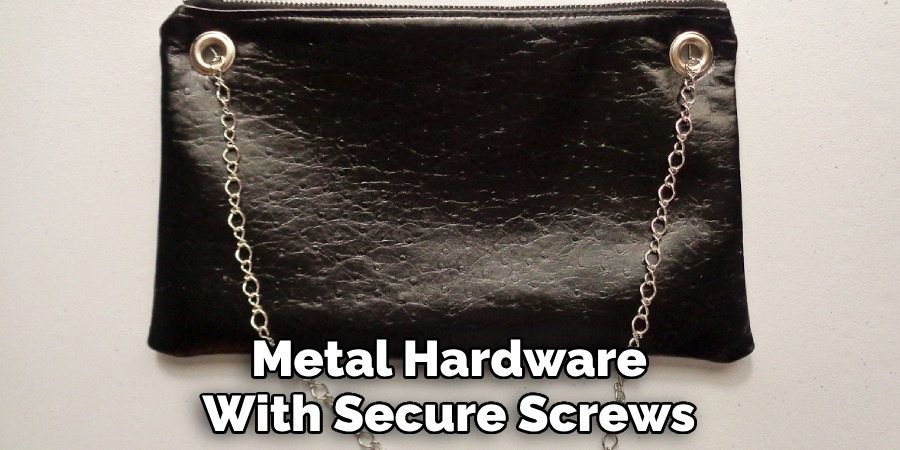
1. When attaching a shoulder strap to your bag, it is important to use the correct size and type of hardware. Look for heavy duty metal rings or hardware with screws that can be tightened securely.
2. If you are using webbing or fabric as straps, reinforce them by using a strong adhesive along the edges before attaching them to the bag. This will provide extra strength and security.
3. Be sure to measure twice and check all measurements before cutting out any holes or slits in your bag for attaching the straps. They must fit well!
4. When affixing with screws, pre-drill pilot holes first so that it does not pull the fabric or leather of your bag.
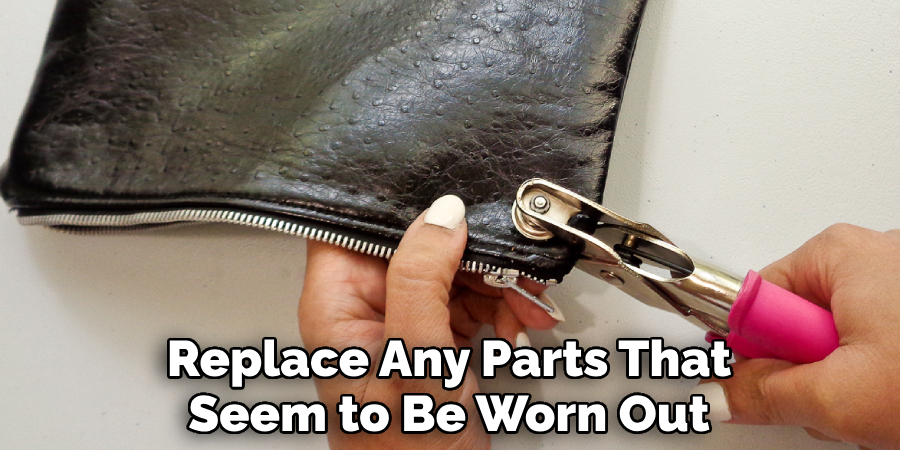
5. Keep an eye on the straps and hardware over time to make sure they are secure and not becoming worn down. Inspect them periodically and replace any parts that seem to be worn out or not securely attached.
With these tips in mind, you can easily add a shoulder strap to any bag and ensure it is strong, secure, and comfortable for carrying.
5 Things You Should Avoid
1. Avoid using regular hardware such as nails or bolts when attaching your shoulder straps. These can pull the fabric or leather of your bag and may need to be more secure.
2. Don’t make the straps too long or too short – they should be appropriate to fit comfortably on your shoulder without dragging on the ground or straining your neck and back when carrying the bag.
3. Don’t use thin fabric that will easily tear or fray when attaching a strap; instead, look for thicker webbing or canvas material that is more durable and secure.
4. Avoid buying cheap hardware, as these may not be strong enough to hold together securely, causing a potential safety hazard if it breaks while carrying your bag.
5. Try to attach only a few straps at a time, as this could put too much strain on the materials. Limit the number of straps and keep them evenly distributed for the most secure fit.
These tips should help you ensure that you are attaching your shoulder strap to your bag with ease, comfort, and security. Enjoy!
How Do You Attach Moving Straps?
- When attaching moving straps, use heavy-duty metal rings or hardware with secure screws that can handle the weight and strain of carrying your items.
- Make sure the straps are in good condition and not too worn out, as they could break during the movement of heavier items.
- Measure twice before cutting any holes or slits in your bag for attaching the straps so that they fit safely and securely.
- Pre-drill pilot holes when using screws to attach the straps to prevent them from pulling on the fabric or leather of your bag while in motion.
- When lifting with your shoulder straps, keep a balanced load by distributing the weight evenly across both straps and avoid sudden movements that could cause the straps to loosen or break.
These tips should help you attach your moving straps easily, safely, and securely.
What Material is Best for Shoulder Straps?
The best material to use for shoulder straps depends on the type of bag and its intended use.
Generally, look for thick and sturdy materials such as webbing or canvas that are strong enough to withstand the weight of your items. If you’re attaching moving straps, opt for metal hardware with secure screws, as these can handle heavier loads better than fabric or leather straps.
Finally, if you plan to carry your bag in extreme weather conditions (e.g., snow or rain), consider buying waterproof webbing to resist water damage more effectively than other materials.
With these tips in mind, you should be able to find the perfect material for your shoulder strap!
Conclusion
We have gone over how to add shoulder strap to bag in much detail throughout this post. Hopefully, you now have the knowledge and confidence to attempt it yourself. From measuring the correct length to sewing it in place with strong thread, you should feel ready when it comes down to doing the work.
Just remember that patience is key; take your time when it comes to securing the hardware, as many straps call for quick-release pieces that might require more attention depending on your chosen bag style. After everything is securely attached and in place, you can enjoy having an extra convenient way of carrying your bag around without any worries!
This post has given you some insight on how to add a shoulder strap to your bag. This process is easy with the proper knowledge and tools – so don’t hesitate to try! Good luck!