Scarves are the most comfortable and easy-to-style accessory for winter. They add warmth to your outfit and make it more stylish at the same time. A crochet scarf is a perfect option for those who love DIY and want to add a personal touch to their winterwear.
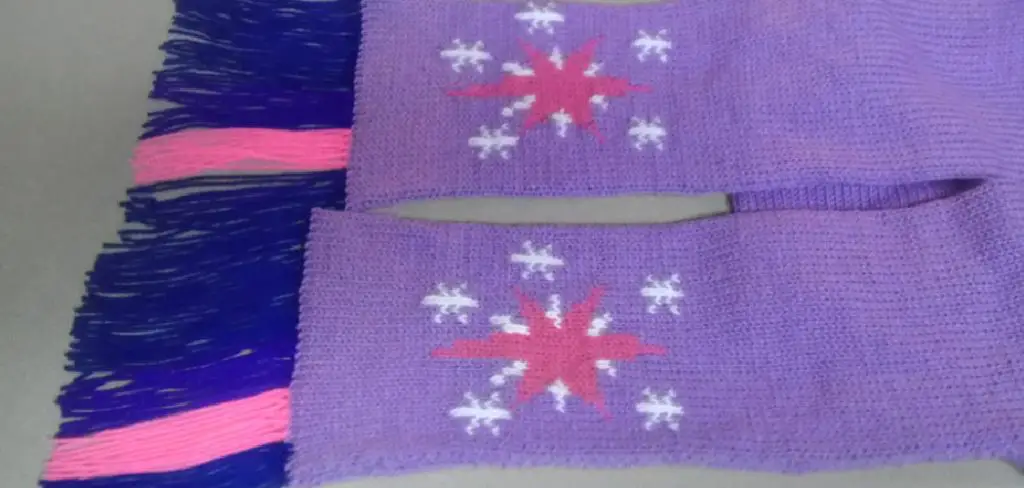
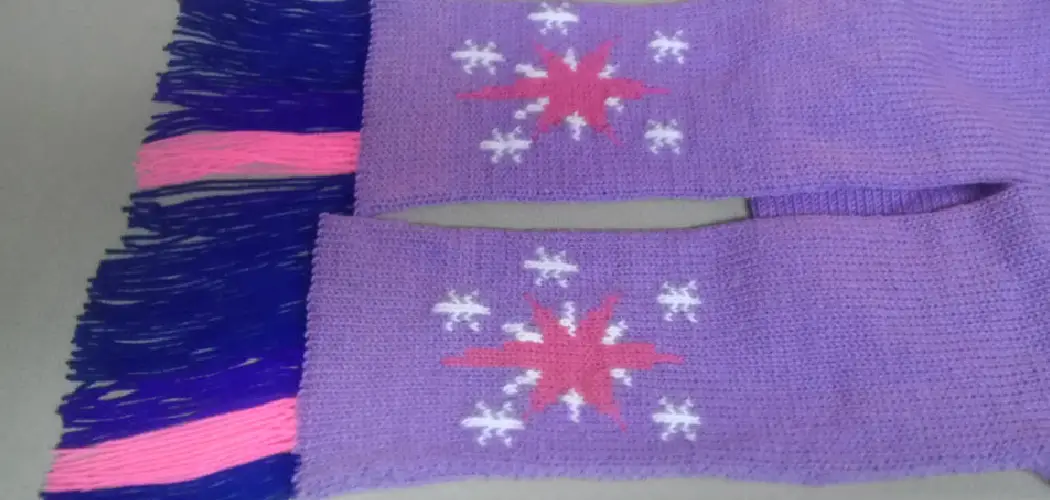
Adding a fringe to the crochet scarf is a trendy way to level up your crochet game. Not only does it add texture and depth, but it also gives your scarf a chic look. If you’re wondering how to add fringe to a crochet scarf, keep reading because we’ve got you covered.
Can You Add Fringe to A Crochet Scarf?
Warmth and fashion go hand-in-hand when it comes to winter. Crochet scarfs are one of the most stylish winter accessories you can add to your wardrobe. However, wouldn’t it be nice to give them a little bit of a trendy touch?
Adding fringe to your crochet scarf is a perfect way to achieve your desired style upgrade. Fringe has been all the rage in fashion for quite some time now and is perfect to give your crochet scarf an edgy look. Not only does it give an extra layer of playful charm to your winter outfit, but it also adds some extra warmth around your neck. So, what are you waiting for? Get your crochet hook and start adding fringe to your scarf today!
Why Should You Add Fringe To A Crochet Scarf?
Fringe can add a unique flair to a crochet scarf, transforming it from an ordinary accessory to a statement piece. It can also provide the perfect finishing touch, complementing the overall design of the scarf. Not only does fringe add a touch of personality to the scarf, but it also has practical benefits.
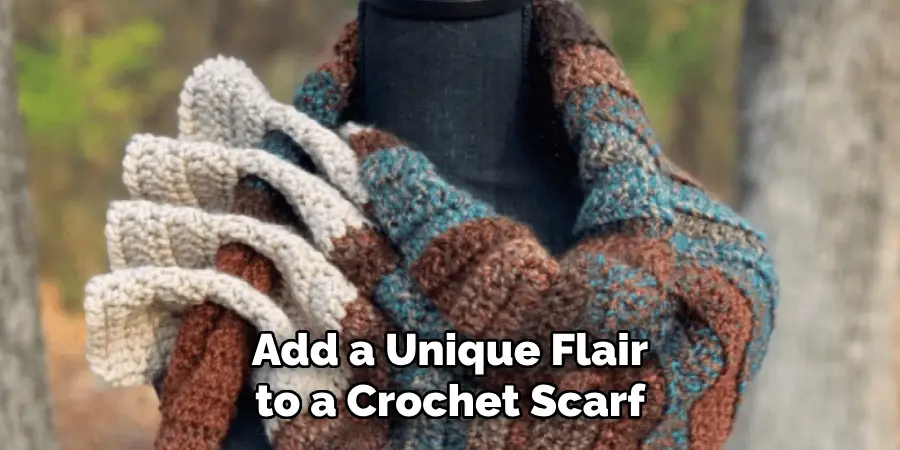
It can provide additional warmth, creating a cozy barrier between the cold air and your neck. Fringe can also help to elongate the appearance of the scarf, creating a more flattering look. By adding fringe to a crochet scarf, you’re not only enhancing its aesthetic appeal but also making it more functional. So, next time you’re working on a crochet scarf, don’t be afraid to add a little fringe to take it to the next level.
A Simple Guide on How to Add Fringe to A Crochet Scarf
1. Choose the Yarn and Fringe:
The first step in adding a fringe to your crochet scarf is to choose the type of yarn and fringe that you want to use. While choosing the yarn, make sure it matches the color of your scarf. For the fringe, you can use yarn suede or even fabric that complements the yarn. Cut the fringe material to the length you want, considering that it will fold in half. Keep about an inch extra to tie the fringe.
2. Preparing the Scarf:
Make sure your scarf is clean and free of any loose threads or knots because it will make the fringe difficult to attach. Fold the scarf in half so both ends meet, and secure it with a stitch marker at the center. You can also place a pin to mark the center, and it will provide you with an idea of how long your fringe should be.
3. Adding the Fringe:
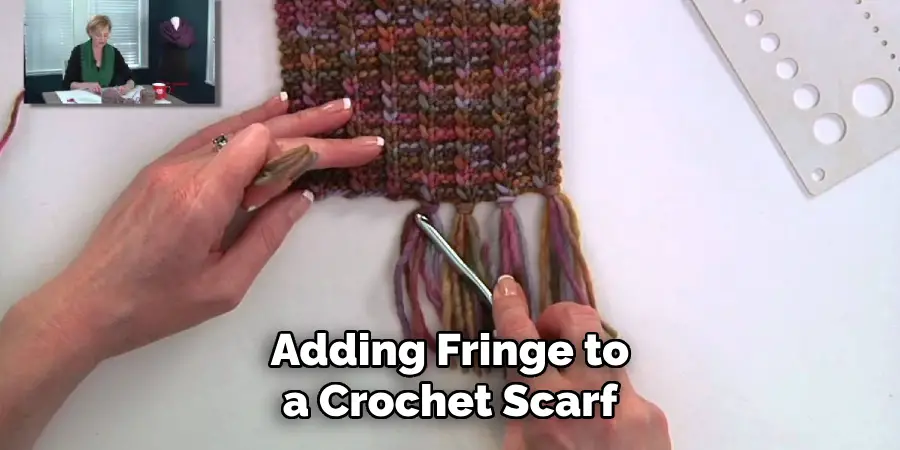
To add the fringe, take the fold of the fringe material and hold it up against the stitch marker so one end is longer than the other. Fold the two ends together, insert them into the chain stitch, and fold the loop over the edge of the scarf.
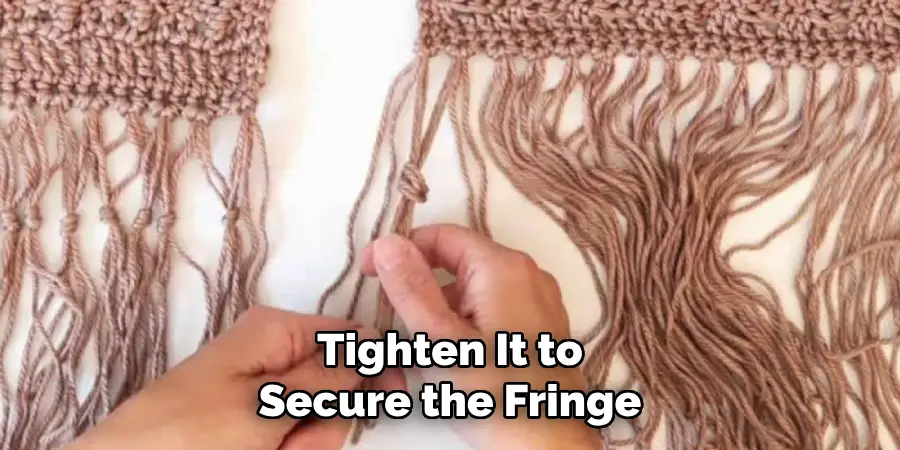
Take the longer end, put it through the loop, and tighten it to secure the fringe. Repeat on both ends of the scarf. You can add as many fringes as you want, depending on how full or sparse you want your scarf to look.
4. Alternating Fringe Colors:
If you want to add a pop of color to your crochet scarf, you can use different colored fringes. Alternate the colors while attaching them to the chain stitch and create a fun and unique fringe pattern. Mix and match different materials like yarn, suede, or fabric to create a textured look. Get creative and have fun with it!
5. Using Different Fringing Techniques:
Besides the traditional chain stitch technique, you can also use other fringing techniques like lark’s head knot or loop fringe to add a different look to your scarf. These techniques involve attaching the fringe in different ways and creating a more textured and layered look.
6. Customizing the Length of Fringe:
You can also customize the length of your fringe depending on your personal preference. You can make them short and uniform or long and uneven for a bohemian look. Experiment with different lengths to see what looks best with your scarf.
7. Finishing Touches:
Once you have added all the fringes, give it one final inspection to ensure they are all secure. If you find any loose ones, simply tighten them by pulling on the longer end. You can also trim the fringes to make them even if needed. And that’s it! Your crochet scarf now has a beautiful fringe that adds character and style to your accessory. So go ahead and show off your new creation!
5 Considerations Things When You Need to Add Fringe to A Crochet Scarf
1. Choose the Right Yarn
When adding fringe to a crochet scarf, it is important to choose the right yarn. The yarn should be similar in weight and texture to the yarn used for the scarf itself. This will ensure that the fringe blends seamlessly with the rest of the scarf.
2. Determine Desired Length
Before adding fringe, it is important to determine the desired length. This can vary depending on personal preference and style, but a good rule of thumb is to make the fringe about 6-8 inches long. This length allows for a nice drape without being too overwhelming.
3. Decide on the Number of Strands
The number of strands you use for each piece of fringe can also impact the overall look of your crochet scarf. For a more subtle look, use fewer strands (around 3-4). For a fuller and more dramatic effect, use more strands (around 6-8).
4. Cut Evenly Sized Pieces
To create a uniform and neat-looking fringe, it is important to cut each piece evenly. Use a ruler or measuring tape to ensure that each piece is the same length before attaching it to your scarf.
5. Attach Carefully
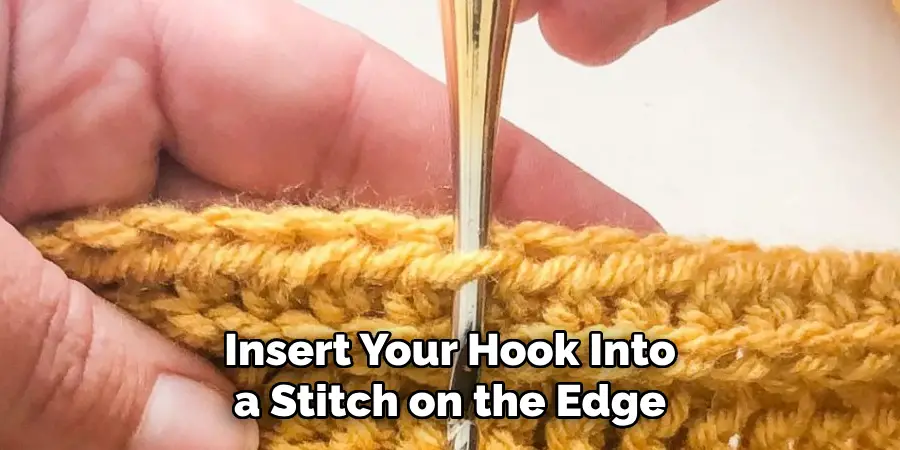
Attaching fringe can be tricky, but taking your time and being careful will produce a professional-looking finish. One method is to fold each strand in half, creating a loop at one end. Insert your hook into a stitch on the edge of your scarf, pull the loop through, and then pull the ends through that loop, securing it in place. Repeat this process along both edges of your scarf until all desired fringe pieces are attached.
Benefits of Add Fringe To A Crochet Scarf
Crochet scarves are a classic addition to any winter wardrobe, but have you ever considered adding fringe to take your scarf to the next level? Not only does fringe add a playful and stylish touch to your scarf, but it also provides added warmth and texture. The fringe movement gives your look a dynamic flair and can make a simple scarf stand out in a crowd.
Additionally, fringe can be customized to match any outfit or personal style with various colors, lengths, and thicknesses. So, why settle for a boring scarf when fringe can elevate your winter fashion game? Give it a try and watch heads turn!
Some Common Mistakes People Make When Trying to Add Fringe to A Crochet Scarf
Adding fringe to a crochet scarf is a great way to give it some extra personality and flair. However, this seemingly simple task can quickly become a frustrating mess if you’re not careful. One common mistake is cutting their fringe too short or unevenly, resulting in a lackluster or messy final product. Another mistake is not spacing the fringe evenly along the edge of the scarf, which can make it look unbalanced or awkward.
Additionally, failing to secure the ends of the fringe properly can lead to it unraveling over time. If you’re looking to add some fringe to your scarf, take the time to measure and cut it precisely, space it evenly, and secure it tightly to avoid any mistakes and create a stunning finished product.
Frequently Asked Questions About Adding Fringe to A Crochet Scarf
Q1: What Type of Yarn Should I Use to Add Fringe to My Crochet Scarf?
A: It’s important to choose a yarn similar in weight and texture to the yarn used for the scarf itself. This will make sure the fringe blends well with the rest of the scarf.
Q2: How Long Should the Fringe Be on My Crochet Scarf?
A: The length of the fringe can depend on personal preference and style. As a rule of thumb, making the fringe about 6-8 inches long gives a nice drape without being too overwhelming.
Q3: How Many Strands Should I Use for Each Piece of Fringe?
A: The number of strands per piece of fringe can affect the overall look of your scarf. For a more subtle look, use around 3-4 strands. For a fuller and more dramatic effect, use around 6-8 strands.
Q4: How Do I Ensure My Fringe Pieces Are Even?
A: To ensure even fringe, use a ruler or measuring tape when cutting each piece. This will ensure that each piece is the same length.
Q5: How Do I Attach the Fringe to My Crochet Scarf?
A: Fold each strand in half to create a loop at one end, insert your hook into a stitch on the edge of your scarf, pull the loop through, and then pull the ends through the loop. This secures it in place. Repeat this along both edges of your scarf until all the fringe pieces are attached.
Conclusion
Now that you know how to add fringe to a crochet scarf, you can personalize your winter look by making your crochet scarf and adding your favorite fringe. Not only is it easy to do, but it is also affordable, and it will make your scarf stand out from the rest. With this simple DIY, you can elevate your crochet game and take your winterwear to the next level.
Expertise:
Crafting expert with a focus on innovative techniques and diverse materials.
Specialization:
- Textile arts (weaving, embroidery, and fabric dyeing)
- Woodworking and furniture design
- Mixed media and upcycling projects
Recognition:
- Featured in local art exhibits showcasing innovative craft projects
- Collaborated with community organizations to promote crafting workshops
- Received accolades for contributions to sustainable crafting initiatives
Mission:
- To inspire and empower crafters of all levels to discover their creative potential
- Encourages experimentation and self-expression through hands-on projects

