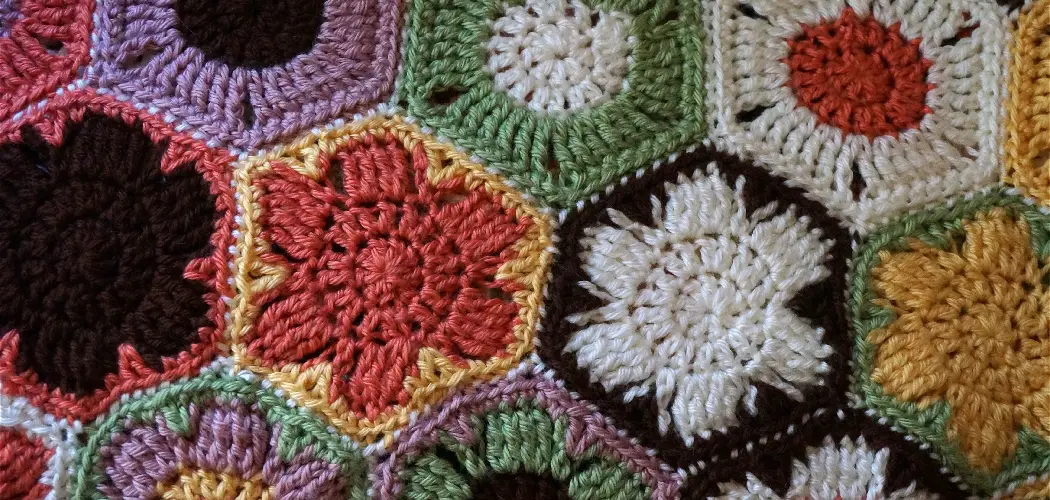
Have you ever finished crocheting a beautiful blanket only to feel like it was missing something?
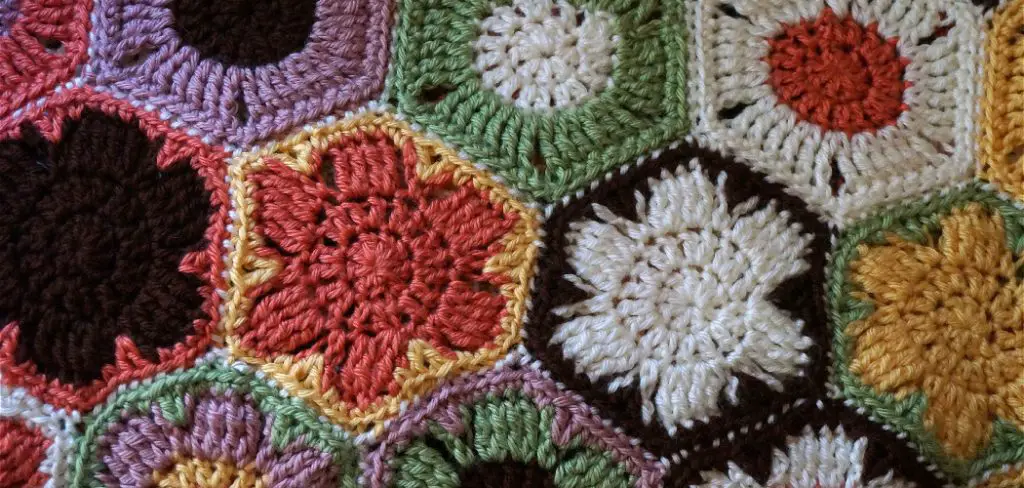
The colors seemed dull, or it looked unfinished without definition between the blanket and the edges. Adding a simple border is a quick and easy way to polish off your crochet work and give it a professional look. Borders are the perfect finishing touch that can transform your blanket from good to gorgeous.
In this article on how to add a border to a crochet blanket, I’ll walk you through different border stitch patterns you can use and provide instructions for adding one to your crochet blanket. By learning some basic border stitches, you can take any crochet project to the next level and make it a true showstopper. Let’s get started!
What Will You Need?
Before jumping into the different border stitch patterns, let’s ensure you have all the necessary materials. Here are some things you’ll need to add a border to your crochet blanket:
- Completed crochet blanket
- Yarn in the desired color(s)
- Crochet hook
- Scissors
- Tapestry needle (optional but recommended)
With these materials on hand, you’ll be ready to add a beautiful border to your crochet blanket in no time.
10 Easy Steps on How to Add a Border to a Crochet Blanket
Step 1. Choose a Border Pattern
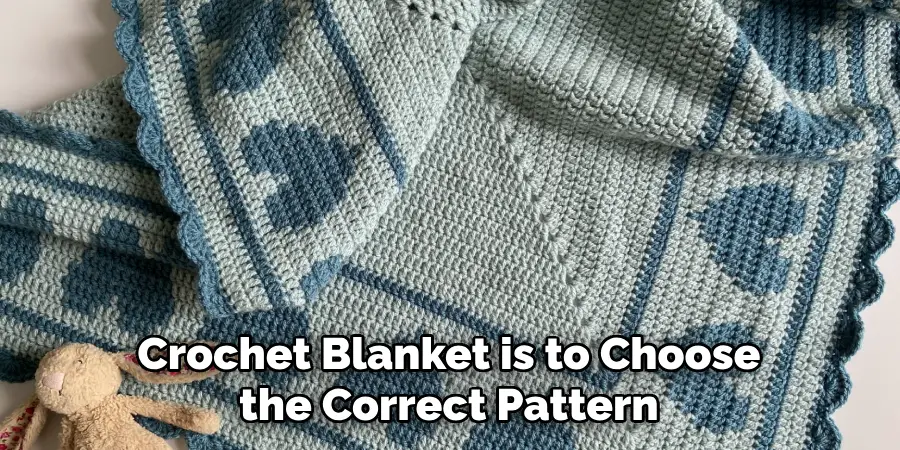
The first step to adding a border to your crochet blanket is to choose the correct pattern. There are many different types of borders you can choose from, including simple single and double crochet stitches, more complicated lace patterns, and even colorwork. Consider the overall look of your project and decide on a pattern that will complement it.
Step 2. Calculate How Much Yarn You Need
Once you have chosen your border pattern, you will need to calculate how much yarn you need for it. Measure the length and width of your blanket and use this information to estimate how many rounds of the border pattern you will need. Then, use the yardage requirements for each type of yarn used in your project to determine how much additional yarn you will need for the border.
Step 3. Attach Your Border
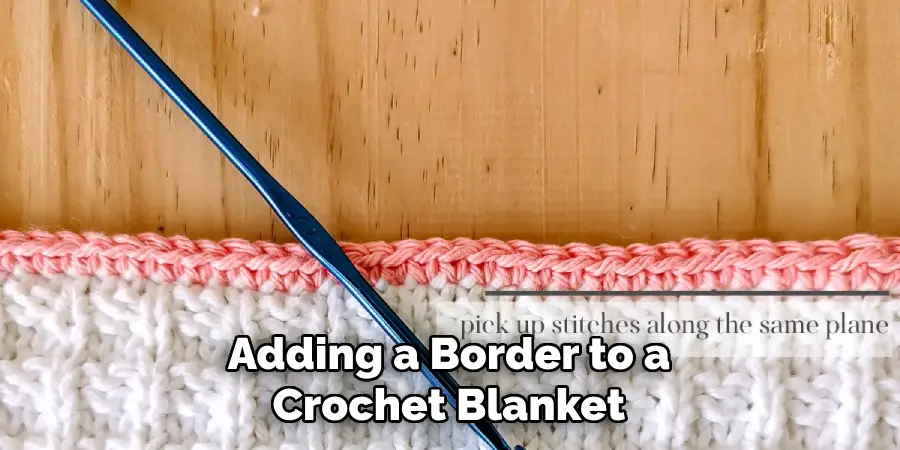
When you have all the supplies needed for your border, it’s time to attach it! Start by joining your new yarn at any corner stitch of your blanket, and then work through the rounds of your chosen pattern until you reach the end. When you’re finished with one side, move on to the next side until all four sides have been completed with a beautiful border!
Step 4. Adjust the Stitch Count
If your border pattern doesn’t fit perfectly around your blanket, you may need to adjust the stitch count. This is particularly important at the corners, where you may need to add a few extra stitches to maintain a flat and neat edge. Typically, the pattern will guide you on how to do this.
If it doesn’t, a good rule of thumb is to add two additional stitches at every corner. Remember, the goal is to ensure the border fits snugly around your blanket without buckling or ruffling.
Step 5. Secure the Border
To finish off the border, you need to secure the ends of the yarn. You do this by making a slip stitch into the first stitch of the round and then cutting the wool, leaving a long tail to be woven in. Use a tapestry needle to weave this tail beneath the stitches of your border until it is secure and invisible.
This process not only hides the tail of your yarn but also strengthens your border. Once you’ve done this, your newly added border should be fully attached, giving your crochet blanket a beautifully finished look.
Step 6. Add a Second Round (Optional)
If you want to enhance the border’s visual impact, add a second stitch round. Start again at any corner, attach your yarn, and work around the blanket following your border pattern. You can either use the same pattern or introduce a new one to add a layer of complexity to your design.
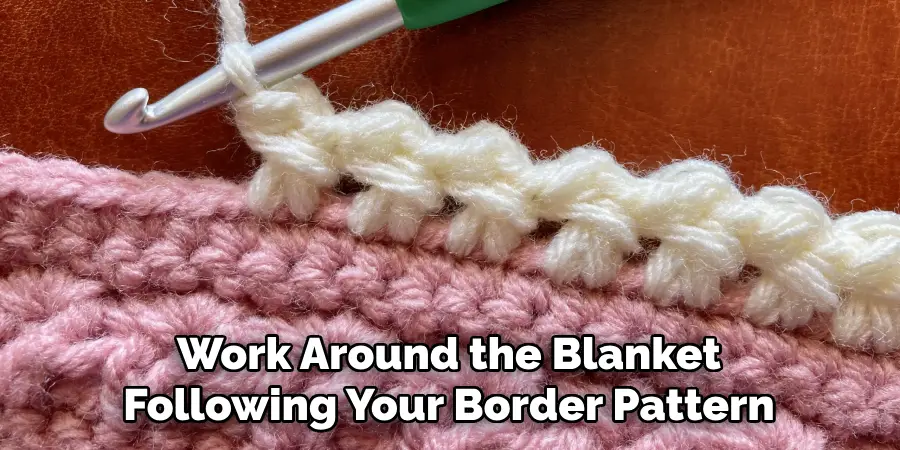
Adjust your stitch count if necessary, secure your yarn at the end of your round, and weave in any tails for a neat finish. This additional round can lend a dramatic flair to a simple border, making your crochet blanket even more eye-catching.
Step 7. Blocking the Blanket (Optional)
After finishing your border, you may choose to block your blanket. Blocking is a method used to shape and set your crochet work, allowing your stitches and patterns to sit more evenly. It is particularly beneficial when you’ve added a decorative border.
To block your blanket, wet it thoroughly and squeeze out the excess water. Do not wring it as this can distort your stitches. Spread your blanket out on a flat, clean surface (a blocking mat is ideal if you have one), and shape it, paying particular attention to the borders. Pin it in place and leave it to dry completely. Once dry, your blanket and its border will have a consistent, even appearance.
Step 8. Enjoy Your New Crochet Blanket Border
Now that you’ve added a border, secured it, and optionally blocked your blanket, it’s time to admire your handiwork! Your crochet blanket should now have a beautifully finished look with an intricate border that adds depth and character.
Display your blanket in your home, gift it to a loved one, or use it to stay warm during cool evenings. Remember, the skills you’ve developed in this project can be applied to future crochet endeavors, allowing you to explore new patterns and techniques.
Step 9. Care for Your Crochet Blanket
Once you’ve completed your crochet blanket with the added border, you must know how to properly care for it to maintain its beauty and longevity. Washing your crochet blanket should be done delicately to prevent stitches or yarn damage.
It’s best to hand wash your blanket in lukewarm water using a gentle detergent. Avoid twisting or wringing the blanket. Instead, squeeze out excess water gently and lay it flat on a clean towel to dry. Regularly inspect your blanket for any loose stitches, particularly around the border, and repair them immediately to prevent further unravelling.
Step 10. Practice and Improve Your Skills
The process of adding a border to a crochet blanket provides an excellent opportunity to practice and improve your crocheting skills. As you become more comfortable and proficient, consider challenging yourself with more complex border patterns, introducing multi-color schemes, or experimenting with different types of yarn.
Each new project is a chance to learn something new and to continue honing your skills.
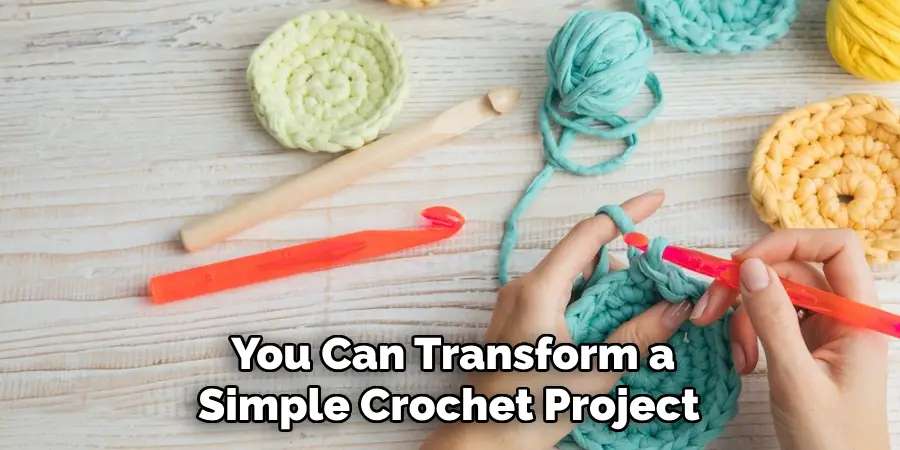
With a little time and patience, you can transform a simple crochet project into a stunning piece of handcrafted art.
5 Additional Tips and Tricks
- Choose the Right Border:
When adding a border to a crochet blanket, consider the overall design. Sometimes a simple border may let your stitches stand out, while other times a complex border can add an ornate finish.
- Keep Your Tension Consistent:
Maintain a consistent tension when crocheting the border. If the border is too tight, your blanket might curl up, but the edge could ripple if it’s too loose.
- Use a Complementary Color:
Choose a border color that complements the colors of the blanket. It can be a color already used in the blanket or a new color to add contrast.
- Begin and End Gracefully:
When starting and finishing your border, make the join as invisible as possible. This will give your blanket a seamless look.
- Block Your Blanket:
Before adding a border, consider blocking your blanket. This process helps to straighten out your blanket, making it easier to add a border.
With these additional tips and tricks, you can take your crochet blanket to the next level by adding a beautiful and functional border.
5 Things You Should Avoid
- Avoid Rushing the Process:
Patience is key when adding a border to a crochet blanket. Rushing might lead to consistency in your work, which can affect the overall appearance of your blanket.
- Don’t Ignore the Gauge:
While it is tempting to ignore the gauge, it’s essential when adding a border. Not considering the gauge can result in a border that doesn’t fit well with the rest of the blanket.
- Steer Clear of Incompatible Stitches:
Not all stitches work well for borders. Select a stitch that complements the main body of the blanket and is simple enough to work with.
- Avoid Using Too Many Colors:
While using many colors for your border might be tempting, it could make your blanket look chaotic. Stick to one or two shades that complement the main body of the blanket.
- Don’t Overlook Blocking:
Skipping the blocking process can lead to a distorted border. Blocking ensures your blanket lays flat which makes the border addition process easier and the final result more appealing.
By avoiding these common mistakes, you can ensure a professional and visually appealing border for your crochet blanket.
Do All Crochet Blankets Need a Border?
Adding a border to a crochet blanket is entirely optional. Some people prefer the look of a simple, unbordered blanket, while others like the added structure and design a border can provide.
Ultimately, it comes down to personal preference and the overall aesthetic you are trying to achieve with your crochet project. However, these tips and tricks can help you create a beautiful and cohesive final product if you add a border.
Remember to consider the design, gauge, tension, and color choices when adding a border to your crochet blanket, and don’t be afraid to experiment with different techniques and stitches to find what works best for you.
How Do You Tie Off Crochet?
Tying off crochet is securing your yarn at the end of a project. Here are some steps to follow when tying off your crochet:
- Cut the Yarn: After completing your final stitch, cut the yarn, leaving a tail around 6 inches long.
- Pull Through: Pull your hook up through the last stitch you made.
- Make a Slip Knot: Create a slip knot by looping the yarn over the hook and pulling it through the loop.
- Pull Tight: Pull the tail of the yarn to tighten the slip knot.
- Weave In Ends: Using a tapestry needle, weave in the loose ends of your yarn into your crochet project to hide them.
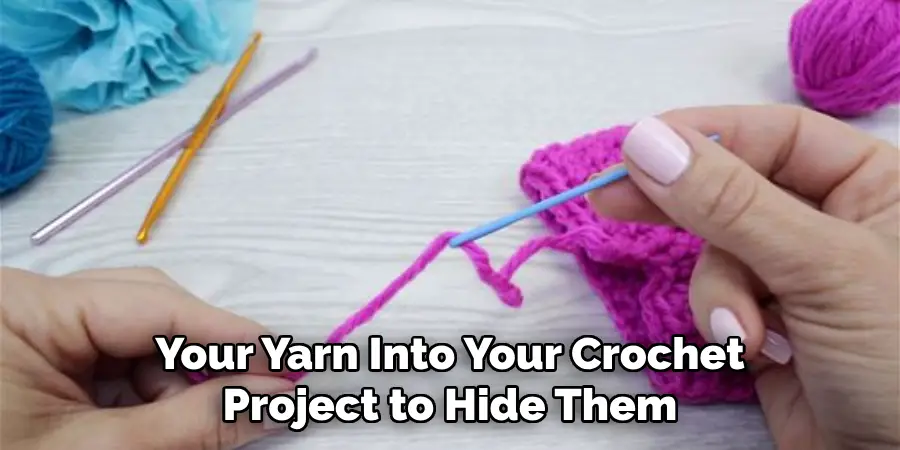
By following these steps, you can neatly tie off your crochet project and ensure it stays secure. Always tie off at the end of each row or when changing colors.
Conclusion
As we have seen, adding a border to your crochet blanket has many benefits, as it frames the project and adds another layer of texture. With these three simple steps, you are empowered to make your finished projects look even better!
Hopefully, these additional tips and tricks on how to add a border to a crochet blanket, as well as common mistakes to avoid, will help you in your future crochet projects. Remember to practice and experiment with different borders to continue improving your skills.
Now that you know how easy it is to add a stylish border to your crochet blankets, why not try? Invite some friends over for some tea and snacks, and enjoy crocheting together while watching how quickly an ordinary blanket becomes extraordinary as soon as you give it a great border. It really doesn’t take too much effort, so go ahead and spruce up your creations with borders!
Expertise:
Crafting expert with a focus on innovative techniques and diverse materials.
Specialization:
- Textile arts (weaving, embroidery, and fabric dyeing)
- Woodworking and furniture design
- Mixed media and upcycling projects
Recognition:
- Featured in local art exhibits showcasing innovative craft projects
- Collaborated with community organizations to promote crafting workshops
- Received accolades for contributions to sustainable crafting initiatives
Mission:
- To inspire and empower crafters of all levels to discover their creative potential
- Encourages experimentation and self-expression through hands-on projects

