
Are you looking for a fun and creative activity to add to your craft arsenal? Have you been on the hunt for a safe, accessible material that can help bring visions of color and texture to life? If so, then look no further than polymer clay! Working with polymer clay is an engaging and delightful way to have a hands-on creative experience.

Whether this hobby is something new or if it’s already part of your crafting journey, there are tons of great techniques you can learn using rubber stamps, molds, materials from nature and more. In this article on how to work with polymer clay we will cover all the basics — from picking out the right type of clay all the way through ways in which you can put different finishes on your projects. Let’s get started!
What is Polymer Clay?
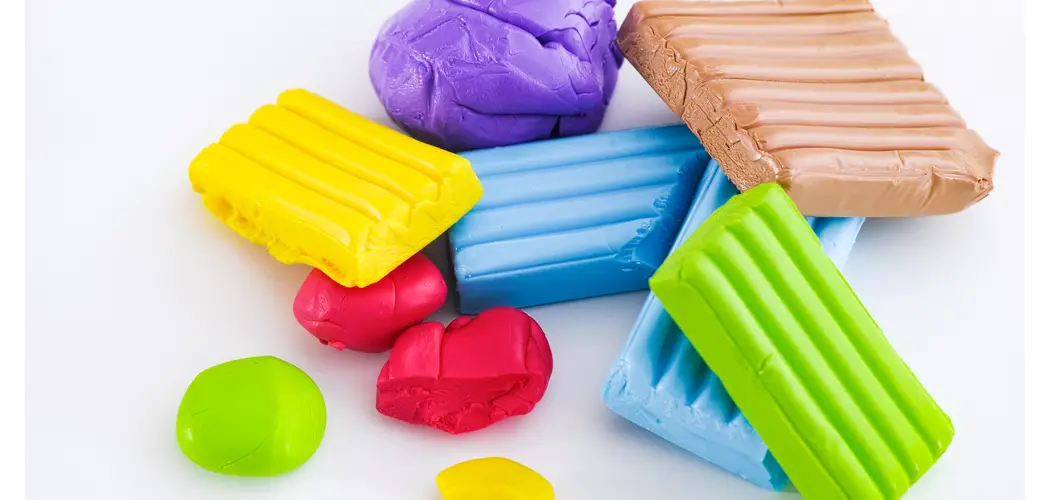
Polymer clay is a type of modeling clay with a polymer polyvinyl chloride (PVC) and plasticizers. It comes in a variety of colors, including neutrals, metallics, and even neon shades. The most popular brands of polymer clay include Fimo, Sculpey, and Kato Polyclay. You can find this clay in most art stores as well as online.
The great thing about polymer clay is that it’s versatile and easy to use. You can mold, shape, and manipulate it just like any other type of clay, but unlike traditional clay, polymer clay doesn’t dry out when exposed to air. This means you can take your time with your projects without worrying about the clay hardening before you’re finished. Plus, it’s non-toxic and safe for children to use with adult supervision, making it a great activity for the whole family.

11 Step-by-Step Guidelines on How to Work With Polymer Clay
Step 1: Choosing the Right Type of Polymer Clay
Before you start working with polymer clay, it’s important to choose the right type for your project. As mentioned earlier, there are many brands and colors available, so be sure to select a brand that suits your needs and budget. You may also consider trying out different types of clay to see which one you prefer. It’s also a good idea to read reviews and watch tutorials from other artists to get an idea of which brands they recommend.
Step 2: Preparing Your Work Area
Polymer clay can be messy and sticky, so it’s important to prepare your work area before you start. Lay down some wax or parchment paper to protect your workspace and make cleaning up easier. You may also want to have a dedicated polymer clay toolkit with items like a cutting blade, rolling pin, and sculpting tools. It’s also a good idea to keep some baby wipes or rubbing alcohol nearby for cleaning up your hands and tools.
Step 3: Conditioning the Clay
Now that you have your workspace set up, it’s time to condition the clay. Conditioning is the process of warming up and softening the clay to make it easier to work with. Start by kneading a small piece of clay in between your hands until it becomes pliable and easy to manipulate. You can also use a clay conditioning machine to speed up the process.

Step 4: Creating Your Base
Once your clay is conditioned, it’s time to start creating your project. Depending on what you’re making, you may need to create a base or armature to support the clay. This could be something as simple as a ball of aluminum foil or wire, You can also create a base using cardboard or wood, depending on the size and weight of your project.
Step 5: Sculpting Your Clay
Next comes the fun part – sculpting! Use your hands and any tools you have to shape and mold the clay into your desired design. You can also use rubber stamps, molds, mesh screens, or other materials to add texture and patterns to your project. Don’t be afraid to experiment and try different techniques! This is where the real creativity and personal touch come into play.
Step 6: Baking Your Creation
Once you’ve completed your design, it’s time to bake the clay. Follow the instructions on your clay package for temperature and baking time. Depending on the size and thickness of your project, it may take anywhere from 10-45 minutes to bake. Be sure to keep an eye on your creation as it bakes – you don’t want to overcook it and risk burning or cracking the clay.
Step 7: Adding Finishes
After your project has cooled, you can add finishes to enhance its appearance and durability. You can use acrylic paints, metallic powders, glazes, sealants, and more. This is also a great opportunity to add details and highlights to your design. It’s important to note that some finishes may require additional baking, so be sure to read the instructions carefully before applying them.

Step 8: Curing the Clay
Some finishes may require curing for best results. This involves heating the piece again or leaving it out in the sun or under a UV light to harden and set. Be sure to follow the instructions for your specific finish to ensure the best outcome. Otherwise, your creation may not have the desired look or finish. It’s always a good idea to test different finishes on scraps of clay before applying them to your final project.
Step 9: Cleaning Up
Once you’re finished with your project, it’s time to clean up. Use a damp cloth or baby wipes to wipe down your workspace and tools. You can also use rubbing alcohol for any extra stubborn clay residue. It’s important to clean up after each project to avoid any cross-contamination of colors and to keep your tools in good condition.
Step 10: Storing Your Clay
To prolong the life of your polymer clay, it’s important to store it properly. Keep your clay in an airtight container or resealable bag, away from direct sunlight and extreme temperatures. This will prevent it from drying out or getting too soft. You can also add a small piece of plastic wrap or wax paper to keep the clay separated from itself and other colors. It’s also a good idea to label your container with the brand, color, and date of purchase for easy reference.
Step 11: Practice Makes Perfect!
As with any skill, practice makes perfect when working with polymer clay. Don’t be discouraged if your first few projects don’t turn out how you envisioned. Keep experimenting and trying new techniques, and eventually, you’ll become a pro at working with polymer clay. And remember to have fun and enjoy the creative process! That’s what crafting is all about. Happy sculpting!
Following these step-by-step guidelines on how to work with polymer clay will help you successfully work with polymer clay and create beautiful and unique creations. Keep in mind that there is no right or wrong way to work with this versatile medium, so don’t be afraid to let your creativity shine!

Frequently Asked Questions
Q: Is Polymer Clay Safe for Children to Use?
A: Yes, as long as it is used with adult supervision and proper safety precautions are taken. Polymer clay is non-toxic, making it a great activity for the whole family to enjoy. It’s always a good idea to wash your hands after working with any type of clay.
Q: How Do I Store My Finished Clay Creations?
A: Once your project is fully cured and finished, it can be stored in the same way as raw polymer clay. Keep it in an airtight container or resealable bag to prevent dust and damage. You can also wrap it in tissue paper or bubble wrap for extra protection.
Q: Can I Mix Different Brands of Polymer Clay?
A: Yes, you can mix different brands of polymer clay together. However, keep in mind that each brand may have slightly different characteristics and baking temperatures, so it’s important to test a small piece before using a mixture on your final project. Mixing colors from different brands can also create unique and interesting effects.
Q: How Do I Fix Cracks or Breaks in My Clay Creations?
A: Depending on the severity of the crack or break, there are a few methods you can try to fix it. For small cracks, you can fill them with a bit of uncured clay and bake them again. For larger cracks or breaks, you may need to use a strong adhesive specifically designed for polymer clay. It’s always a good idea to test on scraps of clay before attempting to fix your project.

Conclusion
Not only is working with polymer clay a fun and creative activity, but it can also take your craftsmanship to the next level. With the right supplies, preparation, and techniques, you can create beautiful and intricate sculptures or jewelry out of polymer clay. With some practice and dedication, your skills will grow even further. Try out any method mentioned in this post to find which works best for you! If you are ever in doubt when working with polymer clay, don’t forget to do some research or reach out to experts for advice.
As long as you have the right materials and knowledge, you are ready to make something unique that no one else has ever seen before! So don’t be afraid – start experimenting today and let your imagination soar! Thanks for reading this article on how to work with polymer clay.