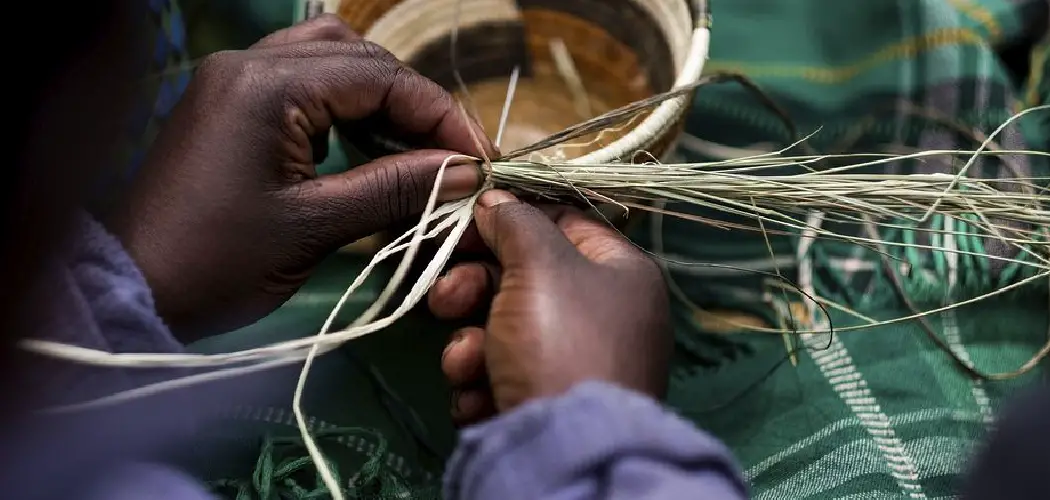
Have you ever admired a hand-woven basket and thought to yourself, “Wow, I wish I could do that!”? Well with some patience and knowledge of the craft, it’s certainly possible! Weaving baskets out of grass has been an age-old tradition, used for both functional purposes like carrying goods and also decorative uses.
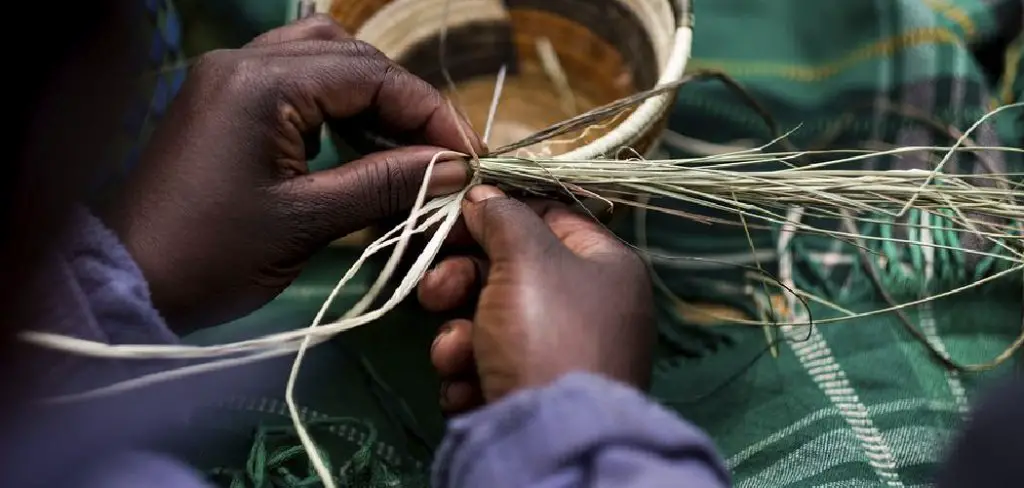
Whether you’d like to weave your own unique basket as a gift or just create something beautiful for yourself, this guide on how to weave a basket out of grass will teach you everything you need to know about weaving a grass basket. So sharpen those scissors and get ready – let us begin!
Why Weave a Basket Out of Grass?
There are many reasons why someone may choose to weave a basket out of grass. Some may do it as a hobby, while others may want to learn the traditional craft for cultural or historical reasons. Additionally, weaving baskets can help reduce waste by using natural materials like grass instead of plastic or other synthetic materials. It’s also a great way to express creativity and create something unique and functional.
Materials You Will Need
To get started with weaving a grass basket, you will need the following materials:
- Freshly Cut Long Strands of Grass (Preferably From a Flexible Type Such as Sweetgrass or Pine Needles)
- Scissors (Preferably Ones With Sharp Blades)
- Ruler or Measuring Tape
- Needle
- Thread or Thin Twine (Preferably in a Natural Color)
- Binder Clips or Clothespins
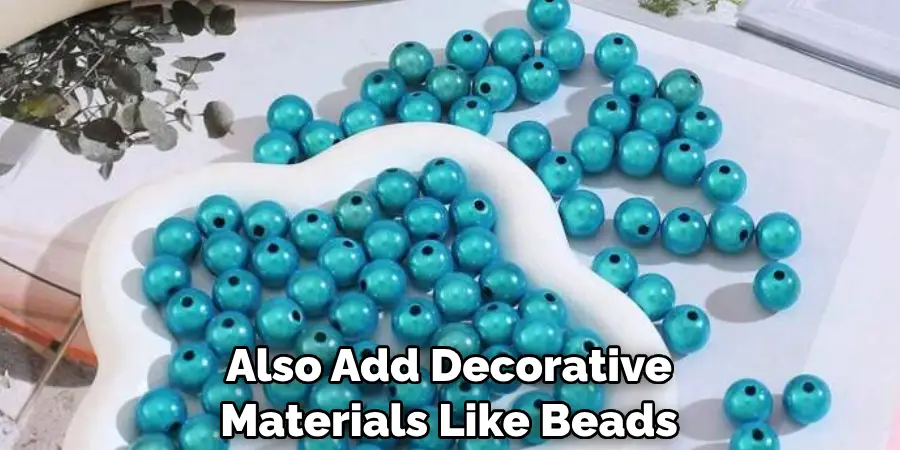
- Optional: Decorative Materials Like Beads, Feathers, or Ribbons
10 Simple Step-by-step Instructions on How to Weave a Basket Out of Grass
Step 1: Prepare
Gather all your materials in a well-lit and airy space. Make sure to have plenty of grass strands as it’s always better to have more than run out mid-project. Otherwise, the baskets may not have a uniform look. Also, dampen the grass strands slightly to make them more pliable and easier to work with. You can do this by lightly misting them with water or placing them in a plastic bag for a few minutes.

Step 2: Cut the Grass
Using your scissors, cut the grass strands into equal lengths of approximately 18-20 inches. This will make it easier to work with and give you enough length to create a decent-sized basket. You can adjust the size according to your preference, but it’s always better to start with longer strands and trim them later if needed. You will need around 50 strands for a medium-sized basket.
Step 3: Divide the Strands into Groups
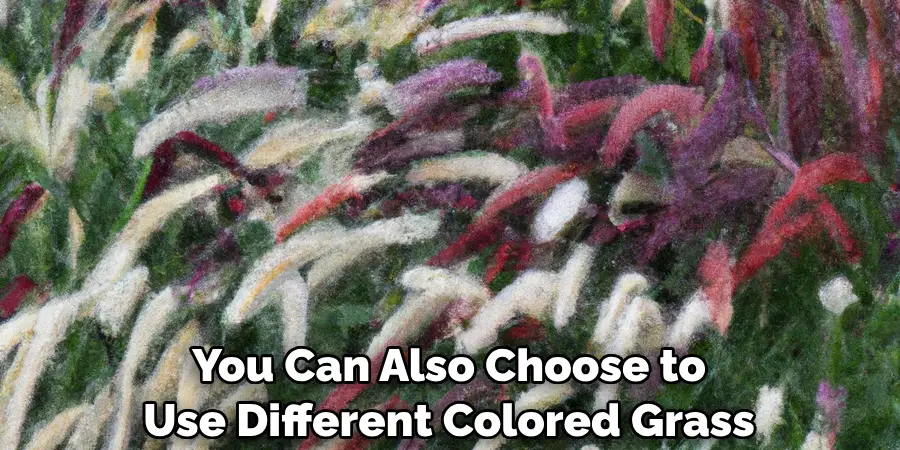
Divide the grass strands into two equal groups. Place each group side by side with their ends facing in opposite directions. These will be your warp and weft strands, which are essential to weaving the basket. You can also choose to use different colored grass strands for a more visually appealing basket. It’s all up to you and your creativity!
Step 4: Begin Weaving
Take one strand from the left group and place it over the top of the right group. Then, take another strand from the left group and place it under the right group. Keep alternating between placing a strand over and then under until you reach the end of both groups. This is called the ‘over one, under one’ pattern and will create a sturdy base for your basket.
Step 5: Secure with a Knot
Once you reach the end of the strands, secure them in place by tying a knot at the end. You can also use a binder clip or clothespin to hold the strands together while you weave. It’s essential to keep the tension tight while weaving to prevent your basket from becoming loose or floppy. It may take some practice to get the tension just right.
Step 6: Add More Strands
To make your basket wider, add more strands of grass to each group. This will also create a fuller and sturdier basket. Continue weaving in the ‘over one, under one’ pattern until you have reached your desired width. Make sure to keep the tension tight and secure with a knot at the end. Otherwise, your basket may become uneven. Otherwise, you can also use this step to create a taller basket by adding more length to the strands.
Step 7: Begin Shaping the Basket
Once you have reached your desired width, it’s time to start shaping the basket. Take one strand from the left group and bend it upwards at a 90-degree angle. Then, take a strand from the right group and place it over the bent strand. This will create a ‘V’ shape. Continue weaving in the ‘over one, under one’ pattern, shaping the basket as you go.
Step 8: Create Sides of the Basket
Repeat step 7 until you have reached your desired height for the sides of your basket. Remember to keep the tension tight and secure with a knot at the end. Although it may seem tricky at first, with practice, you’ll be able to shape your basket effortlessly. It’s also a good idea to periodically check the bottom of your basket to ensure it remains flat. You can gently push the bottom of the basket against a flat surface to flatten it if needed.
Step 9: Finishing Touches
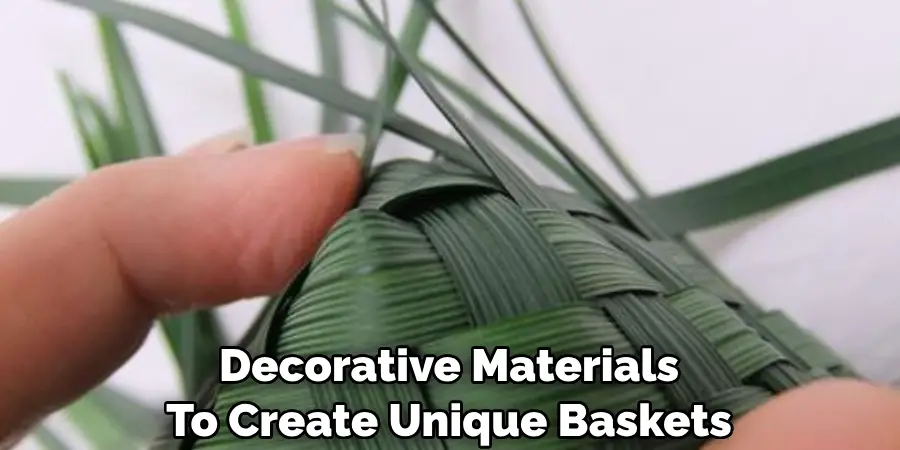
Once you have reached your desired height for the sides, trim any excess strands that may be sticking out. You can also add decorative materials like beads, feathers, or ribbons to give your basket a unique touch. Simply thread them onto one of the grass strands and weave them into the basket as you go. You can also experiment with different weaving patterns or add a handle to your basket if desired.
Step 10: Finishing Touches
To finish off your basket, take a needle and thread or thin twine in a natural color and sew around the top edge of the basket. This will help secure any loose strands and give your basket a neat finish. Once completed, tie off the thread and trim any excess. And voila! You have now successfully woven a basket out of grass. It may take some practice to perfect your basket weaving skills, but with patience and determination, you can create beautiful and functional baskets for yourself or as gifts.
Following these simple instructions on how to weave a basket out of grass will result in a beautiful and functional grass basket that you can use for storing various items or as a decorative piece. Remember to have fun and experiment with different types of grass and decorative materials to create unique baskets. Happy weaving!
Tips for Success
- Practice Makes Perfect! Don’t Be Discouraged if Your First Few Attempts Don’t Turn Out as Expected. Keep Practicing, and You’ll Soon Develop Your Own Weaving Style.
- Use Freshly Cut Grass to Prevent It From Becoming Brittle or Breaking While Weaving.
- If You Run Out of Grass Strands Mid-project, Simply Add More by Overlapping the Ends and Securing Them With a Knot or Binder Clip.
- Experiment With Different Types of
- Grass and Decorative Materials for Unique Baskets.
- Try Using Different Colors of Grass Strands to Create a Colorful Basket.
- Don’t Be Afraid to Make Mistakes. They Can Often Lead to Unique and Creative Designs.
- Take Breaks as Needed to Prevent Eye Strain and Hand Cramps While Weaving.
- Have Fun and Enjoy the Process of Creating Something Beautiful With Your Own Hands!
Frequently Asked Questions
Q1: Can I Use Any Type of Grass for Weaving a Basket?
A1: Yes, you can use various types of grass for weaving a basket. However, it’s best to avoid highly brittle or easily breakable grass. It’s also essential to choose grass that is long and pliable enough to work with.
Q2: How Long Does It Take to Weave a Basket?
A2: The time it takes to weave a basket will vary depending on the size and complexity of the design. It may take anywhere from 1 to 3 hours for a simple basket, while more intricate designs may take longer.
Q3: Can I Use Synthetic Materials Instead of Natural Grass?
A3: While it’s technically possible to weave a basket using synthetic materials, the end result may not be as sturdy or aesthetically pleasing as a natural grass basket. We recommend sticking to natural materials for the best results.
Q4: Can I Weave a Basket With Someone Else?
A4: Definitely! In fact, weaving with someone else can make the process more enjoyable and may even result in a unique basket design as you both contribute to the project. So grab a friend or family member and get creative together!
Conclusion
In conclusion, if you take the time to learn how to weave a basket out of grass, you won’t regret it. It is an amazing craft and is quite useful when you want something that stands out from the rest. You will have amazing results in no time with a few simple supplies and following these instructions.
Take your time learning each step so that you can complete a beautiful custom handmade basket in no time! Once finished, be sure to take lots of pictures and show off your work of art to family and friends. You are sure to get plenty of compliments! Go ahead and show off your creativity – what are you waiting for?

