If you’ve ever wanted to craft something beautiful with yarn, then having a yarn swift is an absolute must. A yarn swift helps keep the fibers tangle-free, enabling you to be creative and efficient when working on your projects.

Using a yarn swift can seem intimidating at first, but once you get the hang of it, it will make your crochet or knitting projects much easier! In this blog post, we’ll go over how to use a yarn swift so that you can have all the benefits of using one without feeling overwhelmed.
Do You Need a Yarn Swift with a Winder?
No, you don’t need a yarn swift with a winder. The swift is used solely to hold the skein of yarn in place and keep it from tangling while you are winding it into a ball. A winder is what you use to actually wind the yarn into a ball. You can purchase both items separately or buy a combined swift and winder set.
If you don’t have either a swift or a winder, you can still use your hands to make balls of yarn without creating too much of a tangle. Simply hold one end of the skein of yarn in each hand and gently pull it apart until it begins to coil into a ball shape.
This method can be very time-consuming and may result in a lumpy ball of yarn, however. It is recommended to use a swift winder for the most efficient winding experience. You can find both items online or at a craft store.
7 Methods on How to Use a Yarn Swift
1. Place Your Yarn Swift on a Flat Surface
First, you’ll need to make sure that your yarn swift is placed securely on a flat surface such as a table or the floor. This will help ensure that the swift stays in place while you are winding your yarn. If you don’t have a flat surface available, you may need to secure the swift with books or other heavy items.
2. Open up the Arms of the Swift
Once you have your yarn swift on a flat surface, open up the arms of the swift by pushing them apart until they form an ‘x’ shape. The arms should lock into place when extended to their maximum length. If your swift has arms that can be adjusted, make sure to adjust them to the size of your yarn skein. While the arms are open, place the center of the skein around the swift’s central spindle.
3. Attach Your Skein or Hank of Yarn onto the Swift
To attach your skein or hank of yarn onto the swift, you’ll need to locate both ends of the yarn and thread them through each arm of the swift in opposite directions (one end through one arm and one end through another).

Pull gently until it is secure but do not pull too tight, as this could damage the swift or the yarn. However, be sure to pull it tight enough so that your skein or hank does not slip off the swift.
Once the yarn is secure, use your swift’s winder (if it has one) to wind the yarn off the swift. This process is often referred to as “shifting” and helps you measure out a controlled amount of yarn so that you don’t accidentally pull too much or too little for your project. As you wind, ensure that each wrap around the winder is uniform and not too tight.
4. Gently Rotate the Swift
Once your yarn is securely in place, you can begin to gently rotate the swift by spinning the handle clockwise (or counter-clockwise, depending on which way you want to wind). As it spins around, it will begin to unravel and release a single strand of yarn for winding into a ball.
Keep rotating until you have an entire skein or hank wound off onto your bobbin or spool. If your swift is equipped with a skein-winder, the process will be sped up significantly. However, the same results can be achieved without the use of a skein-winder.
5. Securely Tie off the End of the Yarn
After you have finished winding all of your skeins or hanks onto bobbins or spools, it is important to securely tie off the end of the yarn before removing it from your swift.
This will prevent your winding from unraveling and make sure that it stays in place for when you need it. To do this, simply double-knot the end of the yarn around one arm of the swift. Now you can go ahead and remove the yarn from the swift!
6. Remove Your Yarn from the Swift
Once you have securely tied off the end of your yarn, you can now remove it from the swift by slowly pulling away each arm until they are free from the skein or hank.
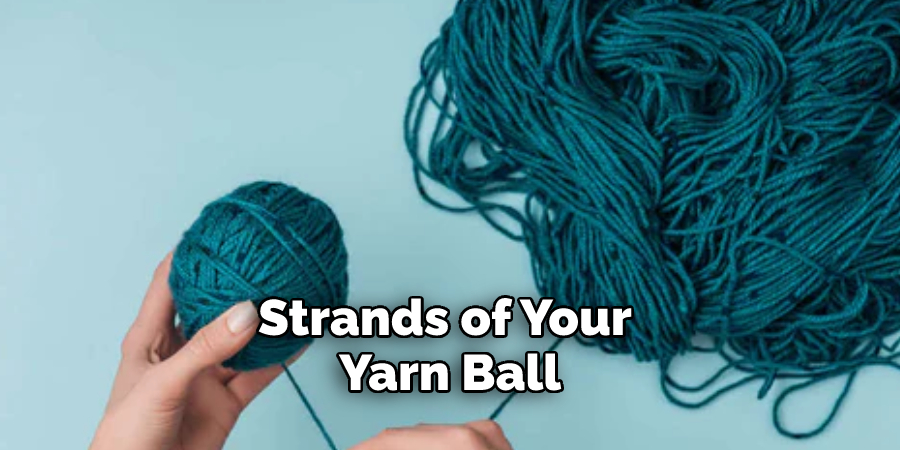
Carefully wrap up any remaining strands of your yarn ball(s) and store them in a safe place until ready to use! However, if you have a different yarn swift, the steps may vary slightly; follow the manufacturer’s instructions for specific directions. Enjoy your newly wound yarn!

7. Store or Re-Use Your Yarn Swift
Once you have successfully wound your yarn, you can store or re-use your swift for future projects. It is important to keep the swift clean and free from dust and debris in order to protect it from damage.
You may also want to consider oiling the moving parts of the swift every so often to ensure a smooth winding experience. If you are planning to store your swift, it is important to keep it in a dry place, away from humidity and moisture. This will help ensure that your swift remains in good condition for many years to come.
Using a yarn swift is an easy way to quickly and efficiently wind skeins or hanks of yarn into balls, saving time and effort in the process! With these seven simple steps, you’ll be able to take full advantage of all that a yarn swift has to offer — happy winding!
By following these tips, you will be able to make sure that you are using your yarn swift safely and efficiently! With practice, you’ll be able to easily create beautiful balls of yarn with minimal effort. Thanks for reading, happy crafting!
Things to Consider When Using a Yarn Swift
1. Make Sure the Yarn Swift Is Compatible with Your Yarn Ball Size
Before purchasing a yarn swift, it is important to make sure that the swift can accommodate the size of your yarn ball. Most yarn swifts are adjustable, and some will accommodate a variety of different sizes, but make sure that you check the specifications before buying to ensure that it is compatible with your project needs.
2. Consider Your Work Space
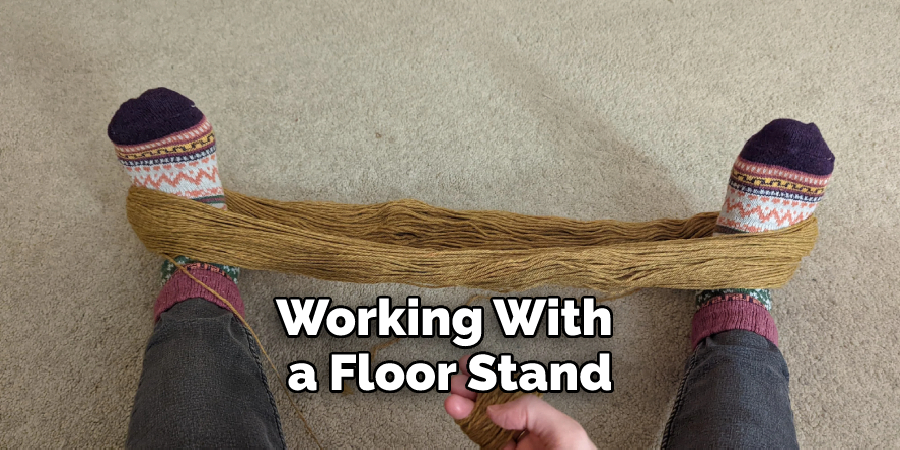
When using a yarn swift, consider whether you have enough space for the device and any additional tools you may need (scissors, storage boxes, etc.). If you have a limited work area, opt for a smaller or collapsible tabletop model instead of a larger floor stand-style swift.
3. Use an Appropriate Chair
If you’re working with a floor stand-style swift, be sure to use an appropriate chair that allows you to sit comfortably and have good back support. Using the wrong chair can lead to strain and potentially cause injury.

4. Make Sure You Have All the Necessary Tools
Before you start winding your yarn, make sure you have all of the necessary tools on hand, such as scissors, a storage box or bag, tape measure, needle gauge, etc. Having everything within reach will make the process much smoother and easier.
5. Wind Yarn Evenly
When using a yarn swift, it is important to wind your yarn evenly so that it doesn’t become twisted or tangled while winding. Use your hands to guide the yarn around the swift in an even motion until it is completely wound. If possible, use two hands to ensure even tension and prevent tangles.
6. Use a Variety of Yarn Swift Techniques
Experiment with different yarn swift techniques such as the figure eight wrap, the double loop wrap, or the lazy Susan method in order to find out which one works best for your projects. This will help you become more efficient at winding and make it easier to work with multiple strands of yarn simultaneously.
7. Store Your Yarn Swift When Not in Use
When your project is finished, it’s important to store your yarn swiftly away properly so that it doesn’t get damaged or dirty from dust or other debris. Depending on the size and style of your swift, this could mean folding it up and putting it away in a closet or attaching it to the wall using appropriate mounting hardware.

Conclusion
A yarn swift is a handy tool that can make your knitting and crocheting projects go much faster. If you’re not sure how to use a yarn swift, this guide on how to use a yarn swift will help you get started. Yarn swifts come in different sizes and styles, so be sure to choose the right one for your needs. With a little practice, you’ll be using your yarn swiftly like a pro in no time!
You Can Check It Out to How to Fasten off Crochet

