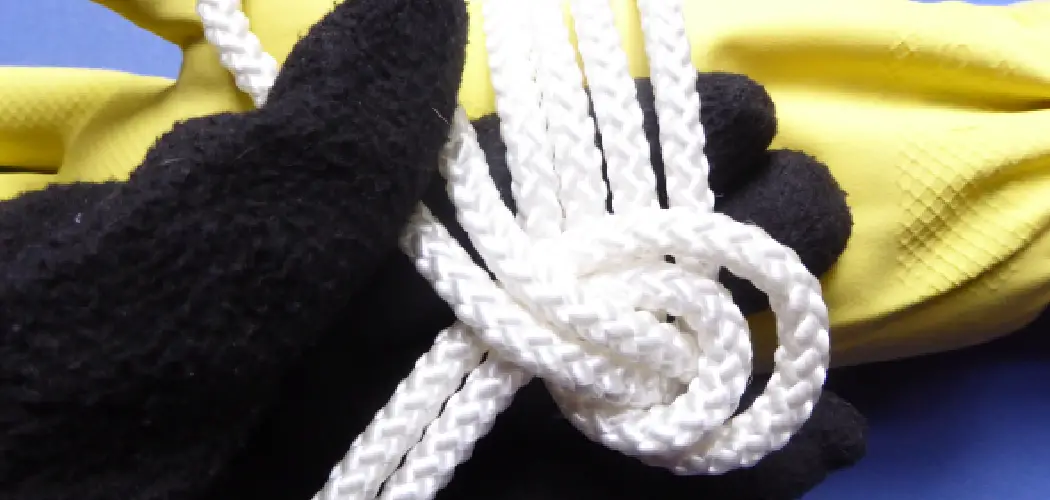
Embarking on a knitting or crocheting project can be a therapeutic and creative endeavor, but as you immerse yourself in the rhythmic flow of stitches, there’s a crucial detail often overlooked—tying yarn ends together. Mastering the art of securely joining yarn ends is essential for ensuring the longevity and integrity of your handcrafted masterpiece. Whether you’re connecting new skeins of yarn, changing colors, or finishing a project, the right technique can make a significant difference in the final product’s aesthetics and durability.
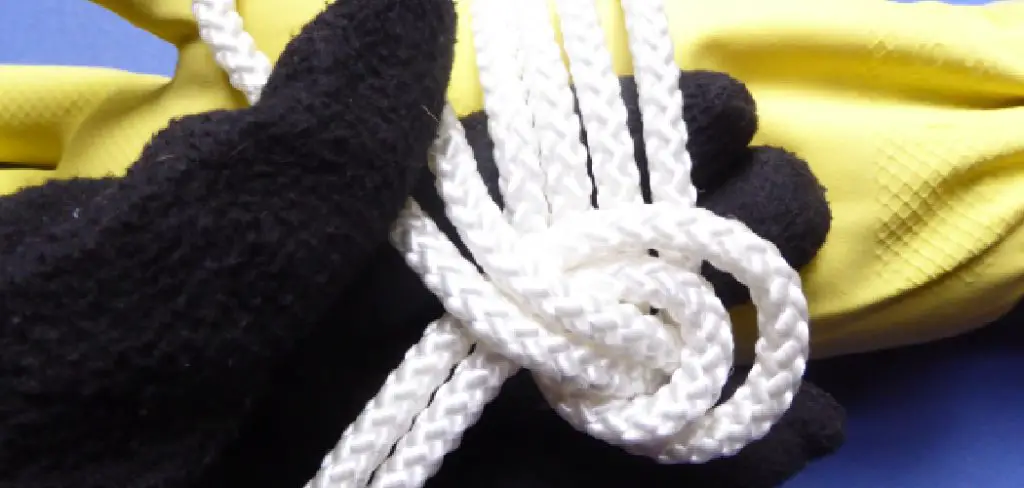
In this comprehensive guide, we will explore various methods and tips on how to tie yarn ends together effectively. From the classic square knot to more specialized techniques like the Russian join or the magic knot, each approach has its merits and applications. So, let’s delve into the world of yarn craftsmanship, arming you with the knowledge to seamlessly blend and secure your yarn ends, elevating your handmade creations to new heights.
Importance of Tying Yarn Ends Together
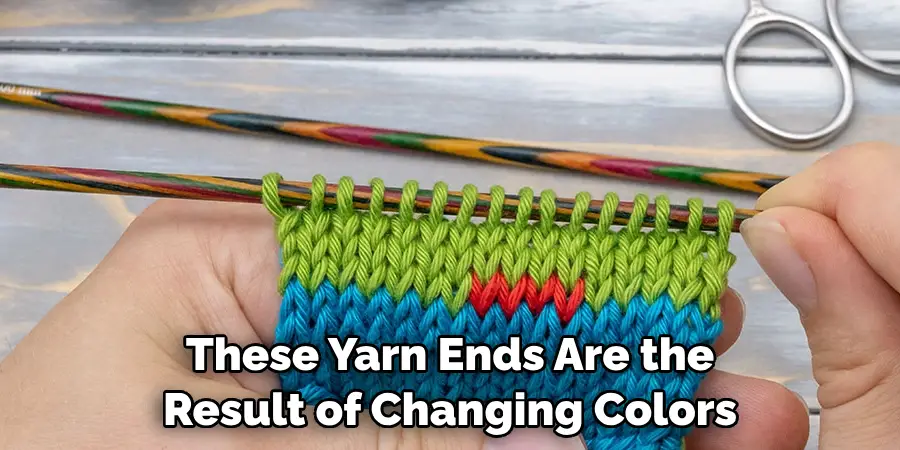
When working on a knitting or crochet project, it is inevitable to have yarn ends that need to be tied together. These yarn ends are the result of changing colors, joining new skeins of yarn, or simply finishing off a project. Many people may overlook the importance of properly tying these yarn ends together, but it can make a huge difference in the overall look and durability of your project.
Ensuring that all yarn ends are securely tied together not only creates a neater appearance, but it also prevents any loose ends from unraveling and potentially ruining your hard work. It is especially important to tie yarn ends together when working on projects that will be used frequently, such as hats or sweaters.
Common Scenarios where Yarn Ends Need to Be Tied
Yarn is a versatile material used in knitting, crocheting, and other crafts. However, when working with yarn, there are instances where you need to tie two or more strands together. Whether you’re changing colors or running out of yarn, knowing how to tie yarn ends together is an essential skill for any crafter.
Here are some common scenarios where tying yarn ends together may be necessary:
Changing Colors
When working on a project that requires multiple colors, you will need to tie the yarn ends together when switching from one color to another. This helps secure the yarn and prevent unraveling.
Joining New Yarn
When your current yarn ball is about to run out, it’s time to join a new skein. To avoid any gaps or loose ends, you will need to tie the end of the old yarn to the beginning of the new one.
Fixing Mistakes
Mistakes are bound to happen when working with yarn. Whether it’s a missed stitch or an accidental snip, tying yarn ends together can help fix these errors without having to start over. This method is particularly useful when working with delicate yarns that unravel easily.
Adding Decorative Tassels
Tassels are a popular way to add a decorative touch to your finished project. To create tassels, you will need to tie yarn ends together and then trim them to desired lengths.
10 Methods How to Tie Yarn Ends Together
1. Double Knot Method
The double knot method is one of the simplest ways to tie yarn ends together. Simply take the two ends of the yarn and tie them into a tight double knot. This method works best for thicker, bulkier yarns. It is important to make sure the knot is tight enough to prevent unraveling.
2. Overhand Knot Method
Similar to the double knot method, the overhand knot method involves tying a single overhand knot with the two ends of the yarn. This method works well for both thick and thin yarns. However, it is recommended to use this method for joining yarns of similar thickness.
3. Square Knot Method
The square knot method is another option for tying yarn ends together. It involves making two overhand knots in opposite directions, resulting in a square-shaped knot. This method is best for thinner yarns. Though the knot may look more complex, it is actually quite simple to create. Let’s take a look at the steps for tying yarn ends together using the square knot method.
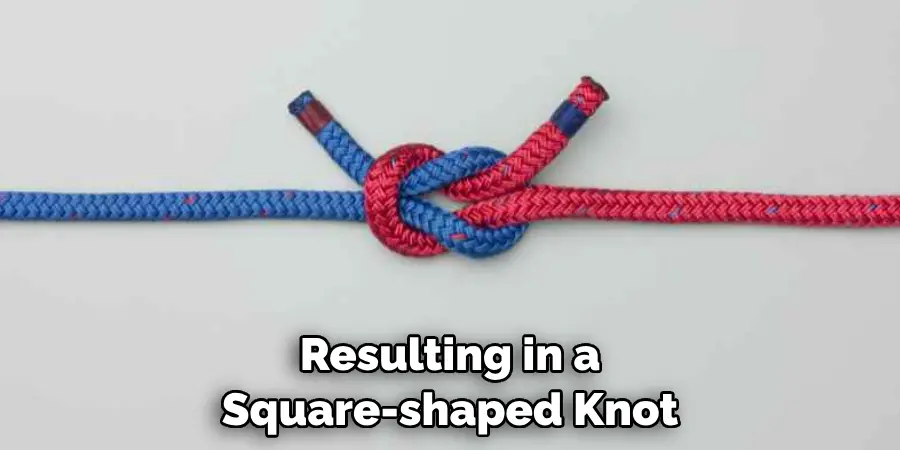
4. Slip Knot Method
For this method, you will need a crochet hook. Create a slip knot on one end of the yarn and use the crochet hook to pull the other end through, creating a tight loop around the first end. This method creates a secure knot and is great for joining two pieces of yarn together for a seamless transition in your project.
5. Braided Method
To create a secure bond between two strands of yarn, try braiding them together instead of simply tying them in a knot. This method works well for both thick and thin yarns. Additionally, the braided method is a great way to attach new yarn when changing colors or joining pieces of work together.
6. Weaving Method
For this method, you will need a tapestry needle or large sewing needle. Thread one end of the yarn onto the needle and weave it through several stitches or loops on your project before pulling it tightly and securing with a knot. Repeat this process with the other end of the yarn, weaving in the opposite direction. This method is great for securing yarn ends on projects with a tighter knit or crochet stitch, as it allows for a more invisible finish.
7. Friction Method
This unique technique involves rubbing two strands of yarn together until they start to felt or fuse together due to friction from heat and moisture created by your hands. To ensure a strong bond, make sure the two strands are of equal thickness.
8. Magic Loop Method
For this method, you will need to leave long tails at each end of your project before starting your knitting or crocheting work. Once finished, use these long tails to tie together using any desired knotting technique. This will leave you with a seamless and professional-looking finish, without any need for weaving in yarn ends.
9. Invisible Join Method
If you want to avoid visible knots altogether, try the invisible join method. This involves using a tapestry needle to weave one end of the yarn through several stitches in your project before pulling it tight and trimming the excess. Then, use the same method with the other end of the yarn, weaving it through different stitches than the first one. Finally, pull both ends tight and trim them close to the project.
10. Russian Join Method
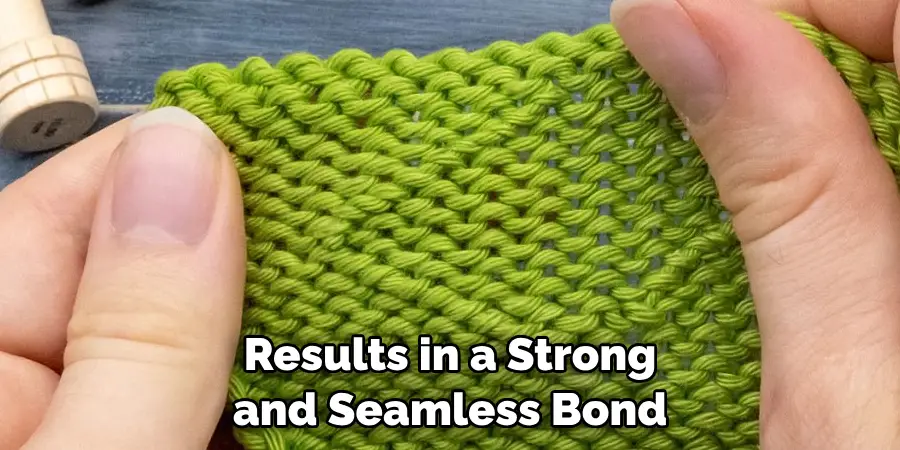
The Russian join method is a bit more complicated but results in a strong and seamless bond between two strands of yarn. It involves threading one end of the yarn through the other, then weaving both ends back through themselves before trimming any excess. This method is particularly useful for joining two different colors of yarn or when working on projects that require a smooth transition between skeins.
Things to Consider When Tying Yarn Ends Together
Now that we have gone through the process of tying yarn ends together, there are a few things to consider before you start knitting or crocheting again.
First and foremost, always make sure that your knot is secure and won’t come undone while you are working on your project. This can be achieved by double knotting or using a knot that is appropriate for the yarn you are using.
Secondly, it’s important to make sure your knot doesn’t create a bulky or uneven area in your project. This can be avoided by trimming any excess yarn and ensuring that the knot is as flat as possible when tied.
Additionally, consider the type of yarn you are using and how it may affect the overall look of your project. If you are using a bulky or textured yarn, the knot may be more noticeable and impact the appearance of your finished piece.
Lastly, don’t be afraid to experiment with different types of knots and techniques for tying yarn ends together. Each type of yarn may require a different approach, so it’s always helpful to have a few options in your crafting arsenal.
Remember, the key is to secure your yarn ends together in a way that is both strong and aesthetically pleasing. With these considerations in mind, you’ll be able to confidently tie yarn ends together and continue working on your project with ease.
Conclusion
In conclusion, learning how to tie yarn ends together is an essential skill for any fiber artist. It not only helps with creating a beautiful and seamless finished product, but it also allows you to avoid frustration and wasted materials.
We’ve covered several techniques in this blog post, from the simple braids and knots method to the more advanced Russian join. Whether you’re a beginner or an experienced crafter, there’s definitely a technique that will work for you. Don’t be afraid to experiment and find which one works best for your projects.
Expertise:
Crafting expert with a focus on innovative techniques and diverse materials.
Specialization:
- Textile arts (weaving, embroidery, and fabric dyeing)
- Woodworking and furniture design
- Mixed media and upcycling projects
Recognition:
- Featured in local art exhibits showcasing innovative craft projects
- Collaborated with community organizations to promote crafting workshops
- Received accolades for contributions to sustainable crafting initiatives
Mission:
- To inspire and empower crafters of all levels to discover their creative potential
- Encourages experimentation and self-expression through hands-on projects

