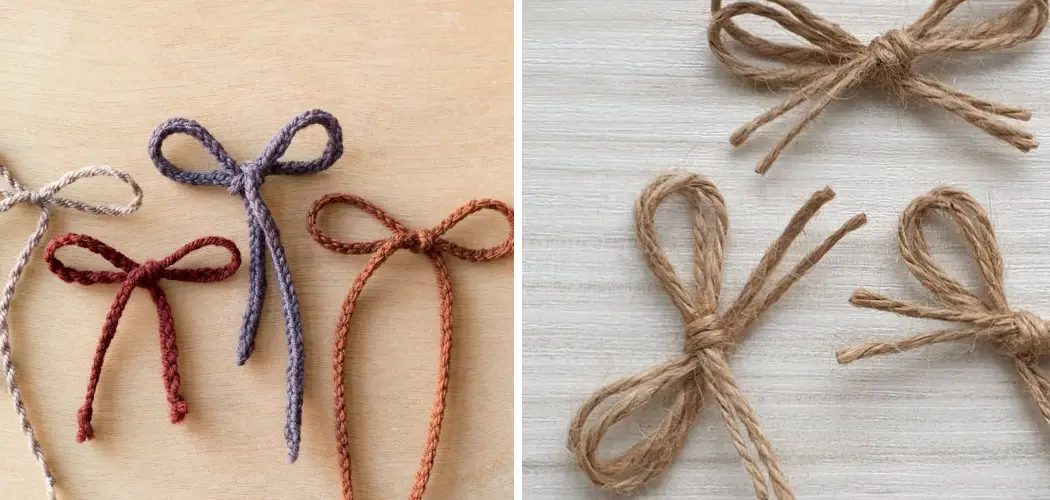
Have you ever wanted to tie two pieces of yarn or string together for your crochet project but needed to figure out how? I can relate to the frustration of needing to join new lines midway through, only to struggle with knots that won’t stay tight. Not anymore! In this tutorial, I will walk you through a few different methods on how to tie two strings together crochet so your project stays strong no matter how much you work the yarn.
Whether you’re joining new balls of yarn, changing colors, or connecting ends, these crochet string-tying techniques will have you saying goodbye to weak knots forever. Stick with me, and by the end, you’ll be an expert at seamlessly blending strings so your work flows beautifully from one to the next.
Are you ready to boost your crochet skills and never worry about knots coming undone again?
What Will You Need?
Before we begin, you’ll need a few essential tools to help make the string tying process easier and more efficient. Here’s what you’ll need:
- Crochet hook (in the same size as your project)
- Scissors
- Yarn or strings that need to be joined
Remember, using yarn or strings of the same thickness is essential when joining them together. If you mix different weights or textures, it may result in an uneven and lumpy finish to your project.
10 Easy Steps on How to Tie Two Strings Together Crochet
Step 1. Choose the Right Knot
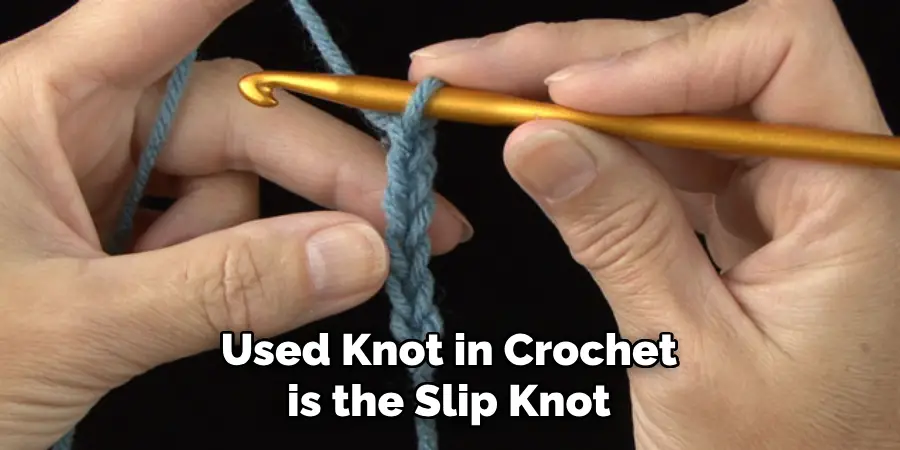
The first step in tying two strings together in crochet is to choose the right knot. The most commonly used knot in crochet is the slip knot, which creates a loop that can easily be tightened or loosened as needed. To create a slip knot, start by making a small loop with one string and then pull the other string through the loop.
Step 2. Secure the Knot
Once you have created your slip knot, it’s essential to secure it so that it doesn’t come undone while you are working on your project. To do this, simply pull both strings tight until the knot is snug against your crochet hook. You can also add a twist to the strings before tightening them for added security.
Step 3. Crochet Over the Strings
To incorporate the two strings into your crochet project, simply hold them together as if they were one string and continue crocheting as usual. As you work stitches over the strings, they will become intertwined and secured within your project.
This method works well for joining different colors of yarn or creating decorative effects like fringe or tassels. Just keep an eye on your tension to ensure that both strings are being worked evenly throughout your project.
Step 4. Trim Excess String
After you have crocheted over both strings and they are securely incorporated into your project, you’ll find some excess parts of the ropes hanging. Using scissors, carefully trim away the excess string close to your work. However, be careful not to cut your project or the strings too short, as this could cause your knot to unravel. Now, you can continue to crochet as usual with your single strand of yarn.
Step 5. Check Knot Security
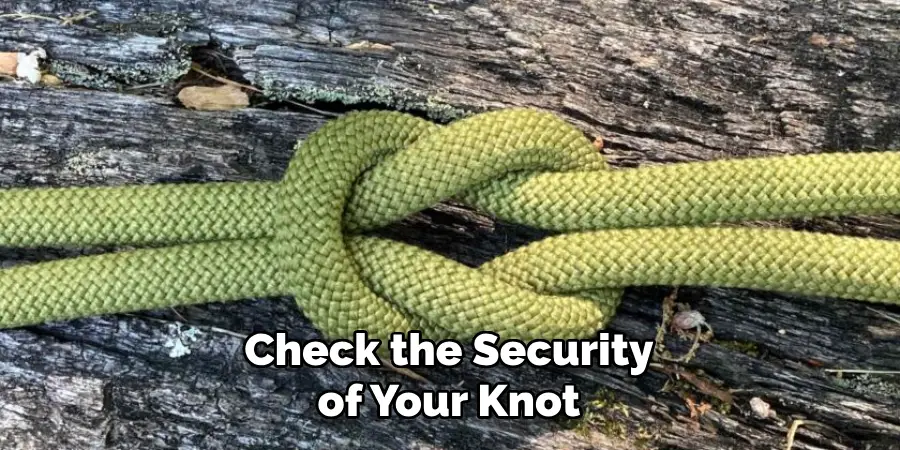
Once you’ve trimmed the excess string, take a moment to check the security of your knot. Tug gently on your crochet work to ensure that the knot does not come loose or affect the overall tension of your project. If you find the knot loose, you may need to undo a few stitches, re-tighten the knot, and crochet over the strings again. With practice, you will get a knack for tying and incorporating knots seamlessly into your crochet projects.
Step 6. Add a Knot at the End of Your Project
If you are starting a new project or simply changing colors, it’s essential to add a knot at the end of your strings to prevent them from unraveling while you work. To do this, tie an overhand knot near the end of both lines and trim any excess. Now, you can use this knotted end to create your slip knot and continue crocheting as normal.
Step 7. Overlap and Tie a Knot
When joining two pieces of yarn or strings together, the most secure way to do so is by overlapping them and tying a simple knot. Hold the two ends of your rows together and overlap them for about an inch. Then, use one of the strings to tie a simple knot around both strings. Pull the knot tight and trim any excess string. This method is excellent for joining new balls of yarn or adding length to your project.
Step 8. Loop and Tie a Knot
Another easy way to join two strings in crochet is by using a loop and tying a knot. To do this, make a loop with one line and then pull the other string through the loop. Then, tie a simple knot around both lines to secure them together. This method works well for joining ends of strings or adding new colors to your project.
Step 9. Weave in the Ends
Once your knot is secure, you’ll want to take the extra step to weave in the ends of your strings. Using your crochet hook, weave the loose ends through the stitches of your project, effectively hiding them within the fabric. This will provide an added layer of security to your knot and ensure that your finished piece has a clean, finished look.
Step 10. Enjoy Your Seamless Crochet Project!
Congratulations, you have successfully learned how to tie two strings together in crochet! With these techniques, you can seamlessly join different colors and ends of yarn without worrying about knots coming undone. Keep practicing, and soon, you’ll be able to master these string tying methods with ease.
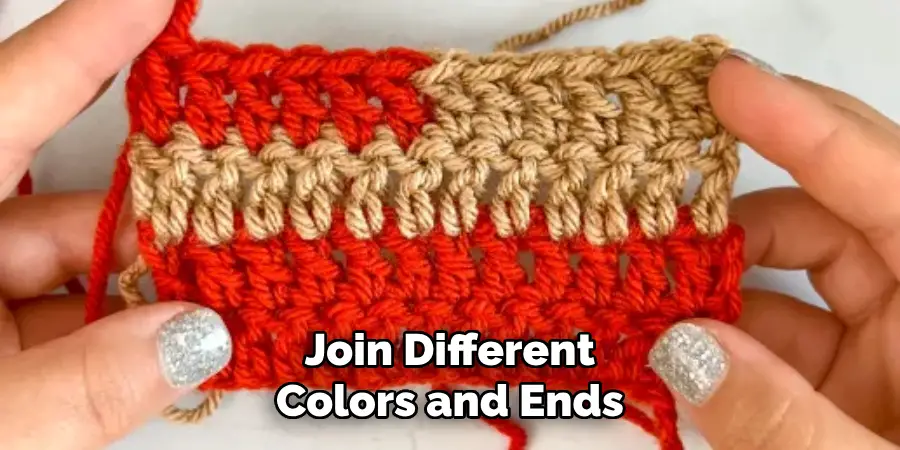
Now that you know how to tie two strings together in crochet, you can add a new level of creativity to your projects. Experiment with different color combinations and techniques to create unique and beautiful pieces. Don’t be afraid to try something new and have fun with it!
5 Additional Tips and Tricks
- Secure Your Knots: Always secure your knots properly when tying two strings together in crochet. This ensures that your work does not unravel later.
- Choose the Right Strings: Not all strings are created equal. Choose the correct type of string that suits your crochet project.
- Practice Makes Perfect: Tying two strings together in crochet can be tricky. Continue to practice until you can do it comfortably without looking.
- Use the Right Tools: An appropriate-size crochet hook can make your work faster and easier.
- Don’t Rush the Process: Crocheting is a relaxing activity. Take your time to enjoy the process and ensure each knot is tied correctly.
With these additional tips and tricks, you can confidently tie two strings together in crochet and create beautiful projects every time.
5 Things You Should Avoid
- Avoid Loose Ends: When tying two strings together in crochet, avoid leaving any loose ends. These can make your work untidy and may cause it to unravel over time.
- Avoid Using Wrong Sized Hooks: Using a crochet hook that’s too big or too small for your string can lead to uneven stitches and could make your work harder than it needs to be.
- Avoid Rushing Through Stitches: While it might be tempting to work quickly, rushing through stitches can lead to mistakes. Take your time to ensure each stitch is secure and accurate.
- Avoid Ignoring Tension: The tension of your string is critical when crocheting. If your pressure is too loose or tight, it can affect the final outcome of your project.
- Avoid Neglecting Practice: Tying two strings together in crochet can be a complex skill. Stay encouraged if you get it right the first time. Avoid neglecting practice, and you’ll see improvement over time.
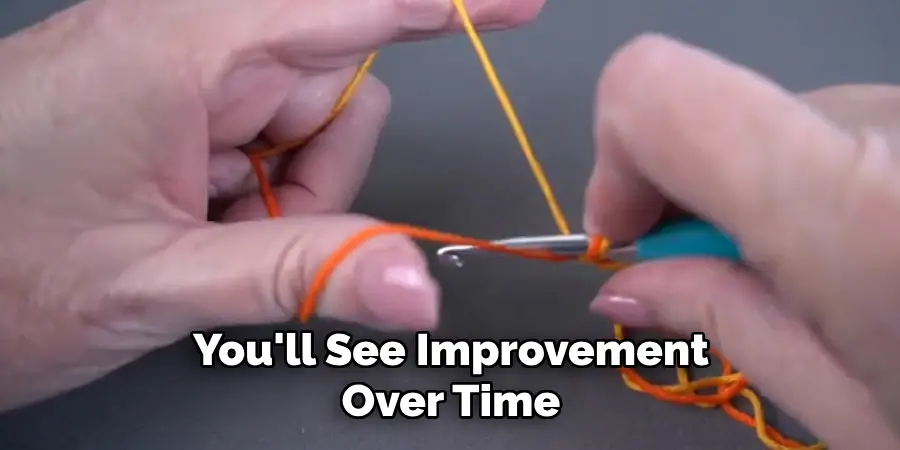
By avoiding these common mistakes and implementing our tips, you can easily tie two strings together in crochet and achieve beautiful results every time.
How Do You Join a Flat Crochet?
To join a flat crochet, follow these steps:
- Lay out your two strings next to each other with at least 6 inches of overlap.
- Insert your crochet hook into the first stitch of both strings and pull up a loop.
- Bring the second string over the first and wrap it around the hook counterclockwise.
- Pull the wrapped string through the loop on your hook to create a slip knot.
- Continue single crocheting along the length of the strings until you reach the end, making sure to keep your tension consistent.
- When you reach the end, fasten off by tying a knot and weaving in any loose ends.
With this technique, you can quickly combine two strings in crochet to create flat pieces such as blankets, scarves, or rugs.
Conclusion
In conclusion, how to tie two strings together crochet is a simple yet essential skill in your crafting repertoire. With the step-by-step instructions and tips in this blog post, you can quickly master this technique and add it to your list of crochet skills.
Remember to choose complementary colors and practice perfecting the knot to achieve a seamless join. As with any new skill, don’t be discouraged if it takes a few tries to get it right – practice makes perfect! The possibilities are endless now that you have learned how to tie two strings together in crochet. You can create beautiful colorwork designs, bring life to amigurumi projects, or even easily repair old items.
So why not grab your hook and yarn and try it today? Your next crochet project will thank you! Happy crocheting!
Expertise:
Crafting expert with a focus on innovative techniques and diverse materials.
Specialization:
- Textile arts (weaving, embroidery, and fabric dyeing)
- Woodworking and furniture design
- Mixed media and upcycling projects
Recognition:
- Featured in local art exhibits showcasing innovative craft projects
- Collaborated with community organizations to promote crafting workshops
- Received accolades for contributions to sustainable crafting initiatives
Mission:
- To inspire and empower crafters of all levels to discover their creative potential
- Encourages experimentation and self-expression through hands-on projects

