
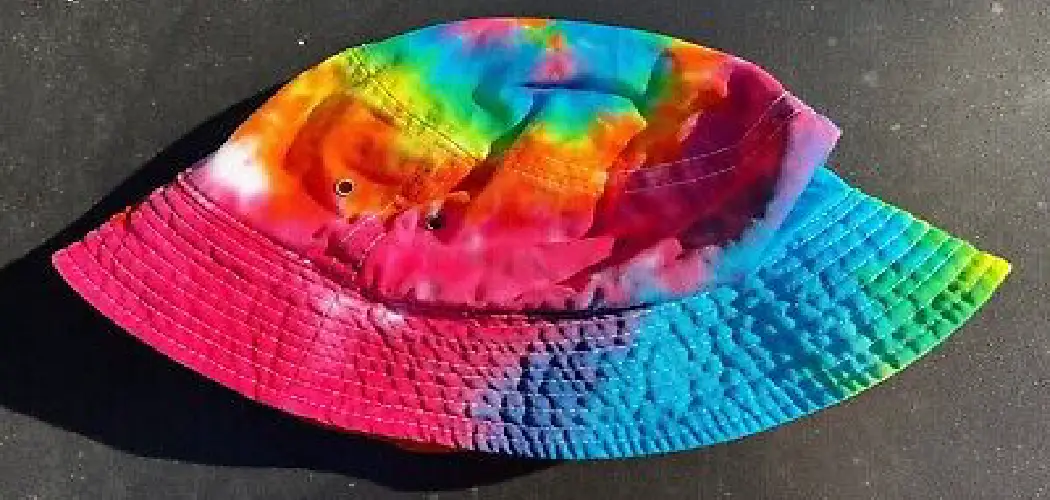
Tie dyeing has been a popular trend for many decades, and it continues to be a fun and creative way to add some color to your wardrobe. One unique item that is great for tie dyeing is a bucket hat. These hats have made a comeback in recent years and are now stylish accessories that can elevate any outfit. By learning to tie dye a bucket hat, you can customize it to your liking and make a one-of-a-kind piece that reflects your personality.

The main advantage of tie dyeing a bucket hat is that you get to create a unique and personalized item. No two tie dye patterns are the same, so your bucket hat will truly be one-of-a-kind. Additionally, this DIY project allows you to experiment with different colors, techniques, and designs without breaking the bank.
It’s a budget-friendly way to refresh an old or plain bucket hat and turn it into a fashion statement. In this blog post, You will learn in detail how to tie dye a bucket hat.
Materials You Will Need
- White bucket hat
- Fabric dye in desired colors
- Large plastic tub or bin
- Rubber gloves
- Measuring cups and spoons
- Hot water
- Salt (optional)
- Plastic wrap (optional)
- Protective cover for work surface (e.g. trash bags, old towels)
- Paper towels
Tie dyeing a bucket hat is a fun and easy way to add some color to your wardrobe. This guide will walk you through the steps of creating a unique tie dye bucket hat that is sure to make a statement.
Step-by-step Instructions for How to Tie Dye a Bucket Hat
Step 1: Inspect the Bucket Hat
Before starting the tie-dying process, it is important to inspect your bucket hat for any stains or damages. This will help ensure that your final product turns out exactly as you want it to be.
Step 2: Choose Your Dye Colors
The best part about tie-dying a bucket hat is choosing your dye colors. You can use one color or multiple colors depending on your preference. Follow the instructions on the dye packaging to prepare the dye mixture. Make sure to wear gloves and protect your work surface from any potential spills.

Step 3: Soak the Bucket Hat in Water
Soaking the bucket hat in water will help the fabric absorb the dye better and create more vibrant colors. There are many different tie-dye patterns to choose from, such as swirls, stripes, or bullseye. You can also create your own unique design by twisting and tying the fabric in different ways. Use rubber bands or string to secure the ties.
Step 4: Apply the Dye
Once you have your desired pattern, it’s time to apply the dye. Use a squeeze bottle or dropper to carefully apply the dye onto the fabric. Make sure to saturate all areas evenly. After applying the dye, let it sit for at least 6-8 hours or overnight. The longer you let the dye sit, the more vibrant the colors will be.
Step 5: Rinse the Bucket Hat
After the dye has set, rinse out the excess dye under cold water until it runs clear. Remove the ties and continue rinsing until there is no more color bleeding. Wash your bucket hat in a washing machine using cold water and a mild detergent. Once washed, dry it in the dryer on a low heat setting or let it air dry.
Step 6: Iron (Optional)
If desired, you can iron your bucket hat to remove any wrinkles and give it a polished look. You now have a one-of-a-kind tie-dyed bucket hat that you can wear proudly. To preserve the vibrant colors of your tie-dyed bucket hat, it is recommended to wash it separately in cold water and air dry. Avoid using bleach or harsh detergents as they may fade the dye. With proper care, your bucket hat will last for many tie-dye adventures to come.
Safety Tips for How to Tie Dye a Bucket Hat
- When dealing with dyes and chemicals, it is important to protect yourself by wearing gloves, an apron, and a face mask. This will prevent any skin irritations or inhalation of harmful fumes.
- Tie dyeing can get messy. Make sure to set up your workspace in a well-ventilated area and cover any surfaces with plastic or newspaper to prevent staining.
- Always read the instructions on dye bottles carefully and follow the recommended ratios for mixing dyes. This will ensure that you achieve your desired colors without wasting any excess dye.
- Make sure to wear old clothes that you don’t mind getting stained. Tie dyeing can be a messy process, so it’s best to avoid ruining your favorite clothes.
- If you are using a tie dye kit, make sure to follow the instructions provided. Each kit may have different techniques or materials needed, so it’s important to read and understand the instructions before beginning.
- When preparing your bucket hat for tie dyeing, make sure it is clean and free of any stains or dirt. This will ensure that the dye adheres evenly to the fabric.
- If you are using a bucket hat made of natural fibers, such as cotton or linen, pre-wash it before tie dyeing. This will help remove any finishes or coatings on the fabric that could prevent the dye from properly penetrating.

Tie dyeing has become a popular trend in recent years, and bucket hats are a great item to experiment with. They offer a large surface area for unique designs and can add a fun pop of color to any outfit. By following these safety tips, you can enjoy the process of tie dyeing without any accidents or mishaps.
How Do You Prevent the Dye From Bleeding Onto Other Areas of the Bucket Hat?
To prevent the dye from bleeding onto other areas of the bucket hat, there are a few steps you can follow:
1. Pre-wash the Bucket Hat
Before tie-dyeing, it is important to pre-wash the bucket hat to remove any chemicals or residues that may interfere with the dye. Use cold water and a mild detergent to wash the hat, then rinse it thoroughly and let it dry completely.
2. Prepare the Dye
Follow the instructions on your chosen dye to prepare it correctly. Make sure to use enough water to fully submerge the hat, but not too much or the colors may become diluted.
3. Use a Dye Fixative
Some dyes require a fixative solution to help set the colors and prevent them from bleeding. If your dye does not come with a fixative, you can make one using 1 part white vinegar to 4 parts water.
4. Apply the Dye Carefully
When applying the dye, be careful not to let it touch any other areas of the hat that you do not want colored. Use tools like squeeze bottles or brushes to control the application and keep the dye contained.

5. Wrap the Hat in Plastic
After applying the dye, wrap the hat tightly in cling wrap or plastic bags to help keep the colors from bleeding into each other. Make sure there are no gaps where the dye can escape.
6. Let It Sit
The longer you let the dye sit on the hat, the more vibrant and long-lasting the colors will be. Follow the instructions on your dye for how long to let it sit, but a minimum of 6-8 hours is recommended.
7. Rinse Thoroughly
After letting the dye sit, rinse the hat with cold water until the water runs clear. This will help remove any excess dye and avoid bleeding onto other areas of the hat during future wear.
By following these steps, you can prevent the dye from bleeding onto other areas of the bucket hat and create a vibrant and unique tie-dyed design. Remember to always read and follow the instructions on your chosen dye for best results.
Is It Possible to Fix Mistakes or Imperfections in the Tie Dye Process on a Bucket Hat?
One of the most exciting things about tie dyeing a bucket hat is that each piece is unique and one-of-a-kind. However, this also means that there’s always a possibility for mistakes or imperfections to occur during the process. But fear not, as there are ways to fix these mistakes and salvage your tie dye project. Here are some tips on how to correct common mistakes when tie dyeing a bucket hat:
1. Uneven Dyeing
If you find that some parts of your bucket hat are more vibrant than others, it could be due to uneven dye distribution. To fix this, simply re-dip the affected areas in the dye for a few seconds until the color evens out.

2. Bleeding Colors
Sometimes, colors can bleed into each other, creating a messy and unappealing look. To avoid this, make sure to use enough dye for each section and try not to let the colors overlap too much. If bleeding does occur, you can try using bleach or color remover on the affected areas.
3. Uneven Patterns
If you were going for a specific pattern but ended up with an uneven or messy design, there are a few ways to fix this. You can try re-tying the fabric and dyeing it again, or you can use fabric paint or markers to cover up any mistakes.
4. Dye Stains
Accidentally getting dye on areas where you don’t want it can be frustrating, but it’s not impossible to fix. You can try using a bleach pen or stain remover on the affected areas, or cover it up with fabric paint.
Keep in mind that tie dyeing is a fun and experimental process, so don’t be too hard on yourself if things don’t turn out exactly as planned. Embrace the imperfections and use them to make your bucket hat even more unique.

Conclusion
The main disadvantage of tie-dyeing a bucket hat is that it can be a messy and time-consuming process. It involves mixing dyes, preparing the fabric, and carefully applying the dye to create desired patterns. This can be frustrating for those who are looking for a quick and easy DIY project.
In conclusion, tie dyeing a bucket hat is a fun and creative way to personalize your accessory. With just a few simple steps and some basic materials, you can create a unique and one-of-a-kind bucket hat that reflects your personal style. Plus, it’s a great activity to do with friends or family.
Remember to have fun and experiment with different techniques and color combinations. Don’t be afraid to get creative and try out new designs. I hope this article has been beneficial for learning how to tie dye a bucket hat. Make Sure the precautionary measures are followed chronologically.