Are you looking for a way to recreate the perfect square fabric pattern with ease and accuracy? Whether you’re a beginner sewer or an avid quilter, learning how to properly square up your fabrics can add tremendous value to any project. This skill isn’t as daunting or confusing as most people think; with practice and patience, it’s easy to learn how to make perfect squares every time!
In this blog post on how to square fabric, we will detail all of the essential steps required for squaring up fabric like a pro. From understanding the importance of exact measurements to cutting precisely and accurately, you’ll find all kinds of helpful tips that will leave whatever project you’re making impeccably squared. Let’s get started on learning everything there is about squaring material – without missing any important details!
Needed Materials
Given below is a list of materials you’ll need before learning how to square fabric:
- Fabric (Prewashed or Not, Depending on the Project)
- Iron and Ironing Board
- Rotary Cutter
- Ruler (Preferably a 6×24 Inch One)
- Cutting Mat
- Pins
10 Simple Step-by-step Guidelines on How to Square Fabric
Step 1: Prepare the Fabric
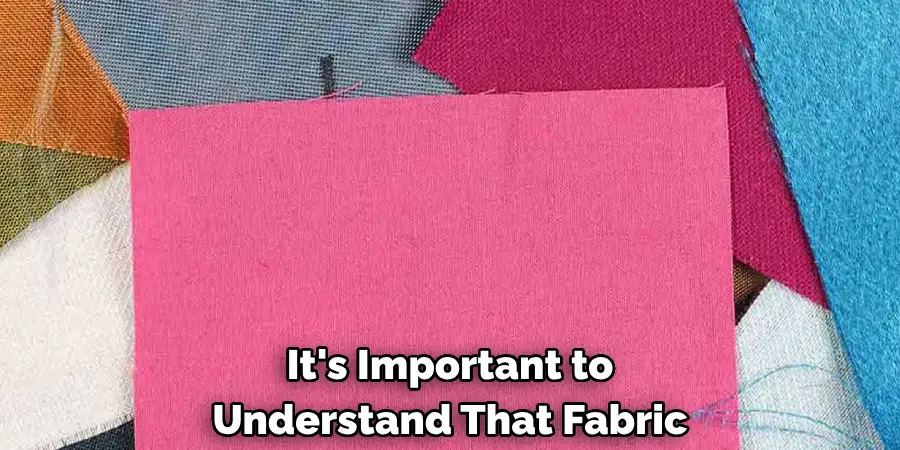
Before we start squaring our fabric, it’s important to understand that fabric comes in different types, textures, and sizes. Some fabrics come prewashed, while others need washing before use. Additionally, ensure the fabric has been ironed beforehand to get rid of any creases or wrinkles. You can skip this step if you’re using prewashed fabric. But if not, washing and ironing the fabric is crucial to avoid any shrinking or distortion later on.
Step 2: Prepare Your Workspace
A clean and clutter-free workspace is essential for accurate cutting and squaring of fabric. Make sure you have enough room to spread out your material; a large table or even the floor can work well for this purpose. Place your cutting mat on your workspace, and ensure it’s clean and free from any dust or debris. It’s also a good idea to have a trash bin nearby to dispose of any scraps or threads.
Step 3: Fold the Fabric in Half
Fold your fabric in half, making sure the selvage edges are aligned evenly. The top and bottom edges can be uneven; this won’t affect your final result. You will now have two layers of fabric folded in half. Although it can vary based on the fabric type and project, this folding technique is helpful as it saves time and allows you to cut multiple layers at once. It’s recommended to work with two layers of fabric at a time for beginners.
Step 4: Align the Selvage Edges
Ensure that both selvage edges are evenly aligned, and there are no wrinkles or puckers in between them. You can use your hands to smooth out any bumps, or you can also run an iron over it if needed. It’s essential to have a proper and smooth base before cutting. You can adjust the fabric as needed to make sure it’s flat and even. This step is critical for accurate cutting and squaring.
Step 5: Align the Folded Edge
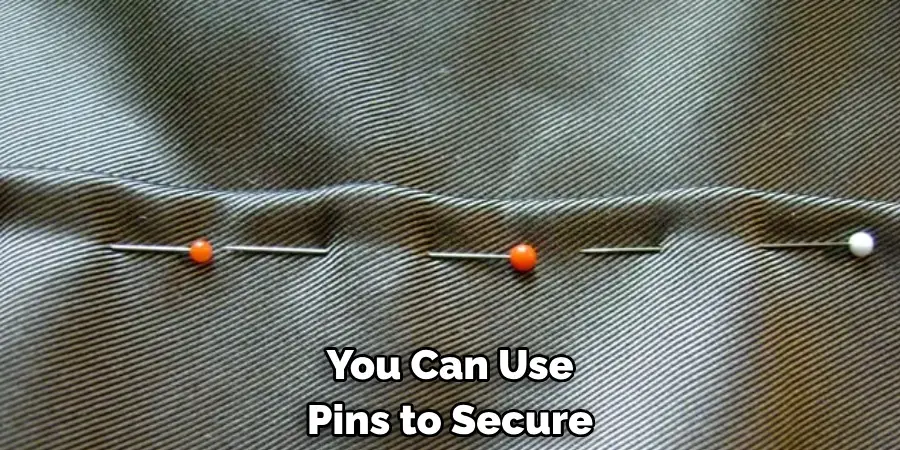
After aligning the selvage edges, you now need to focus on aligning the folded edge of your fabric. Make sure it’s straight and even before proceeding to cut. You can use a ruler or measuring tape to check if the edge is perfectly perpendicular to the selvage edges. This step might take some time and practice to get it right, but it’s crucial for obtaining accurate measurements and cutting. You can use pins to secure the folded edge in place if needed.
Step 6: Check the Measurements
Before making any cuts, you should double-check your fabric’s measurements. You can use a ruler or measuring tape to ensure that the fabric is of the desired length and width. If there are any discrepancies, make necessary adjustments before cutting. It’s better to be safe than sorry, especially when working on a project that requires precise measurements. You can also mark the measurements with a fabric pencil if you’re new to cutting and squaring fabric.
Step 7: Secure the Fabric with Pins
Once you have aligned your edges and confirmed the measurements, it’s time to secure the material in place. You can use pins to hold everything in place before making any cuts. Pinning will keep your fabric from shifting or moving while cutting, ensuring you get an accurate and precise cut. Place the pins at regular intervals, around an inch apart from each other. But make sure you don’t place them too close to the edges.
Step 8: Cut along the Folded Edge
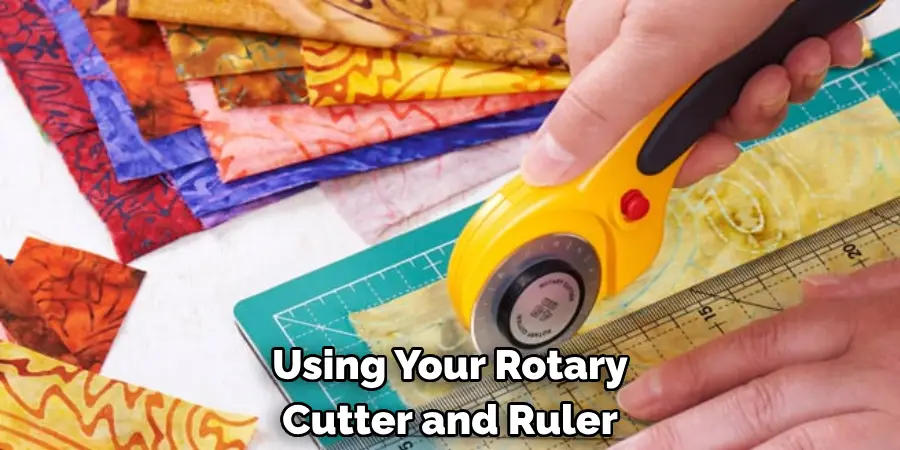
Using your rotary cutter and ruler, cut along the folded edge of your fabric. Make sure you use a sharp blade for a clean and smooth cut. Hold your ruler in place with one hand while using the other to guide the rotary cutter along its edge. Make sure you don’t cut too far or too short and try to keep the blade as straight as possible for a precise cut. Otherwise, your fabric won’t be properly squared.
Step 9: Cut Along the Selvage Edges
After cutting along the folded edge, you now need to cut along the selvage edges. Make sure you align your ruler with the fold at one end and run it all the way to the other selvage edge. Hold down the ruler firmly while using your rotary cutter to cut along the edge. This step ensures that all sides of your fabric are even and squared.
Step 10: Remove Pins and Unfold the Fabric
After making all necessary cuts, remove the pins, unfold your fabric, and you will have a perfectly squared piece of material ready to be used for any project! Remember always to check if your fabric is squared by folding it in half and lining up the edges. If they match, your fabric is accurately squared, and you’re ready to start working on your project!
Following these ten simple steps will help you achieve perfectly squared fabric every time. With practice and patience, you’ll become an expert at cutting and squaring any type of material in no time! Remember to keep your workspace clean, and your tools sharp, and most importantly, have fun while doing it! Now that you know how to square fabric efficiently let’s get creative and make something beautiful! So, grab your materials and get started on your next project today!
Do You Need to Hire a Professional Seamstress?
Don’t worry; we’ve got you covered! Our team of experienced seamstresses can help you with all your sewing needs. From choosing the right fabric to cutting and sewing, our experts will guide you every step of the way. Contact us today to learn more about our services and how we can help make your sewing projects a success! Happy sewing! So, why wait? Get in touch with us now and let’s bring your sewing projects to life together! See you soon!
Frequently Asked Questions
1. Why is It Essential to Square Fabric Before Cutting?
A1. Squaring fabric ensures that all sides of the material are straight and even, thus avoiding any distortion or unevenness in your final project. It also helps in obtaining accurate measurements and a clean, professional finish to your project.
2. Can I Skip Washing and Ironing the Fabric Before Squaring?
A2. It’s highly recommended to wash and iron your fabric before squaring, especially if it’s not prewashed. This step ensures that there is no shrinking or distortion of fabric after you have squared it. Skipping this step can lead to incorrect measurements and a distorted final product.
3. Can I Use Scissors Instead of a Rotary Cutter?
A3. While you can use scissors to cut fabric, it’s best to use a rotary cutter as it provides a more precise and clean cut. Also, using scissors may require more effort and time compared to using a rotary cutter, especially when cutting multiple layers of fabric at once. Ultimately, it’s a personal preference and what works best for you. However, if using scissors, make sure they are sharp to avoid jagged or uneven edges.
4. How Do I Know If My Fabric Is Square?
A4. You can easily check if your fabric is square by folding it in half and lining up the edges. If they match evenly, then your fabric is squared. If not, you may need to go back and adjust your cuts until you achieve a perfectly squared fabric. It’s always better to double-check before proceeding with your project.
Conclusion
Once you know how to square a fabric correctly, it will leave you feeling empowered and successful. You can now confidently tackle sewing projects with any type of fabric. The process might be time-intensive and take some practice, but the results are worth it! Come on over to our inspiring community of sewists who are eager to share ideas, tips, and stories – so don’t hesitate to ask questions or ask for help with your sewing project if needed.
So don your favorite apron, get out that measuring tape, iron that seams down and declare that fabric officially squared! You have it in you – just believe in yourself no matter how difficult the task might be! By introducing the skills needed to conquer fabric squaring into your everyday life, you can create beautiful garments and masterpieces that will last a lifetime. Thanks for reading this article on how to square fabric.

