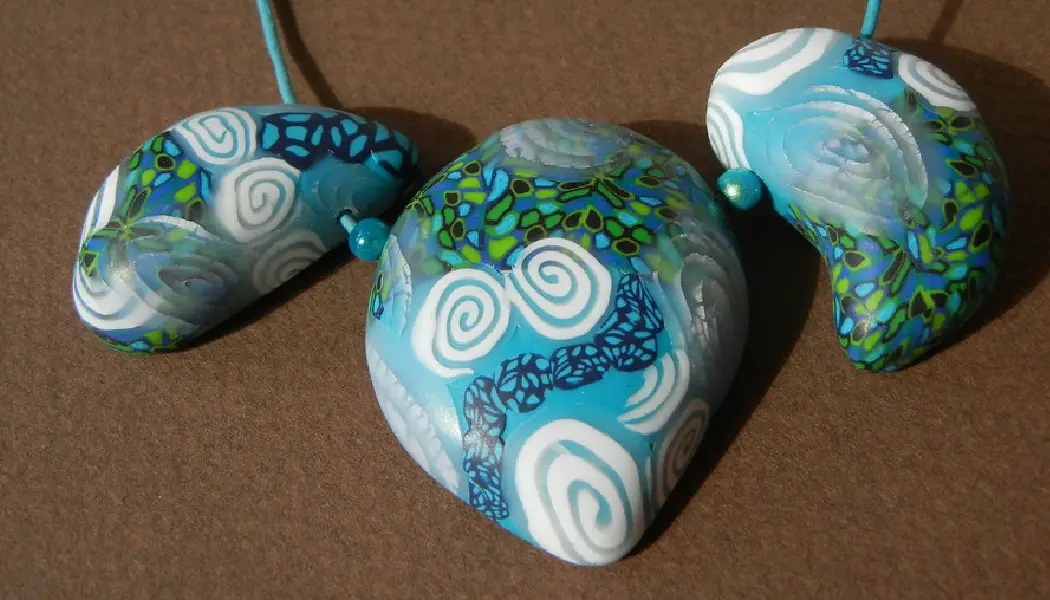
Are you looking to add some unique elements to your DIY crafts? Polymer clay is an incredibly versatile material that can be used in a variety of projects, from jewelry and home decor pieces to figurines and sculptures. However, before you get started with your masterpiece, one of the most important things you need to do is learn how to work with polymer clay so it has the perfect texture for crafting purposes.
In this blog post, we’ll cover all the tips and tricks you need to know on how to smooth polymer clay – from preparing your work area and tools, right up until curing! After reading through this article, you’ll have everything you need to start creating amazing works of art out of polymer clay. So let’s get started!
Why is Smoothing Polymer Clay Important?
Before we dive into the specifics of how to smooth polymer clay, let’s first understand why it’s such an important step. First and foremost, smoothing your polymer clay ensures that you have a consistent texture throughout your project. This results in a more professional-looking finish and helps avoid any lumps or bumps that can occur during the sculpting process.
Additionally, smoothing polymer clay also helps blend different colors together seamlessly. This is especially useful when creating intricate designs or patterns that require multiple colors. By properly smoothing and blending the clay, you can achieve a flawless transition between colors for a more polished end product.
Needed Tools and Materials
- Polymer Clay (Various Colors if Desired)
- Work Surface
- Rolling Pin
- Polymer Clay Dedicated Tools (E.g. A Pen, Ball Stylus, Etc.)
- Sandpaper or Sanding Block
10 Step-by-step Guidelines on How to Smooth Polymer Clay
Step 1: Prepare Your Work Area
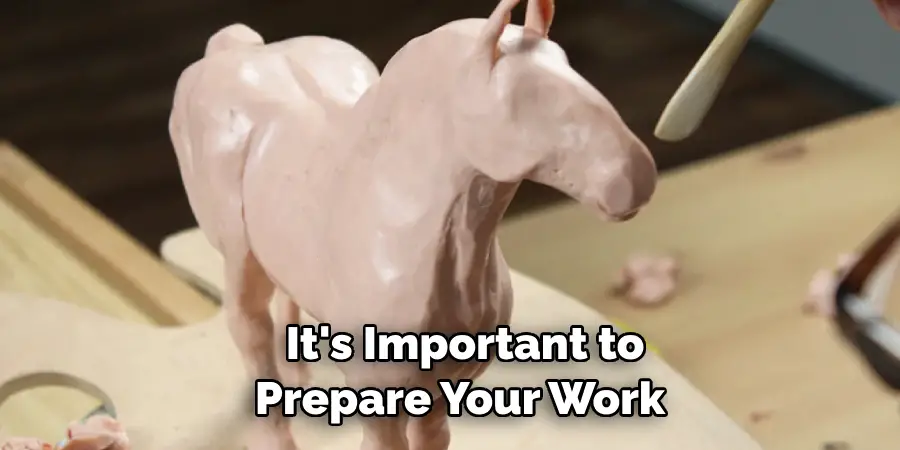
Before you start working with polymer clay, it’s important to prepare your work area. This will ensure that your clay stays clean and free from debris or dirt. Lay down a piece of wax paper, parchment paper, or plastic wrap on your work surface to prevent the clay from sticking. It’s also a good idea to wash your hands before handling the clay to avoid any transfer of oils or dirt onto the clay.
Step 2: Condition Your Clay
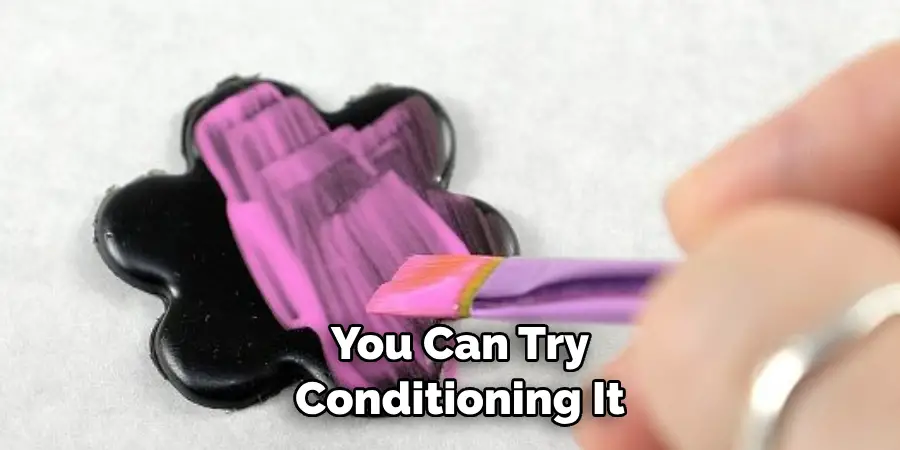
Polymer clay is quite firm when it comes out of its packaging, so it needs to be conditioned in order to make it pliable. To do this, simply work the clay between your fingers, kneading it like dough. You’ll know the clay is ready to use when it’s soft and malleable. But be careful not to condition it for too long as it can become too soft and difficult to work with. You can also use a clay conditioning machine for larger projects or if you have any hand issues.
Step 3: Roll Out Your Clay
Once your clay is properly conditioned, use a rolling pin to flatten it out to your desired thickness. The thickness will depend on the project you’re working on, so make sure to adjust accordingly. However, keep in mind that thinner clay will be easier to smooth and work with. It’s also a good idea to use guide or spacer bars to ensure your clay is rolled out evenly.
Step 4: Use Your Tools
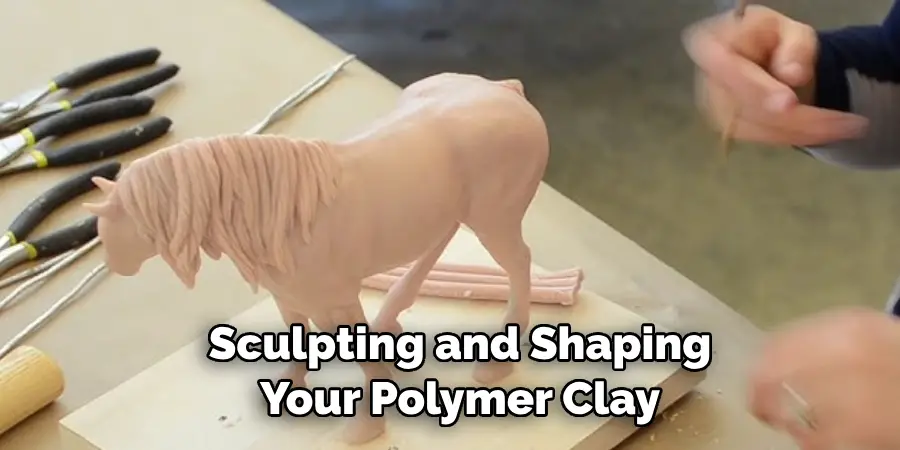
Now comes the fun part – sculpting and shaping your polymer clay! There are various tools you can use for this step, including pens, toothpicks, ball styluses, and more. Each tool provides a different effect on the clay, so feel free to experiment and find what works best for you. You can use these tools to create textures or patterns on the clay or to smooth out any imperfections.
Step 5: Blend Colors Together
If you’re using multiple colors of polymer clay, this is the step where you’ll want to blend them together. Roll out thin pieces of each color and layer them on top of each other. Then, use your tools to gently blend the colors together until you achieve a smooth gradient. It may take a bit of patience and practice, but the end result will be worth it!
Step 6: Sanding
To achieve an extra smooth finish on your clay, you can sand it down using fine-grit sandpaper or a sanding block. This is especially useful when working with larger projects or if there are any bumps or rough areas that need to be smoothed out. Just be sure to do this before baking the clay. You can also use a wet sanding technique for an even smoother finish.
Step 7: Remove Excess Clay
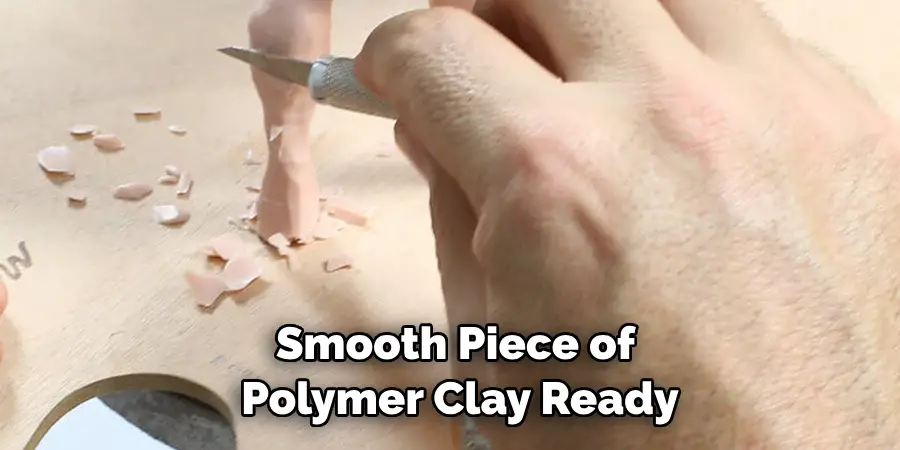
After smoothing and sculpting your polymer clay, you may have excess clay around the edges of your project. Use a sharp knife or blade to carefully trim away any extra clay for a cleaner finish. It’s important to do this before baking the clay, as it will become harder to remove any excess once it’s been cured.
Step 8: Bake Your Clay
Now that your project is all smooth and ready to go, it’s time to bake it! Follow the instructions on your chosen brand of polymer clay for temperature and baking time. Generally, polymer clay needs to be baked at a low temperature for around 15-20 minutes per 1/4 inch of thickness. Make sure to closely monitor your project while it’s baking to avoid any burning or overcooking.
Step 9: Let it Cool
Once your polymer clay is done baking, remove it from the oven and let it cool completely before handling. Baked polymer clay can be quite hot, so it’s important to give it time to cool down before touching it. Once cooled, you’ll have a solid and smooth piece of polymer clay ready for any further decorating or finishing touches.
Step 10: Add Finishing Touches
After your polymer clay has cooled and hardened, you can add any final touches to complete your project. This can include painting, varnishing, or adding any additional embellishments. Be creative and have fun with it! It’s also a good idea to seal your polymer clay projects with a clear varnish for added protection and durability.
Following these 10 steps on how to smooth polymer clay will help you create a perfectly smooth and professional-looking polymer clay project every time. Remember to take your time, experiment with different techniques and tools, and most importantly, have fun! With practice, smoothing polymer clay will become easier and more natural, resulting in beautiful finished pieces that you can be proud of. Happy sculpting!
Frequently Asked Questions
Q: Can I Use My Hands Instead of Tools to Smooth Polymer Clay?
A: Yes, you can use your fingers or the palms of your hands to smooth out small areas of polymer clay. However, using dedicated tools will give you more precision and control over your shaping and smoothing.
Q: Is Sanding Necessary for All Polymer Clay Projects?
A: No, sanding is not always necessary, especially for smaller projects that are already smooth and free from imperfections. However, sanding can be helpful in achieving an extra smooth finish or for larger projects where there may be rough areas that need to be smoothed out. It’s ultimately up to personal preference and the desired outcome of your project.
Q: Can I Reuse Polymer Clay After Baking?
A: Unfortunately, polymer clay cannot be reused after it has been baked as it becomes hard and permanent. It’s important to plan and use only the amount of clay needed for each project to avoid wasting any excess. You can, however, reuse unbaked clay scraps for future projects.
Q: How Do I Store Polymer Clay?
A: Polymer clay can be stored in its original packaging or in airtight containers to prevent it from drying out and becoming hard. It’s best to keep it at room temperature and away from direct sunlight, as heat can affect the quality of the clay. If your clay has become too hard, you can try conditioning it with a clay softener or adding a few drops of baby oil to soften it back up. Remember to always follow the manufacturer’s instructions for storing and handling polymer clay for best results.
Conclusion
As you have seen, smoothing Polymer clay isn’t an impossible job. It’s a matter of treating the clay gently, using the right tools and having the patience to get stunning, smooth results that will last. Now go out there, try out these tips yourself and remember that mistakes are part of the journey of learning this new skill. Don’t give up until you reach your desired result.
After all, practice makes perfect! If you ever feel like getting stuck or frustrated, come back to this article for a helpful refresher and be sure to check our website for even more creative ideas and help materials. Let’s get out there and create marvelous masterpieces with Polymer Clay! Thanks for reading this article on how to smooth polymer clay.

