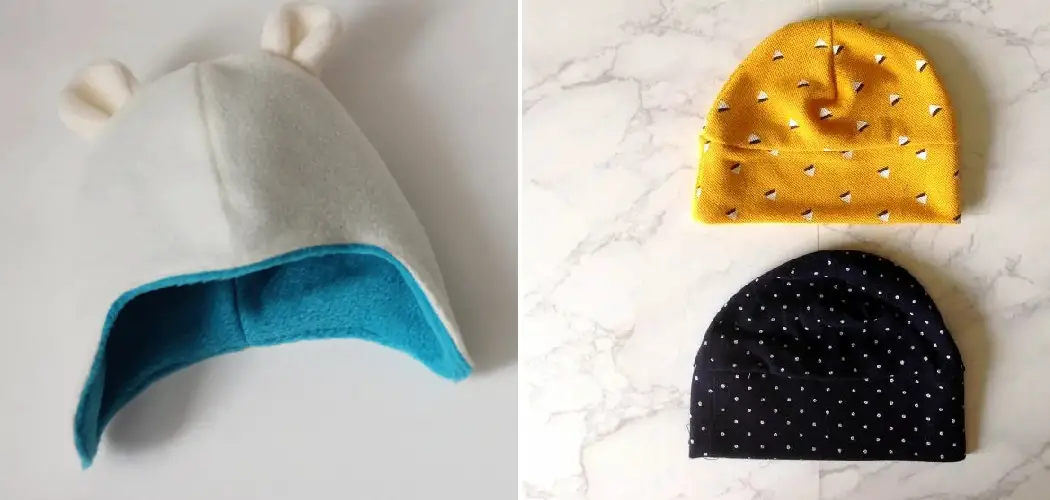
joy or are looking for a thoughtful gift for someone who is, you’ve come to the right place. Crafting your newborn hat can not only be a fun and fulfilling experience but also a great way to personalize your baby’s wardrobe.
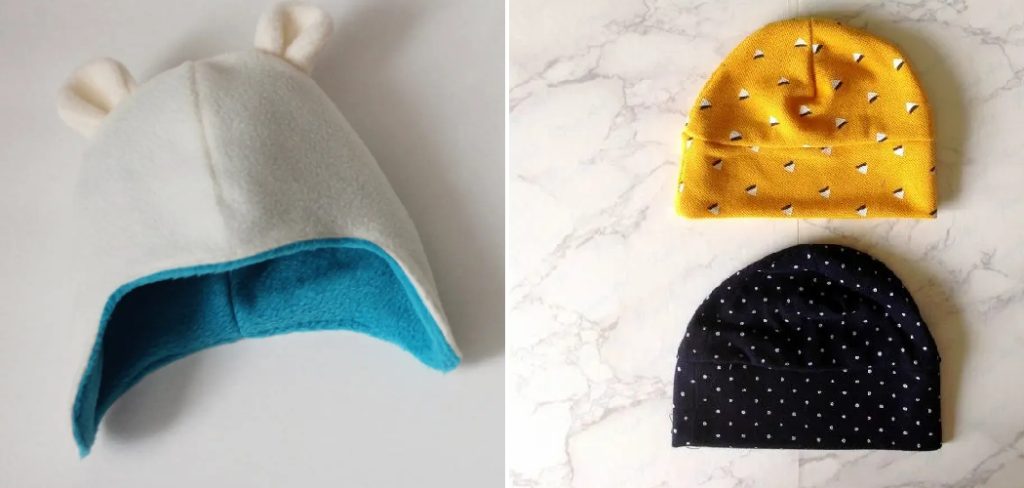
In this step-by-step guide, we will take you through How to Sew a Newborn Hat from selecting the perfect fabric to stitching up a cute and cozy hat that will keep your little one snug and stylish.
Whether you’re a sewing novice or a seasoned pro, we’ve got you covered with helpful tips and tricks, as well as a variety of design options to suit every taste. So gather your supplies, unleash your creativity, and get ready to embark on this exciting and rewarding sewing project that will have your baby looking irresistibly adorable. Let’s dive in!
Supplies You Will Need to Sew a Newborn Hat
- Cotton or fleece fabric (at least 1/4 yard)
- Thread
- Scissors
- Pins
- Sewing machine (optional)
- Iron and ironing board (optional)
- Newborn hat pattern
- Marking tool (e.g. fabric chalk or washable pen)
- Ruler or measuring tape
Step-by-step Guidelines on How to Sew a Newborn Hat
Step 1: Choose Your Fabric
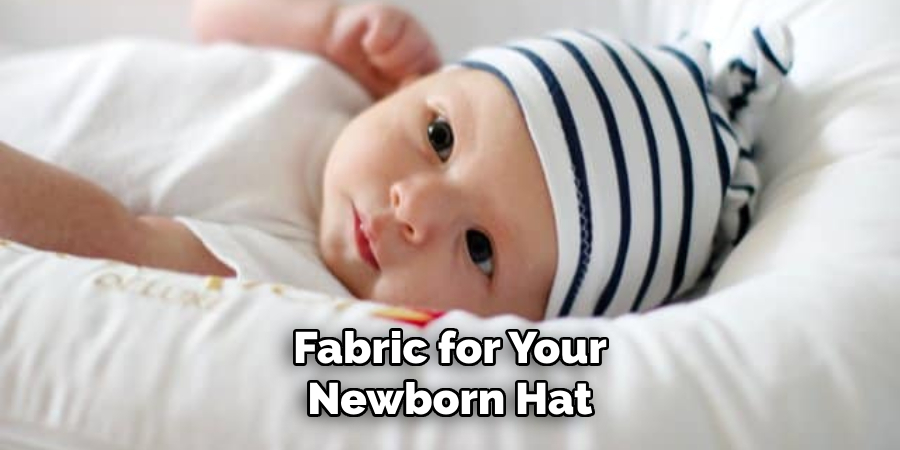
When it comes to selecting the fabric for your newborn hat, there are a few things to keep in mind. First and foremost, you want to choose a soft and breathable material that will be gentle on your baby’s delicate skin. Cotton and fleece are both great options, as they provide warmth without being too heavy.
Additionally, consider picking a fabric with a cute print or pattern to add some personality to your hat. Choosing a fabric with a bit of stretch can also help ensure a snug and comfortable fit for your baby’s head.
Step 2: Prepare Your Materials
Once you have chosen your fabric, wash and dry it before starting the sewing process. This will pre-shrink the fabric and prevent any surprises after washing the finished hat. Next, print out or trace your chosen newborn hat pattern onto paper and cut it out. This will serve as your guide for cutting the fabric and sewing the hat.
Step 3: Cut Out the Fabric Pieces
Using your pattern, cut two pieces of fabric for the main body of the hat and one piece for the brim. Make sure to place the pattern on the fold of the fabric to create a symmetrical shape. If you want a reversible hat, choose two different fabrics and cut two pieces of each. While cutting, make sure to leave a 1/4-inch seam allowance on all sides.
Step 4: Pin and Sew the Main Body of the Hat
Place the two main body pieces of fabric right sides together and pin along the curved edge. Using your sewing machine or hand stitching, sew along this edge with a straight stitch, leaving a small gap for turning inside out. Remove the pins and turn the hat right side out through the gap. This will create the crown of your newborn hat.
Step 5: Add the Brim
Take the brim piece and fold it in half lengthwise, right sides together. Pin along the raw edge and sew with a straight stitch, leaving a small gap for turning. Turn the brim right side out through the gap and press flat with an iron if desired. Pin the brim to the bottom edge of the hat, lining up the raw edges. Sew along this edge with a straight stitch, making sure to catch both layers of fabric.
Step 6: Finish and Adjust
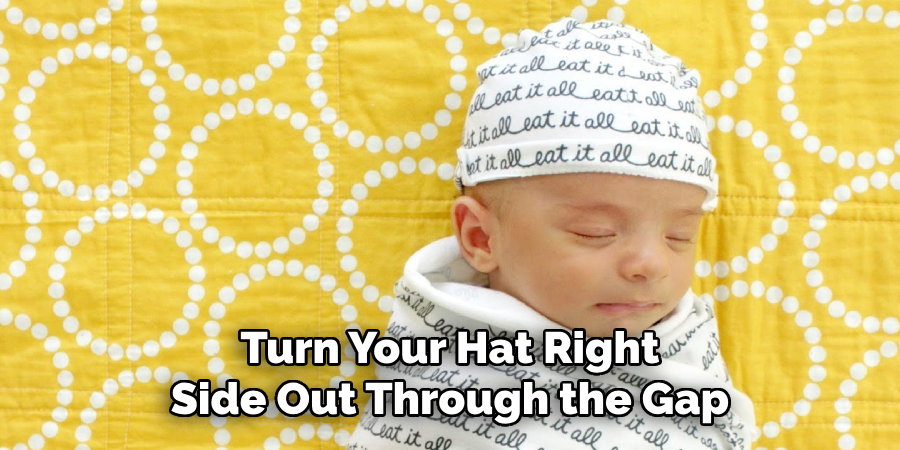
Turn your hat right side out through the gap left in step 4 and close the gap by hand stitching or using a hidden stitch on your sewing machine. If desired, you can also add cute embellishments such as bows or pom-poms to personalize your newborn hat. Adjust the fit by gently stretching or gathering the fabric at the bottom of the brim until it fits comfortably on your baby’s head.
Following these simple steps, you can now create a beautiful and cozy hat for your newborn. Feel free to experiment with different fabrics, patterns, and embellishments to make each hat unique. You can also consider making a matching set of hats for mom and baby or creating one for every season. The possibilities are endless! Happy sewing!
Additional Tips and Tricks to Sew a Newborn Hat
- When sewing a newborn hat, it’s important to choose the right fabric. Soft and breathable fabrics like cotton or jersey are ideal for baby hats as they won’t irritate their delicate skin. Avoid using synthetic materials or rough fabrics.
- Before sewing, make sure to wash and iron your fabric to remove any chemicals or dirt that may be present. This will ensure that the hat is safe and clean for your newborn.
- When cutting the fabric, it’s always better to use a rotary cutter instead of scissors as it provides more precise cuts. Make sure to measure and mark the fabric accurately before cutting to ensure a perfect fit for your newborn’s head.
- To add a personal touch to the hat, you can use embroidery or applique techniques to decorate it. You can also sew on buttons, ribbons, or bows for a cute and unique look.
- For added comfort, consider lining the inside of the hat with a soft fabric. This will prevent any rough seams from rubbing against your baby’s head.
- When sewing the hat, always use a thread that is suitable for stretch fabrics to ensure the hat doesn’t rip or tear when stretched.
- It’s important to pay attention to the seam allowances when sewing the hat as they can affect the fit and comfort of the hat. Make sure to follow the pattern’s instructions carefully and use pins to keep the fabric in place while sewing.
- Don’t be afraid to experiment with different patterns and designs for your newborn hat. You can even mix and match different fabrics and colors to create a unique look.
- If you’re new to sewing, it may be helpful to watch online tutorials or take a beginner’s sewing class to learn the basics before attempting to sew a newborn hat.
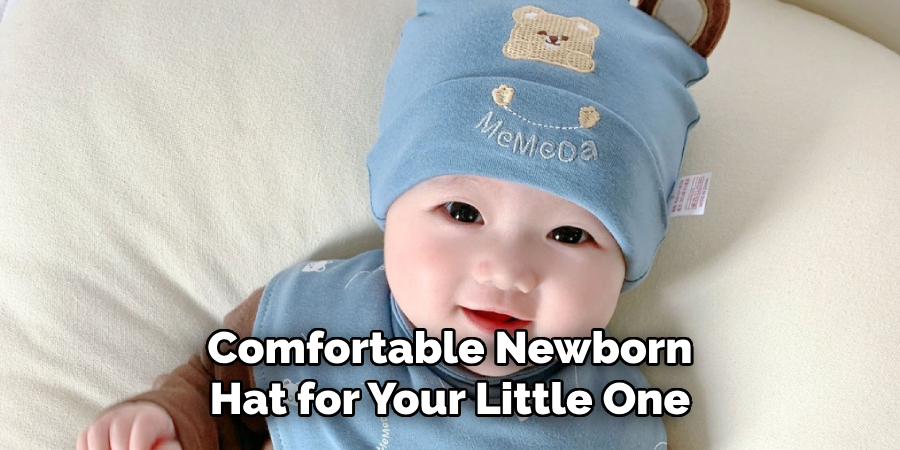
Following these tips and tricks will help you to sew a perfect and comfortable newborn hat for your little one. Have fun and get creative while making this special item that your baby will love to wear! Remember, practice makes perfect, so don’t get discouraged if your first few hats don’t turn out exactly as planned. Keep trying and soon you’ll be able to sew a beautiful hat for your newborn with ease. Happy sewing!
Frequently Asked Questions
Can I Sew a Newborn Hat by Hand?
Absolutely! Hand sewing can be a great option for those who do not have access to a sewing machine or are more comfortable working with the needle and thread. It may take a bit more time and patience, but the result can be just as beautiful and functional as one made with a machine.
Do I Need Special Fabric for a Newborn Hat?
Not necessarily. While there are many cute and colorful fabrics available specifically for newborns, you can use any breathable fabric that is soft and gentle on delicate skin. Cotton, flannel, and knit fabrics are all great options.
Can I Customize the Size of the Hat?
Yes! One of the great things about sewing your newborn hat is being able to customize it to fit perfectly. You can adjust the size by making smaller or larger cuts in the pattern, or by simply adding or reducing seam allowances. Additionally, you can also adjust the size of the hat by using different fabrics with varying degrees of stretch.
Do I Need to Pre-Wash My Fabric?
It is highly recommended to pre-wash your fabric before sewing. This helps prevent any shrinking or color bleeding that may occur after washing the finished product. It is also important to ensure that the fabric is clean and free of any chemicals or irritants that could harm the sensitive skin of a newborn.
Can I Add Embellishments to the Hat?
Yes, you can! Adding embellishments such as bows, buttons, or embroidery can add a personal touch to your newborn hat. However, it is important to make sure they are securely attached and do not pose a choking hazard for the baby.
Are There Any Safety Considerations When Sewing a Newborn Hat?
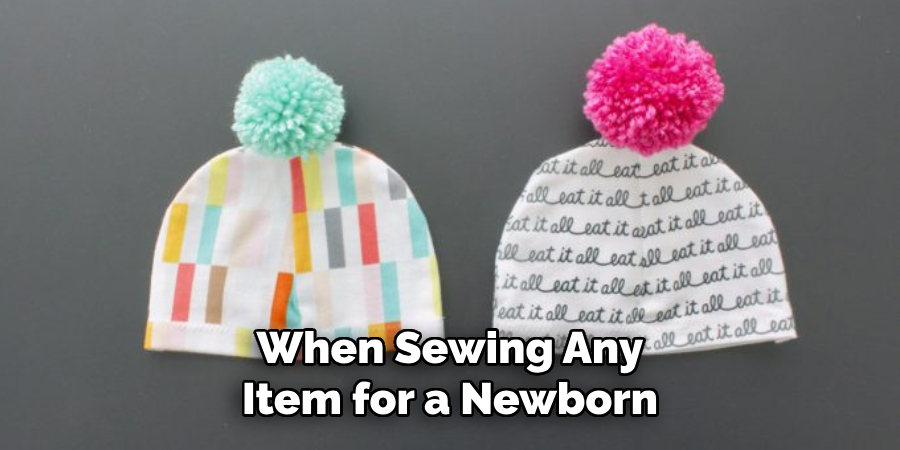
Safety should always be a top priority when sewing any item for a newborn. Be sure to use clean and sharp tools, keep loose threads and pins out of reach, and avoid using thick or bulky materials that could cause discomfort for the baby. It is also important to carefully inspect and check the quality of your finished hat before use.
Conclusion
Now you know how to sew a newborn hat, you can create a handmade gift for your little one or a loved one’s newborn. With some basic sewing skills and the right materials, you can make a beautiful and functional hat that will keep the baby warm and cozy in style.
Remember to always prioritize safety and have fun with your sewing project! So go ahead, grab some fabric, thread, and needles, and start creating your very own newborn hat today. Happy sewing!

