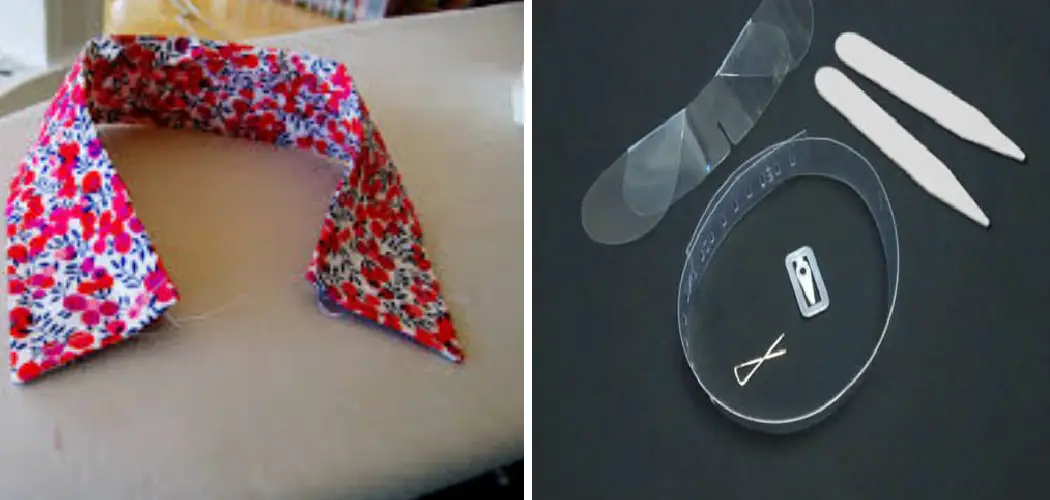
Are you looking to take your sewing skills to the next level and master a new skill? Sewing collars and collar stands are two essential elements of any well-crafted garment. From achieving professional-looking results when making tailored blazers or cozy sweatshirts, mastering this time-honored technique will open up a variety of styling options for whatever garment you choose to make.
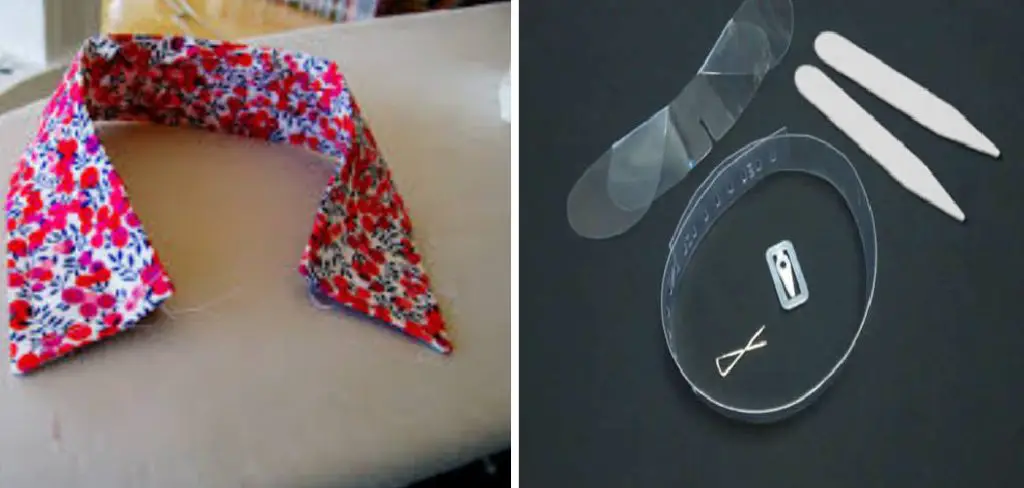
In this blog post on how to sew a collar and collar stand we’ll walk through all the steps necessary for creating perfect collars and collar stands every time. So grab your fabric, thread, needle and notions as it is time to learn how to sew stylish collars!
What is a Collar?
A collar is a fabric that sits around your neck and frames the face. It can come in various styles such as a classic shirt collar, a mandarin collar, or even a Peter Pan collar. Collars are often made from two layers of fabric to add structure and support, with the top layer being visible and the bottom layer acting as a facing.
What is a Collar Stand?
A collar stand is a piece of fabric that sits between the neckline and collar of a garment. It provides structure and support to the collar, giving it a crisp and defined look. Collar stands can come in various shapes and sizes depending on the style of the garment you are making. They can be small or large, narrow or wide, curved or straight – all depending on the design of your garment.
Necessary Materials
Fabric:
Choose a lightweight fabric such as cotton or linen for your collar and sturdy, interfaced fabric for the collar stand. You’ll need extra fabric for seam allowances.
Interfacing:
For added structure, choose stiff fusible interfacing. Make sure it is the same weight as your fabric to avoid any puckering.
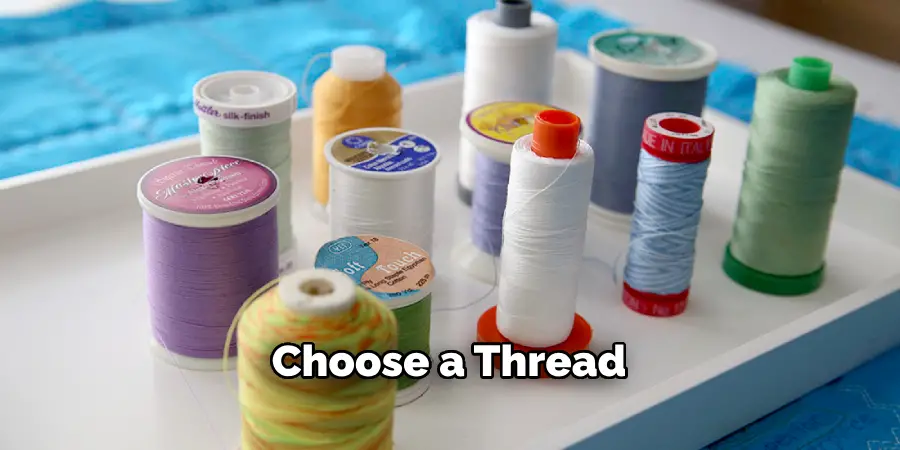
Thread:
Choose a thread that matches your fabric for invisible stitches or a contrasting color for added detail.
Sewing Machine & Notions:
You’ll need a sewing machine, scissors, pins, and a seam ripper. Optional items include a pressing cloth, a tailor’s chalk or pen, and a seam gauge.
12 Step-by-step Guides on How to Sew a Collar and Collar Stand
Step 1: Preparation
The first step for sewing collars and collar stands is to have all your materials and tools ready. Prepare your fabric by washing and pressing it beforehand to avoid any shrinkage or creases. It is also a good idea to have an iron nearby for pressing as you sew. But be sure to use a pressing cloth, especially when using fusible interfacing, to avoid any adhesive residue on your iron.
Step 2: Cutting the Fabric
Using a pattern or measurements for your chosen garment, cut out all the required pieces for the collar and collar stand. Make sure to mark any notches or important points on your fabric using a tailor’s chalk or a pen. Otherwise, use pins to mark them. It is also helpful to label each piece with its corresponding pattern piece number.
Step 3: Interfacing
Cut the same pieces of interfacing as your fabric and fuse them onto the wrong side of the collar stand and one set of collar pieces. Follow the manufacturer’s instructions for fusing, usually using high heat and pressure for 10-15 seconds without steam. Then, trim off the excess interfacing from the edges. You can also use a serger or zigzag stitch to finish the raw edges.
Step 4: Sewing the Collar
Place two collar pieces right sides together and sew along the curved edge using a 1/2 inch seam allowance. Leave one short end open for turning. Clip into the corners without cutting through the stitches to reduce bulk, then turn it right side out and press. Repeat for the other set of collar pieces.
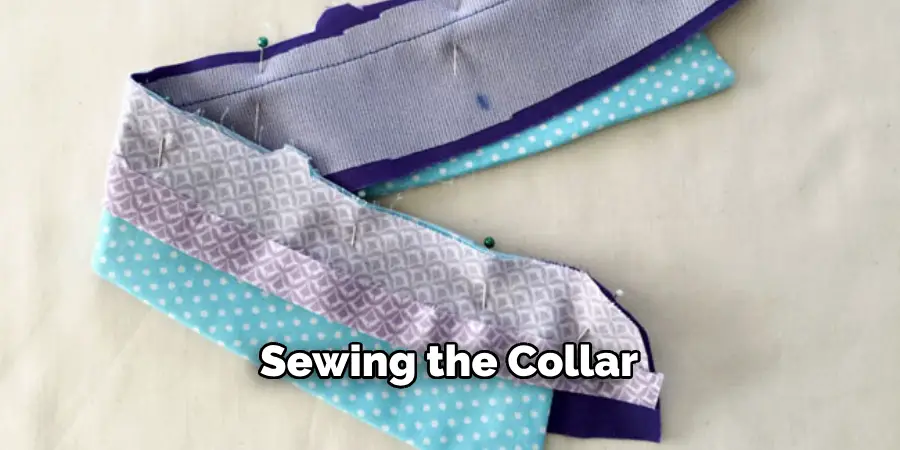
If desired, you can add understitching to the seam allowance for a neater finish. You can also add topstitching around the collar edges for added detail.
Step 5: Sewing the Collar Stand
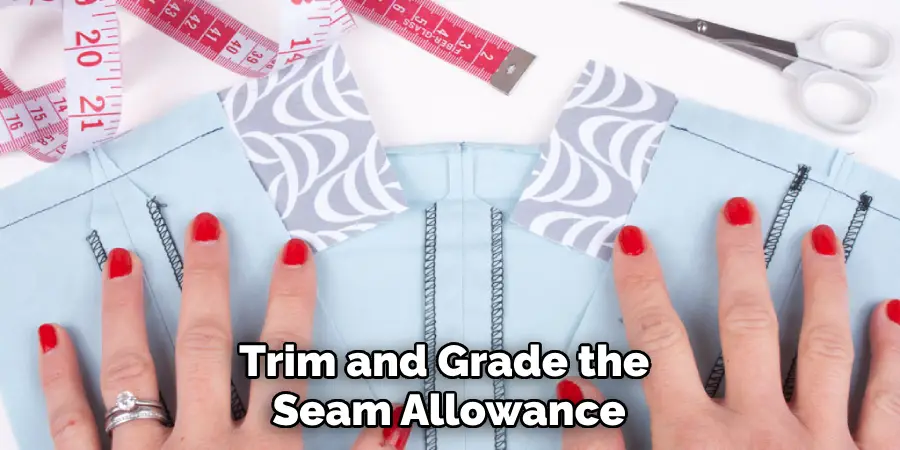
Place the two collar stand pieces right sides together and sew along one short end using a 1/2 inch seam allowance. Press open the seam and then fold it in half lengthwise, right sides together. Sew along the long open edge using a 1/4-inch seam allowance. Trim and grade the seam allowance to reduce bulk, then turn it right side out and press.
Step 6: Attaching the Collar to the Collar Stand
Place the collar stand inside the collar, matching up the raw edges and aligning them at the center back. Pin in place then sews along the entire perimeter using a 1/4-inch seam allowance. Trim and grade the seam allowance, then turn it right side out and press.
You can also add topstitching along the outer edge for a professional finish. But be sure to sew slowly and carefully, especially at the corners.
Step 7: Attaching the Collar to the Garment
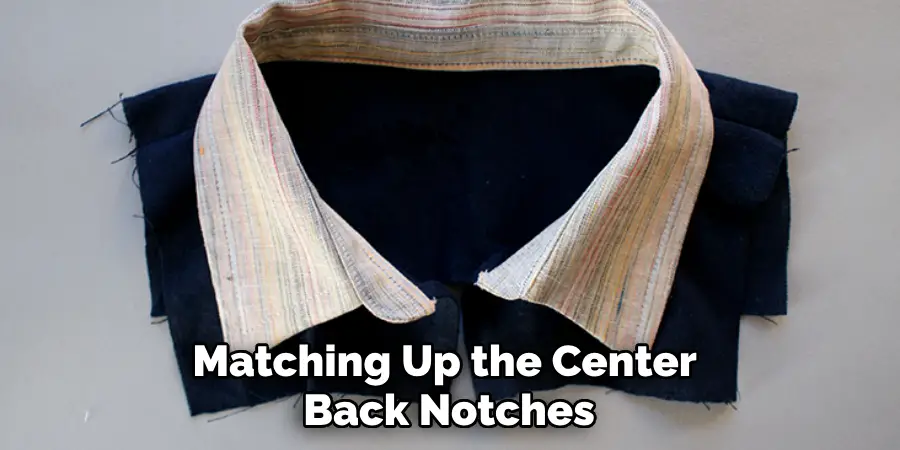
Place your garment right side up and lay the collar on top, matching up the center back notches. Pin along the neckline and sew using a 1/4 inch seam allowance, making sure to stop at the center front and pivot. Repeat for attaching the other side of the collar to the garment.
It is essential to use a backstitch at the beginning and end of each seam for added durability. if your garment has a face, you can now add it by sewing the outer edge to the collar.
Step 8: Sewing the Collar Ends
Place one collar end inside the other, right sides together, and pin along the raw edges. Sew using a 1/4 inch seam allowance, then trim and grade the seam allowance and turn it right side out. Use a point-turner or chopstick to push out the corners for a clean finish. However, be careful not to push too hard and create holes in your fabric.
Step 9: Attaching the Collar Ends to the Garment
Pin one collar end at each side of the center front seam. Make sure they are evenly spaced and facing toward the garment’s right side. Sew along the edge using a 1/4-inch seam allowance, then trim and grade the seam allowance. You can also add topstitching along the edge for added detail.
The collar ends should now be neatly attached to the garment. It is essential to check that the collar lays flat and doesn’t bunch up along the neckline.
Step 10: Finishing the Collar
To finish the collar, fold it down on itself, matching up the center back notches. Pin along the outer edge and sew using a 1/4-inch seam allowance, leaving a small opening for turning. Trim and grade the seam allowance, then turn it right side out using the opening. Use a point-turner to push out the corners, then press the entire collar for a crisp finish.
Step 11: Attaching Buttons or Snaps
If your garment has button or snap closures, now is the time to attach them. Mark their placement on one collar end and the center front of the garment, then sew them on using a buttonhole stitch or your choice of attachment. If using buttons, make sure to add matching buttonholes on the other collar end. You can also use snaps for a cleaner finish.
Step 12: Final Pressing
Before wearing your newly sewn garment, give it a final press with an iron. Take care not to flatten any visible seams or topstitching. You can use a pressing cloth to protect the fabric and set your iron to the appropriate heat setting for your fabric type. Your collar and collar stand should now look professional and well-sewn on your garment.
Following these 12 steps on how to sew a collar and collar stand will help you sew a collar and collar stand with ease, achieving a polished look on any garment. Practice makes perfect, so don’t be discouraged if it takes a few tries to get it just right. With time and patience, you’ll become a pro at sewing collars and collar stands for all your future projects!
Happy sewing!
Do You Need to Use Professionals?
Sewing a collar and collar stand may seem like a daunting task, but with the right tools and techniques, it is entirely possible to achieve a professional-looking result. However, if you are still unsure or not confident in your sewing skills, you can always seek assistance from professionals.
Some sewing shops offer classes or workshops specifically for collars and other advanced sewing techniques. These classes can provide valuable hands-on experience and guidance from experienced sewers. You can also hire a professional seamstress or tailor to help you with your project if needed.
Remember, practice makes perfect, so don’t get discouraged if it takes a few tries to master sewing collars and collar stands. With patience and determination, you’ll soon be able to add this skill to your sewing repertoire.
Keep learning and experimenting, and you’ll be well on your way to becoming a skilled seamstress or tailor! So, keep sewing and have fun creating beautiful garments with perfectly sewn collars and collar stands.
How Much Will It Cost?
The cost of sewing a collar and collar stand will vary depending on the fabric, pattern, and tools you use. If you already have a sewing machine, basic sewing tools, and fabrics in your stash, then the additional cost will be minimal.
However, if you need to purchase fabric, interfacing, buttons or snaps, and other necessary supplies, expect to spend anywhere from $10-$30. Also, keep in mind that investing in quality tools and materials will give you better results and save you money in the long run.
Don’t let the cost deter you from learning how to sew collars and collar stands. With some research and budgeting, you can create beautiful garments without breaking the bank. Plus, think of all the money you’ll save by sewing your own collared garments instead of buying them from a store! So, embrace the learning process and have fun creating stylish and unique pieces with perfectly sewn collars and collar stands.
Frequently Asked Questions
Q: Can I Sew a Collar and Collar Stand Without a Sewing Machine?
A: Yes, you can hand-sew a collar and collar stand, but it may take longer and require more precision. A sewing machine is recommended for quicker and more accurate results.
Q: How Do I Know What Size Collar to Sew?
A: The size of the collar will depend on the garment pattern you are using. It is always best to follow the pattern instructions for proper sizing. You can also experiment with different sizes to achieve the desired look.
Q: Can I Use Different Types of Fabric for My Collar and Collar Stand?
A: Yes, you can use a variety of fabrics for your collar and collar stand. However, keep in mind that thicker or sturdier fabrics will give the collar more structure and stability. Lightweight or delicate fabrics may require additional reinforcement or interfacing.
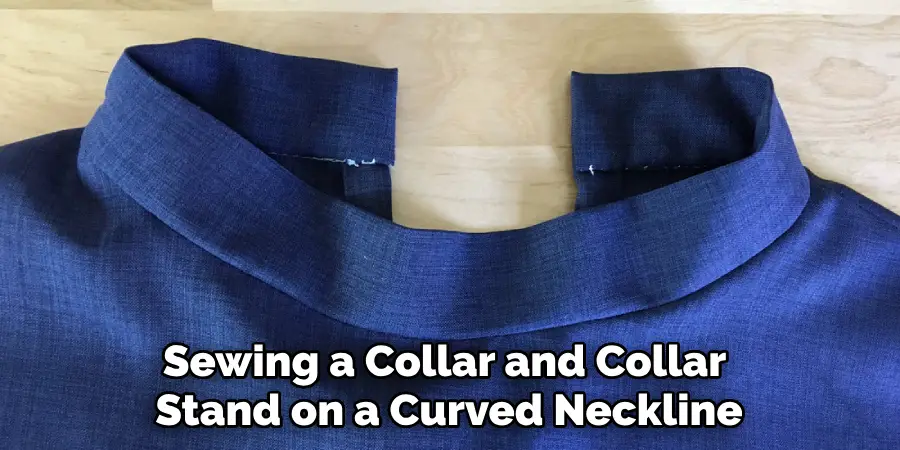
Q: How Do I Sew a Collar and Collar Stand on a Curved Neckline?
A: Sewing a collar and collar stand on a curved neckline may require some additional steps, such as clipping the seam allowance or making small gathers. It is best to follow the pattern instructions for sewing collars on curved necklines.
Conclusion
After having read this guide, you are now well on your way to becoming an expert in collar and collar stand sewing. With the tips and tricks included on how to sew a collar and collar stand, you will be able to produce professional-looking garments in no time.
Whether you are creating a dress with a refined Peter Pan collar or covering special occasions in a dramatic feminine shirt, mastering how to sew collars and their stands will make all the difference.
So give yourself a pat on the back for making it this far and bravely take the next step. Grab your fabric, cut out your pattern pieces, mount the collar and collar stand together and experience for yourself how fulfilling it is to create something unique with your own two hands!

