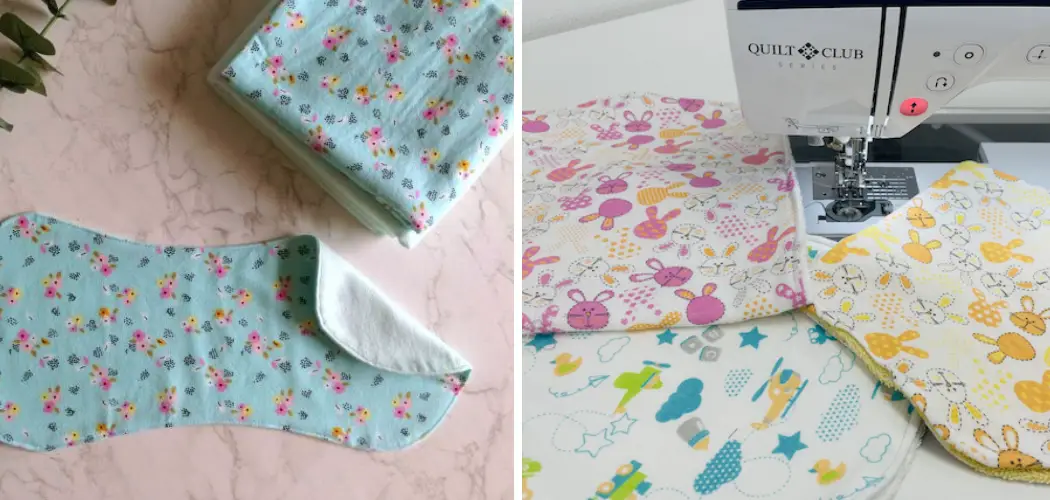
Are you looking to add something special to your baby’s collection of must-have items? Sewing a burp cloth is not only fun, but it’s also practical and will come in handy long after the little one has outgrown it. With just a few simple materials and basic sewing knowledge, you can easily create your own adorable yet useful burp cloth for your new bundle of joy.
Whether you choose a pre-made pattern or draw your own, the basic construction of a burp cloth is simple. Here we will discuss the steps to creating a burp cloth from start to finish.
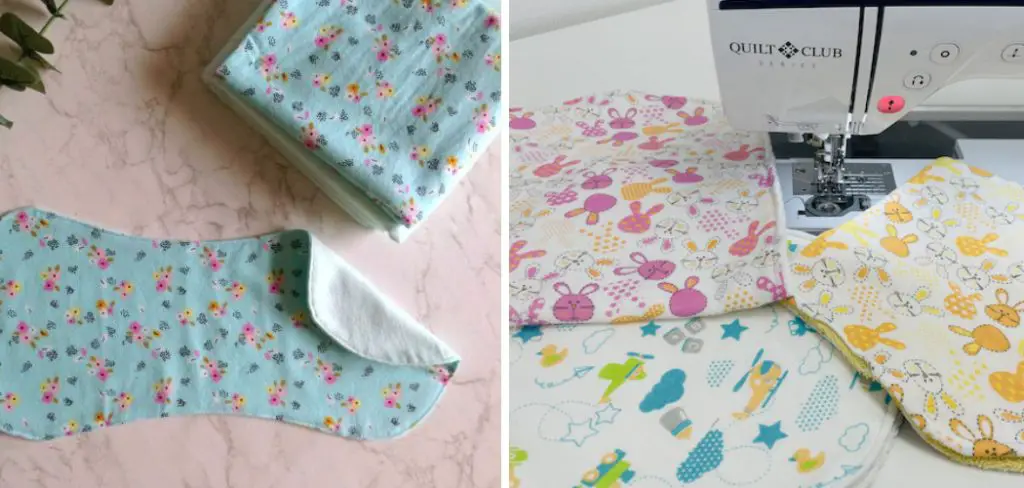
Read on to learn the basics of how to sew a burp cloth. Always remember to use caution when operating a sewing machine.
What Will You Need?
To get started, you will need the following:
- Fabric (or pre-made burp cloth)
- Thread
- Sewing notions such as scissors and pins
- A sewing machine or needle & thread (optional)
Once you have gathered your materials, it’s time to start sewing.
10 Easy Steps on How to Sew a Burp Cloth
Step 1: Measure & Cut
Measure and cut the fabric according to your desired size. Most patterns call for a piece of fabric measuring 18 inches x 10 inches. However, you can adjust the measurements to create the perfect burp cloth size for your little one. If you are using pre-made burp cloth fabric, skip to step 2.
Step 2: Pin & Prepare for Sewing
Take your two pieces of fabric and place them right sides together. Make sure all edges meet and pin them in place. This will prevent any slipping or movement when you begin to sew. If you’re working with a fabric that frays, consider adding an extra half-inch for the seam allowance. Double-check your pinned fabric to ensure all corners and edges align properly.
Step 3: Sew the Edges
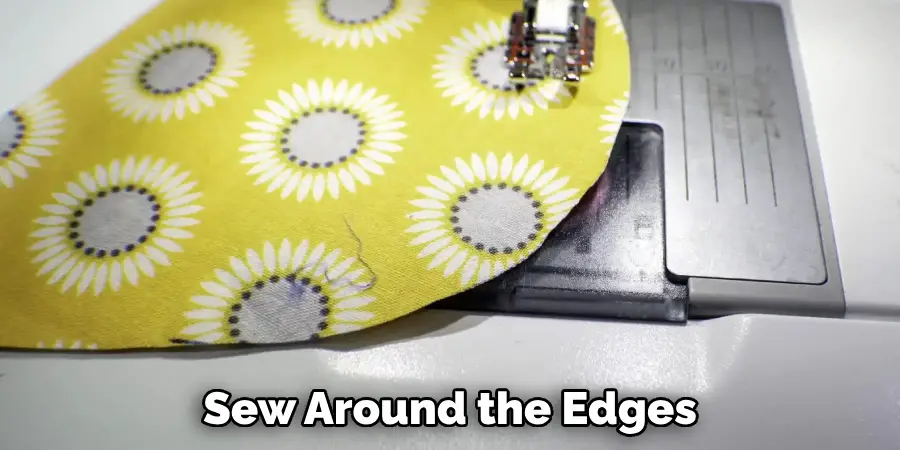
Begin sewing along the edges of your fabric, leaving a gap of about 3-4 inches on one side for turning the cloth right side out later. Maintain a consistent seam allowance as you sew around the edges. Whether using a sewing machine or hand-sewing, ensure your stitches are secure and even. Remember, it’s okay to slow down and take your time—precision is key in this step.
Step 4: Trim the Corners
After sewing, it’s time to trim the corners of your cloth. This step will make it easier to turn the cloth right side out and give it a more polished look. Take care not to cut into your stitches; instead, trim close to them. Be especially mindful of the corners – try to cut them at an angle for a neater outcome. After trimming, you’re ready to turn your burp cloth right side out.
Step 5: Turn the Cloth Right Side Out
Carefully reach the gap you left in the seam and pull the fabric through to turn the burp cloth right side out. Use a point turner or the end of a pencil to push out the corners, ensuring they are sharp and well-defined. Make sure to smooth out the edges as well.
Step 6: Press the Cloth
Once your burp cloth is turned right side out, press it with an iron to get a flat surface. This will make your cloth look more professional and make the next step of sewing easier. Be sure to fold in and press the seam allowance at the opening so it aligns with the rest of the edge.
Step 7: Top Stitch the Edges
Top stitching gives your burp cloth a finished look and closes the gap left for turning. Sew all around the edges of the cloth, as close to the edge as you can get, ensuring the gap is sewn shut in the process. Maintain a consistent seam allowance for a uniform look.
Step 8: Add a Finishing Touch (Optional)
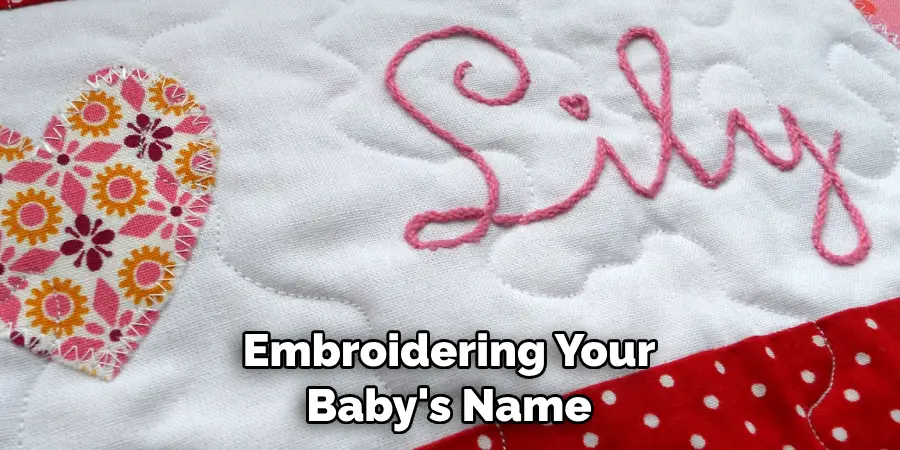
Consider adding a label or embroidering your baby’s name on the cloth for a personal touch. This step is optional but can make the burp cloth extra special. If you choose to embroider, use a simple font and follow the same steps for topstitching.
Step 9: Repeat for More Cloths
If you want to make more burp cloths, simply repeat the process. You can experiment with different fabrics and patterns to create a unique collection. Try making coordinating burp cloths with different fabrics and designs.
Step 10: Wash and Dry
Before using the burp cloth, wash and dry it to ensure it’s clean and ready for use. Now, you have a beautiful, homemade burp cloth for your little one! Remember always to use caution when operating a sewing machine.
Congratulations on creating your very own burp cloth! Whether you’re new to sewing or an experienced seamstress, these easy steps will help you create something special for your newborn baby that they’ll cherish for years. Making burp cloths can be fun and rewarding with a little bit of patience and creativity. Now, go ahead and make your own!
5 Additional Tips and Tricks
- Pre-Wash Your Fabric: Before sewing your burp cloth, pre-wash your fabric. This step is essential as it eliminates any shrinkage that could occur after your burp cloth is sewn. It also removes any loose dye, maintaining the cloth’s color and quality.
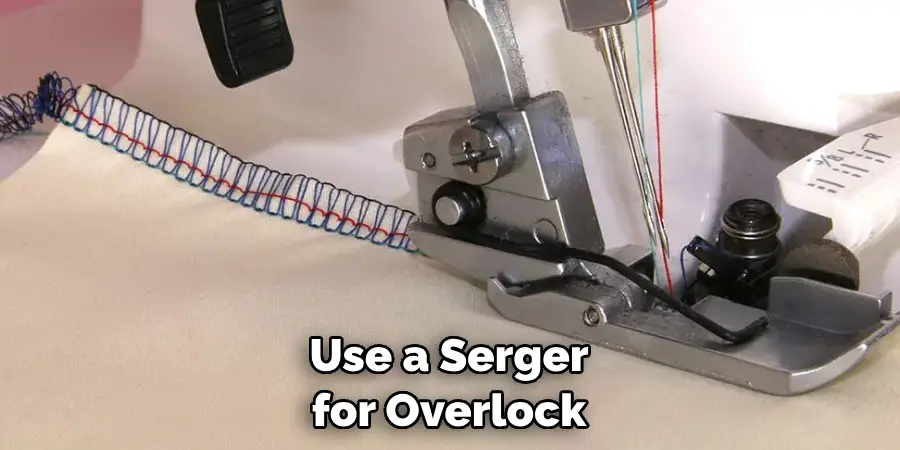
- Use a Serger: To give your burp cloth a professional finish, use a serger (also known as an overlock machine). This will create neat and clean edges that are resistant to fraying.
- Select the Right Thread: Make sure you select a thread appropriate for the fabric you’re using. If the wrong thread is used, it can cause seams to break and fabrics to bunch up.
- Add Embellishments: If you want to give your burp cloth a unique look, add some embellishments. You can use ribbons, buttons, and appliques to create a one-of-a-kind piece of art.
- Practice Makes Perfect: As with any sewing project, practice makes perfect. Be sure to take the time to get used to your machine and practice stitching on scrap fabric. It will be much easier once you’ve perfected the basics of sewing a burp cloth.
With these tips, you can create beautiful and practical burp cloths for any occasion.
5 Things You Should Avoid
- Avoid Rushing: While the excitement of creating something new can be enticing, it’s crucial to take your time when sewing a burp cloth. Rushing through the process can lead to mistakes, which could compromise the overall quality of your work.
- Don’t Skip Ironing: Ironing your fabric before sewing can significantly enhance the final look of your burp cloth. Skipping this step could result in a wrinkled and unprofessional appearance.
- Avoid Using Low-Quality Materials: The quality of your materials can directly impact the durability and functionality of your burp cloth. Low-quality fabric or thread can lead to a burp cloth that wears out quickly or needs to provide sufficient absorption.
- Don’t Ignore Fabric Grain: Paying attention to the grain of the fabric when cutting is important. Ignoring the grain can affect how well the cloth holds up after washing and wearing.
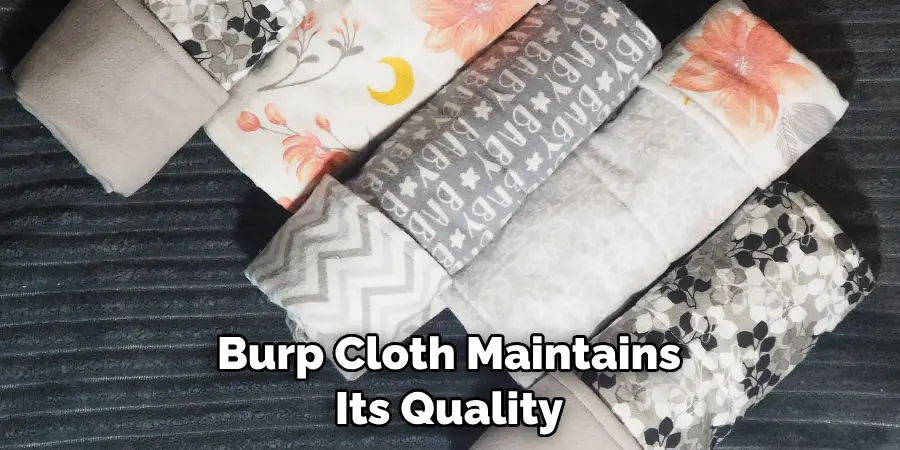
- Avoid Neglecting Care Instructions: Each fabric has unique care instructions, and neglecting them can lead to damage. Always adhere to the recommended washing and drying instructions to ensure your burp cloth maintains its quality and longevity.
By avoiding these common pitfalls, you can ensure the creation of a high-quality, durable, and aesthetically pleasing burp cloth.
What Kind of Fabric Do You Use for Burp Cloths?
The most popular fabric used for burp cloths is cotton. This material is lightweight, absorbent, and breathable, making it ideal for creating burp cloths. Flannel and muslin are other fabrics often used to make burp cloths. They offer a thicker texture and longer-lasting durability than cotton.
When selecting a fabric for your burp cloth, make sure you consider the type of fabric that best suits your needs. Additionally, be sure to check the care instructions for each fabric before making a selection.
Overall, sewing a burp cloth is an enjoyable and rewarding project. With the right materials, techniques, and care instructions, you’ll be able to create a beautiful and functional burp cloth in no time. And remember to have fun!
Conclusion
As you have seen, how to sew a burp cloth is a quick and easy sewing project that anyone can do. The cute design possibilities make it even more fun for those who love fabric designs! Additionally, handmade gifts are some of the most special things that you can give, so why not make one that is sure to be used?
It’s also small enough that you could give it as part of a larger gift basket or create several as part of an entire set.
Whether you’re giving them as a shower gift or making one for your own home- sewing isn’t just for ‘experts’ – anyone can gain enjoyment from this process. So grab your materials, find some free time, and get to sewing!
Just remember: take your time and carefully measure each piece. Soon enough, you will have designed and created something special to show off with pride!

