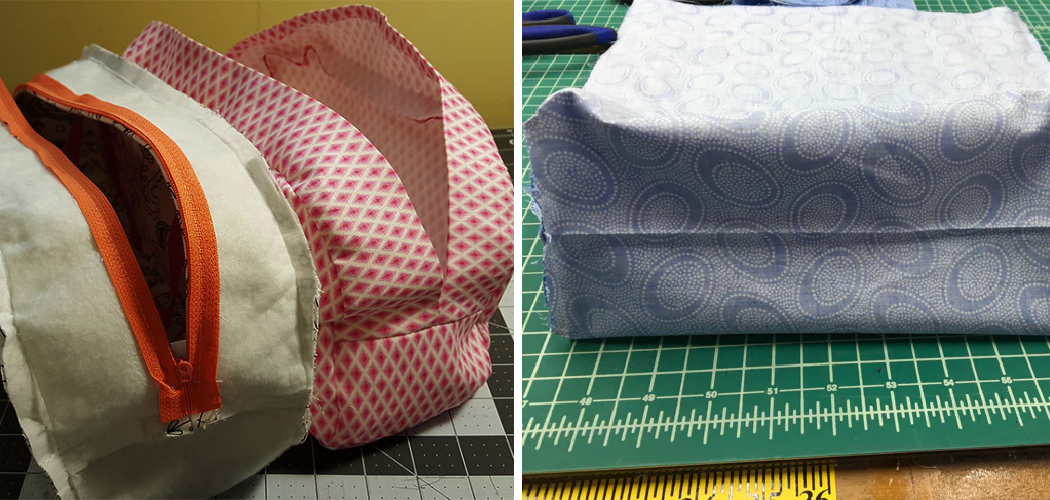
Are you looking for a fun and easy sewing project that will teach you how to make something from scratch without browsing endless online tutorials? Sewing your own bag with sides and bottom is an easy way to get into the craft without feeling overwhelmed.
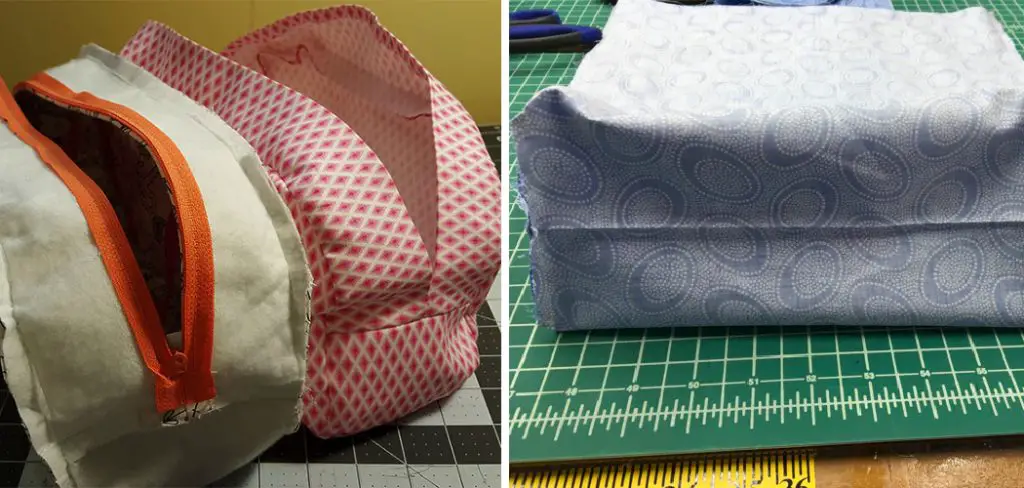
From picking fabrics, cutting patterns, adding handles, and reinforcing stitches – this guide will walk through all of the steps on how to sew a bag with sides and bottom for creating your very own custom bag. With patience and some practice, you too can master a skillful technique that will leave everyone wondering if it was purchased or not!
Step-by-step Guidelines on How to Sew a Bag With Sides and Bottom
Step 1: Choose a Fabric
Selecting the right fabric is essential for any project. For your bag with sides and bottom, a thicker material such as canvas or denim will provide more support and durability. You can also choose wool, cotton or synthetic fabrics if you wish to add more color or texture. When it comes to the number of layers, two pieces of thick fabric will make your bag sturdier and more luxurious.
Step 2: Cut the Pattern
Once you have chosen a fabric, it is time to measure and cut. Begin by taking two rectangles of the same size for the sides of the bag and two circles for the bottom. Make sure all measurements are accurate, as they will determine how big or small your bag will be.
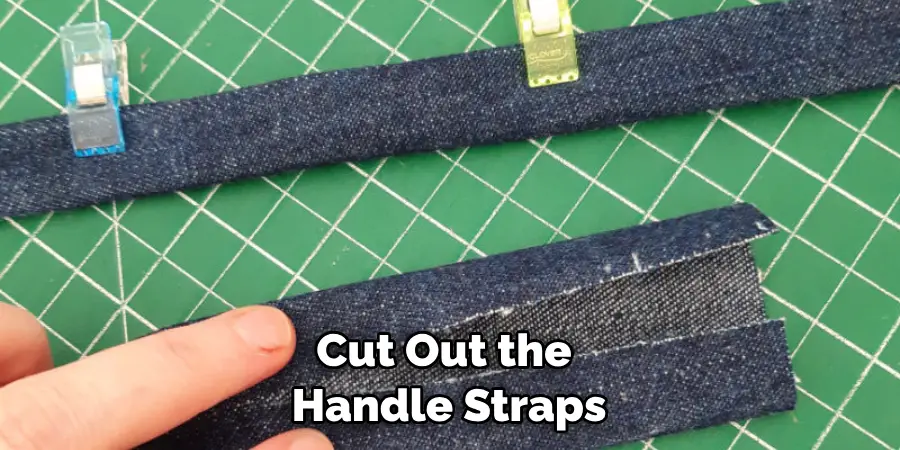
Next, cut out the handle straps and reinforcement pieces for extra stability. But if you’d rather skip the measuring altogether, many craft stores sell pre-cut fabric pieces that you can use.
Step 3: Stitch the Sides Together
Start by stitching the sides of the bag together with a back-stitch or zigzag stitch. Make sure to leave an opening between each side so that you can insert the bottom later. Be sure to back-stitch at the beginning and end of each side.
It is also a good idea to reinforce the stitching by going over it with a straight stitch and adding extra stitches in areas that will receive more wear. This will ensure that the seams hold up and won’t come apart easily.
Step 4: Attach the Reinforcement Pieces
Once the sides are sewn together, it is important to add reinforcement pieces along both sides to make your bag more durable. Pin them in place before stitching around them with a zigzag stitch for extra strength.
It is also a good idea to top-stitch around the edges of the reinforcement pieces for a cleaner look. It will also make sure they don’t fray or come undone. But if you’d rather skip this step, many craft stores sell pre-made reinforcement pieces that you can use.
Step 5: Attach the Handle Straps
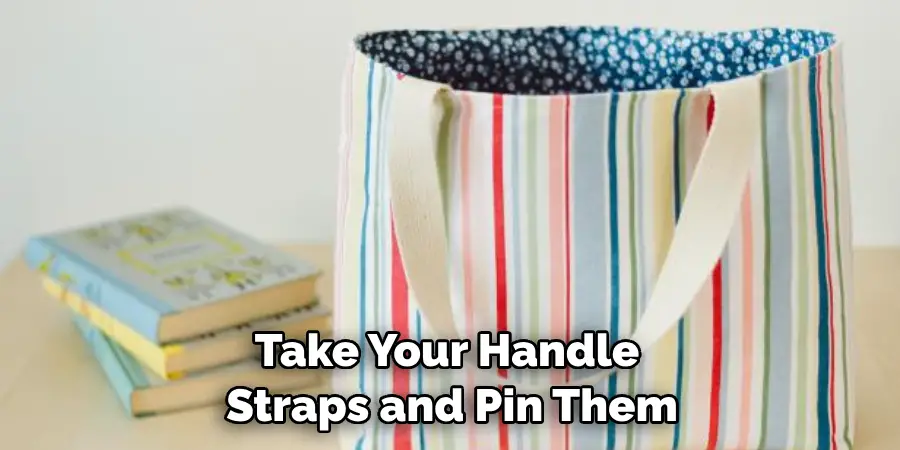
Take your handle straps and pin them in place along the sides of the bag. Start by stitching around one end of each strap and then zigzag stitch along all four sides for extra stability. Remember to back-stitch at the beginning and end of each side. Although it is possible to use fabric glue, using a sewing machine is the best way to make sure your straps are firmly attached.
Step 6: Sew the Bottom of the Bag
Before you begin, make sure that all seams are pressed flat. Take one circle and place it inside the bag. Then pin it in place to secure it before stitching around the circumference with a zigzag stitch.
Repeat this step for the other side of the bag and press flat once complete. But if you’d rather skip the measuring altogether, many craft stores sell pre-cut fabric pieces that you can use. This will be especially helpful for the bottom of your bag since it is usually trickier to measure and cut.
Step 7: Attach the Lining
Once the body of the bag is complete, it’s time to attach the lining. Take two rectangles of fabric and pin them in place along the interior of the bag. Stitch around each piece with a straight stitch and then zigzag stitch around both sides for extra stability.
This step will also help make the bag more durable and give it a finished look. But if you’d rather skip the measuring altogether, many craft stores sell pre-cut fabric pieces that you can use. But be sure to buy fabric that is the same size or slightly larger than what you used for the body of the bag.
Step 8: Reinforce the Seams
To ensure that all seams are strong and secure, it is important to reinforce them. Take a long piece of thread and tie a knot at one end. Then stitch around each seam with a whip-stitch or blanket stitch for additional reinforcement.
If you’d rather skip this step, many craft stores sell pre-made reinforcement pieces that you can use. But be sure to buy fabric that is the same size or slightly larger than what you used for the body of the bag. This will make sure the piece is strong and secure.
Step 9: Attach the Final Lining
Take your final lining piece and pin it in place on the opening of the bag. Stitch around each side with a zigzag stitch for extra strength. Then turn your bag right-side out and press flat to complete.
It is also a good idea to top-stitch around the edges of the lining for a cleaner look. It will also make sure they don’t fray or come undone. This step will also help give your bag a professional finish.
Step 10: Add Decorative Elements
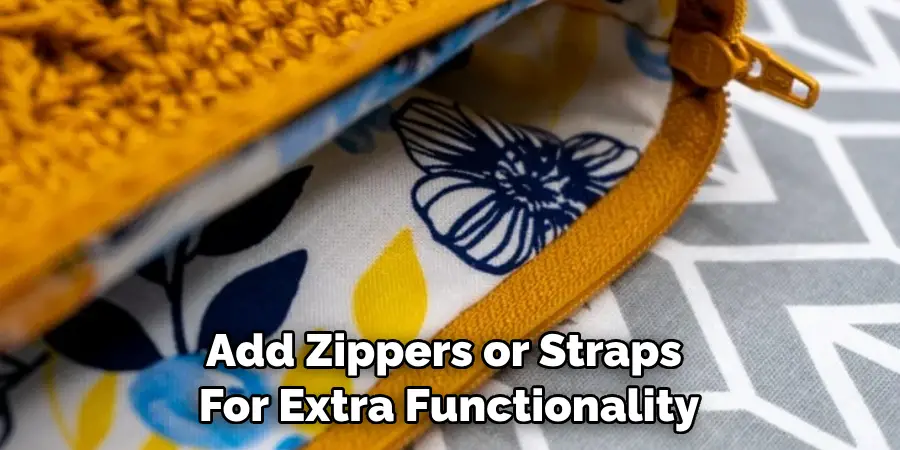
If you want to personalize your bag, now is the time to do so. Add a pocket, patchwork detail, or colorful embroidery to make your bag stand out. You can also add zippers or straps for extra functionality. It is also a good idea to add extra reinforcement pieces in areas that may receive more wear. This will ensure that your bag lasts longer and looks great for years to come.
Step 11: Enjoy Your Finished Product
Congratulations! Now you know how to sew a bag with sides and bottom. Show off your skills to family and friends or use it as a stylish accessory. With some practice, you’ll be creating unique bags in no time!
Always remember to enjoy the creative process and have fun. There’s no right or wrong way to make a bag, so don’t be afraid to experiment with different fabrics, colors, and embellishments. So get out there and start making your own beautiful creations!
Now that you know the basics of sewing your own bag with sides and bottom, why not get creative? You can easily customize your bag with different fabrics, trims, colors, textures and accessories. The possibilities are endless so be sure to have fun and experiment with all sorts of options!
And remember, practice makes perfect—so don’t worry if your first bag isn’t perfect. With patience and dedication, you too can create the perfect accessory that will last for years to come.
Frequently Asked Questions
Q: What Fabrics Are Best for Sewing a Bag With Sides and Bottom?
A: For your bag with sides and bottom, a thicker material such as canvas or denim will provide more support and durability. You can also choose wool, cotton or synthetic fabrics if you wish to add more color or texture. When it comes to the number of layers, two pieces of this fabric will make your bag sturdier and more luxurious.
Q: Do I Have to Reinforce the Seams?
A: Yes, it is important to reinforce the seams in order to ensure that they are strong and secure. Take a long piece of thread and tie a knot at one end. Then stitch around each seam with a whip-stitch or blanket stitch for additional reinforcement.
Q: Can I Add Decorative Elements to My Bag?
A: Absolutely! If you want to personalize your bag, now is the time to do so. Add a pocket, patchwork detail, or colorful embroidery to make your bag stand out. You can also add zippers or straps for extra functionality. With a few simple additions, you can easily customize your bag and make it truly one-of-a-kind.
Q: What Are Some Tips for Sewing a Bag With Sides and Bottom?
A: Here are some tips to keep in mind when sewing your own bag with sides and bottom:

- Make Sure to Measure and Cut Accurately as This Will Determine the Size of Your Bag.
- Pin Your Handle Straps in Place Before Stitching Around Them for Extra Stability.
- Reinforce All Seams With a Whip-stitch or Blanket Stitch.
- Add Decorative Elements Such as Pockets, Patchwork, Embroidery, Zippers or Straps to Customize Your Bag.
- Have Fun and Experiment With Different Materials, Colors, Textures and Accessories. With Some Practice, You’ll Be Creating Unique Bags in No Time!
Conclusion
Our journey to constructing a bag with sides and bottom has come to an end. With just some basic fabric, interfacing, and the right sewing supplies, you can proudly say you have mastered this simple project – congratulations! You now know how to sew an amazing bag that puts store-bought bags to shame.
Not only did your new bag look great from the outside, but it was also creative and highly functional on the inside. Consider swapping and experimenting with different fabrics, textures, sizes and shapes when working on this project in the future.
Hopefully, by having the tips from our tutorial, you’re now confident enough to take on more challenging projects that require specialized sewing skills. It’s time for you to walk away with a piece of self-made fabric art you can call your own! Thanks for reading this article on how to sew a bag with sides and bottom.

