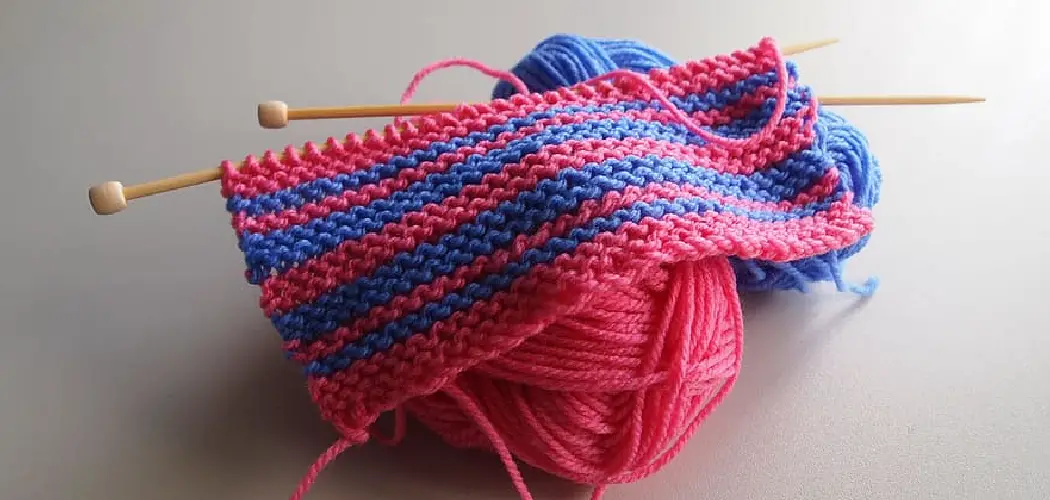
As knitting needles dance through loops of yarn, creating intricate patterns and cozy garments, the process often necessitates joining new yarn seamlessly. A skillful transition between skeins not only enhances the visual appeal of your knitted masterpiece but also ensures the structural integrity of the finished project. Learning how to seamlessly join yarn knitting is a valuable technique for any avid knitter.
Whether you’re adding a new color, extending your yarn, or recovering from an unforeseen break, the right method can elevate your knitting experience. Join us on a journey through the art of seamlessly blending yarn, as we explore various techniques and insider tips to empower you in creating knitwear that boasts both aesthetic beauty and structural strength.
Importance of Seamlessly Joining Yarn in Knitting
Joining yarn in knitting is an important technique that every knitter must learn. When you are working on a large knitting project, you will eventually come to the end of one skein or ball of yarn and need to attach a new one.
To make the transition seamless and prevent knots, it is essential to know how to join yarn seamlessly in your knitting. In this article, we will discuss the importance of seamlessly joining yarn in knitting and how to do it correctly.
Preventing Knots and Lumps
One of the main reasons for joining yarn seamlessly in knitting is to prevent knots and lumps in your finished project. If you simply knot the old and new yarn together, it can create a noticeable bump or lump that will ruin the overall look of your knitting. By joining yarn seamlessly, you can ensure a smooth and seamless transition between the old and new yarn, resulting in a clean and professional finish.
Maintaining Consistent Tension
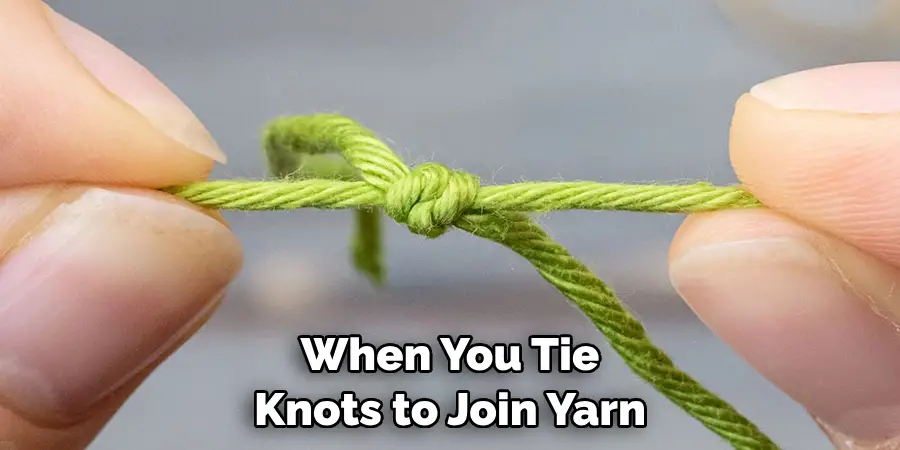
Another crucial aspect of joining yarn seamlessly is maintaining consistent tension throughout your knitting project. When you tie knots to join yarn, it can often create uneven tension as the knot may be tighter or looser than the rest of your stitches. This can lead to an overall uneven appearance in your work. By joining yarn seamlessly, you can avoid this issue and ensure that your tension remains consistent throughout.
Avoiding Wasting Yarn
Seamlessly joining yarn in knitting also allows you to use up all of your yarn without wasting any. If you are working with a pattern that requires specific yardage, you need to be able to join yarn seamlessly to ensure you have enough to complete the project. By joining yarn correctly and efficiently, you can avoid running out of yarn before your project is finished.
Maintaining Durability
Knitted items are meant to be used and worn, so it is essential to make sure they are durable. Joining yarn seamlessly in your knitting can help maintain the durability of your project. When you tie knots to join yarn, it creates a weak point that is vulnerable to unraveling or breaking over time. By joining yarn seamlessly, you are creating a stronger and more durable bond between the old and new yarn.
10 Methods How to Seamlessly Join Yarn Knitting
1. The Spit Splice
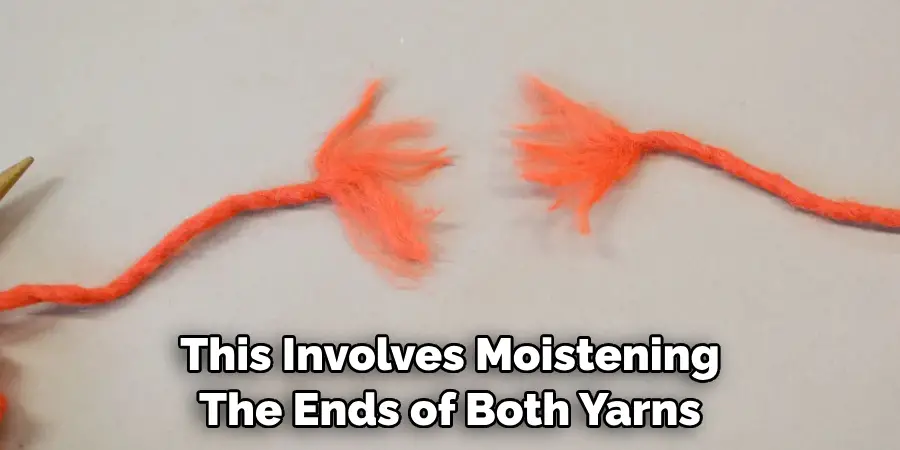
One of the easiest ways to join yarn while knitting is by using the spit splice method. This involves moistening the ends of both yarns with your saliva and then rubbing them together until they become slightly fuzzy. Then, simply overlap the two ends and continue knitting as usual. The friction from rubbing the yarn together will cause the fibers to fuse, creating a seamless join. This method is perfect for joining natural fibers such as wool, alpaca, and cotton.
2. Russian Join
The Russian join is a more discreet way to join yarn, making it great for projects where the seam will be visible. To do this, thread one end of the yarn through a tapestry needle and weave it through the plies of the same strand of yarn. Then, thread the other end through the needle and weave it through the first strand in the opposite direction.
3. Magic Knot
As its name suggests, this method creates a seamless knot that is almost invisible in your knitting. To do this, tie a simple overhand knot with both strands of yarn held together, leaving about an inch of tail on each end. Pull tightly to secure and trim any excess tails. Once done, simply continue knitting with the joined yarn.
4. Braided Join
For a stronger join that won’t come undone easily, try using a braided join technique. Simply hold both strands of yarn together and braid them tightly for about an inch or two before continuing to knit with just one strand. This will create a sturdy and nearly invisible join that is great for projects that will go through a lot of wear and tear.
5. Felted Join
This method works best with animal fiber yarns such as wool or alpaca. Wet both ends of the yarn and rub them vigorously between your hands until they start to felt together. Once they are joined, let them dry completely before continuing to knit. This method creates a seamless join that is strong and durable.
6. Backward Loop Cast On
For a quick fix when you run out of yarn mid-knit, use the backward loop cast on method to add in a new ball of yarn without having to stop and weave in ends later on. This method is especially useful when working with slippery yarns or complicated stitch patterns.
7. Weaving in Ends as You Go
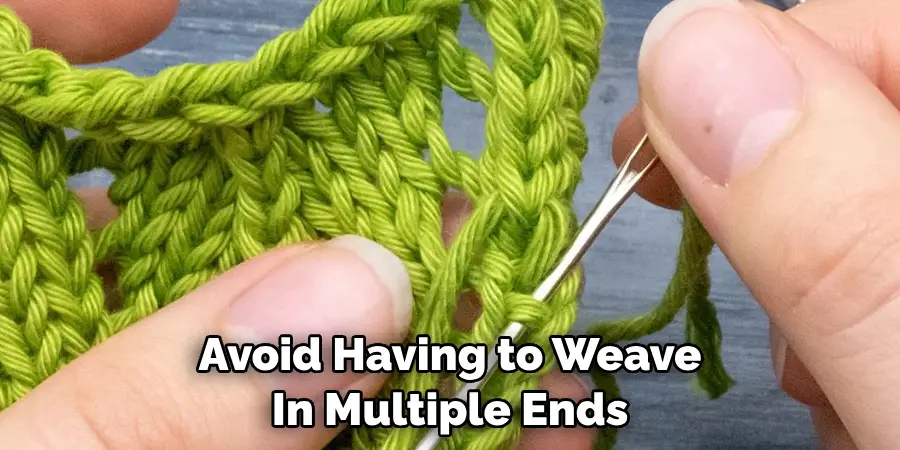
To avoid having to weave in multiple ends at once at the end of your project, try weaving in the ends as you go. Simply knit over the tails of your old and new yarns for a few stitches to secure them in place before continuing with just the new yarn. This technique works well with color changes or joining a new ball of yarn, and it will save you time and effort in the long run.
8. Russian Grafting
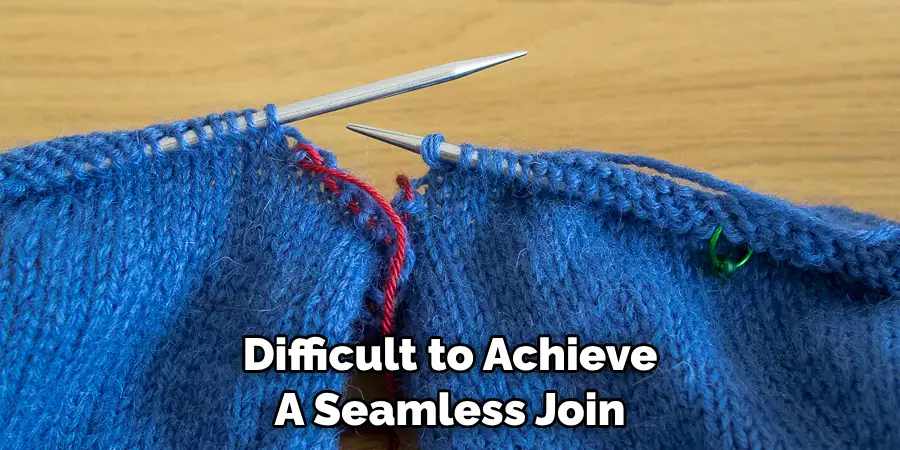
If you want to join two pieces of knitting together seamlessly, try using Russian grafting. This involves using a tapestry needle to weave the live stitches from one piece onto the other, creating an invisible seam. The end result looks like a continuous piece of knitting, with no visible seam line.
9. Three Needle Bind Off
For projects that require joining two pieces of knitting vertically, such as a shoulder seam on a sweater, use a three needle bind off technique. This creates a strong and neat seam without having to sew or weave in any extra ends. Though it may seem daunting at first, this technique is easy to master with some practice.
10. Kitchener Stitch
Similar to Russian grafting, Kitchener stitch is another way to join two pieces of knitting seamlessly. It involves weaving live stitches together using a tapestry needle and can be used for both horizontal and vertical seams. This method is often used to join the toes of socks and create an invisible finish.
Things to Consider WHen Seamlessly Joining Yarn Knitting
Joining yarn while knitting can be a daunting task for many knitters. Whether you are working on a large project or just need to change colors, it is important to know how to join yarn seamlessly in order to achieve a professional and polished look. In this guide, we will discuss the different techniques and methods you can use to seamlessly join yarn while knitting.
Before we dive into the techniques, there are a few things to consider when joining yarn. These include the weight and type of yarn you are using, as well as the stitch pattern of your project. It is important to choose a joining method that will work best with your specific project in order to achieve the desired result.
One of the main factors to consider when joining yarn is the weight or thickness of the yarn. If you are working with a thicker yarn, such as chunky or bulky weight, it may be more difficult to achieve a seamless join without adding bulk to your project. In this case, using a felted join method may be more suitable as it creates a smooth transition between the two yarns.
On the other hand, if you are working with a lighter weight yarn, such as lace or fingering weight, a Russian join method may be a better choice as it creates a seamless and nearly invisible join.
Conclusion
In conclusion, learning how to seamlessly join yarn while knitting doesn’t have to be a daunting task. With patience and practice, you can master this technique in no time. Remember to follow the steps carefully and pay attention to the tension as it plays a crucial role in creating a smooth transition between colors. Don’t be afraid to experiment with different joining methods or yarn combinations to find what works best for you.
As you continue on your knitting journey, don’t forget about the beauty and power of imperfection. Whether it’s a slight color variation or a small gap, embracing these unique characteristics adds character and charm to your finished piece. Follow these simple instructions outlined in this blog post about how to seamlessly join yarn knitting, and you’ll be able to get the job done with ease.
Expertise:
Crafting expert with a focus on innovative techniques and diverse materials.
Specialization:
- Textile arts (weaving, embroidery, and fabric dyeing)
- Woodworking and furniture design
- Mixed media and upcycling projects
Recognition:
- Featured in local art exhibits showcasing innovative craft projects
- Collaborated with community organizations to promote crafting workshops
- Received accolades for contributions to sustainable crafting initiatives
Mission:
- To inspire and empower crafters of all levels to discover their creative potential
- Encourages experimentation and self-expression through hands-on projects

