Do you have a gift bag that needs to be sealed? Is the closure made of ribbon, paper tape, or glue dots? Sealing a gift bag can seem like an intimidating task at first; however, do not fret! Here we will break down the process of how to seal different types of bags using various techniques. Whether it’s with glue dots, paper tape or ribbon – you’ll learn exactly what materials and tools are needed to seal your gift bag correctly. So get ready for some crafting fun as we explore how to seal a gift bag until they’re ready to be opened!
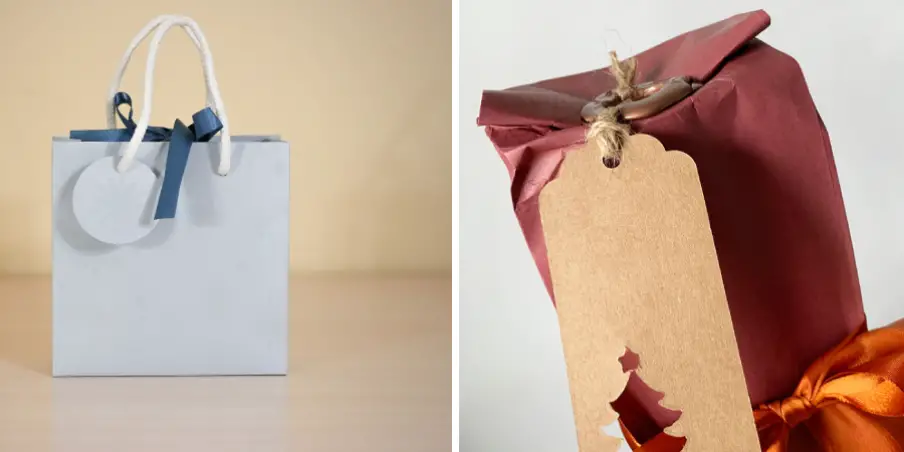
Wrap the gift in an eye-catching bag that will have your recipient excited to open it. Sealing a gift bag is easier than you think, and can add the extra wow factor of custom presentation. In this blog post, we’ll cover all the necessary steps and materials needed to seal any kind of gift bag with ease. From selecting the right adhesives to creating beautiful decorations – there’s something here for everyone! So get ready and let’s learn how to quickly seal those gifts with finesse!
Why May You Want to Seal a Gift Bag?
1. To Keep Safe
One of the main reasons you may want to seal a gift bag is to keep it safe. If the bag contains small items, such as jewelry or candy, sealing them in a gift bag can prevent these items from falling out and getting damaged or lost. Sealing a gift bag also helps keep its contents secure if you are transporting it via car or plane since the package won’t be opened or damaged in transit.
2. For a Cleaner Look
Another reason you may want to seal a gift bag is for aesthetic purposes. Sealing the bag can help give it a cleaner, more professional look that shows the recipient that you put effort into their gift. This is especially useful if you are sending a gift to someone important such as a client or boss.
3. To Show Gratitude
Finally, sealing a gift bag is a great way to express your appreciation for the recipient and show them that you care about their feelings and experiences. This small gesture can make all the difference in how they view your gift and make it even more special.
10 Ways About How to Seal a Gift Bag
Now that you know why you may want to seal a gift bag, let’s look at how you can do it.
1. Tie the Top of the Bag Using an Appropriate-sized Ribbon
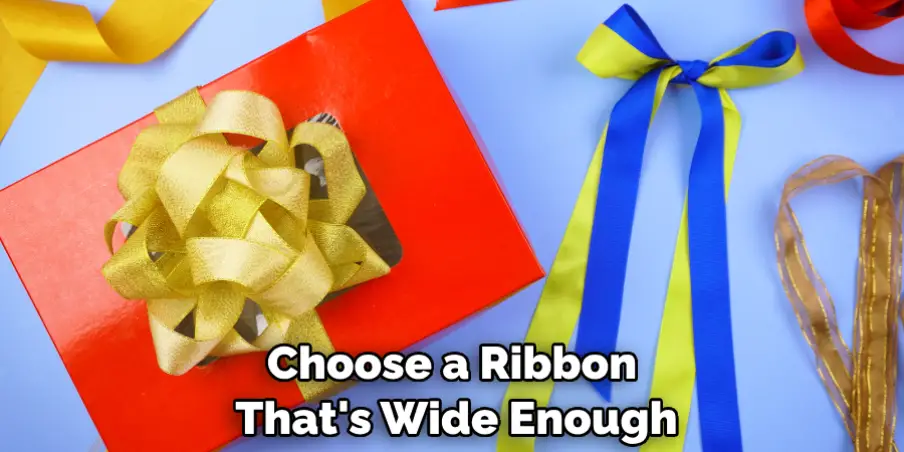
This is one of the simplest and most common ways to seal a gift bag. Choose a ribbon that’s wide enough to fit around the top of the bag, then tie it in a bow at the center or off to one side. Also make sure you choose a ribbon that’s long enough so there’s enough to make several loops.
2. Use Sticky Tape
If you want to seal the bag tightly without using a ribbon, use sticky tape like Scotch tape. Apply it around the circumference of the opening, ensuring that it is strong and secure. This also enables more precise sealing of small bags or items wrapped in foil paper.
3. Use Glue or a Hot Glue Gun
Another reliable method for sealing a gift bag is to use glue or a hot glue gun. Apply a thin layer of adhesive over the top of the bag and press until it’s firmly sealed on all sides. This method works best for bags that are made of plastic since most other materials are not compatible with glue or hot glue.
4. Use Clothespins
If you want to seal a bag without using any adhesive, try using clothespins. Just clip the clothespin around the opening of the gift bag and it will keep everything secure until you are ready to open it. This is perfect for larger bags that have thick handles.
5. Twist Ties
Twist ties are a great way to quickly and effectively seal any gift bag. Just twist the tie around the top of the bag, forming an X or loop shape. This is perfect for small bags as it doesn’t take up too much space.
6. Use Stickers
Stickers are an easy and fun way to seal a gift bag without having to use any adhesive. Choose a sticker that’s wide enough to cover the circumference of the gift bag, and press it firmly onto the top of the bag.
7. Sew It Shut
If you have access to a sewing machine or needle and thread, you can sew shut your gift bag for a professional-looking finish. Start in one corner of the opening and sew around the circumference of the bag.
8. Use Buttons or Pins
This is another way to seal a gift bag without using any adhesive. Just thread a button or pin through the middle of the opening and secure it with a loop. This makes for an attractive finish and adds a unique, handmade touch to your gift wrapping.
9. Use Velcro
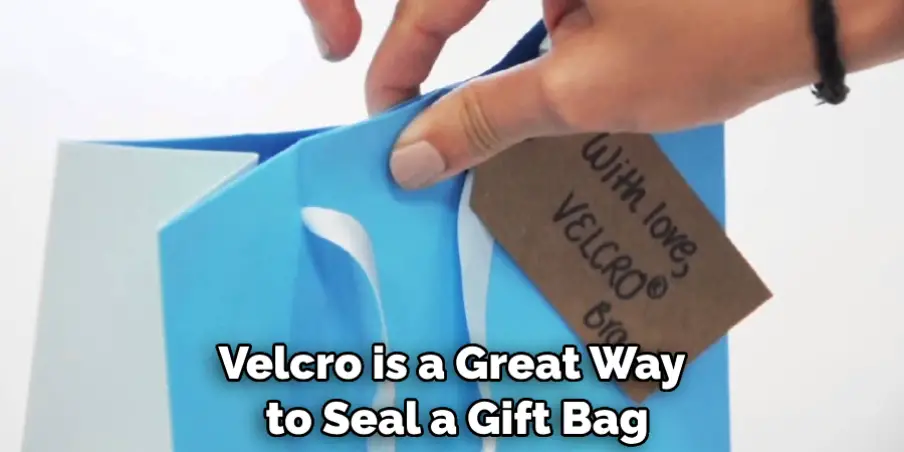
Velcro is a great way to seal a gift bag without any adhesive. Just press the two sides of the velcro together and it will keep your gift securely sealed until you are ready to open it.
10. Use a Magnetic Closure
If you want to make sure your gift stays securely closed, consider using a magnetic closure. This type of closure is easy to use and requires no adhesive. Just press the two halves of the closure together, and they will stay firmly sealed until you are ready to open them.
Following any one of these methods can help you easily seal a gift bag. Depending on the size and material of your gift bag, you can choose whichever method works best for you in order to keep your gifts securely and attractively sealed.
Frequently Asked Question
What Precautions Should I Take Before Sealing a Gift Bag?
Before sealing a gift bag, it is important to make sure that all the edges of the bag are taped down securely in order to prevent any tearing or ripping when you seal the bag. Additionally, be sure that the bag is clean and dry before attempting to seal it; if there is excess moisture inside, this can create a seal that is not as secure.
Can I Use Glue Instead of Tape?
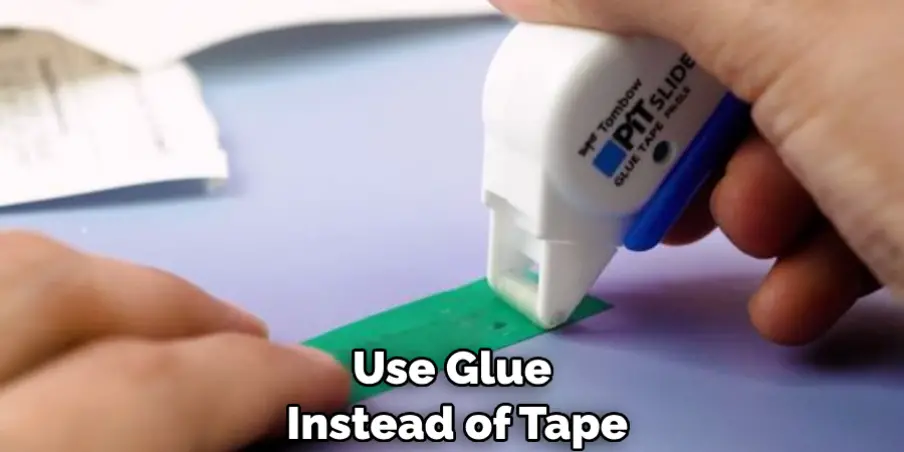
It is not recommended to use glue instead of tape when sealing a gift bag. Glue can leave behind a residue that may discolor the material of the bag, and it is not as reliable in creating a secure seal. What’s more, if you need to re-open the gift bag after it has been sealed with glue, it may be difficult to do without damaging the bag.
What Are Some Good Materials For Sealing a Gift Bag?
Tape is one of the most popular materials used for sealing gift bags, as it is relatively inexpensive and easy to use. However, you can also use ribbon or string to tie up the edges of the bag and create a secure seal that won’t be easily opened. Additionally, some gift bags come equipped with pre-made seals that need to be folded down in order to secure the bag. These can provide a more decorative finish compared to tape or string.
What Is the Best Way to Seal a Gift Bag?
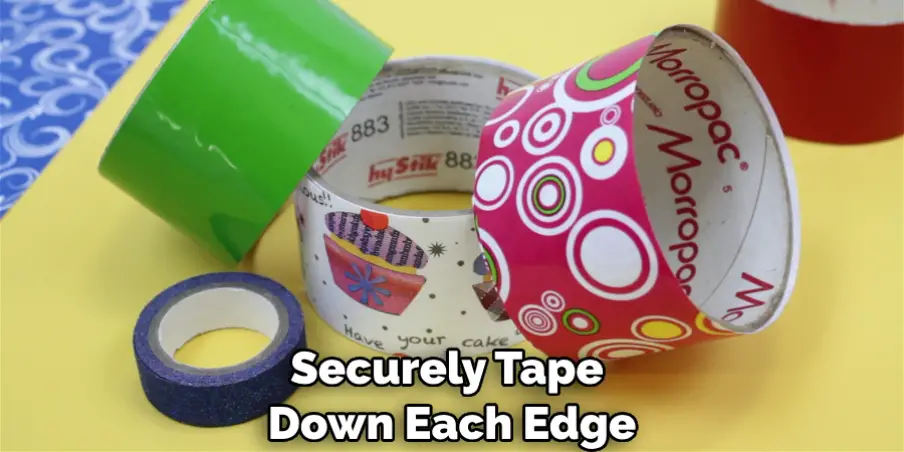
The best way to seal a gift bag is by using tape along all of the edges of the bag. Securely tape down each edge in order to create a strong seal that won’t be easily opened. If you want a more decorative finish, you can use ribbon or string instead of tape. Additionally, some gift bags are designed with pre-made seals; simply fold these down in order to secure the bag shut.
With these tips in mind, you’ll have no problem sealing your gift bags securely and with style.
How Many Tapes Do I Need to Seal a Gift Bag?
The amount of tape needed to seal a gift bag will vary depending on the size and shape of the bag. Generally, it is recommended to use at least one strip of tape along each side in order to create a secure seal.
Conclusion
Congratulations, you now know how to seal a gift bag! You have given the perfect present with a beautiful bow, and the added perfect touch of a neat package, too. Whether or not your presents are electronic or fluffy teddy bears, you know they look amazing and the recipient will appreciate the effort you put into packaging it.
Be sure to practice using different techniques before wrapping more gifts; it’s great to be creative when sealing the bags, making them truly unique and memorable for years to come! Don’t forget to also brush up on how long waxed paper sheets last and store them properly for future use. With these tips in mind, you can enjoy successful happy packaging results. Seal your bags like a pro today – it’s simpler than you think!

