Are you a crochet or knitting enthusiast who finds choosing the right yarn for your projects overwhelming? Do all those numbers, abbreviations, and symbols on yarn labels confuse you? If so, you’re in the right place! In this comprehensive guide, we’ll demystify the yarn label and equip you with the knowledge and confidence to make informed decisions about your yarn purchases.
Get ready to unravel the secrets of yarn labels and learn how to read a yarn label. By the end of this blog post, you’ll no longer feel intimidated by the overwhelming selection at your local craft store, and you’ll be well-prepared to choose the perfect yarn for your next masterpiece confidently!
So grab your hooks and needles, and let’s dive into the fascinating world of yarn labels together!
Why is It Essential to Learn to Rread a Yarn Label?
Understanding the information on a yarn label can save you from making costly mistakes, such as buying the wrong type of yarn or not having enough skeins for your project. It also helps you make informed choices based on your preferences and budget. By learning what each section of the label means, you’ll be able to determine the yarn’s weight, fiber content, and care instructions, among other crucial details.
Knowing how to read a yarn label will not only make your yarn shopping easier but also elevate the quality of your projects.
10 Easy Steps on How to Read a Yarn Label
Step 1: Brand and Yarn Name
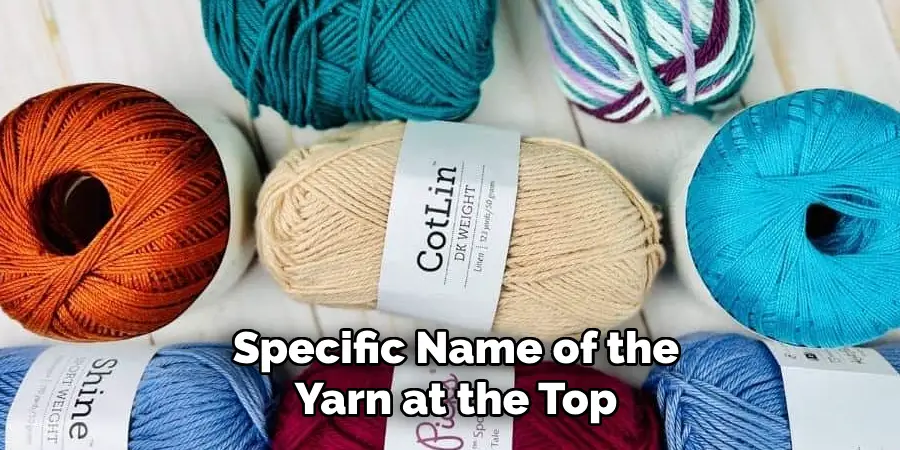
First and foremost, you’ll find the brand and the specific name of the yarn at the top or front part of the label. This information will help you identify the yarn and find it in the future, especially if you wish to purchase more for additional projects or if you find a yarn that you particularly love. The brand and yarn name sections are typically the most prominent text on the label, making them easy to spot.
Step 2: Yarn Weight
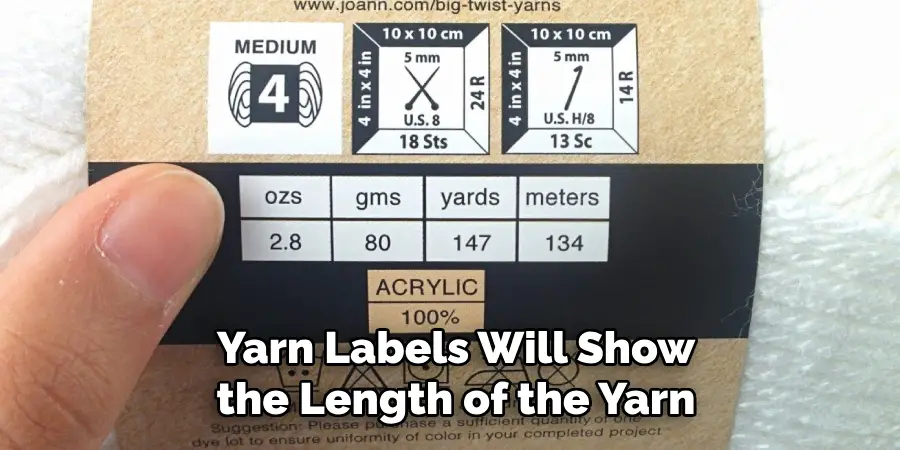
The yarn weight refers to the thickness of the yarn strand and is usually specified on the label. It can range from super fine to super bulky. The importance of the yarn can greatly affect the drape and look of your finished project, so it’s important to choose the right weight for your specific project. A standardized yarn weight symbol, a small skein icon with a number inside, often denotes this information. The higher the number, the thicker the yarn.
Step 3: Fiber Content
The content of the yarn is another essential factor to consider. This information can be found on the label, often listed as a percentage. It indicates the types of fibers used in the yarn, such as wool, cotton, acrylic, or a blend of different materials. The fiber content can influence your finished piece’s texture, warmth, and durability.
Step 4: Yardage and Weight
Most yarn labels will show the length of the yarn in yards or meters and the weight in ounces or grams. This information ensures you purchase enough yarn to complete your project. If the pattern you’re using specifies the amount of yarn needed in weight, make sure to pay attention to this section of the label.
Step 5: Gauge
Gauge refers to the number of stitches and rows per inch (or centimeter) when using a particular needle or hook size. This information is crucial for ensuring your finished project is the right size. Remember, everyone’s tension can vary, so it’s always a good idea to make a gauge swatch before starting your project.
Step 6: Suggested Needle Size
This section indicates the recommended needle size to achieve the gauge. However, this is just a suggestion. Depending on your personal knitting or crocheting style, you may need to use a different size to achieve the correct gauge.
Step 7: Care Instructions
Last but certainly not least, you’ll find the care instructions. These symbols indicate how to wash, dry, and iron your finished project. It’s essential to follow these instructions to ensure the longevity of your creations.
Step 8: Dye Lot Number
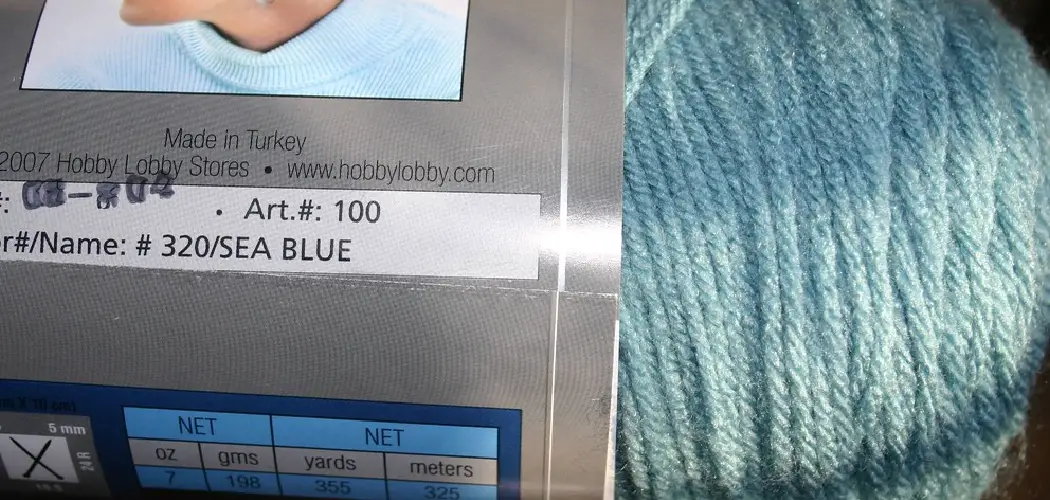
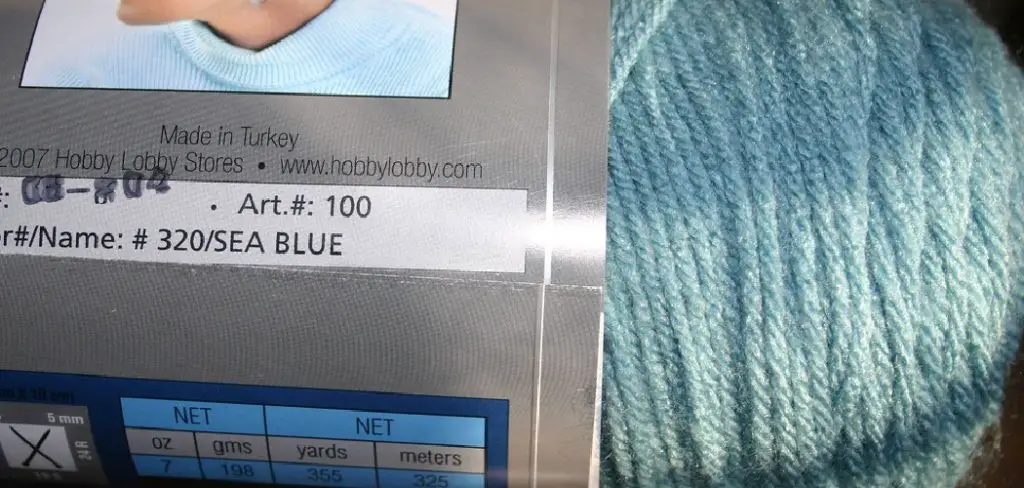
This is an often overlooked but quite important detail on a yarn label. The dye lot number indicates the batch in which the yarn was dyed. Even within the same brand and color, slight variations can occur between different dye lots. To ensure uniform color in your project, make sure all your yarn comes from the same dye lot. This number is typically located near the color name or number on the label.
Step 9: Color Name and Number
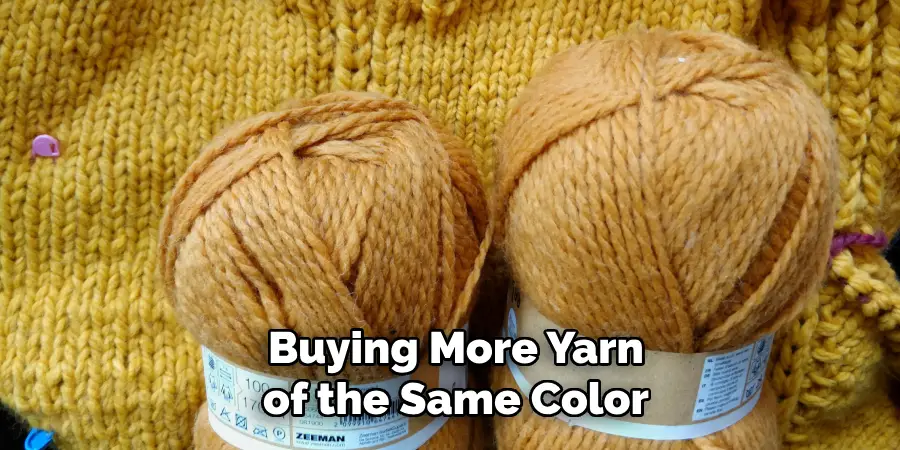
The color name and number are valuable for buying more yarn of the same color. The name is often something creative that gives a general sense of the color, and the number is a unique identifier associated with that specific shade in the brand’s line of products. This section is typically found near the dye lot number. If you need to buy more yarn of the same color, note down the color name and number to ensure a perfect match.
Step 10: Additional Information
Lastly, you might find additional helpful information on the yarn label. This could include the country of origin, whether the yarn is hand-dyed or machine-dyed, and if it’s ethically sourced or organic. Some titles also provide information about the ideal project types for the yarn, or include a free pattern. This section varies significantly among different brands, so always take a moment to scan for any additional details provided.
Following these ten easy steps, you can confidently read a yarn label and make informed decisions when shopping for your next project.
5 Additional Tips and Tricks
- Check the Yarn Weight: The yarn weight gives you an indication of the thickness of the yarn. This will be important when deciding what kind of project to use the yarn.
- Look at the Fiber Content: The type of fiber can significantly affect how your project turns out. Cotton, wool, acrylic, and silk all have different properties and will behave differently when knitted or crocheted.
- Gauge Information Matters: Gauge information tells you how many stitches and rows per inch/cm you can get with a particular-sized needle or hook. This is crucial for ensuring your project ends up the correct size.
- Color Dye Lot: This indicates the batch the yarn was dyed in. Slight color variations can occur between lots, so make sure you have enough from a single lot to complete your project.
- Care Instructions: These icons will tell you how to care for your finished item. This includes washing, drying, and ironing instructions. Follow these to avoid your item becoming damaged, so be sure to note them.
With these additional tips and tricks, you should feel confident in reading a yarn label and choosing the perfect yarn for your next project.
5 Things You Should Avoid
- Ignoring the Dye Lot Number: Failing to consider the dye lot number could result in a mismatched color scheme in your project. Even subtle differences can become noticeable in the final project, so ensure all your yarn comes from the same dye lot.
- Misinterpreting the Care Instructions: Neglecting to follow the care instructions can lead to damage or shrinkage of your finished item. Always follow the recommended washing, drying, and ironing instructions to maintain the quality of your creation.
- Overlooking the Fiber Content: Certain fibers are better suited for certain projects. For example, using a delicate silk yarn for a hard-wearing item like a dishcloth would be inappropriate and could lead to premature wear and tear.
- Disregarding Gauge Information: Ignoring the gauge can result in your finished project being the wrong size. Even if you’re an experienced knitter or crocheter, making a gauge swatch’s always a good idea before starting a new project.
- Choosing the Wrong Yarn Weight: The weight of the yarn can greatly impact the drape and look of your finished project. Selecting a too thick or thin yarn for your intended project can lead to disappointing results. Always make sure to choose a yarn weight that’s appropriate for your specific project.
You can ensure a successful and enjoyable yarn crafting experience by avoiding these common mistakes.
How Do I Know What Category My Yarn is?
Yarn is typically categorized into seven main categories based on its thickness and weight. These categories are lace, fine, fine, light, medium, bulky, and super bulky. The type of your yarn will be indicated with a number from 0-6 on the yarn label. Check your yarn’s category to determine if it suits your desired project.
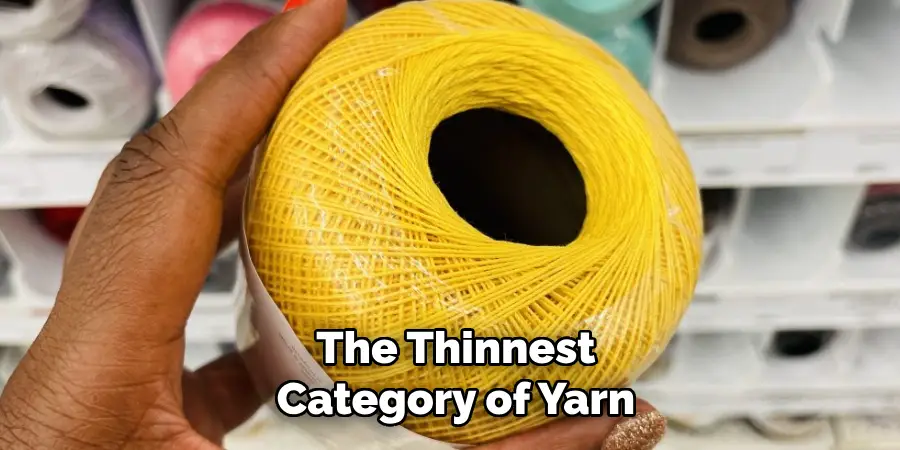
- Lace or 0: This is the thinnest category of yarn, perfect for delicate shawls and intricate lacework.
- Super Fine or 1: Also known as fingering weight, this category is great for lightweight projects like socks and baby clothes.
- Fine or 2: This category is typically used for sweaters and scarves. It’s slightly thicker than super fine yarn.
- Light or 3: This category suits hats, gloves, and cardigans. It can also be used for heavier shawls and wraps.
- Medium or 4: Commonly called worsted weight, this category is perfect for various projects, from garments to home decor items.
- Bulky or 5: As the name suggests, this category suits chunkier projects like thick sweaters and blankets.
- Super Bulky or 6: This is the thickest category of yarn and is commonly used for quick projects such as hats, scarves, and throws.
Understanding the different yarn categories can help you choose the suitable yarn for your project, ensuring a successful outcome.
What Does Dk Mean Yarn?
DK stands for double knitting and is a common term used to describe yarn weight. It falls between the medium and light, making it a versatile choice for various projects. DK weight yarn is slightly thinner than worsted weight but thicker than sport weight, making it suitable for garments, accessories, and even baby items.
When choosing a DK weight yarn, refer to the yarn label for additional information, such as fiber content, care instructions, and dye lot number. By understanding to read a yarn label and knowing what category your yarn falls under, you can confidently choose the perfect DK-weight yarn for your next project.
What Does WPI Mean in Yarn?
WPI stands for wraps per inch and is a way to measure the thickness of yarn. This measurement is helpful when substituting one yarn weight for another or determining if a particular yarn will work for your desired project.
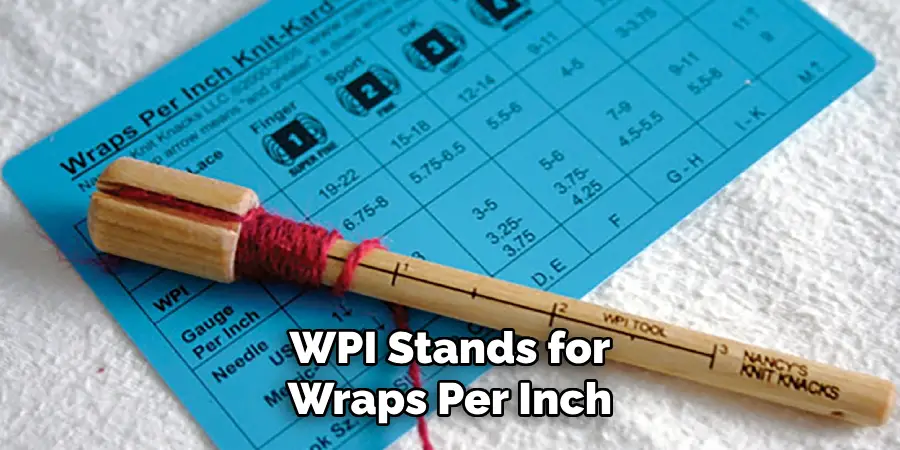
To calculate WPI, take an un-stretched length of yarn and wrap it around a ruler until one inch is covered. Count the number of times the yarn wraps around and that will be your WPI measurement.
Here’s a general guide for WPI measurements and their corresponding yarn categories:
- 0-10 WPI: Super Bulky
- 11-12 WPI: Bulky
- 13-15 WPI: Medium
- 16-20 WPI: Light
- 21-25 WPI: Fine
- 26+ WPI: Super Fine or Lace
Keep in mind that these are just general guidelines and can vary depending on the type of yarn and how tightly it is spun. Always refer to the recommended gauge on your pattern for the best results.
Conclusion
In conclusion, understanding how to read a yarn label is essential for any knitter or crocheter. With the information in this blog post, you can confidently navigate the numerous labels and make informed decisions about your yarn purchases. Remember to pay attention to the fiber content, weight, and care instructions on the title to ensure you use the right yarn for your project.
Also, feel free to experiment with different fibers and weights to create unique and stunning pieces. And most importantly, have fun with it! Knitting and crocheting should always be an enjoyable and relaxing activity.
So, let’s continue our love affair with yarn and create something beautiful! Share your creations on social media using the hashtag #YarnLove and inspire others to pick up their needles or hooks. Let’s spread our passion for yarn-related and keep this fantastic community thriving!
Thank you for reading this blog post, and I hope it has helped expand your knowledge of reading yarn labels. Happy crafting!

