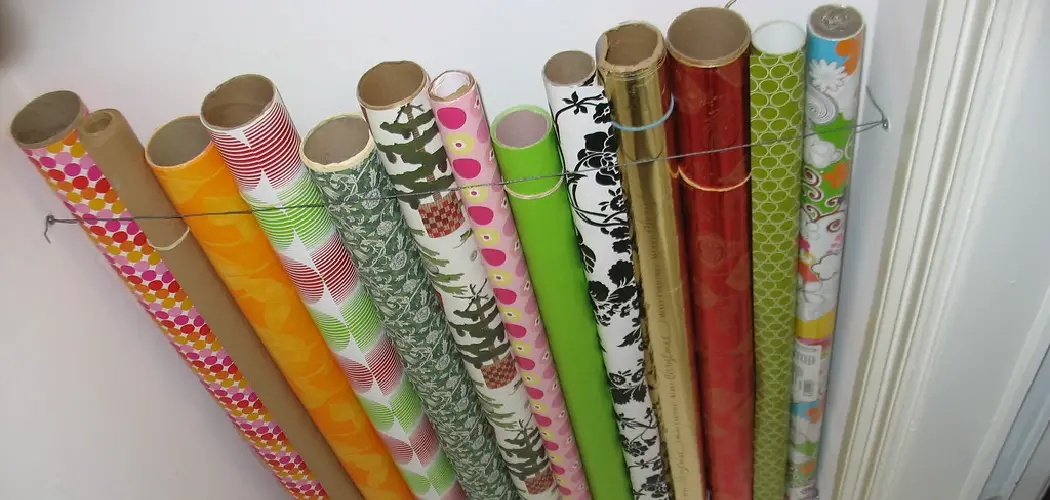
Are you looking for a creative and unique way to wrap your gifts this season? Printable wrapping paper may be the answer! With just a few supplies, your printer, and some imagination, creating custom designed wrapping paper couldn’t be more accessible.
Whether you make it simple or go all out with elaborate designs, creating personalized prints is an art form that can turn even the most mundane of presents into beautifully wrapped works.
Wrapping paper is an essential part of gift giving, and it not only adds a personal touch but also shows thoughtfulness and effort put into the present. By printing your wrapping paper, you can fully customize every aspect – from the design and color scheme to the size and texture of the paper.
In this blog post, we will provide step-by-step instructions on how to print your own wrapping paper!
What Will You Need?
Before we dive into the steps, here are the supplies you will need for this project:
- Computer with internet access to download printable designs or design your own
- Printer (preferably a color printer)
- White or colored paper (standard printer paper works fine, but you can also use thicker paper for a more luxurious feel)
- Scissors or paper cutter
- Tape or glue
- Optional: embellishments such as ribbons, bows, stickers, etc.
Once you have gathered all the necessary supplies, it’s time to get creative and start printing your own wrapping paper!
10 Easy Steps on How to Print Your Own Wrapping Paper
Step 1: Choose Your Design
The first step is to decide on the design you want for your wrapping paper. You can choose from various pre-made printable designs online or create your own using design software. Make sure to consider the occasion and recipient when selecting a design.
Step 2: Measure and Cut Your Paper
The next step involves measuring and cutting your paper. Begin by determining the size of your gift, then add a few extra inches to allow for folding and wrapping. Once you’ve got these measurements, cut your paper to the required size.

This can be done with a pair of scissors, but for precision, a paper cutter is recommended. Having your paper pre-cut and ready will make the printing process smoother and more efficient.
Step 3: Load Your Paper into the Printer
After you’ve cut your paper to the correct size, the next step is to load it into your printer. Make sure to adjust the paper guides to match the length of your paper. This will ensure that your design prints correctly and that the paper doesn’t jam during the printing process. Check your printer’s manual if you need help with how to do this.
Step 4: Print Your Design
Now that your paper is loaded, it’s time to print your design. Open your chosen design on your computer and click on the print option. Make sure to adjust the print settings according to the size and type of your paper.
If you’re printing a color design, ensure that you’ve selected the color print option. Click ‘Print’ and wait for your design to print onto the paper. Once it’s done, carefully remove the paper from the printer, ensuring not to smudge the design.
Step 5: Allow the Paper to Dry
After removing the paper from the printer, let it sit and dry for a few minutes. This is particularly vital if you’re using inkjet printers, as the ink can smudge if handled immediately after printing. Giving it time to dry ensures that your design stays intact and vibrant. Meanwhile, you can prepare your gift for wrapping.
Step 6: Wrap Your Gift
Now that your custom wrapping paper is dry, it’s time to wrap your gift. Place your gift in the middle of the paper, ensuring that the printed design faces outward. Fold the paper over your gift, securing it with tape or glue.
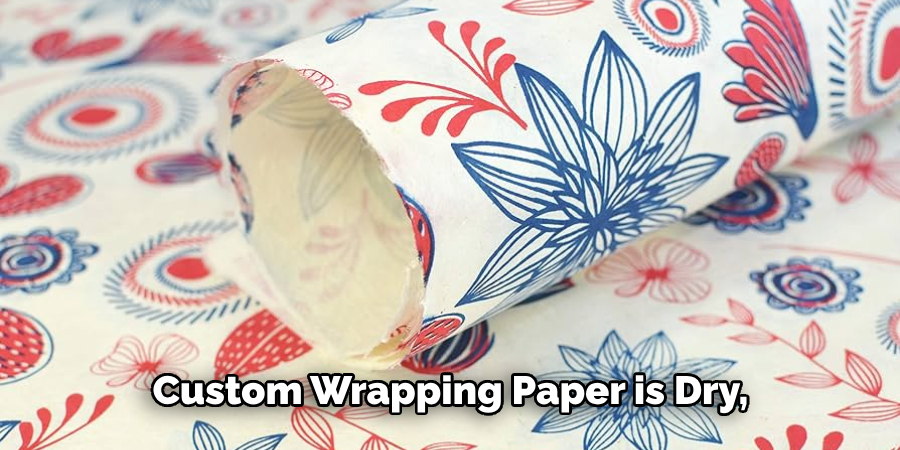
Be careful not to tear the paper or smudge the design. If you have any excess paper, use scissors to trim it off. For a neat look, make sure your folds are as sharp as possible.
Step 7: Add Embellishments
Embellishments can give your gift wrap a final touch of elegance and personalization. Ribbons, bows, stickers, or handwritten notes can enhance your gift. Choose embellishments that match or complement your wrapping paper design. You can tie a ribbon around the gift or add a bow.
Place stickers strategically so they add to the overall look and feel of the gift. Remember, the goal is to make your gift as attractive and personalized as possible.
Step 8: Review Your Work
After adding your embellishments, take a moment to review your work. Ensure all corners and edges are neatly folded and secured, the design is aligned correctly, and any additional decorations enhance the layout rather than detract from it.
This is your chance to make any necessary adjustments before presenting the gift. Remember, the beauty of creating your wrapping paper is in the details, and taking the time to perfect those details can transform your gift wrap from ordinary to extraordinary.
Step 9: Store Unused Paper
If you’ve printed more wrapping paper than you need, storing it properly for future use is crucial. Roll up the unused paper carefully to avoid creases, and keep it in a dry, cool place away from direct sunlight to prevent fading.
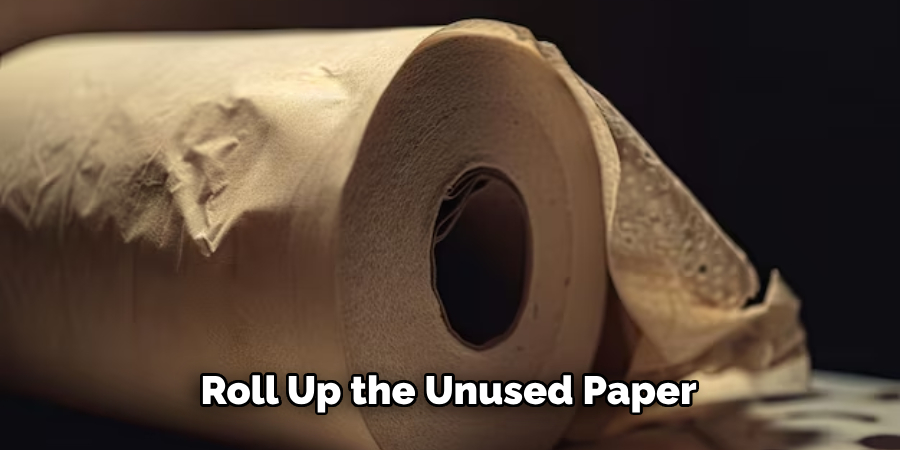
This way, you can ensure that your beautifully designed wrapping paper is ready to be used the next time you need to wrap a gift. By reusing and properly storing your materials, you’re saving money and practicing sustainability.
Step 10: Present Your Gift
The final step is to present your beautifully wrapped gift. Remember, the thought and effort you put into designing and printing your wrapping paper adds an extra layer of sentiment to the present.
Whether it’s for a birthday, holiday, or just because, your personalized wrapping paper will surely make the recipient feel truly special. Enjoy the smiles and appreciation your thoughtful gift is bound to generate!
By following these simple steps, you can create unique and personalized wrapping paper for any occasion.
5 Additional Tips and Tricks
- Keep it Simple: Simplicity is critical in designing a website or writing a blog post. Too much clutter can distract from the main point you’re trying to make.
- Stay Consistent: Consistency in design, tone of voice, and messaging helps to build your brand and gain the trust of your audience.
- Seek Feedback: Constantly seek feedback from your audience or peers. It’s the best way to know if you’re meeting the needs of your users.
- Stay Updated: Technology and trends change rapidly, so make sure you stay updated with the latest practices in your field.
- Take Regular Breaks: It’s easy to get caught up in work and forget to take breaks. However studies show that taking regular breaks can increase productivity and creativity.

With these additional tips and tricks, you can take your content creation to the next level. By keeping things simple, staying consistent, seeking feedback, staying updated, and taking breaks, you can create high-quality and engaging content that resonates with your audience.
5 Things You Should Avoid
- Avoid Complicated Jargon: While it’s essential to demonstrate your expertise, overloading your content with technical terms can alienate your audience. Make sure your content is accessible and easy to understand.
- Don’t Ignore Your Audience: Engaging with your audience through comments, queries, or feedback is essential. Ignoring them can lead to a loss of trust and audience engagement.
- Resist the Urge to Over-sell: While promoting your product or service is essential, too much self-promotion can deter your audience. Focus on providing value and solving your audience’s problems.
- Never Plagiarize: Copying someone else’s work is not only unethical, but it can also harm your reputation and result in serious legal consequences. Always create original content or adequately cite your sources.
- Avoid Infrequent Posting: Consistency is vital in content creation. Infrequent posting can make your audience lose interest and move on to other sources. Establish a regular posting schedule and stick to it.
By avoiding these common pitfalls, you can ensure your content is high-quality, engaging, and effective.
Conclusion
It is easy to create stunning wrapping paper that you can be proud of. Whether you use printable designs or design your own with a software program, this simple DIY project will help turn your gift into something extraordinary. Your friends and family will be delighted to open packages showcasing such beautiful artwork!
Hopefully, the article on how to print your own wrapping paper has given you some inspiration and guidance for your next gift-giving occasion. Remember to experiment with different designs, colors, and materials to create unique and personalized wrapping paper.
Now go get started designing and printing your unique wrapping paper – there really isn’t anything that can match the feeling of opening something wrapped in something you created. Your effort it will bring an even bigger smile to your loved ones’ faces this year! Happy creating and wrapping! Thank you!

