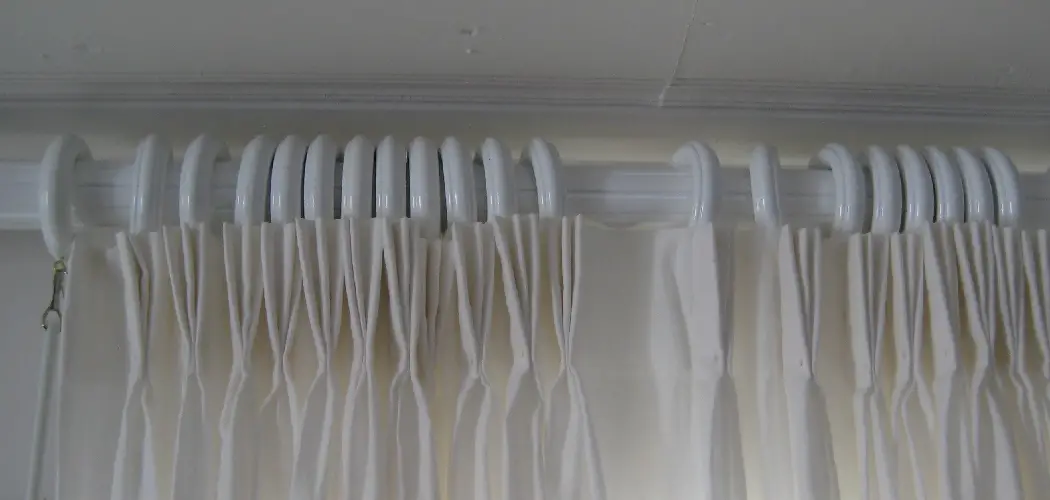
Pleating curtains is a simple and effective way to add an elegant touch to your home decor. Not only does it give the illusion of fullness, but it also allows you to control the amount of light entering your room. Pleated curtains are perfect for formal spaces such as living rooms and dining rooms, but they can also be used in bedrooms and even kitchens.
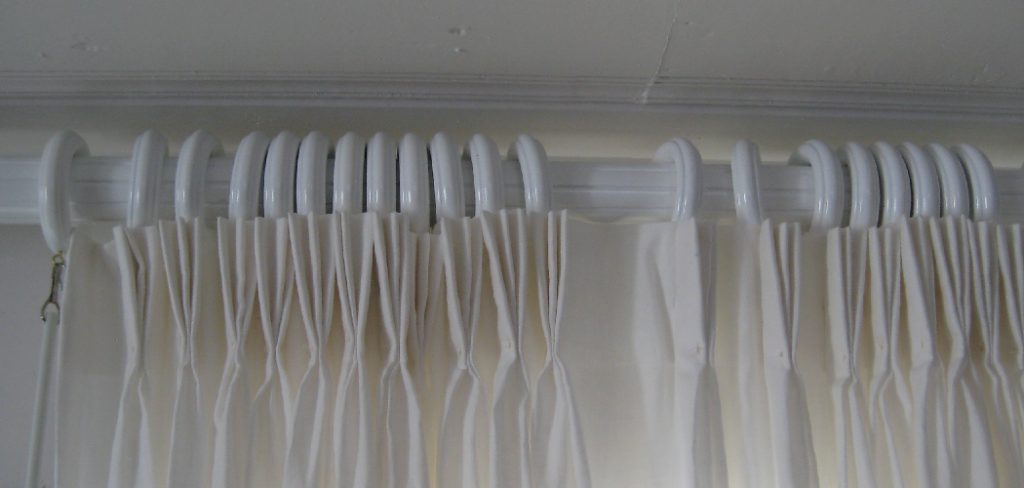
The main advantage of learning to pleat curtains is that it allows you to create a more tailored and professional look for your windows. Pleating involves folding and securing the fabric in specific patterns, which can add texture, depth, and dimension to your curtains. This technique is commonly used in interior design and can elevate the overall aesthetic of a room. In this blog post, You will learn in detail how to pleat curtains.
Step by Step Processes for How to Pleat Curtains
Step 1: Inspect Your Fabric
Before you begin pleating your curtains, it’s important to carefully inspect the fabric. Make sure there are no stains, holes or wrinkles that could affect the overall appearance of your finished product.
Step 2: Measure and Cut
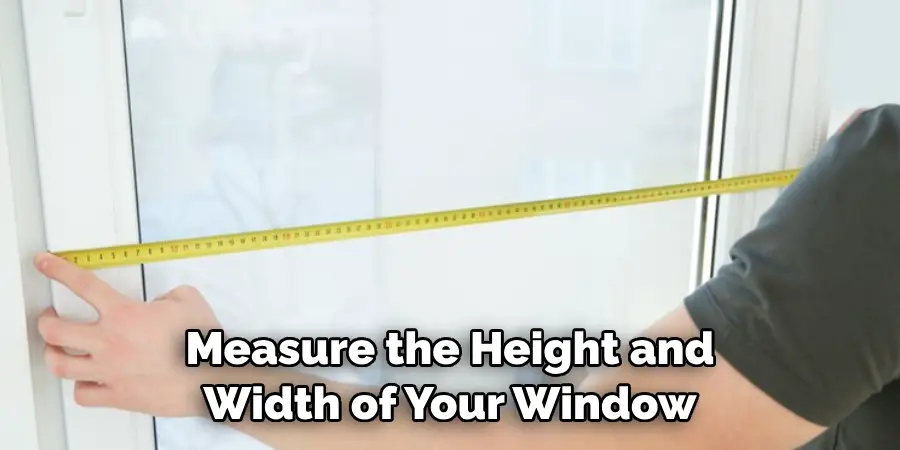
Measure the height and width of your window and add a few inches to account for hemming and pleating. Then use these measurements to cut your fabric accordingly. Fold over the edges of your fabric and sew a straight hem along the sides and bottom. This will create a polished look and prevent fraying.
Step 3: Create Rod Pockets
For rod pocket curtains, fold over the top edge of your fabric twice and sew a straight line to create a pocket for the curtain rod to slide through. There are several different pleat styles to choose from, such as pinch pleats, goblet pleats, and pencil pleats. Decide which style you want for your curtains before moving on to the next steps.
Step 4: Measure and Mark
Use measuring tape and fabric marking tools to measure and mark where each pleat will be on your curtain panel. This step is crucial for ensuring evenly spaced and sized pleats. Take your time making each pleat, following the markings you made in the previous step. Use pins or clips to hold the pleats in place while you work on the rest of the panel.
Step 5: Sew the Pleats in Place
Once all of your pleats are in place, sew along the top edge to secure them. This will create a clean and professional finish. To give your curtains a polished look, steam or iron them after sewing to remove any wrinkles and creases.
Step 6: Hang and Adjust
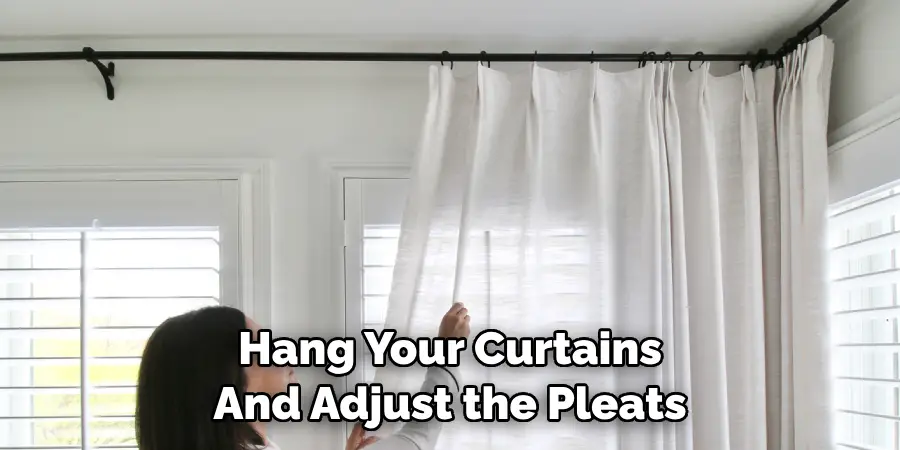
Finally, hang your curtains and adjust the pleats as needed to achieve the desired look. You can also add curtain weights or clips to help the pleats stay in place.
With these ten simple steps, you can easily learn to pleat curtains and create a beautiful and stylish window treatment for your home. Remember to take your time and follow each step carefully for the best results.
Safety Tips for How to Pleat Curtains
- Make sure to hold your curtain by its pleats and not by the top edge. Doing so will prevent the curtain from tearing or getting damaged.
- When using a sewing machine, make sure that the needle is sharp and in good condition to avoid any accidents or injuries.
- Always wear protective gear such as gloves and safety glasses when working with tools like scissors and needles.
- If using pins to hold the pleats in place, make sure they are securely inserted and not sticking out. This will prevent you from accidentally pricking yourself.
- When ironing your curtains, use a low heat setting and avoid placing the iron directly on the pleats as it may cause them to flatten or lose their shape.
- Keep children and pets away from your work area to ensure their safety and prevent any accidents.
- If you are using a ladder or step stool to reach high curtains, make sure it is stable and secure before climbing on it. It’s always best to have someone else hold the ladder for added safety.
By following these safety tips and precautions, you can safely pleat your curtains without any accidents or injuries. Remember to always prioritize your safety and take breaks when needed.
How Do You Ensure That the Pleats Are Evenly Spaced?
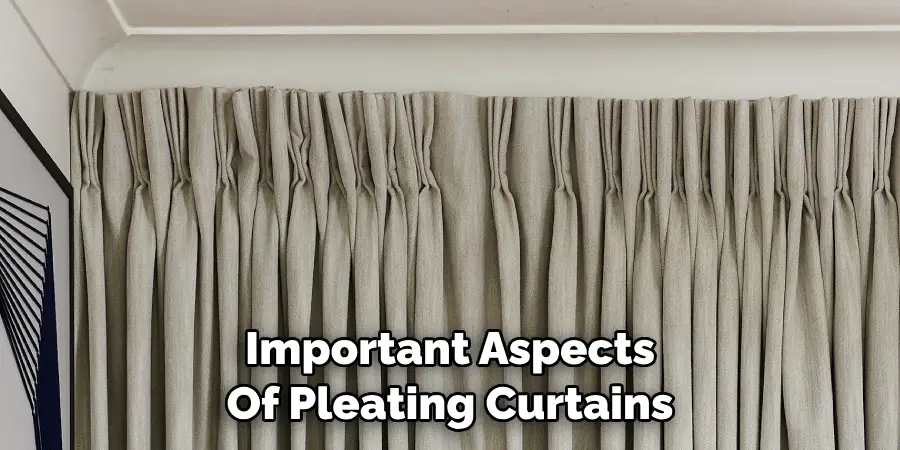
One of the most important aspects of pleating curtains is ensuring that the pleats are evenly spaced. This not only makes your curtains look more professional, but it also helps create a more uniform and balanced appearance when they are hung. To achieve this, there are a few different methods you can use depending on your preference and the type of curtain fabric you are working with. Here are a few tips to help you ensure that your pleats are evenly spaced and perfectly aligned.
1. Measure and Mark
The first step in achieving evenly spaced pleats is to measure and mark where each pleat will be placed on the fabric. This can be done by using a measuring tape or ruler, and marking the desired distance between each pleat with a fabric pencil or chalk. Make sure to take into consideration the full width of your curtain and the number of pleats you want, as this will determine the spacing between each one.
2. Use Pins or Clips
Once you have marked your measurements, you can use either pins or fabric clips to hold the pleats in place while sewing them. Pins are a good option for thinner fabrics, while clips work better for thicker materials. This will help keep the pleats in place and ensure that they are evenly spaced when you begin sewing.
3. Sew with Precision
When sewing your pleats, it’s important to be as precise as possible to achieve a professional look. Start by folding each pleat along the marked line and then securing it with pins or clips. Then, use a sewing machine to stitch along the folded edge, making sure to maintain an even distance from the top of the pleat to create a uniform appearance.
4. Use Weights
If you are working with lightweight or delicate fabrics, using weights can help keep your pleats in place and ensure that they are evenly spaced. You can purchase sewing weights specifically for this purpose, or you can use small objects like coins or washers. Simply place the weights at the bottom of each pleat while sewing to keep them from shifting.
5. Steam and Press
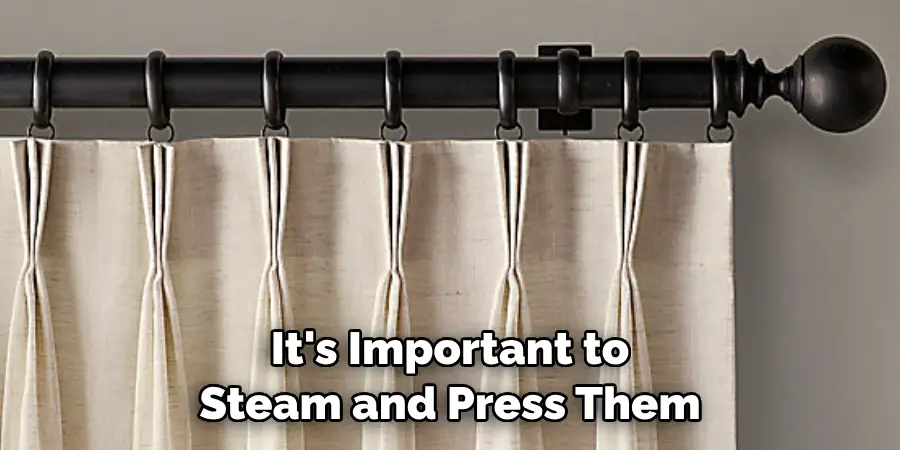
Once your pleats are sewn, it’s important to steam and press them to help set the folds and create a crisp, professional look. Use a steamer or iron on a low heat setting to gently press each pleat, making sure to follow the natural folds of the fabric. This will help create a more defined and uniform appearance for your pleats.
By following these tips, you can ensure that your pleats are evenly spaced and perfectly aligned, creating a polished and professional finish for your curtains. Remember to take your time and be precise, and you will have beautiful pleated curtains in no time.
What Are the Pros and Cons of Using Ready-made Pleated Curtains Vs. Creating Your Own?
Ready-made pleated curtains offer a convenient and time-saving option for those who do not have the skills or desire to create their own. These curtains typically come in standard sizes and styles, making them easy to purchase and hang without any additional work required.
On the other hand, creating your own pleated curtains allows for more customization and control over the final product. You can choose the fabric, pattern, and style of pleats that best suit your needs and preferences. However, this option requires more time and effort as you will need to measure, cut, and sew the fabric yourself.
Another consideration is cost. Ready-made curtains are often less expensive than creating your own, as they are produced in bulk and can be purchased at various price points. However, if you have specific design preferences and opt for high-quality fabric, creating your own pleated curtains may end up being more cost-effective in the long run.
In terms of quality and durability, both options can vary. Ready-made curtains may be made with lower-quality materials that are not as durable or long-lasting as those used for handmade curtains. However, if you are not an experienced seamstress, there is a chance that your own pleated curtains may not have the same level of quality and durability as professionally made ones.
Conclusion
In conclusion, pleating your curtains is a simple and effective way to add style and personality to any room in your home. With various pleat styles and techniques, you can create a customized look that fits your decor and preferences.
One of the main advantages of pleating curtains is that it allows you to control the fullness of the fabric. This means you can achieve different levels of volume and texture, depending on the type of pleat you choose. For example, a pinch pleat will create a more structured and formal look, while a goblet or butterfly pleat can add a touch of elegance and whimsy to your curtains. I hope this article has been beneficial for learning how to pleat curtains. Make Sure the precautionary measures are followed chronologically.

