Painting velvet fabric can add a beautiful and unique touch to any project or piece of furniture. Whether you’re aiming for a subtle, matte finish or something more opulent and eye-catching, velvet painting is the perfect way to make your ideas come alive! Painting velvet correctly requires experience with certain specialized techniques: from knowing how to select the right paints, primers, and fabrics; all the way to learning how best to seal finished projects for lasting quality.
This blog post will provide an in-depth tutorial on how to paint velvet fabric properly with detailed insight into each step – so you can embrace this creative project with confidence that your results will be as amazing as expected.
Supplies You Will Need to Paint Velvet Fabric
- Velvet fabric
- Acrylic or fabric paint in your desired colors
- Fabric primer
- Paintbrushes (soft-bristled)
- Palette (for mixing colors)
- Spray bottle with water
- Drop cloth or plastic sheeting
- Painter’s tape
- Fabric sealant (optional)
Step-by-step Guidelines on How to Paint Velvet Fabric
Step 1: Prepare the Fabric
Before painting, it’s essential to prepare your velvet fabric correctly. Start by laying out your fabric on a flat surface, and ensure that there are no wrinkles or folds. It’s best to iron the fabric beforehand if needed. Next, lightly spritz the fabric with water using a spray bottle; this will help the paint adhere better to the fibers. Preparing the fabric is crucial as it ensures smooth and even application of the paint.

Step 2: Selecting Paints for Velvet Fabric
Choosing the right paints is vital to ensure excellent results. Acrylic or fabric paints work best on velvet, providing vibrant colors that can withstand wear and tear. Make sure to select colors that will complement your project’s desired outcome, and don’t be afraid to mix different shades to achieve the perfect color. For a more subtle look, consider using fabric dye instead of acrylic or fabric paint.
Step 3: Preparing the Paints
Before you start painting, it’s essential to prepare your paints by adding some water and mixing them well. This will help thin out the paint consistency, making it easier to apply and achieve a smooth finish. While you can use a paint palette, many artists prefer to mix their paints directly on the fabric for better control of color and consistency.
Step 4: Priming the Fabric
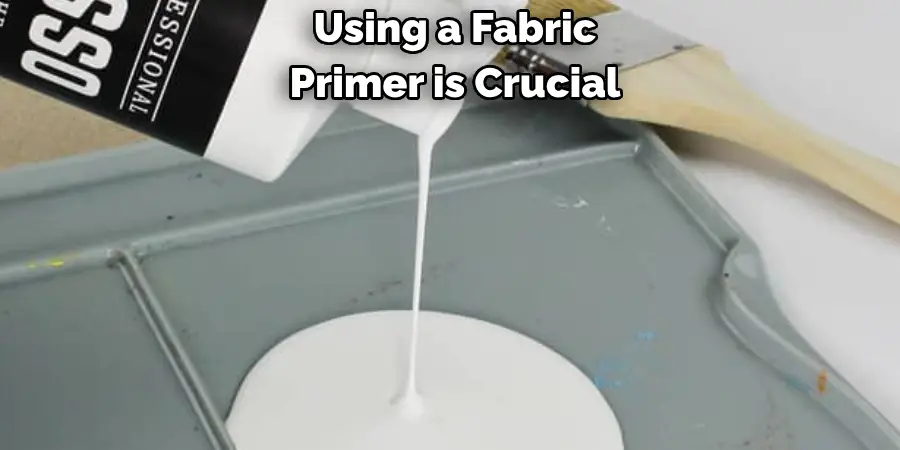
Using a fabric primer is crucial when painting velvet. This step prepares the fabric for painting by sealing the fibers and making them less absorbent, allowing the paint to sit on top rather than seeping through. Apply the primer evenly using a soft-bristled brush, following the fabric’s grain. Allow it to dry completely before moving on to the next step.
Step 5: Painting Your Velvet Fabric
Now that your fabric is fully prepared, it’s time to start painting! Use a soft-bristled paintbrush for best results and apply thin layers of paint, following the fabric’s grain. Make sure to cover the entire surface evenly and avoid overloading the paintbrush with too much paint. If you’re using multiple colors, make sure to let each layer dry before applying another color.
Step 6: Sealing the Paint
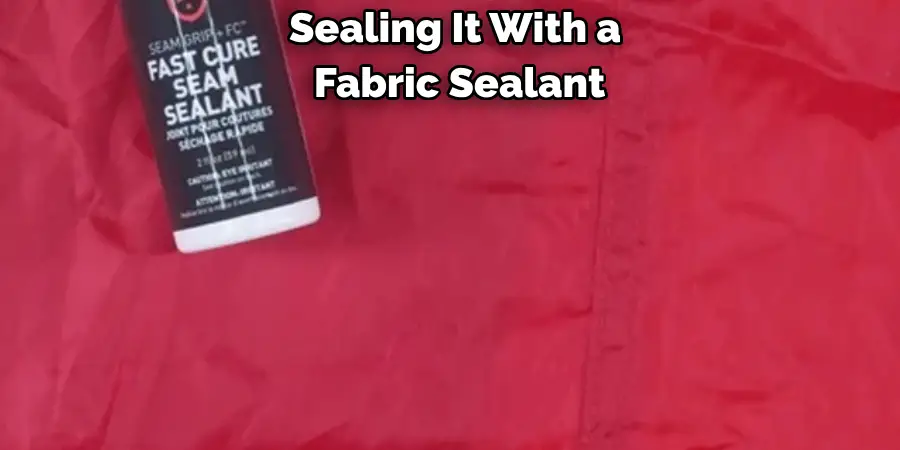
Once your painting is complete and has dried completely, consider sealing it with a fabric sealant for added protection. This can help prevent fading and flaking of the paint over time, ensuring your project lasts for years to come. Make sure to follow the sealant’s instructions carefully and apply it evenly using a soft-bristled brush or spray.
Congratulations, you’ve successfully painted velvet fabric! With these steps in mind, you can create stunning and unique pieces that are sure to impress. Whether you’re painting a pillow cover, an accent chair, or even clothing, the possibilities are endless. Just remember to prepare your fabric properly, select the right paints and tools, and take your time to achieve the best results. Happy painting!
Additional Tips and Tricks to Paint Velvet Fabric
1. If you want to achieve a more textured look, try using sponges or sea sponges to apply the paint. This will give your fabric an interesting pattern and a unique texture.
2. To add more depth to your design, use different shades of the same color or complementary colors in your painting. This will create dimension and make your design stand out.
3. Experiment with different painting techniques such as splatter painting, stenciling, or using a dry brush to achieve different effects on the velvet fabric.
4. Before starting your project, make sure to test the paint on a small, inconspicuous area of the fabric to ensure that it adheres well and does not bleed or change the texture of the fabric.
5. If you are painting a large piece of fabric, consider breaking up the design into smaller sections and allowing each section to dry completely before moving on to the next. This will prevent smudging or blending of colors.
6. Don’t be afraid to mix different types of paint such as acrylic and fabric paint for more vibrant colors and better adhesion.
7. Use a heat gun or hairdryer on a low heat setting to speed up the drying process between layers of paint.
8. If you make a mistake or want to change something in your design, use a damp cloth to gently remove the paint before it dries completely.
9. To protect your painted fabric and make it more durable, seal it with a fabric sealant or use an iron on a low setting with a cloth between the iron and fabric.
Following these additional tips and tricks will help you achieve a professional-looking, painted velvet fabric that is sure to impress. Remember to have fun and experiment with different techniques to create unique and personalized designs. Happy painting!
Precautions Need to Be Followed for Painting Velvet Fabric
1. First of all, you need to be extremely careful when handling velvet fabric while painting. Velvet is a delicate material and can easily get damaged if not handled with care.
2. Before starting the painting process, make sure you spread out a drop cloth or any old sheet on your work surface to avoid staining it with paint.
3. Always test your paint on a scrap piece of velvet fabric before starting to paint on the actual material. This will help you determine the right consistency of paint and how it adheres to velvet.
4. Avoid using large amounts of water while painting as it can damage the velvet’s fibers and cause them to lose their softness.
5. Use a small amount of acrylic or fabric paint, diluted with water if needed, for painting on velvet. This will ensure that the paint doesn’t seep through the fabric and cause it to become stiff.
6. It is important to use a gentle hand when painting on velvet. Avoid pressing too hard or rubbing the fabric vigorously as it can damage the fibers and ruin the texture of the fabric.
7. Always keep a clean rag nearby to wipe off any excess paint. This will help prevent smudges and ensure a neater finish.

8. It is recommended to use a soft-bristled brush or foam brush for painting on velvet as it helps to evenly spread the paint without damaging the fabric.
Following these precautions will ensure that your velvet fabric remains soft and retains its luxurious texture even after being painted on. Now, let’s discuss some tips for achieving the best results when painting on velvet.
Frequently Asked Questions
Can All Types of Velvet Be Painted?
Yes, most types of velvet can be painted. However, it is important to note that the results may vary depending on the fabric’s composition and quality. Velvet made from natural fibers, such as silk or cotton, will generally yield better results compared to synthetic velvets. It is always best to do a test patch on a small, inconspicuous area of the fabric before proceeding with painting the entire piece.
What Types of Paint Can Be Used?
Acrylic paints are the most commonly used type of paint for painting velvet fabric. They can be easily found in craft stores and come in a variety of colors. Fabric-specific acrylic paints are also available and may result in better adhesion and durability on fabric. Fabric dyes can also be used to paint velvet, but they require more expertise in application and may not yield as vibrant colors.
Do I Need to Prepare the Fabric Before Painting?
Yes, it is important to prepare the fabric before painting to ensure better adhesion and longevity of the paint. Start by cleaning the fabric thoroughly with a mild detergent and water. Then, allow it to air dry completely before painting. For better results, you can also use a fabric primer or apply a thin layer of white acrylic paint on the fabric before adding your desired colors.
How Should I Apply the Paint?
There are various techniques for applying paint onto velvet fabric, such as using a brush, sponge, or even airbrushing. It is recommended to start with a small amount of paint and build up layers for better coverage. Avoid using too much paint at once as it may saturate the fabric and result in a stiff, unattractive finish.
Conclusion
Now you know how to paint velvet fabric! It may seem like a daunting task at first, but with the right materials and techniques, you can transform your old or plain velvet fabric into a vibrant and unique piece of art. Remember to always test on a small area before painting the entire fabric, and have fun experimenting with different colors and designs. Happy painting!

