
Pool noodles are not just for poolside fun; they can also be a versatile and colorful addition to your summer activities. With a little creativity and some paint, you can transform ordinary pool noodles into vibrant and personalized accessories for your pool, backyard, or even indoor spaces.

In this step-by-step guide on how to paint pool noodles, we will explore various techniques and tips to paint pool noodles, unleashing your inner artist and adding a unique touch to your summer.
What are Pool Noodles?
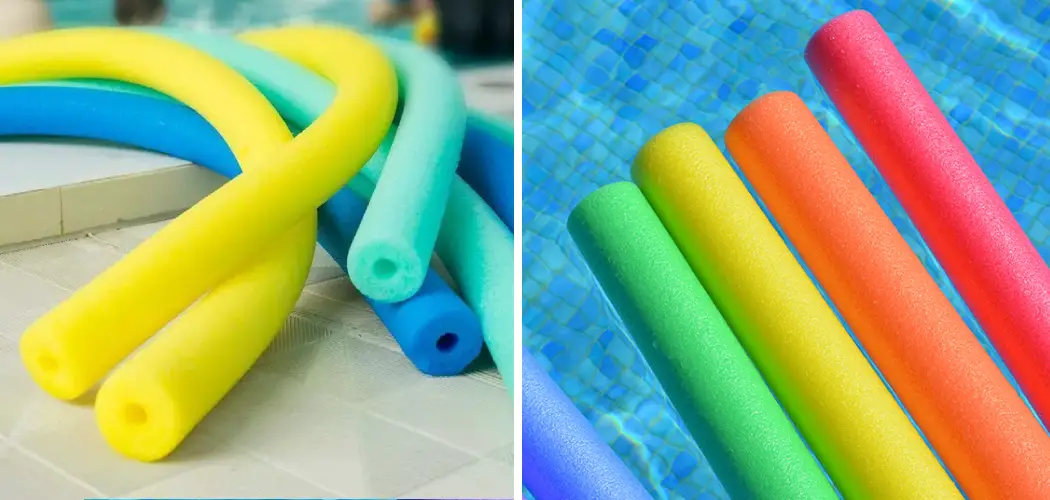
Pool noodles are foam cylinders often found in swimming pools, usually used for buoyancy. They come in a variety of colors and can be as long or short as needed. Pool noodles are incredibly versatile and are perfect for adding fun to any pool day.
11 Step-by-step guides on How to Paint Pool Noodles
Step 1: Gather Your Materials
Before diving into the creative process, ensure you have all the necessary materials ready. Here’s what you’ll need:
- Pool Noodles:
Purchase pool noodles in assorted colors and lengths from your local store or online retailer. Opt for ones made of foam, as they are easier to paint.
- Acrylic Paint:
Choose high-quality acrylic paints in the colors you desire. Acrylic paints adhere well to foam and dry quickly.
- Paint Brushes:
Invest in a selection of different-sized paintbrushes to facilitate various painting techniques.
- Painter’s Tape:
This will be useful if you plan to create clean and precise lines in your designs.
Palette or disposable plates: Use a palette or disposable plates to mix and blend colors easily.
- Water Container:
Keep a container of water nearby for rinsing brushes between color changes.

- Newspaper or Drop Cloth:
Lay down newspaper or a drop cloth to protect your work surface from paint splatters.
- Gloves and Apron:
These will help keep your hands and clothes clean while painting.
Step 2: Clean and Prep the Pool Noodles
Before starting the painting process, ensure that your pool noodles are clean and free from dust and debris. If you purchased brand-new noodles, they might have a thin layer of manufacturing residue. Rinse the pool noodles with water and let them dry completely before painting. It is also important to check the noodles for any sharp protrusions that may need to be removed.
Step 3: Choose Your Painting Area
Select a well-ventilated and well-lit area for your painting project. It is best to work outdoors or in a spacious room with open windows to allow proper air circulation and quick drying of the paint. But if this is not possible, use an exhaust fan and open some windows to ensure good airflow. It is also important to protect the surface where you will be painting with newspaper or a drop cloth.
Step 4: Plan Your Design
Visualize the design you want to create on the pool noodles. You can go for simple patterns, geometric shapes, or even intricate designs. If you’re unsure about freehand painting, use painter’s tape to mark off areas for clean lines and edges. This is an especially great technique if you’re trying to achieve a specific look. If you’re feeling adventurous, experiment with blending colors and ombre effects.
Step 5: Prime the Pool Noodles (Optional)
While not essential, priming the pool noodles can enhance paint adhesion and color vibrancy. Apply a thin layer of white acrylic paint as a primer, using a brush or foam roller. Allow the primer to dry completely before moving on to the next step. Otherwise, the pool noodles may be too slippery to paint on. You can also purchase a foam primer specifically designed for porous surfaces such as foam.

Step 6: Start Painting
Now comes the fun part – painting! Dip your paintbrush into the desired color and apply the paint to the pool noodle. You can use bold strokes, swirls, or even dabbing techniques to create different textures and effects. Experiment with blending colors to achieve a gradient or ombre effect.
It is important to work in sections and allow the paint to dry before moving on. If you need to switch between colors, rinse your brush with water and/or use a different brush for each color.
Step 7: Let the Paint Dry
Allow the paint to dry completely before adding additional layers or details. Patience is key, as rushing can lead to smudges and uneven surfaces. It is also important to use a fan or hairdryer for quicker drying time. This is especially important when using multiple colors and layers.
But be careful not to blow the paint away with the airflow. It is best to move the fan or hairdryer in a circular motion and at an even distance from the pool noodle. It is also essential to follow the manufacturer’s instructions when using a hairdryer.
Step 8: Add Details and Accents
Once the base coat is dry, it’s time to add details and accents to your design. Use smaller brushes for intricate patterns and fine lines. Add contrasting colors or metallic paints to make your pool noodles stand out even more.
It is important to allow each layer and color to dry completely before adding more details. But once complete, you’ll have a unique accessory that will make your summer days even more fun.
Step 9: Remove Painter’s Tape (If Used)
If you used painter’s tape to create clean lines, carefully peel it off once the paint is dry. This step will reveal crisp edges and a more polished appearance to your design. It is best to use tweezers or a sharp tool to remove the tape, as peeling it off with your fingers may cause smudges and blemishes. This step may require patience and precision, so take your time.

Step 10: Seal the Paint (Optional)
If you plan to use your painted pool noodles in the water or outdoors, consider applying a clear sealant to protect the paint from water and UV damage. Select a sealant suitable for foam materials and follow the manufacturer’s instructions for application.
This will ensure that your masterpiece remains in pristine condition for a long time. This step is optional but will extend the life of your painted pool noodles. It is also a good idea to apply the sealant if you plan to use your painted pool noodles on a regular basis.
Step 11: Arrange and Enjoy Your Masterpieces
After all the hard work, it’s time to enjoy the fruits of your labor! Arrange your painted pool noodles around the pool, use them as decorations in your backyard, or incorporate them into games and activities. They’ll surely add a splash of color and creativity to your summer fun!
Always remember to use caution when using your painted pool noodles in the water, as they may become slippery and difficult to grip. Have fun and be safe!
And there you have it on how to paint pool noodles. A guide to painting pool noodles like a pro! With a little bit of creativity, you can create unique accessories for your summer fun. So grab some pool noodles and get creative – your imagination is the limit! Enjoy your painted pool noodle masterpieces and make the most out of this summer season.
Frequently Asked Questions
Q: Can I Use Oil-based Paint on Pool Noodles?
A: No, oil-based paints are not recommended for foam materials such as pool noodles. It is best to use water-based acrylic paint and sealants. This ensures that the paint adheres properly and lasts longer without fading or peeling.
Q: Can I Paint Pool Noodles with Spray Paint?
A: Yes, you can use spray paint for painting pool noodles. However, it is important to ensure that the nozzle of the can is far enough from the pool noodle to avoid creating a thick layer of paint. It may take some trial and error in order to achieve optimal results.

Additionally, it is best to use multiple thin layers instead of one thick layer in order to ensure even coverage and vibrant colors. Finally, always remember to follow the manufacturer’s instructions when using spray paint.
Q: Is Primer Necessary for Painting Pool Noodles?
A: Priming the pool noodles with a thin layer of acrylic paint is not essential, but it can enhance the adhesion and vibrancy of the colors. Additionally, it helps to prevent the pool noodle from becoming too slippery for painting. However, if you plan to use a foam primer specifically designed for porous surfaces such as foam, priming is not necessary.
Q: How Long Does It Take for Paint to Dry on Pool Noodles?
A: This will depend on the type of paint used and the number of layers applied. Generally speaking, it should take between 30 minutes to 1 hour for each layer to dry completely. In order to speed up drying time, consider using a fan or hairdryer set to low or medium heat.
It is important to move the fan in a circular motion and at a consistent distance from the pool noodles in order to avoid blowing away the paint. Additionally, it is always best practice to follow the manufacturer’s instructions when using a hairdryer.
Conclusion
Painting pool noodles is a fantastic way to unleash your creativity and personalize your summer experience. With a little imagination and the right materials, you can transform simple foam noodles into eye-catching, artistic masterpieces. Whether you’re decorating the poolside, creating themed party accessories, or engaging in fun pool games, your painted pool noodles will be a hit with family and friends.
So, grab your paintbrushes, unleash your inner artist, and get ready to make a splash with your colorful and customized pool noodles this summer! Thanks for reading this article on how to paint pool noodles.