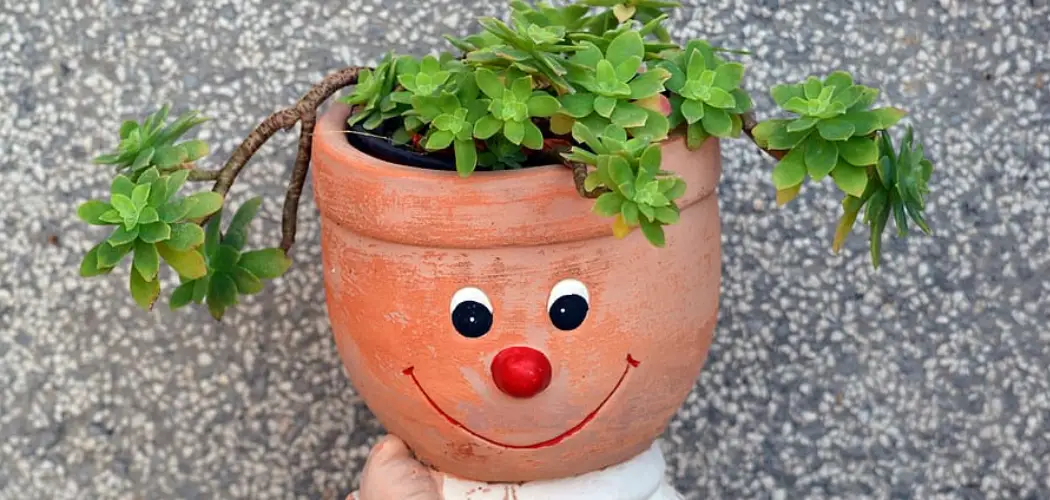
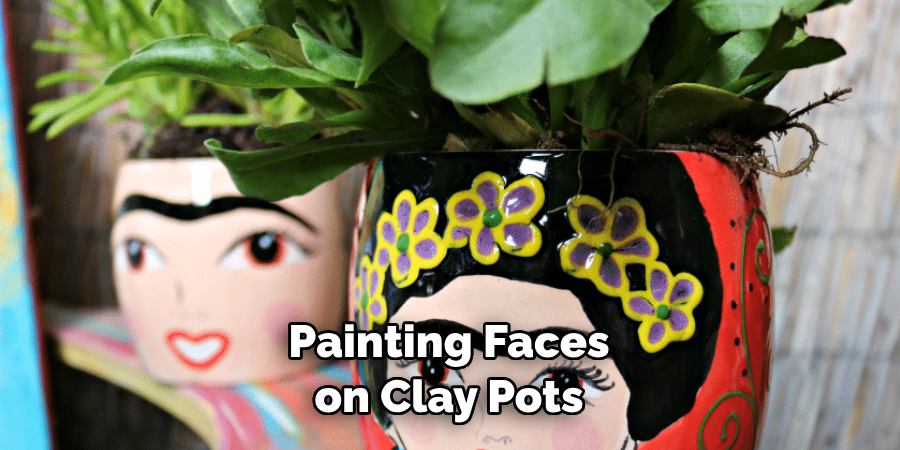
There are many reasons why learning to paint faces on clay pots can be a fun and rewarding experience. Not only does it allow you to express your creativity, but it also provides the opportunity to add personalized touches to your home decor or gift items.
One of the main benefits of painting faces on clay pots is that it is a budget-friendly activity. Clay pots can be purchased relatively cheaply and easily transformed into unique art pieces with just a few materials.
The main advantage of learning to paint faces on clay pots is that it allows you to create one-of-a-kind pieces. Using your artistic skills, you can design and paint faces in any way you like, making each pot unique and special.
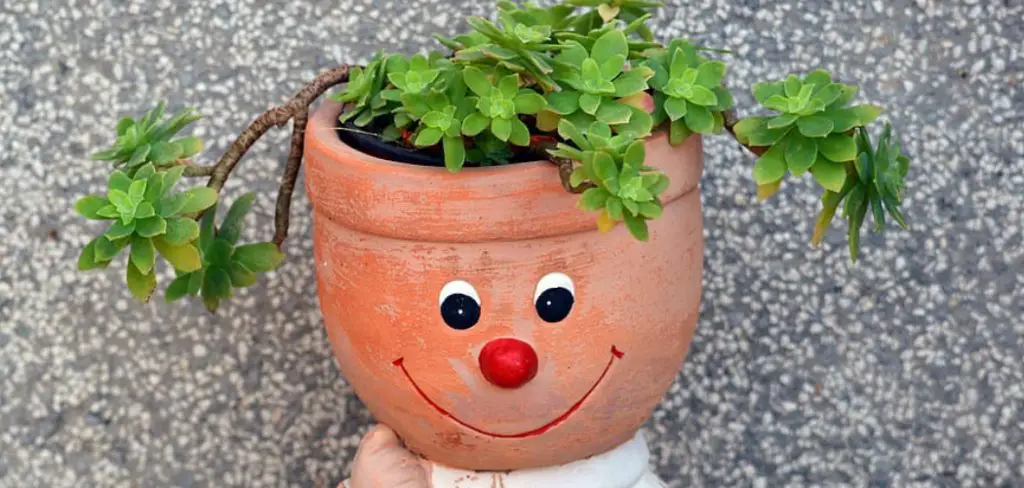
This also means you can personalize the pots for specific occasions or give them personalized gifts to friends and family. You can find step-by-step instructions on how to paint faces on clay pots in this blog article.
Materials You Will Need
- Clay pots of various sizes
- Acrylic paints in a variety of colors
- Paintbrushes in different sizes and shapes
- Water cup for rinsing brushes
- A palette or paper plate for mixing paints
- Pencil or marker for sketching out designs
- Paper towels for cleaning up any mistakes
- Clear acrylic sealer (optional) to protect the paint
- Hairdryer (optional) for faster drying time
- Inspiration and creativity
Step-by-step Instructions for How to Paint Faces on Clay Pots
Step 1: Inspect and Prep the Clay Pot
Before painting, carefully inspect your clay pot for any cracks or imperfections. If you find any, use fine-grit sandpaper to smooth them out gently. Then, wipe down the pot with a damp cloth to remove any dust or residue.
Step 2: Choose Your Paint and Brushes
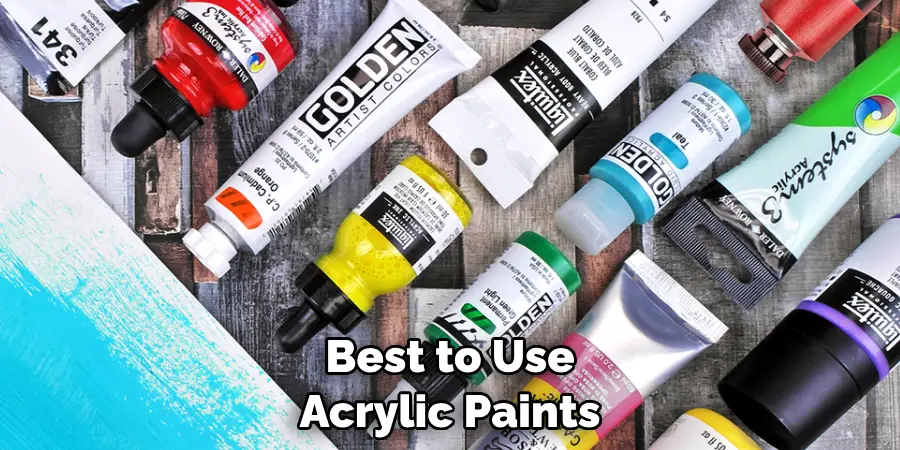
When painting on clay pots, it’s best to use acrylic paints. They dry quickly and are water-resistant once they’re dry. As for brushes, you’ll want a variety of sizes to create different details on your pot.
Before you start painting, have an idea of the design you want to create on your clay pot. You can sketch it out on paper or draw it on the pot with a pencil.
Step 3: Start with a Base Coat
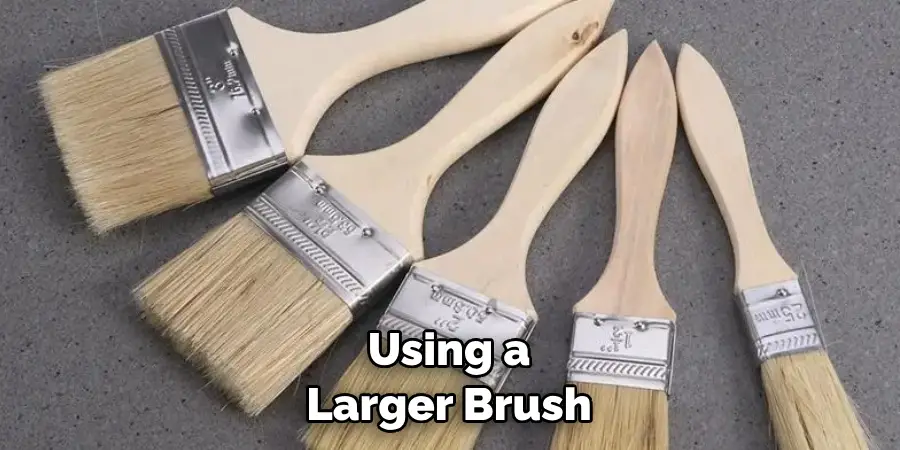
Using a larger brush, apply a base coat of paint to your clay pot. This will serve as the background color for your design. Cover the entire pot and allow it to dry completely before moving on.
Using smaller brushes, start adding details and features to your design. This could include facial features like eyes, nose, and mouth and any other designs or patterns you want to incorporate.
Step 4: Use Multiple Layers for Depth
Use multiple layers of paint to add depth and dimension to your design. This can be achieved by layering shades of the same color or using a dry brush technique to create texture.
Make sure to allow each layer of paint to dry completely before adding another one. This will prevent colors from blending and creating a muddy look.
Step 5: Use Fine Tip Brushes for Small Details
For smaller details and fine lines, use a fine-tip brush. This will give you more control and precision in your painting. Once you’re satisfied with your design, add any finishing touches you want to incorporate. This could include highlights, shading, or extra details to make your design pop.
Step 6: Seal the Paint
Using a clear acrylic sealer, seal your painted clay pot to protect it from water and UV rays. This will also give it a glossy finish.
With these step-by-step instructions, you can easily paint faces on clay pots to add a personal touch to your home or garden decor. Feel free to experiment with different designs and techniques to create unique and beautiful pieces.
Safety Tips for How to Paint Faces on Clay Pots
- Wear protective gear such as gloves, goggles, and a mask when working with paints or other chemicals.
- Work in a well-ventilated area to avoid inhaling fumes from paints or sealants.
- Keep all painting supplies and materials out of reach of children and pets.
- Follow instructions on paint labels for proper usage and disposal.
- Use non-toxic or food-safe paints for painting clay pots that will be used for planting.
- If using a kiln to seal the paint, follow safety guidelines and precautions while handling hot surfaces.
- In case of accidental ingestion or contact with eyes, seek medical attention immediately.
This is especially true when painting on clay pots, as they can be fragile and may require extra precautions. By following these safety tips, you can ensure a safe and enjoyable experience while learning to paint faces on clay pots.
Are There Any Specific Techniques for Painting Faces on Curved Surfaces?
When painting faces on clay pots, some techniques can help you achieve the best results. Unlike flat surfaces, curved surfaces pose a unique challenge when it comes to painting, especially for delicate features like facial expressions.
First and foremost, it’s important to ensure your clay pot is properly prepared before attempting to paint on it. This includes ensuring the surface is clean and smooth, as any bumps or imperfections can affect the outcome of your painting.
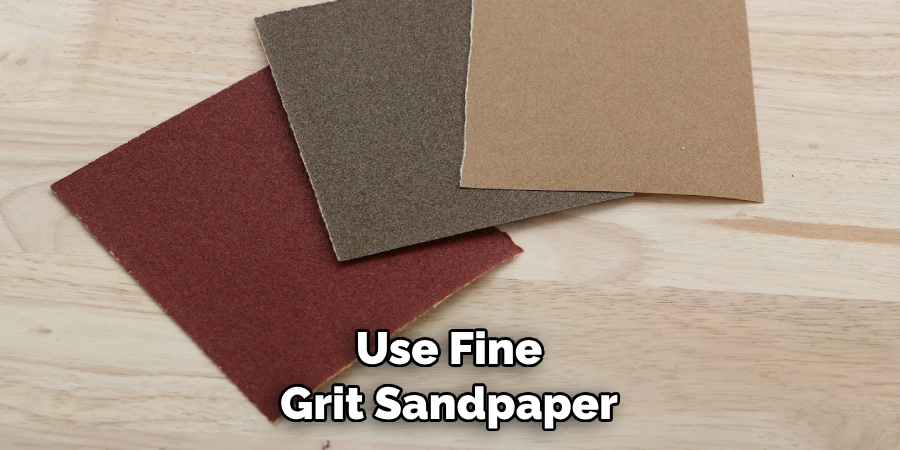
Next, you’ll want to use fine-grit sandpaper to lightly sand the pot’s surface. This will help create a better surface for the paint to adhere to and eliminate any remaining debris or dust. As for actually painting the face, one technique that can be helpful is to use smaller brushes and work in layers.
This allows you to build up the features gradually, rather than trying to paint them all at once and potentially making mistakes that are difficult to fix on a curved surface.
How Can You Prevent the Paint From Smudging or Cracking After It Dries?
Preventing smudging and cracking after your paint has dried is important in creating a long-lasting design on your clay pot. Here are some tips to help you achieve the best results:
1. Use high-quality paint
When it comes to painting on clay pots, using cheap or low-quality paint can result in smudging and cracking as it dries. Invest in good quality acrylic or enamel paints designed for ceramics.
2. Clean the surface
Before painting, clean the surface of your clay pot thoroughly with soap and water. This will remove any dirt, dust, or oils that could interfere with the adhesion of the paint.
3. Prime the surface
Applying a primer to your clay pot can create a smooth base for your paint to adhere to and help prevent smudging and cracking. You can use a ceramic or multipurpose primer suitable for both clay and paint.
4. Use thin layers
It’s best to apply thin layers of paint rather than thick ones. Thick layers take longer to dry and are more prone to cracking as they cure.
By following these steps, you can ensure that your paint stays intact and vibrant on your clay pot for a long time.
What Are Some Common Mistakes to Avoid When Painting Faces on Clay Pots?
When painting faces on clay pots, there are a few common things that beginners often need to correct. These mistakes can result in a less-than-desirable end product or even cause the paint to chip off over time. This section will discuss some of these mistakes and how you can avoid them.
1. Not Preparing the Surface Properly
Preparing the surface is one of the most important steps when painting on clay pots. This involves cleaning the pot thoroughly and removing any dirt, debris or dust that may be present.
It’s also important to lightly sand the surface to create a slightly rough texture for the paint to adhere to. Skipping this step can result in uneven paint application and a less durable finish.
2. Using Poor Quality Paint
The type of paint you use can make a big difference in the result. It’s best to use acrylic or enamel paints when painting clay pots as they adhere well to the surface and provide a more durable finish. Avoid using watercolor or poster paints as they tend not to adhere well and may easily chip off.
3. Going Too Thick with Paint Layers
Applying thick layers of paint for better coverage can be tempting, but this is not recommended. Thick layers take longer to dry and are more prone to cracking or peeling. Instead, opt for thin and even layers, building up the color gradually if needed.
4. Using Incorrect Brushes
The type of brush you use also plays a role in the final result. When painting faces on clay pots, it’s best to use fine-tipped brushes for intricate details and larger flat brushes for broader strokes. Avoid using cheap or old brushes as they may leave brush marks in the paint.
5. Not Letting the Paint Dry Completely
Patience is key when it comes to painting on clay pots. It’s important to let each layer of paint dry completely before adding another layer or details. Rushing this step can result in smudging or blending of colors, leading to a less precise and clean finish.
6. Not Sealing the Finished Product
Once you have finished painting your clay pot, it’s important to seal it with a clear sealer. This helps protect the paint from chipping or fading over time. You can use a spray sealer or brush on a clear coat for protection.
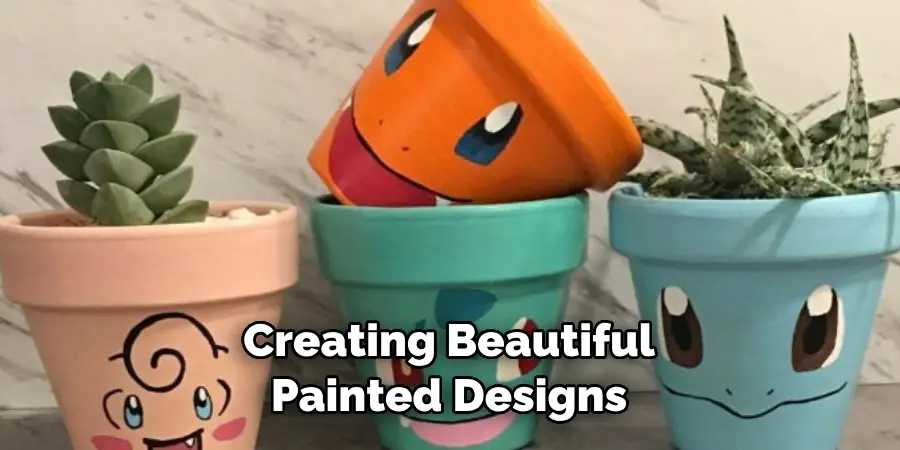
By avoiding these common mistakes, you can ensure a better result when painting faces on clay pots. Remember to take your time and be patient, and with practice; you will become more skilled in creating beautiful painted designs on clay pots.
Conclusion
In conclusion, painting faces on clay pots is a wonderful way to add personality and character to your garden or home decor. It may seem daunting initially, but with a few simple techniques and lots of practice, anyone can create beautiful and unique painted pots.
One important tip to keep in mind when starting this project is to choose the right type of paint for your specific pot material. Acrylic paint is a great option for most clay pots, as it adheres well and is easy to work with. You can use stencils for precise shapes or simply freehand your design for a more organic look.
Remember to start with a light base layer and build up the details gradually, allowing each layer to dry before adding the next. Reading this post has helped you learn how to paint faces on clay pots. Make sure the safety precautions are carried out in the order listed.

