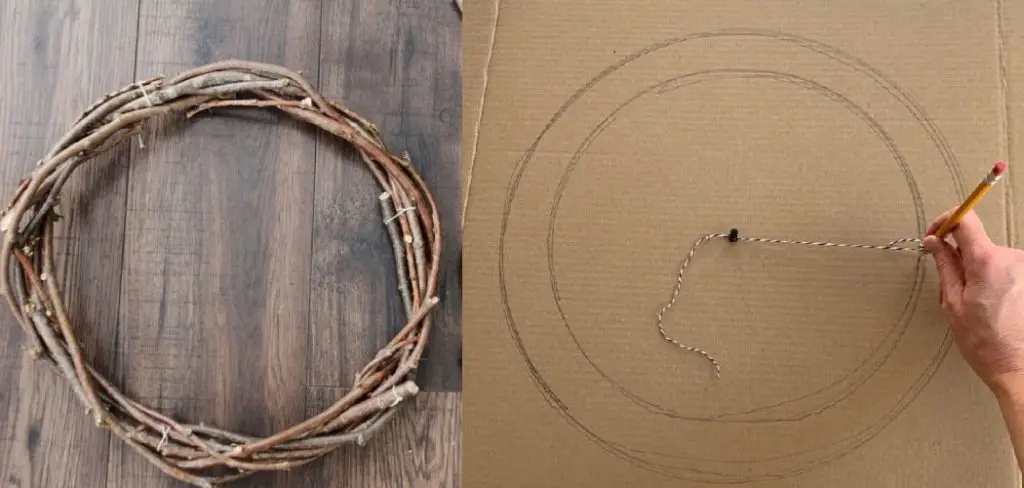
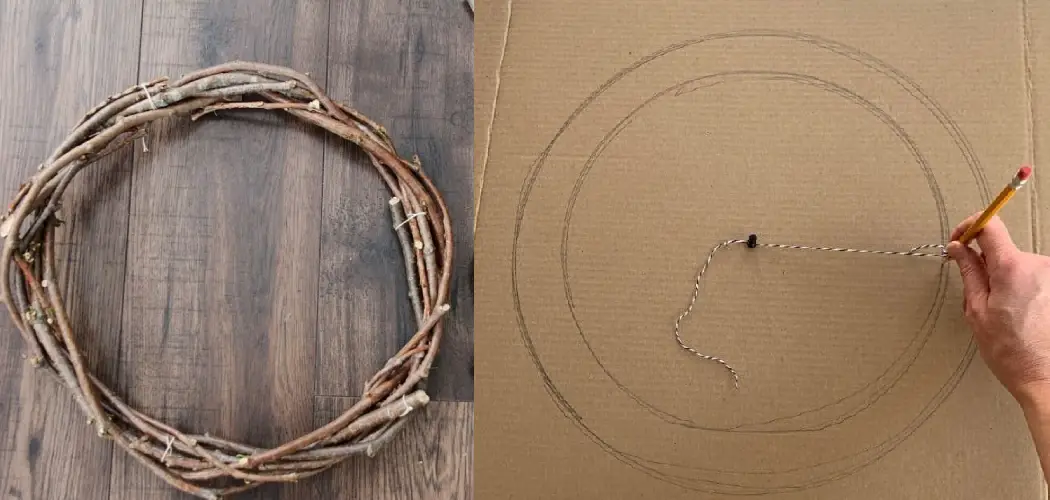
The sight of a seasonal wreath hanging on your front door is the perfect way to welcome friends, family, and visitors during the winter holidays. However, before you can begin adorning your wreath with beautiful trimmings, you’ll need to start with a sturdy base to build upon. Creating the perfect wreath base requires a bit of craftiness, but with the right materials and a few simple steps, you’ll be well on your way to decorating your home with handmade seasonal charm.

In this post, I’ll share my step-by-step method for how to make wreath base using commonly found household items. From weaving techniques to tips for longevity, by the end, you’ll have a solid foundation for your wreath designs for years of the holidays to come. Let’s get started with a few essential items to transform plain greenery into personalized door décor.
Tools and Materials You Will Need to Make Wreath Base
- Wire wreath frame (can be found at craft stores)
- Floral wire or hot glue gun
- Green floral tape
- Scissors
- Wire cutters
- Fresh or artificial greenery of your choice
Step-by-Step Guidelines on How to Make Wreath Base
Step 1: Choose Your Wreath Frame
The first step in making a wreath base is to select the right frame for your project. You can find wire wreath frames in various sizes and shapes at craft stores, or you can make your own using wire coat hangers. Keep in mind that the larger the wreath frame, the more greenery you will need to cover it. Choosing a frame that is different from the traditional round shape, such as oval or square, can add an interesting twist to your wreath design.

Step 2: Prepare Your Greenery
Before starting to assemble your wreath base, it’s important to prepare your greenery. Trim off any excess leaves or stems and make sure they are clean and free of pests. You can use fresh or artificial greenery, but be aware that fresh greenery will eventually dry out and may need to be replaced more often. Artificial greenery, on the other hand, can last for several years if well taken care of. Preparing your greenery beforehand will make the assembly process much smoother.
Step 3: Secure Your Greenery to the Frame
Begin by attaching your greenery to the frame using floral wire or a hot glue gun. Start at one end of the frame and secure a few sprigs of greenery, slightly overlapping them as you go. Continue adding more sprigs, securing them with wire or glue as you move around the frame until it is completely covered. You can create a fuller and more layered look by adding different types of greenery, such as pine branches, holly leaves, or eucalyptus.
Step 4: Use Floral Tape to Cover the Stems
Once your greenery is securely attached to the frame, use floral tape to cover any exposed stems and wire. This will give your wreath a more polished and professional look. You can also use this opportunity to secure any loose sprigs or add extra greenery if needed. Using floral tape is a cleaner and easier alternative to using hot glue, as it won’t leave any visible residue.
Step 5: Personalize Your Wreath Base
Now that your wreath base is completed, it’s time to add your personal touch. You can decorate your wreath with ornaments, ribbons, pinecones, berries, or any other seasonal decorations of your choice. The possibilities are endless, and this is where you can get creative and make your wreath unique to your style. Make sure to securely attach your decorations using wire or hot glue.

Step 6: Hang and Enjoy Your Handmade Wreath
Once all your decorations are in place, your wreath is ready to be hung and admired. You can use a ribbon or floral wire to create a loop at the back of the wreath for easy hanging. Make sure to choose a sturdy hook or nail to support the weight of your wreath. Now you can step back and admire your handiwork, and your guests will be impressed with your beautiful seasonal wreath.
Following these simple steps and using a few common tools and materials, you can easily learn how to make a wreath base for all your holiday decorating needs. Don’t be afraid to experiment with different types of greenery and decorations to create unique designs every year. With this knowledge under your belt, you’ll be able to keep the tradition of handmade wreaths alive in your home for years to come. Happy crafting!
Additional Tips and Tricks to Make Wreath Base
1. When choosing twigs or branches to use for your wreath base, try to find ones that are relatively straight and long. This will make it easier to create a solid and even foundation for your wreath.
2. Use wire cutters to trim off any smaller twigs or leaves from the branches you have chosen. A clean branch without any excess foliage will give a neater and more professional look to your wreath base.
3. If you want a fuller wreath, consider using multiple layers of branches for your base. This will create a thicker and sturdier foundation for adding decorations later on.

4. For added stability, try tying the branches together with twine or wire at different points along the circle. This will prevent the branches from shifting or moving as you add more decorations to your wreath.
5. To ensure an even and symmetrical wreath, use a measuring tape or ruler to mark out the placement of each branch before securing them together. This will help create a balanced and visually pleasing design.
6. If you are using natural branches for your wreath base, consider treating them with a preservative spray or sealant to prevent them from drying out and becoming brittle over time.
7. Experiment with different types of branches and foliage for your wreath base. You can create unique designs by using a combination of evergreen branches, bare twigs, or even dried flowers.
8. Don’t be afraid to add some color to your wreath base! Consider painting the branches with a festive color or adding in some colorful berries or pinecones for a pop of color.
9. If you use a wire wreath frame, try weaving different materials through the wires to create texture and interest. This can include ribbon, burlap, or even fabric strips.
10. And lastly, have fun with your wreath base! Don’t be afraid to get creative and experiment with different techniques and materials. The possibilities are endless for making a unique and beautiful wreath base for your holiday decor.
Following these additional tips and tricks will help you create a beautiful and sturdy wreath base for your holiday decorations. With a little bit of creativity and some basic supplies, you can make a wreath base that is not only functional but also visually appealing. Happy crafting!
Precautions Need to Be Followed for Making Wreath Base
1. Before starting the process of making a wreath base, make sure to gather all your supplies. This will ensure that you have everything on hand and will save you time in between the steps.
2. When using hot glue or any other adhesive, make sure to take precautions while handling it. Keep a first-aid kit easily accessible in case of any accidental burns or injuries.

3. While cutting or shaping the base, use sharp tools to avoid any accidents and make clean cuts.
4. It’s always best to work on a flat surface to maintain stability while working with the wreath base.
5. If you are planning to add decorations or embellishments that require painting, make sure to use non-toxic paints and allow them to dry completely before handling the base again.
6. If you have pets or small children around, consider working in a separate room to avoid any accidents or mishaps.
7. Take your time and work carefully to ensure the wreath base is sturdy and can withstand the weight of decorations and embellishments.
8. It’s always a good idea to wear protective gear such as gloves and goggles when handling sharp or potentially harmful materials.
Following these precautions will not only make the process of making a wreath base safer, but it will also ensure that your final product is of high quality and lasts for a long time. Remember to always be cautious and work in a well-lit and well-ventilated area for optimal results. Happy crafting!
Conclusion
Making a wreath base gives you endless opportunities to add your twist. Whether you construct one from faux greenery, natural materials, or repurposed items, these instructions should give you the starting point to create the perfect backdrop for your decorations. You can spice up your décor with pops of color or modern lines, depending on the style and season.
You have plenty of options when designing your custom-made wreath–so have fun and enjoy watching as your imaginative ideas come to life! If you’re looking for more creative solutions to make wreath bases, we suggest trying out our ultimate guide: “How to Make Wreath Base”. This comprehensive guide covers all aspects of wreathmaking–from the basics through more complex approaches. We are positive it can provide the tools and insight necessary to help craft that stunning centerpiece in no time!

