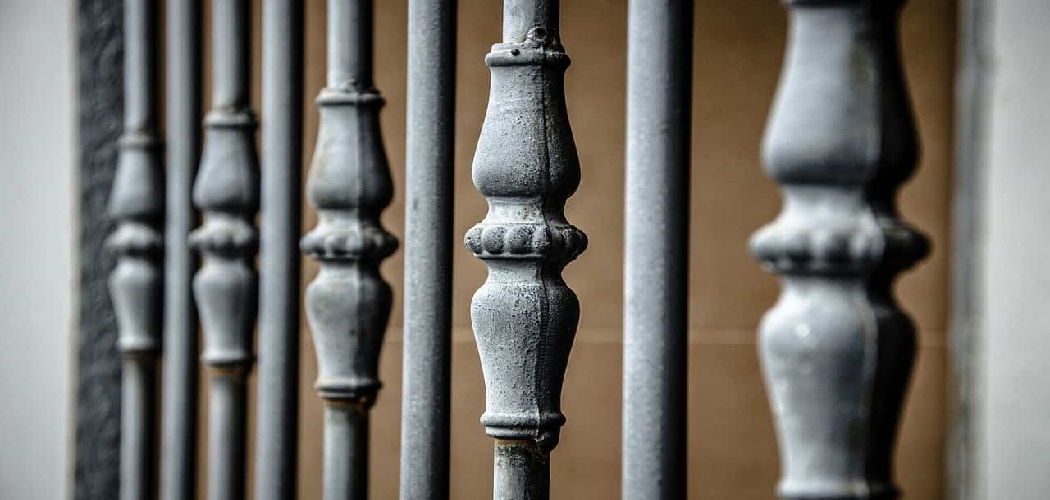
Are you looking for an affordable way to add an industrial or modern touch to your woodwork? Have you ever wanted to try out a metal-looking finish? You can transform your wood project into an incredible metal masterpiece with a few simple steps and materials.
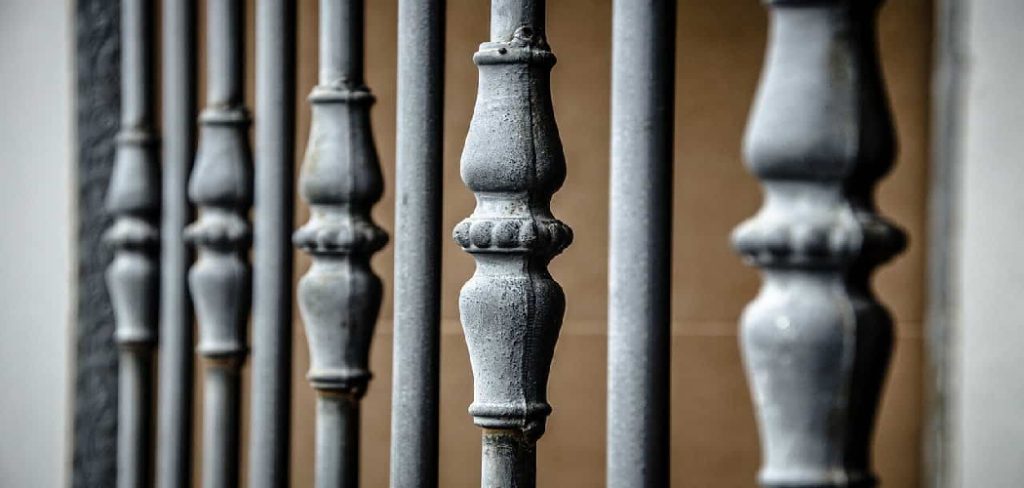
In this post, we will guide you through how to make wood look like metal. So, get your paintbrushes, and let’s get started!
Can You Make Wood Look Like Metal
Metallic finishes have been surging in popularity and with good reason. The shiny, reflective surfaces are captivating and add a touch of glamour to any room. But what if you want to incorporate the look of metal without the actual material? Surprisingly,
wood can be transformed into a stunning metallic finish with some creativity and effort. Whether you want a rustic, industrial vibe or a modern, sleek touch, some techniques can mimic the striking appearance of metals such as copper, bronze, and aluminum. So, if you want to add a touch of metallic flair to your decor without breaking the bank, look no further than your nearby lumberyard.
Why Should You Make Wood Look Like Metal?
There’s nothing that quite captures the beauty of a rustic homestead like the sight of rugged, metallic accents. Whether it’s custom-made industrial lights, metallic furniture, or any other decor piece, these touches will add elegance to any space. But sometimes, the materials needed to achieve this look can be steeply-priced or not readily available.
Luckily, a simple and cost-effective solution has been gaining popularity: making wood look like metal. The process of transforming wood into a beautiful metallic finish can take any home decor to the next level, creating a stunning, affordable, and unique outcome.
How to Make Wood Look Like Metal: A Step-by-Step Guide
Step 1: Choose your Paint Color
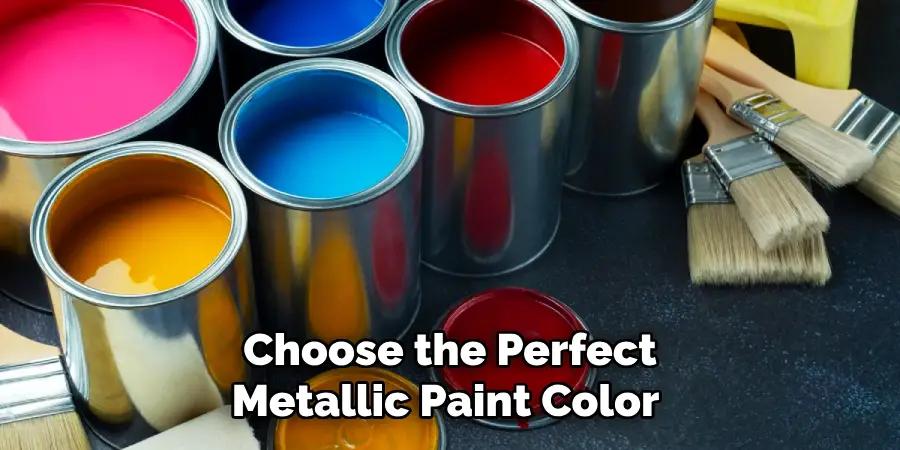
First, choose the perfect metallic paint color to achieve the desired metal effect. Metallic silver, gold, and bronze are popular metallic paint options. Do not hesitate to experiment with different shades to get the perfect match for your wood project. Ensure you use a high-quality paint with metallic particles to ensure a long-lasting finish.
Step 2: Prep Your Surface
Before painting, ensure your wood surface is clean, dry, and sanded. Sanding the wood will help you achieve a smooth surface for painting. Remove any dirt or grease using a cleaning solution to ensure that the paint adheres better to the surface.
Step 3: Paint the Base Coat
It is time to paint the wood surface with a base coat. A base coat gives the wood a color base that complements the metallic paint. Use a brush to apply the base coat, and let it dry. Ensure that the base color dries completely before applying the metallic paint.
Step 4: Apply the Metallic Paint
Dab a generous amount of metallic paint onto the wood surface using a foam roller. Roll the foam gently and avoid making brush-like strokes that can leave marks or streaks on the surface. Apply at least two coats of the metallic paint and let each coat dry before applying the next one. Add a clear coat once the metallic paint dries if you desire a shinier finish.
Step 5: Tweak to Perfection
Once the metallic paint dries completely, you can tweak the finish to suit your taste. Sand the edges or corners of the wood surface to remove any imperfections. You can also use different metal patinas, such as rust or copper, to add depth and texture to the surface. Get creative and have fun with the process.
Step 6: Add Distressing Details
To make your wood project look even more like metal, you can add some distressing details. Use sandpaper or a wire brush to create small scratches or dents on the surface. This will give your wood the appearance of aged metal.
Step 7: Protect Your Work
Once you have achieved the desired metal look, make sure to protect your work with a clear topcoat. This will preserve the finish and prevent any future damage or chipping. You can use a spray sealant or a brush-on polyurethane for this step.

And that’s it! With these simple steps, you can easily transform any wooden surface into one that looks like metal. So go ahead and get creative with your next wood project, and impress everyone with your faux metal finish.
5 Considerations Things When You Need to Make Wood Look Like Metal
1. Primer
The first step is to apply a primer when making wood look like metal. A primer provides a base for the paint to adhere to and helps prevent the paint from peeling or fading over time. It also helps create an even finish and can help fill in any small imperfections in the wood surface.
When choosing a primer, it is important to select one specifically designed for metal surfaces, as this will help ensure that the paint adheres properly and lasts for years.
2. Sanding
The next step in making wood look like metal is to sand the surface of the wood. Sanding helps to smooth out any rough areas and creates a more uniform surface for painting. It also helps remove any dirt or debris on the surface of the wood, which can affect how well the paint adheres. When sanding, it is important to use fine-grit sandpaper to not damage the wood too much.
3. Paint
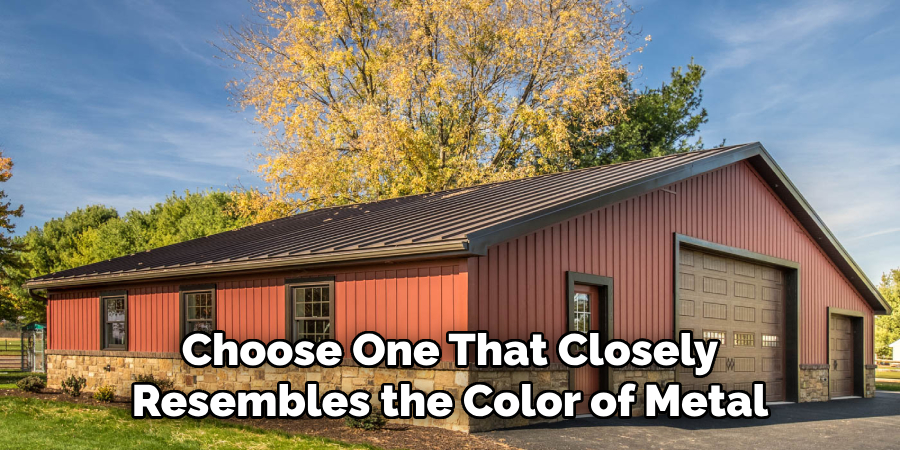
After sanding, it is time to apply your chosen paint color. When selecting a paint color, it is important to choose one that closely resembles the color of metal you are trying to replicate.
Additionally, it is important to choose a paint with good coverage and durability to last for years without fading or chipping away. If you are unsure which type of paint would work best for your project, consult a local hardware store professional before making your purchase.
4. Finishing Touches
Once you have applied your chosen paint color, it’s time for some finishing touches! You can add texture or other details by using metallic spray paints or powders such as bronze or copper powder mixed with a clear sealant or varnish spray sealer.
You can also create faux rivets by using small nails or screws and dabbing them lightly with silver metallic acrylic craft paint before sealing them in place with clear sealant spray sealer as well as adding faux rust marks by mixing black acrylic craft paint with brown metallic acrylic craft paint and spraying onto pre-determined areas on your project before sealing with clear sealant spray sealer again once dry!
5. Sealing
Finally, once all your finishing touches have been added, it’s time to seal! This will ensure that all of your hard work stays put and looks great for years to come! A good quality polyurethane sealant should be used when sealing wooden projects that look like metal – this will provide excellent protection from water damage as well as help keep colors true over time!
5 Benefits of Making Wood Look Like Metal
1. Durability
One of the main benefits of making wood look like metal is that it is much more durable than untreated wood. Metal plating the wood adds a protective layer that prevents scratches, dents, and other damage that can occur over time with regular use.
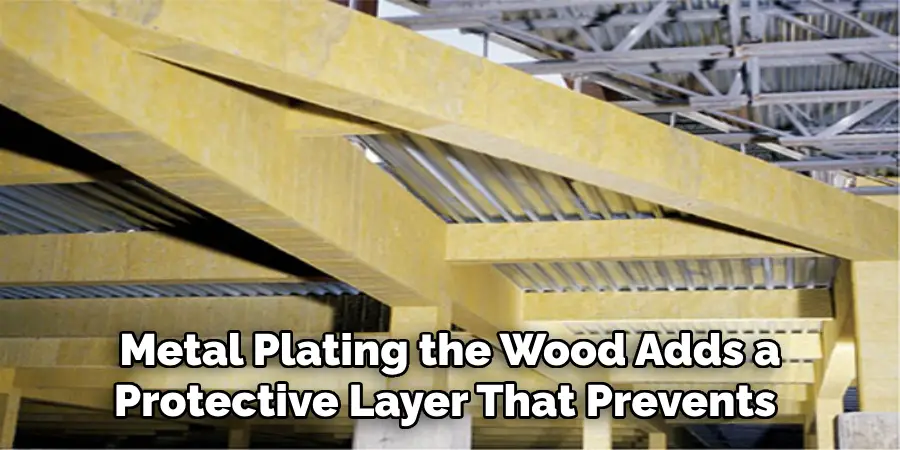
This makes it ideal for furniture pieces and other items exposed to heavy wear and tear. Additionally, metal-plated wood is also resistant to water damage, making it perfect for outdoor furniture or other items that may be exposed to moisture.
2. Versatility
Making wood look like metal also provides great versatility when it comes to design options. By combining different finishes and colors, designers can create unique looks that stand out in any space. Additionally, metal plating can create various effects, such as distressed or aged looks, that give the furniture an antique feel.
3. Low Maintenance
Metal-plated wood requires very little maintenance compared to untreated wood surfaces. The metal plating creates a protective layer that prevents dirt and dust from accumulating on the surface of the wood, making it easier to keep clean and look its best over time. Additionally, metal plating helps prevent fading from exposure to sunlight or other UV light sources, allowing the wood’s natural color to stay vibrant for longer periods.
4. Cost Savings
Making wood look like metal can also help save money in the long run due to its durability and low maintenance requirements. Since treated surfaces require less frequent repairs or replacements than untreated surfaces, they can save homeowners money over time by reducing repair costs associated with everyday wear and tear on furniture or other items made from untreated wood surfaces.
5. Increased Value
Finally, making wood look like metal can also increase the value of any piece made from treated surfaces due to its increased durability and aesthetic appeal compared to untreated surfaces.
This is especially true for furniture pieces or other items made from high-end woods such as mahogany or cherry; treating these woods with metal plating adds an extra level of sophistication while still maintaining their natural beauty.
Some Common Mistakes People Make When Trying to Make Wood Look Like Metal
Wood and metal are two very different materials, but sometimes, we want the rustic feel of the latter while working with the former. While there are many ways to make wood look like metal, it’s important to avoid common mistakes to achieve the desired outcome. One such mistake is forgetting to sand the wood properly before painting. Without a smooth surface, the paint will not adhere properly, creating a bumpy finish.
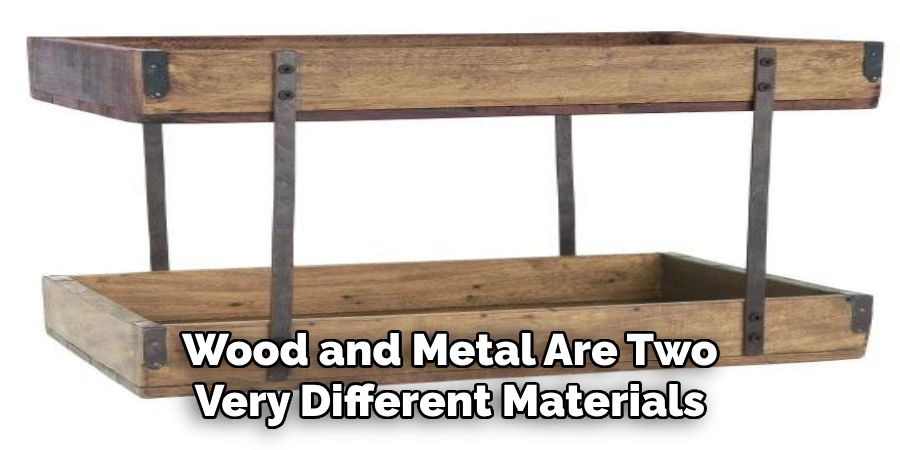
Another mistake is applying too little paint, resulting in a patchy appearance that fails to replicate the metal look. To pull off the wood and metal aesthetic, it’s important to take time sanding and apply enough layers of paint. You can fool anyone into thinking they’re looking at real metal with the right techniques.
Conclusion
In conclusion, turning your wood project to look like metal is a fantastic way to add an industrial or modern touch to your living space or office. You can transform an ordinary wood surface into an impressive metal masterpiece with a few materials and simple steps.
So, use the above guide to make wood look like metal and take your woodwork to the next level. Go ahead, get creative, and have fun! Thanks for reading our post about how to make wood look like metal.

