

Winter wreaths are a beautiful and festive addition to any home during the holiday season. They add a touch of warmth and charm to your front door or interior décor, making your home feel more welcoming and inviting.

Not only do they look great, but they also have practical benefits such as adding insulation to your door and protecting it from harsh winter weather. The main advantage of learning to make winter wreaths is the ability to create personalized, unique and beautiful decorations for your home during the colder months.
Winter wreaths can add a touch of warmth and coziness to your living space, making it feel more inviting and festive. Read this blog post to learn how to make winter wreaths.
Materials You Will Need
- Wreath base (grapevine, wire or foam)
- Greenery (pine, cedar, eucalyptus)
- Seasonal fruits or berries
- Pinecones
- Ribbon
- Scissors
- Floral Wire
- Wire Cutters
- Hot Glue Gun and Glue Sticks
- Pruning Shears
Step-by-step Instructions for How to Make Winter Wreaths
Step 1: Inspect Materials
Before you start making your winter wreath, it’s important to inspect all of the materials you will be using. This includes the base wreath, decorations, and any tools needed for assembly.
Step 2: Choose a Base Wreath

The first step in making a winter wreath is choosing the right base. You can opt for a pre-made artificial wreath or use natural materials such as branches, twigs, and vines to create your own base. Next, gather all of the decorations you plan to use on your winter wreath. This can include pinecones, berries, ribbons, ornaments, and any other seasonal items that fit your desired design.
Step 3: Prepare Decorations
Before attaching the decorations to your wreath, it’s important to prepare them. This can include fluffing faux greenery, trimming branches or twigs, and removing any excess materials that may be distracting. To create a visually appealing winter wreath, it’s important to choose a focal point for your design. This can be a large bow, an eye-catching decoration, or even a specific color scheme.
Step 4: Begin Attaching Decorations
Using hot glue or floral wire, start attaching your decorations to the base wreath. Start with the focal point and then work your way around, evenly distributing the decorations. To add more depth and texture to your winter wreath, you can incorporate greenery such as pine branches, holly leaves, or eucalyptus sprigs. Attach these using the same method as the decorations.
Step 5: Fill in Gaps
As you continue attaching decorations and greenery, be sure to fill in any gaps on your wreath. This will create a fuller and more cohesive design. For an extra touch of creativity, consider adding additional embellishments such as small ornaments, bells, or snowflakes to your winter wreath.
Step 6: Hang and Display
Once all decorations are securely attached, it’s time to hang and display your winter wreath. You can use a wreath hanger or attach a ribbon to the back for hanging. To keep your winter wreath looking fresh, regularly mist it with water and store it in a cool, dry place when not in use.
Don’t be afraid to get creative and add your own personal touches to your winter wreath. You can experiment with different materials, colors, and designs to make it unique and truly one-of-a-kind. With these step-by-step instructions, you now know how to make your own beautiful winter wreath. Get creative and have fun decorating for the holiday season.
Tips for How to Make Winter Wreaths

- Always use protective gear, such as gloves and eye protection, when handling sharp objects like scissors or wire cutters.
- Be mindful of the materials you are using for your winter wreath, especially if there are children or pets in the household. Avoid using any toxic plants or decorations that could potentially harm them.
- If using a glue gun, make sure to unplug it when not in use to prevent accidental burns and fires.
- When using wire or floral picks, be careful of any sharp ends and try to cover them with material or tape to avoid any accidents.
- If hanging your wreath outdoors, make sure it is securely attached and won’t fall off in bad weather conditions.
- Keep a first aid kit nearby in case of any minor cuts or injuries.
- If working with children, supervise them at all times and teach them proper safety measures when crafting their own winter wreaths.
What Techniques Can You Use to Secure the Materials to the Wreath Base?
When making winter wreaths, there are several techniques you can use to secure the materials onto the base. Some common methods include:

- Floral wire: This is a thin, flexible wire that can be easily wrapped around items and then twisted together to secure them in place.
- Hot glue gun: A hot glue gun can quickly and securely adhere materials to the wreath base. Just be sure to use caution and not touch the hot glue directly.
- Floral picks: These are small, pointed rods that can be inserted into the base and then used to attach materials. They work particularly well for smaller or delicate items.
- Ribbon or twine: You can also use ribbon or twine to tie materials onto the wreath base. This is a great option for larger items or materials that may be more fragile.
Whatever technique you choose, make sure to secure the materials tightly so they don’t fall off and potentially cause harm. Additionally, consider the weight of your materials and how they may affect the overall balance of the wreath.
What Are Some Unique and Creative Ideas for Decorating a Winter Wreath?
When it comes to making winter wreaths, the possibilities are endless. Here are some unique and creative ideas to inspire your next project:
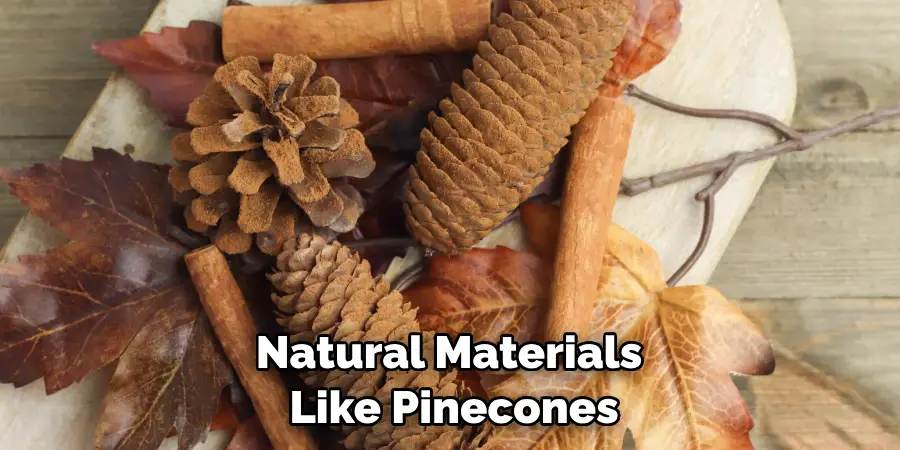
- Use natural materials like pinecones, dried fruit, or cinnamon sticks for a rustic and cozy feel.
- Incorporate elements of the season such as miniature snowmen, ice skates, or mittens.
- Experiment with different color palettes, such as all-white or metallics, for a modern and elegant look.
- Add a touch of whimsy with fairy lights or small ornaments.
- Create a personalized wreath by incorporating elements that hold special meaning to you, such as photos or trinkets from memorable trips.
No matter what design you choose, have fun and let your creativity shine through! Remember, the beauty of winter wreaths is that they can be completely unique and reflect your own personal style.
How Long Does It Typically Take to Make a Winter Wreath?
When it comes to creating a winter wreath, one of the most common questions is how long it typically takes. While the answer may vary depending on your skill level and type of wreath you’re making, there are a few general estimates that can give you an idea.
For beginners, it usually takes anywhere from 1-2 hours to complete a winter wreath. This includes gathering all the necessary materials, cutting and arranging greenery, and adding any additional decorations.
For those with more experience or who are using a pre-made wreath form, it may only take 30-60 minutes to complete a winter wreath. This is because these individuals often have a better understanding of the process and can work more efficiently.
However, keep in mind that the time it takes to make a winter wreath can also depend on the size and complexity of the wreath. A larger, more elaborate wreath may take longer to create compared to a smaller, more simple one.
What Are Some Common Mistakes to Avoid When Making a Winter Wreath?
When it comes to making winter wreaths, there are a few common mistakes that people tend to make. These errors can often result in a less-than-perfect final product or even cause frustration during the crafting process. To ensure that your winter wreath turns out beautifully and without any hiccups, here are some of the most common mistakes to avoid when making one:
1. Using the Wrong Materials
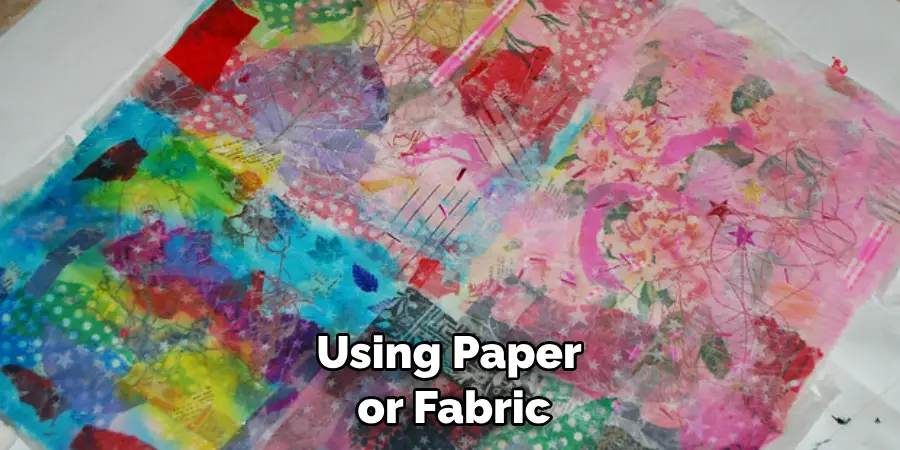
One of the most important aspects of making a winter wreath is using the right materials. Many people make the mistake of using materials that are not suitable for cold weather or outdoor use.
For example, using paper or fabric as the base for your wreath can cause it to become soggy and fall apart when exposed to snow or rain. Instead, opt for sturdy materials such as grapevine or wire.
2. Forgetting to Prep the Materials
Another mistake that people often make is forgetting to prep their materials before starting on their winter wreath. This can include cleaning and drying any greenery or flowers, removing any excess leaves or thorns, or even spraying a protective coating on delicate materials. Prepping your materials beforehand can help them last longer and make the wreath-making process smoother.
3. Not Using Enough Filler
One common mistake that can make your winter wreath look sparse or unfinished is not using enough filler. Filler refers to any type of greenery, berries, or other smaller elements that add texture and depth to your wreath. Without enough filler, your wreath can end up looking bare and unbalanced. Make sure to add in plenty of filler throughout the wreath to create a full and lush look.
4. Choosing Colors That Don’t Coordinate
When it comes to creating a beautiful winter wreath, choosing the right color scheme is key. Many people make the mistake of choosing colors that do not coordinate well with each other, resulting in a wreath that looks chaotic or unappealing.
Instead, stick to a color palette of two to three colors and make sure they complement each other. This will create a cohesive and visually pleasing look for your winter wreath.
5. Not Securing Elements Properly
Finally, one of the most critical mistakes to avoid when making a winter wreath is not securing your elements properly.
It can be tempting to quickly glue or tie items onto the wreath, but this can result in them falling off or becoming loose over time. Take the extra time and effort to secure each element firmly, ensuring that your wreath will last throughout the winter season.

By avoiding these common mistakes, you can create a stunning and long-lasting winter wreath that will be the perfect addition to your home decor. Remember to choose the right materials, prep them beforehand, use enough filler, coordinate colors, and secure each element properly for a beautiful and successful winter wreath-making experience.
Conclusion
In conclusion, making winter wreaths can be a fun and creative activity that not only adds some festive decor to your home, but also helps you get in the holiday spirit.
We have discussed various materials and techniques that you can use to make beautiful winter wreaths, such as using evergreen branches for a classic look or incorporating unique elements like pine cones and berries for a more rustic feel.
Remember to experiment with different colors, textures and shapes to create a wreath that truly reflects your personal style. Additionally, making winter wreaths can also be a meaningful social activity. Get together with friends or family members to make wreaths for each other’s homes or even gift them to others in the community.
Not only will this spread holiday cheer, but it is also a great way to bond and create fond memories. I hope reading this post has helped you learn how to make winter wreaths. Make sure the safety precautions are carried out in the order listed.