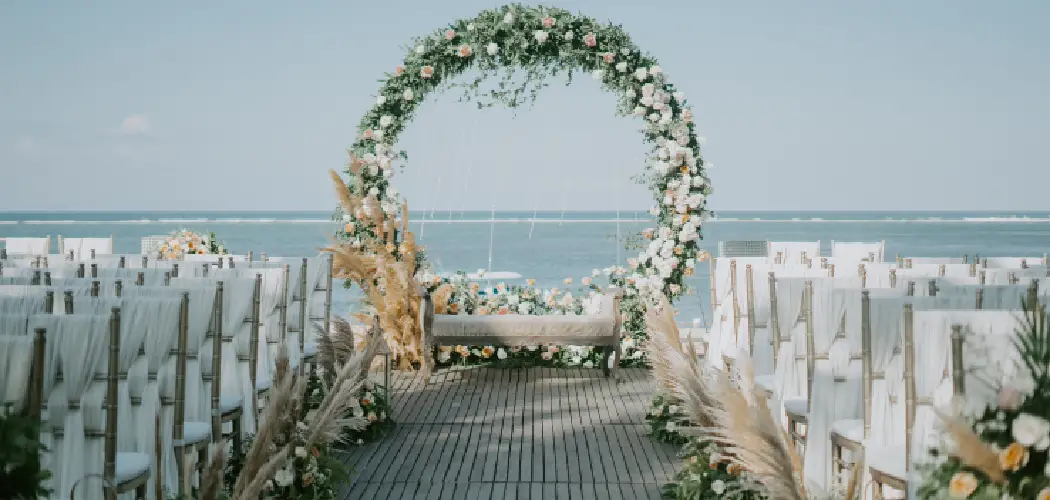
Getting married soon and need help with the flowers for your wedding arch? Look no further! With a little creativity, you can create beautiful flower arrangements that will turn any arch into an awe-inspiring focal point.
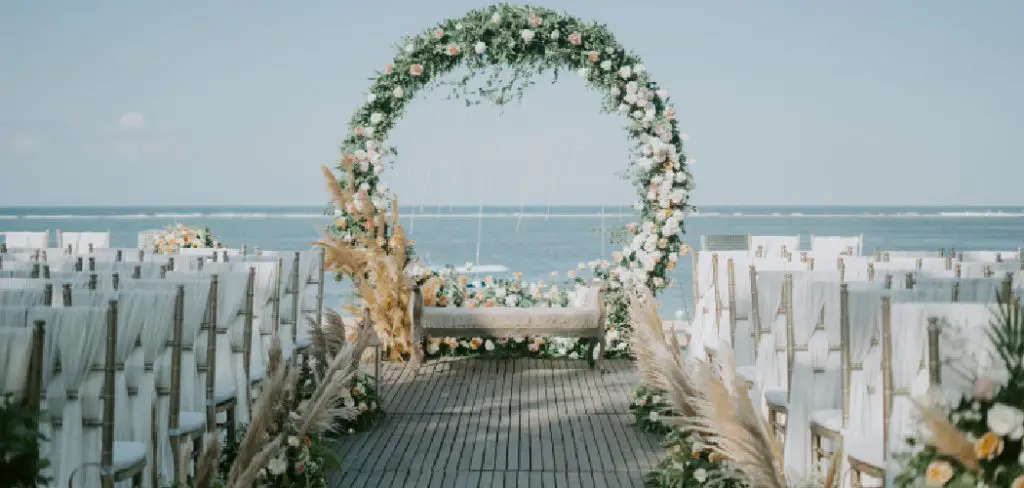
Whether you want to design your own unique bouquet or rely on traditional favorites like roses, hydrangeas, and baby’s breath – we have all the tips and tricks on how to make wedding arch flowers to help make your dream wedding come true. Read on to find out more about how to create stunning floral displays for your special day!
Need Materials
Below is a list of materials you will need to get started:
- Floral Tape
- Floral Pins
- Ribbon
- Wire Cutters
- Scissors
- The Greenery (Baby’s Breath, Eucalyptus, Etc.)
- Flowers (Roses, Hydrangeas, Lilies, Etc.)
11 Step-by-step Guidelines on How to Make Wedding Arch Flowers
Step 1: Measure the Arch Structure
Measure the length and width of the arch so you can determine how many flowers and greenery are needed to create a beautiful display. It’s best to use this measurement as a guideline when selecting your flowers. But it’s okay to get a little creative too! You can always add or subtract the number of blooms if needed.
Step 2: Select your Greenery & Flowers
Choose a variety of greenery and flowers for your arch design, the more variety, the better. Whether you opt for traditional blooms or go with a wildflower-esque look, try to select flowers in a variety of colors and textures so that the arrangement is interesting and eye-catching.

You can also add clusters of filler flowers such as Baby’s Breath or Queen Anne’s Lace for texture and dimension. It’s also important to select stems with a long enough stem length so that it will be easy to attach them to the arch.
Step 3: Start with Greenery
After cutting the stems to size, start creating your arch by adding greenery first. It’s easiest to start with the middle of the arch and work your way out. As you add pieces, use floral tape to secure them in place on the frame. If needed, you can also use floral pins to help keep everything together.
This will also create a more solid foundation for when you add your flowers. You want to leave enough room in between the greenery so that your flowers can be seen and appreciated.
Step 4: Add Flowers
Now it’s time for the fun part – adding the flowers! Start by adding your larger blooms first, then fill in with smaller ones. As you add each flower, use floral tape to secure it to the frame and greenery.
You can also use floral pins to help hold everything together if needed. It’s also a good idea to use wire cutters or scissors to trim off excess stems. You can also add a ribbon to the design if desired. It’s a great way to add texture and pops of color. This can also help tie everything together.
Step 5: Secure Everything Together
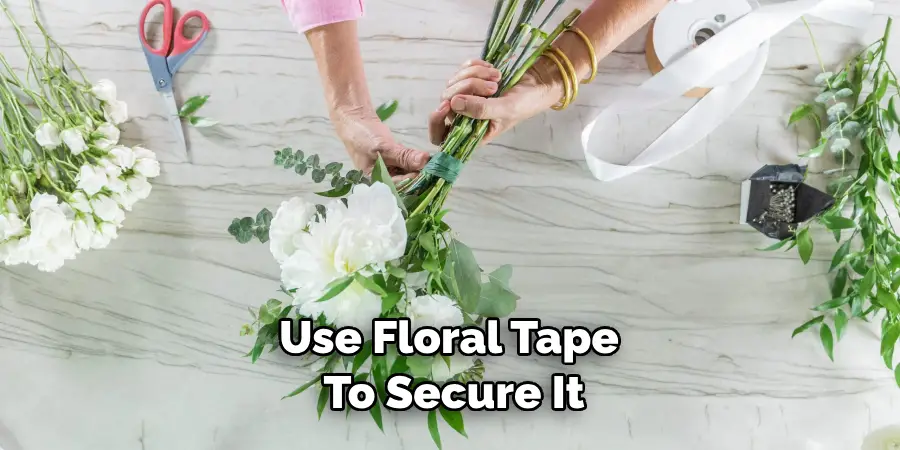
Once all of your flowers and greenery are added, it’s time to make sure everything is secure. Wrap ribbon around the arch and tie it in place, making sure to secure it with floral pins. This will give your arrangement a finished look and ensure that everything stays put!
If needed, gently fluff and adjust the flowers so that they look even. This will help your design have a more polished look. It’s also a good idea to spray your arrangement with floral sealant so that it will last longer.
Step 6: Add Finishing Touches
Now you can add any finishing touches you’d like to make your arch really stand out. You could try adding ribbons or hanging crystals for a glamorous effect, or adding strings of pearls for a more classic look.
Just make sure to secure them with floral pins so they don’t fall off. But most importantly, enjoy the finished product and take pride in your handiwork! This is the perfect way to make your arch and ceremony special.
Step 7: Take a Step Back and Enjoy
Now that your arch is finished, take a step back and admire all you have accomplished! You can feel proud knowing that you created this beautiful work of art yourself and that your guests will be amazed by the stunning display.
It’s a wonderful way to make your special day unique and memorable. But of course, don’t forget to take lots of pictures so you can cherish this moment for years to come! This is one of those awesome projects that you will look back on and remember fondly.
Step 8: Prepare for the Big Day
Now that your arch is complete, it’s time to prepare for the big day. Place the arch in its designated area and make sure there are no loose pieces or wilting flowers. This will help ensure that your wedding flowers look perfect when you walk down the aisle.
It’s also a good idea to have someone check the arch periodically throughout the day, just to make sure everything is looking perfect. If necessary, you can also have someone on hand to adjust or fix any pieces that may need it.
Step 9: Set up Flower Arrangements
Make sure to set up flower arrangements near the arch so that your guests can enjoy them. Consider setting up one arrangement on either side of the arch or placing a large bouquet at its base.
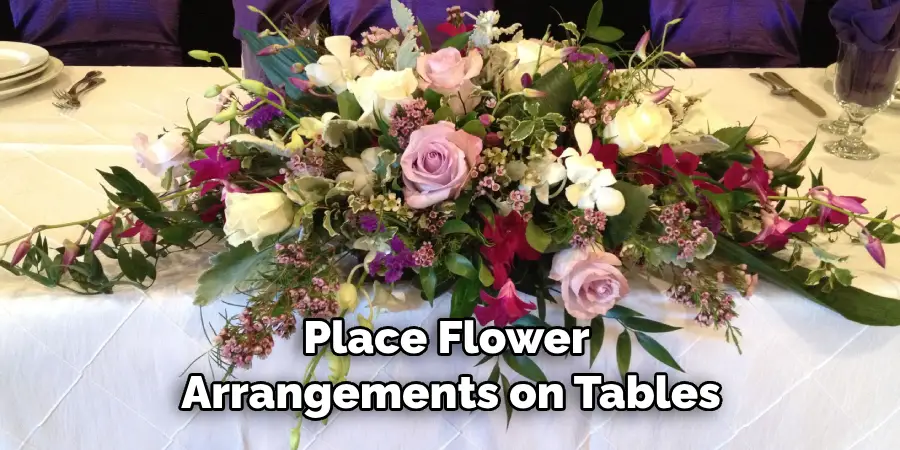
This will help tie the entire look together and allow guests to admire your handiwork from all angles. You can also place flower arrangements on tables or in other areas of the ceremony venue to help create a more unified look. It’s a great way to add an extra special touch.
Step 10: Admire your Creation
Take some time to admire your beautiful creation before the ceremony. This is a special moment, so take in all of its beauty and enjoy it! You’ve worked hard to create this stunning arch and it’s sure to make your ceremony look truly magical.
Enjoy the moment and don’t forget to take lots of photos! It’s always nice to look back and remember special projects like this. But most importantly, have fun and enjoy your hard work. This is a special moment that you will cherish forever.
Step 11: Clean up after the Ceremony
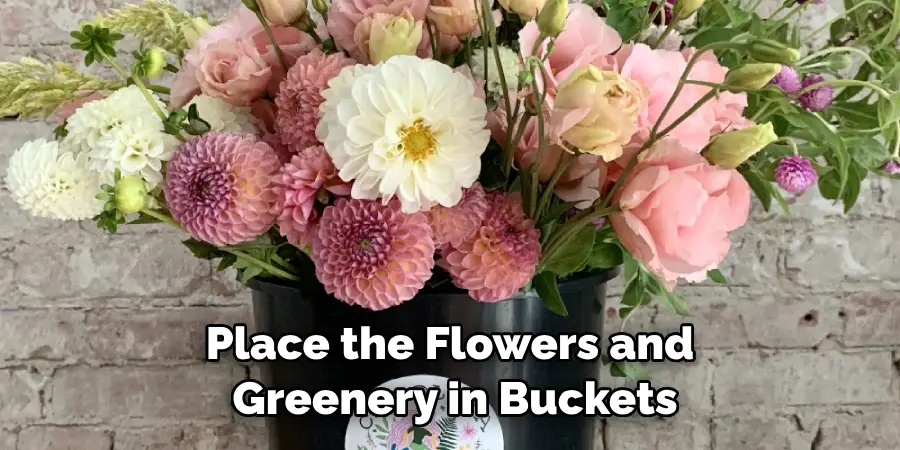
Once the ceremony is over, it’s time to clean up your flower arch. Gently remove all flowers and greenery from the arch structure, taking care not to damage any of the pieces. Place the flowers and greenery in buckets or boxes for easy transport. Dispose of any wilted blooms before you store everything away. Always make sure to store your flowers in a cool, dry area so that they can last longer.
Following these guidelines on how to make wedding arch flowers will help you create the perfect flower arch for your special day. Before you know it, you’ll be walking down the aisle with a beautiful display of blooms behind you! With a little creativity and some DIY know-how, you can make your wedding arch look stunning – and all without breaking the bank.
Frequently Asked Questions
Q: How Long Does It Take to Make a Wedding Arch Flower Arrangement?
A: Depending on the size and complexity of your arrangement, it can take anywhere from 1-3 hours to create. Be sure to plan ahead and give yourself plenty of time before the big day!
Q: How Long Will the Flowers Last?
A: With proper care and maintenance, your flowers should last for several days. Make sure to mist them every few hours with water and keep them away from direct sunlight. This will help ensure that they stay fresh for as long as possible!
Q: Can I Reuse the Flowers After the Wedding?
A: Yes, you can absolutely reuse your wedding flowers after the ceremony. Make sure to properly store them in a cool, dry place and they should last for several weeks. You could use them in home decorations or give them as gifts to family and friends!
Conclusion
Gathering flowers to make your own floral wedding arch aims to add a special, personal touch and unique flavor to the big day—not to mention save money in the long run. But it takes careful planning, execution, and lots of hard work. With this guide on how to make wedding arch flowers, you now have plenty of knowledge and useful tips at your disposal.
Now it’s time to get creative! Draw inspiration from an array of colors that blend nicely together. Choose vibrant blooms that create interesting textures and bring them all together into a masterpiece. Planning can make the difference between a stunning success or just another decor item—so take the time today to get it right. Good luck!

