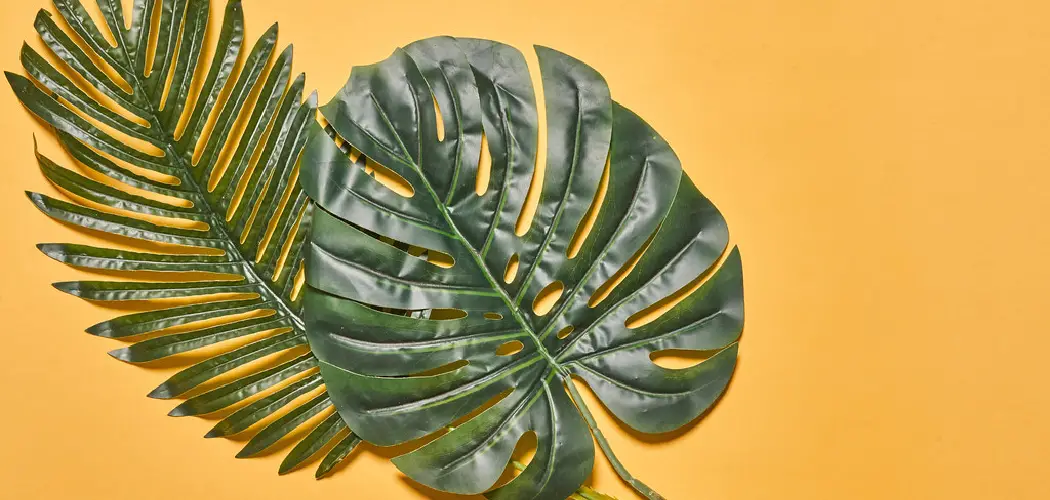
If you’re looking to get crafty, palm leaves can be a great material. Palm leaves are pliable and malleable, making them an ideal choice for creative projects– not to mention that they are widely available in most tropical regions! Today we will show you how to make all kinds of awesome things out of natural palm leaves so you can add some ethnic flair and originality to your crafty projects.
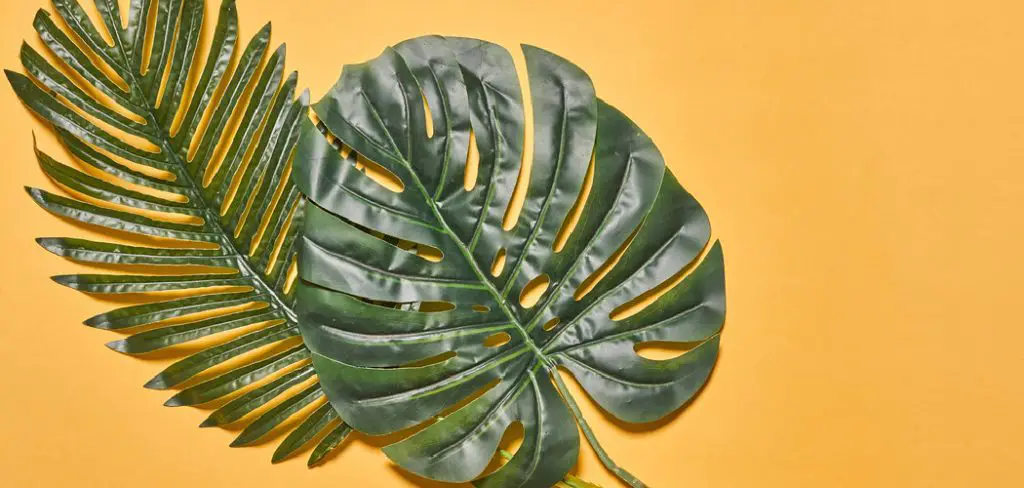
Palm leaves are traditionally used in many cultures to create roofs, baskets, and even hats. But with a bit of creativity and some basic materials, you can make all kinds of things out of palm leaves!
Whether you want a decorative piece for your home or an eye-catching accessory, this step-by-step guide will teach you everything there is to know about how to make things out of palm leaves.
What Will You Need?
First things first, you’ll need some palm leaves! You can find them in most tropical regions, which are usually abundant near beaches or forests. Once you have your palm leaves, here’s a breakdown of the additional materials you may need depending on the project:
- Scissors
- Glue or craft wire
- Ruler
- Needle and thread (if sewing is involved)
- Paint or markers (if coloring is desired)
Once you have all of your materials gathered, let’s get started!
10 Easy Steps on How to Make Things Out of Palm Leaves
Step 1. Choose Your Palm Leaf:
Start by selecting a healthy, full-sized palm leaf. It should be green, with no signs of yellowing or browning. Also, make sure that the leaf doesn’t have any tears or holes. This will ensure the durability of whatever you decide to craft.

Step 2. Clean and Prepare Your Leaf:
After you have chosen your palm leaf, the next step is to clean and prepare it. Begin by wiping off any dirt or debris with a soft, damp cloth. This will help to maintain the natural beauty of the leaf and provide a clean surface for crafting. If the leaf is significantly dirty, rinse it lightly under warm water, but remember not to soak it as it may become too fragile.
Once the leaf is clean, let it air dry completely before proceeding to the next step. This might take a few hours, so it’s best to clean your leaves a day before you plan on crafting.
Step 3. Cut and Shape Your Leaf:
The next step involves cutting and shaping your palm leaf to fit the requirements of your project. This is where your scissors and ruler come in handy. If you are making a larger item, like a basket or hat, you may need to use several leaves. For smaller items, like bookmarks or decorative pieces, a single leaf may suffice. Be careful while cutting the leaf, and make clean, sharp cuts to avoid fraying.
Always cut along the natural lines of the leaf to maintain its strength. Remember, creativity is key here – feel free to experiment with different shapes and designs.
Step 4. Assemble Your Project:
Now comes the fun part – assembling your project. Depending on what you’re making, this step can vary greatly. If you’re making a basket or hat, you must weave the leaves together. Start at the base and work your way up, ensuring each leaf is secure before moving on to the next.
If you create a smaller item like a bookmark, you can layer and glue the leaves together to create interesting patterns and designs. Remember to work carefully and patiently, especially when bending and folding the leaves, to avoid causing any tears.
Step 5. Secure Your Creations:
This step is crucial to ensuring the longevity of your palm leaf crafts. For items like baskets or hats, you may want to secure your creation using craft wire or sturdy twine. This will keep the leaves in place and add additional strength to your crafted item. On the other hand, if you’ve made a smaller decorative piece or a bookmark, using a non-toxic craft glue should suffice.
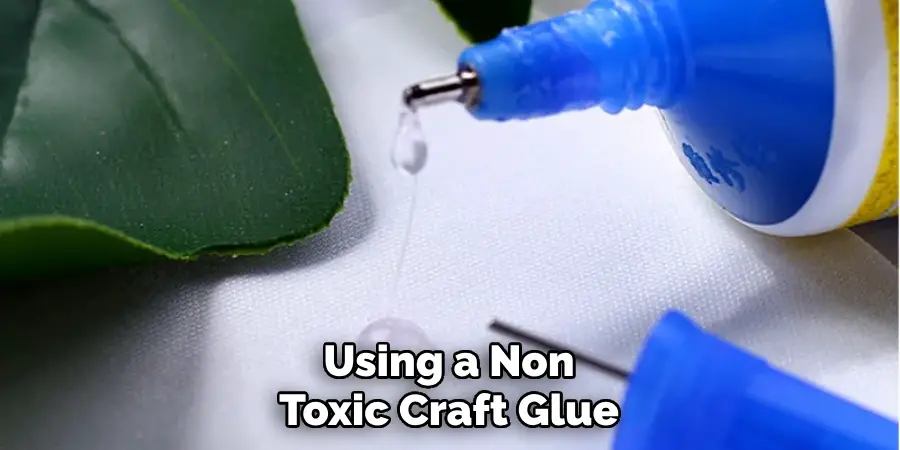
Make sure any glued areas are fully dried before moving on to the next step. This may take a few hours, so it’s best to let your craft sit overnight.
Step 6. Add Finishing Touches:
This is where you get to personalize your craft. You can paint your creations, add decorative patterns with markers, or embellishments like beads, feathers, or sequins. If crafting a basket, you could line the interior with a soft cloth or add handles for easy carrying.
Add a tassel or ribbon to the top for a charming touch if you’ve created a bookmark. The options are limitless and entirely up to you. Let any paint or glue dry thoroughly before moving on to the next step.
Step 7. Preserve Your Craft:
To ensure that your palm leaf craft lasts, it’s important to take proper care of it. Consider applying a clear, protective sealant to your craft. This will help preserve the palm leaf and protect your project from damage. Be sure to follow the instructions on the sealant’s packaging and let it dry fully before handling your craft.
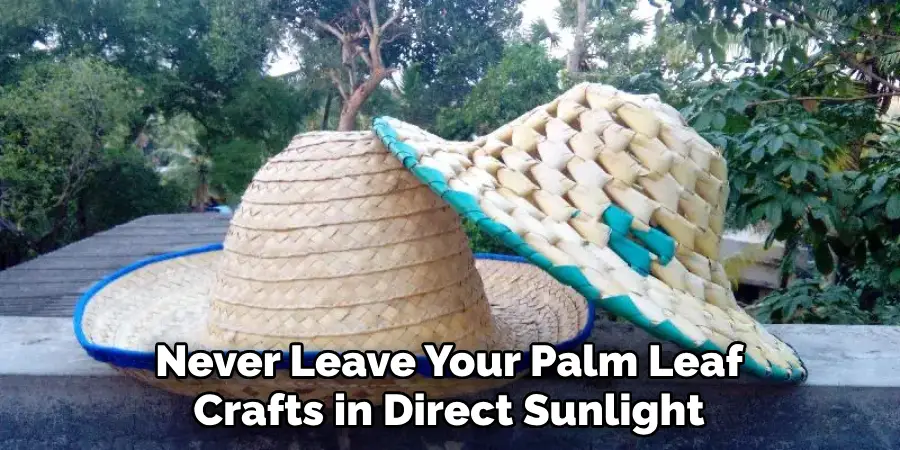
Remember, even with a sealant, keep your craft out of direct sunlight and avoid getting it wet, as these can cause the palm leaf to deteriorate over time.
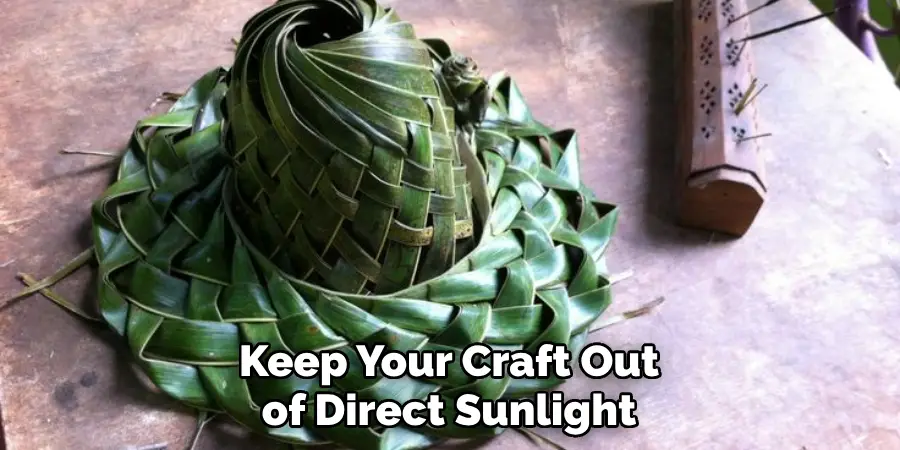
Step 8. Enjoy Your Palm Leaf Craft:
Once the sealant is fully dry, your handmade palm leaf craft is ready to be used or displayed. Whether you’ve made a functional item like a basket or a decorative piece like a bookmark, you can take pride in knowing that your unique creation results from your creativity and hard work. Enjoy your craft, and feel free to share your new skills with others, spreading the art of making things out of palm leaves.
Step 9. Experiment with Different Techniques:
Now that you have the basics down feel free to try new techniques and methods for making things out of palm leaves. You can look up tutorials for various projects or develop your original designs. Don’t be afraid to make mistakes – they often lead to some unique creations.
Step 10. Share Your Creations:
After you’ve mastered the art of making things out of palm leaves and experimented with your own designs, why not share your creations with others? You can show your family and friends, teach them your techniques, or even start a small business selling your unique palm leaf crafts.
You could also share your works on social media, joining crafting communities online to inspire and be inspired by fellow crafters. By sharing, you’re not only showcasing your talent but also promoting the idea of sustainable crafting, using materials readily available in nature.
By following these steps and getting creative, you can create a wide range of unique and beautiful items from palm leaves. From practical to decorative, the possibilities are endless for this sustainable material.
5 Additional Tips and Tricks

- Choose the Right Leaves: When looking to make things out of palm leaves, choose fresh leaves that are flexible and without blemishes. Older, yellowing leaves may be more brittle and harder to work with.
- Soak the Leaves: Before crafting, soak the palm leaves in water. This will make them more pliable and less likely to crack or break when you fold them.
- Make Clean Cuts: Use a sharp knife or scissors to cut the palm leaves. Ragged or uneven cuts can affect the overall look of your craft and may cause weaving difficulties.
- Practice the Basics: Start with simple projects like baskets or mats before moving on to more complex creations. This will allow you to get the hang of working with palm leaves and understand how they behave.
- Preserve Your Work: Once you’ve finished your creation, let it dry completely in a cool, shaded area. This will help preserve the shape of the object you’ve crafted and prevent it from withering. You can also use a clear coat spray to protect it from insects or mold.
Once you’ve mastered the basics, don’t be afraid to experiment and try new techniques! You can also incorporate other materials like beads or paint to add a unique touch to your palm leaf crafts.
5 Things You Should Avoid
- Avoid Rushing: Crafting with palm leaves requires patience and attention to detail. Rushing through the process can result in mistakes, poorly crafted items, or even damage to your materials.
- Don’t Neglect Care: Never leave your palm leaf crafts in direct sunlight or high-humidity areas. These conditions can cause the leaves to warp, discolor, or decompose.
- Avoid Using Damaged Leaves: Always inspect your leaves for signs of disease or insect damage. Using compromised materials can affect the durability and appearance of your finished craft.
- Don’t Force Folds: If a palm leaf is resisting a fold or bend, don’t force it. This could cause the leaf to snap or tear. Instead, try soaking it a bit longer to increase its flexibility.
- Avoid Improper Storage: Store unused palm leaves in a cool, dry place. Improper storage can lead to mold growth, ruining your crafting materials.
Avoiding these common mistakes will help ensure your palm leaf crafts come out beautifully and last long.
6 Different Craft Ideas
- Palm Leaf Weaving: Create intricate patterns and designs by weaving together palm leaves. This technique can be used to make coasters, placemats, or even baskets.
- Leaf Printing: Use the natural texture of palm leaves to create unique prints on fabric or paper. Simply apply paint to one side of the leaf and press it onto your desired surface.
- Palm Leaf Flowers: Fold and shape palm leaves to create beautiful flowers that can be used as decorations or accessories.
- Leaf Lanterns: Use large, flat palm leaves to create lanterns for a tropical-inspired ambiance. Simply cut out multiple leaf shapes and glue them together to form a lantern-like structure.
- Palm Leaf Animals: With creativity and patience, you can transform palm leaves into adorable animals like turtles or birds. This is a fun activity for kids and adults alike!
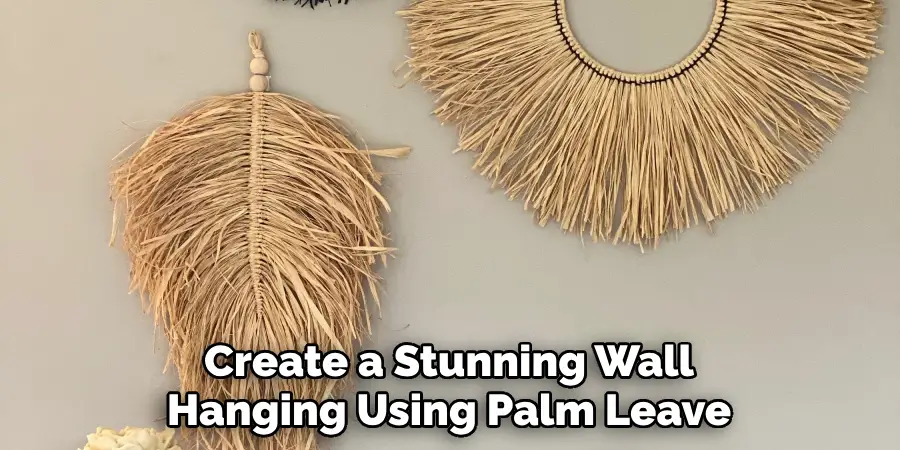
- Leaf Wall Hangings: Create a stunning wall hanging using palm leaves and other natural materials like twine or seashells. This can add a touch of bohemian charm to any room in your home.
The possibilities are endless when it comes to crafting with palm leaves. So, don’t be afraid to experiment and have fun with this versatile material!
Can You Make Baskets From Palm Leaves?
Yes, baskets are a popular and practical item to make from palm leaves. They can be used for storage, carrying items, or simply as decorative pieces. To make a basket, you will need a sturdy base made of woven palm leaves and then weave additional leaves on top in an over-under pattern. You can also add handles or embellishments to personalize your basket. Additionally, you can make smaller baskets using just a single palm leaf. Simply fold and weave the leaf to form a small container.
Start with a simple design and gradually increase the complexity as you become more experienced with palm leaf weaving. And remember, don’t be afraid to add your unique touches to make each basket unique!
Conclusion
Crafting with palm leaves is a great way to bring life to various decorative items. Whether you’re an experienced DIY-er or a new artist, this incredible material offers unique possibilities for limitless creativity. Palm leaves are an exceptional source of materials for all crafts, from baskets and plates to creative art pieces.
With these tips and tricks in mind, we invite you to get crafty with some palm leaves; think outside the box and feel the satisfaction of transforming something as simple as a handful of leaves into a functional item or remarkable piece of art!
Hopefully, the article on how to make things out of palm leaves has sparked your interest and inspired you to try out some of these craft ideas. So pick up some palm leaves, get creative, and have fun! The possibilities are endless for crafting with this versatile and abundant material.

