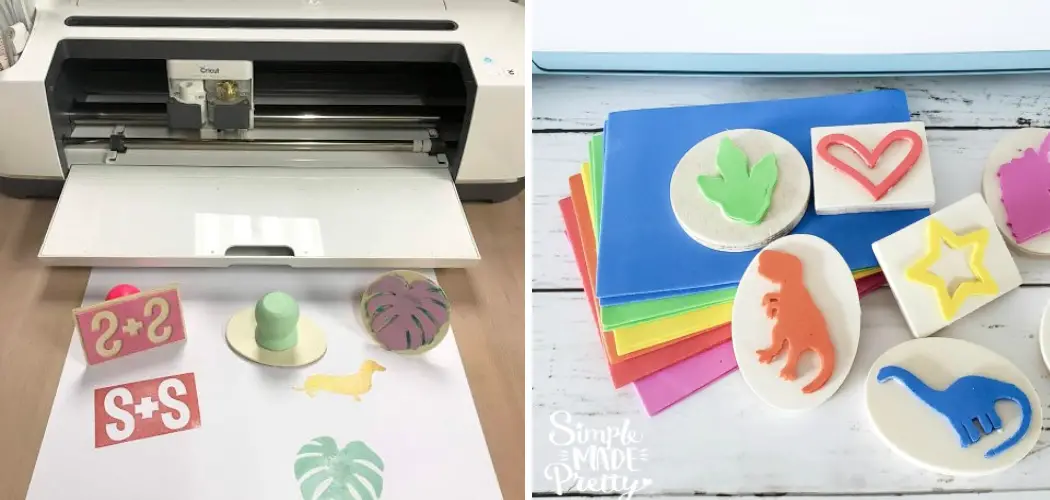
Do you love unique handmade projects but don’t have the resources or skill to create them? If so, then you’re in luck! With Cricut’s powerful technology, making stamps for cards and other DIY projects is easier than ever. Not only that – with Cricut, it’s possible to customize your stamps with whatever images and designs you want!
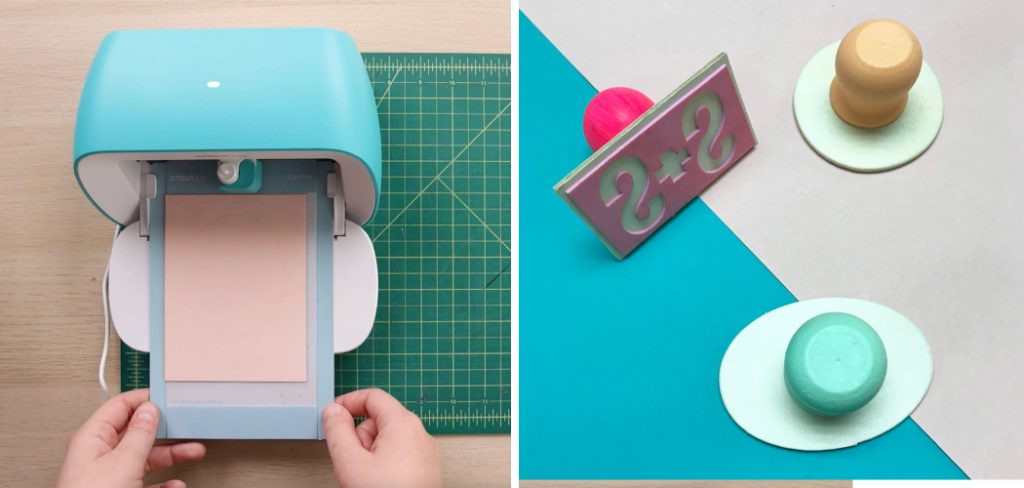
Stamps are a great way to add a personal touch to any project, and with Cricut at your disposal, the possibilities are endless. So, let’s dive into how you can make stamps with Cricut and create unique pieces for yourself or your loved ones.
In this blog post, we’ll dive deep into how to make stamps with cricut quickly and easily. So read on and prepare to give your DIY creations an extra special touch!
What Will You Need?
To make stamps with Cricut, you’ll need a few materials:
- A Cricut machine
- Stamp material (either rubber or carving blocks)
- Adhesive material for attaching the stamp to the block (either double-sided tape, adhesive sheets, or sticky dots)
- Cutting mat
- Scissors
Once you have all these materials, it’s time to move on to the fun part – creating your stamp design!
10 Easy Steps on How to Make Stamps With Cricut
Step 1: Create Your Design
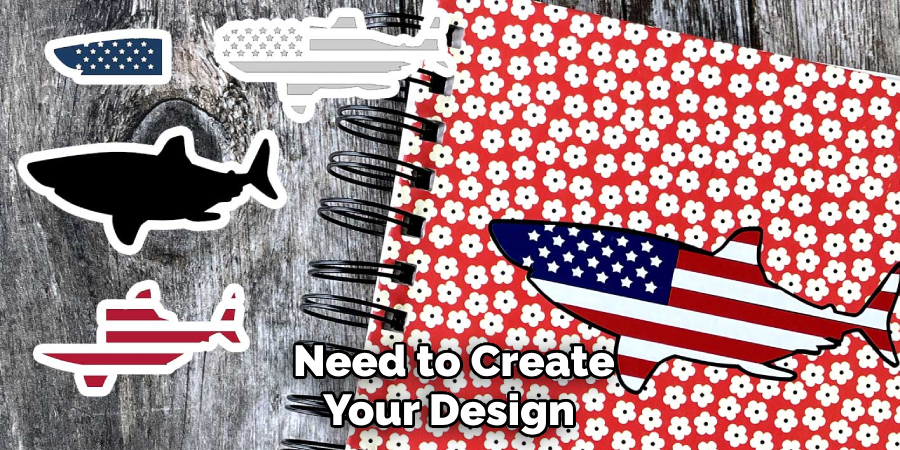
First things first, you need to create your design. With the help of Cricut Design Space, you can create your design from scratch or use one from their extensive library. Ensure that your design is clear and simple as intricate designs can be more challenging to cut and stamp. Once you’re satisfied with your design, size it according to your stamp block.
Step 2: Prepare Your Material
With your design ready, the next step is to prepare your stamp material for cutting. Secure your chosen stamp material—either rubber or carving blocks—onto the Cricut cutting mat. Ensure the material is placed on the mat smoothly to avoid inaccuracies during the cutting process.
Remember, the better your preparation, the more precise your cuts will be, resulting in a cleaner and more professional-looking stamp.
Step 3: Set the Cricut Machine
Now, it’s time to set your Cricut machine for cutting. Open the Cricut Design Space on your computer and connect it to your Cricut machine. Upload your design and adjust settings according to the material you use. If you’re using a rubber material, set the machine to ‘Custom’ and choose ‘Rubber’ from the list of materials.
If you’re using carving blocks, select the option for ‘Thick Art Materials.’ Now, you’re all set to start the cutting process!
Step 4: Begin the Cutting Process
With everything set, you can now commence the cutting process. Click on the ‘C’ button on your Cricut machine to start. As the machine begins to cut, ensure you observe the process closely. This is to ensure the machine is cutting the design accurately and staying on track.
If it does, you can pause the Cricut machine, re-adjust your material on the cutting mat, and then resume the cutting process. After the machine has completed the cutting process, unload the cutting mat from the machine.
Step 5: Remove the Cut Design
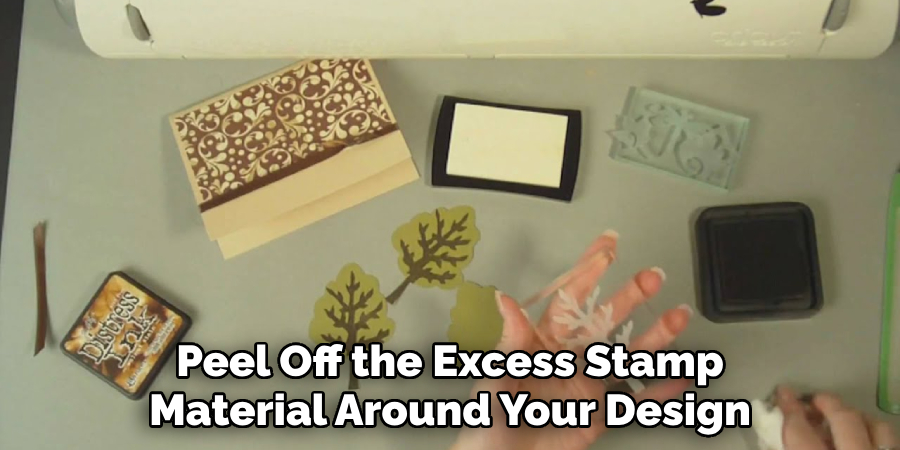
After unloading the cutting mat, carefully peel off the excess stamp material around your design. This process is known as weeding. Use the Cricut weeding tool or a pair of tweezers to remove smaller or intricate parts of the design. Be patient during this process to ensure you don’t accidentally tear or damage your stamp design. Once this is done, you should see your stamp design on your material.
Step 6: Attach the Stamp to a Mounting Block
Once your design is carefully weeded out, it’s time to give it a sturdy base. Cut out a piece of your adhesive material that matches the size of your design. Stick the adhesive to the back of your stamp design, then affix your design to a stamp block, ensuring it’s well-centered.
The block will serve as a handle, making applying your handmade stamp consistently in your crafting projects easier. With this, your custom Cricut stamp is ready to use!
Step 7: Test Your Stamp
Before diving into your project, it’s essential to test your stamp. Prepare an ink pad and a piece of scrap paper. Press your stamp onto the ink pad, ensuring it’s fully coated, then press it onto the scrap paper. Check the clarity of the design. If you’re satisfied with the results, you can start using your stamp on your intended materials.
If not, you may need to make minor tweaks to your stamp or apply more pressure. Remember, practice makes perfect in getting the ideal stamp impression.
Step 8: Clean Your Stamp
After using your stamp, it’s crucial to clean it properly to ensure its longevity. Start by rinsing your stamp under lukewarm water, taking care not to damage the design. Use a soft brush, like a toothbrush, to gently wipe off any remaining ink.
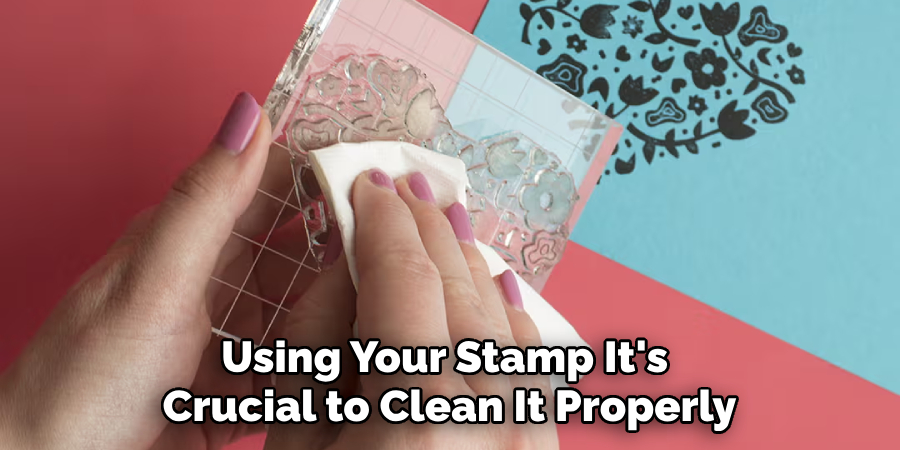
Make sure all ink is removed, as leftover ink can stain the next project you work on. Once your stamp is clean and ink-free, let it air dry completely before storing it. Proper cleaning and storage will prevent damage and ensure your handmade stamp is ready for your next project.
Step 9: Store Your Stamp
After your stamp is clean and dry, storing it properly to maintain its shape and detail is essential. Store your stamp in a cool, dry place, away from direct sunlight. It’s recommended to keep your stamp flat to prevent it from becoming distorted or damaged. If you have a collection of stamps, consider organizing them in a storage box or drawer.
Labeling each stamp or having a specific place for each can help you quickly find the stamp you need for future projects. Proper storage will ensure your stamp stays in good condition for a long time, ready to be used whenever inspiration strikes.
Step 10: Enjoy Your Customized Stamp
Now that you have created your customized stamp using a Cricut machine, it’s time to put it to use! You can use your stamp on various projects, from creating personalized greeting cards, decorating gift wrapping paper, creating custom stationery, and adding personalization to your scrapbooking projects. Remember, the sky is the limit to your creativity.
The more you use your stamp, the more ideas you’ll develop for incorporating it into your crafting. Enjoy the process, and have fun with your new tool!
By following these easy steps, you can create your customized stamps using a Cricut machine.
5 Additional Tips and Tricks
- Choose the Right Material: When making stamps with Cricut, choosing a suitable material is crucial. Rubber sheets are often used due to their durability and flexibility.
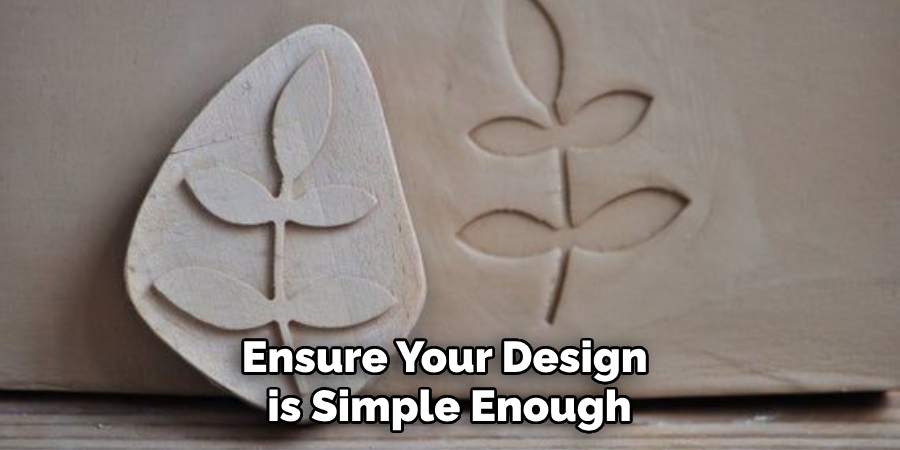
- Detailed Design: Ensure your design is simple enough. The Cricut machine can cut intricate designs, but they might need to be printed better as stamps.
- Mirror Your Design: Remember to mirror your design before cutting it out. This is because a stamp prints the mirror image of whatever is on its surface.
- Test Your Stamp: It’s a good idea to test your stamp on scrap paper before using it on your final project. This helps ensure the design prints correctly.
- Clean Your Stamps: Keep your stamps clean to ensure they last longer and give clear prints each time. You can clean them with warm, soapy water after each use.
With these additional tips and tricks, you can take your stamp-making skills to the next level!
5 Things You Should Avoid
- Overcrowded Designs: Avoid having too many elements in your design. A blocked design makes it difficult for the Cricut to cut, resulting in more precise and messy stamp prints.
- Ignoring Software Updates: Always keep your Cricut software up to date. Ignoring updates might lead to issues with cutting precision.
- Using a Dull Blade: Never use a dull blade for cutting. It can tear the stamp material, ruining your design.
- Forgetting to Mirror: As mentioned above, failing to mirror your design is a common pitfall. Always double-check before you start the cutting process.
- Neglecting Stamp Maintenance: Do not avoid cleaning your stamp after each use. Neglecting this can lead to ink build-up, ruining future stamp prints.
By avoiding these mistakes, you can ensure that your stamp-making process goes smoothly and yields high-quality results every time.
5 Different Design Ideas
- Personalized Monogram Stamp: Use your Cricut to create a monogram stamp with your initials. This can be used on stationery, cards, or even as a seal on envelopes.
- Nature-Inspired Stamps: Take inspiration from nature and create stamps of flowers, leaves, or animals using your Cricut machine.
- Customized Wedding Invitations: Make your unique wedding invitations by creating custom stamps with the couple’s names or a unique design.
- Holiday Themed Stamps: Design festive stamps for holidays like Christmas, Halloween, Easter, and more. These can be used to decorate cards, gift tags, and other holiday-themed projects.
- Milestone Birthday Stamps: Create customized stamps to celebrate milestone birthdays, such as a 50th birthday or sweet sixteen stamp. These can be used on invitations, decorations, and more.
These are just a few ideas to get you started, but the possibilities are endless with your Cricut machine!
What Type of Stamp is Best?
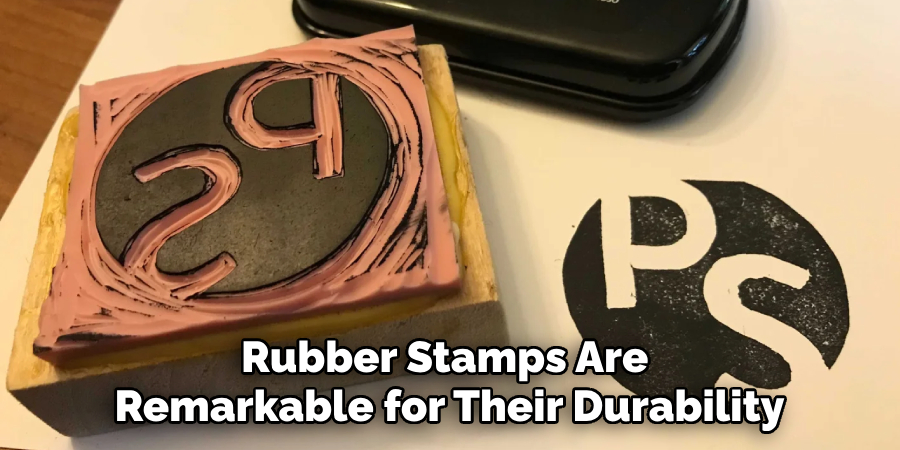
The type of stamp best for your project will depend on the material you are working with and your preference. Rubber stamps are remarkable for their durability and flexibility, while clear acrylic stamps offer a see-through design to help with placement and accuracy.
Foam stamps are another option, easily carved into any shape or design. It’s always best to experiment with different types of stamps to find what works best for you and your projects. Happy stamping! The Cricut machine has endless possibilities, so have fun being creative and exploring new designs and techniques.
Remember to take care of your stamps by cleaning and storing them properly, and always stay updated with Cricut software updates for the best results. Enjoy making personalized and unique stamps for all your crafting needs. So, go ahead and give it a try – you’ll be amazed at what you can create with just a few simple steps!
How Do You Ink Your Stamp?
To ink your stamp, you can use a variety of inks, such as dye-based, pigment-based, and solvent-based. Use an ink pad or apply ink directly to the stamp using a brayer. Roll the brayer over the inkpad to get an even coating of ink on it. Then, roll the brayer onto your stamp until the entire design is covered with ink.
This will ensure a smooth and consistent application of ink onto your stamp. You can also use markers or paintbrushes to apply ink directly to specific areas on the stamp for more precise designs.
You can then press your stamp onto paper or another surface to transfer the design. Experiment with different colors and techniques to create unique looks for your stamped designs. Remember to clean your stamp thoroughly after each use, especially if you’re using different colored inks.
Can Cricut Cut Acrylic?
Yes, Cricut can cut acrylic sheets up to 2.4mm thick. However, it is not recommended to use acrylic for stamps as it does not have the same flexibility and durability as rubber sheets do. Furthermore, cutting thicker materials may require more pressure and could cause damage to your machine. Rubber sheets are the best material for creating stamps with a Cricut machine.
Additionally, Cricut machines can also cut other materials such as vinyl, cardstock, fabric, and more. With its versatility and precision, you can create a wide range of projects with your Cricut machine.
Conclusion
Don’t be intimidated by the idea of creating your own custom stamps with a Cricut machine. By following the steps above, you can easily learn how to create a unique stamp that shows off your personality and adds a personalized touch to your craft projects. So go ahead and get creative, take your stamp-making ideas to the next level, and have some fun with it!
Hopefully, the article on how to make stamps with cricut has given you a good understanding of the process and inspired you to try it out for yourself.
For inspiration, take a look at what other people are doing with their custom stamps – you might just get some new ideas for your own masterpiece. Whatever design you end up making, when you use a Cricut machine to make it, you can be sure it will turn out looking amazing!

