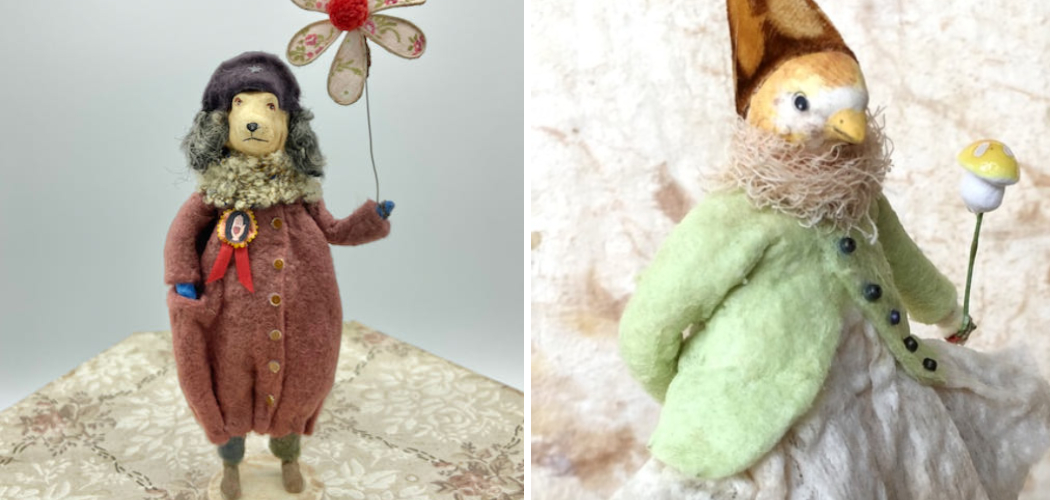
Are you looking for a unique craft that will bring added charm to your holiday decorations? If so, then making spun cotton ornaments might just be the perfect project! These round, fluffy ornaments are eye-catching pieces that can help to make any room vibrant and inviting this season. Not only are they incredibly fun to put together, but these handmade adornments also boast intricate details that create beautiful results.
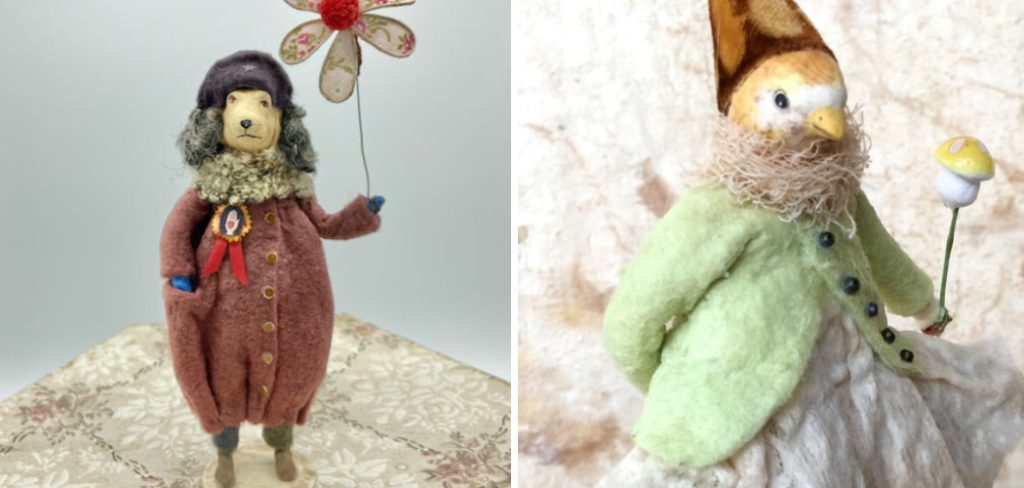
In this blog post on how to make spun cotton ornaments, we’ll show you how easy it is to craft these lovely little balls of holiday joy! Keep reading to find out all the steps needed for creating your own special festive creations.
Needed Material
Below is a list of all the things you will need before starting to make spun cotton ornaments:
- Cotton Batting
- Scissors
- Water
- White Glue
- Toothpicks or Bamboo Skewers
- Craft Paint (Optional)
- Paintbrush (Optional)
11 Step-by-step Guidelines on How to Make Spun Cotton Ornaments
Step 1: Prepare the Cotton Batting
To start, gather your materials and prepare your work area. Take small pieces of cotton batting and roll them into balls, making sure to keep the shape as round as possible. These will be the base for your ornaments. It’s important to note that the size of your cotton balls will determine the final size of your ornaments, so make them as big or small as you’d like. Always aim for uniformity to ensure consistency in the final products.
Step 2: Mix Water and Glue
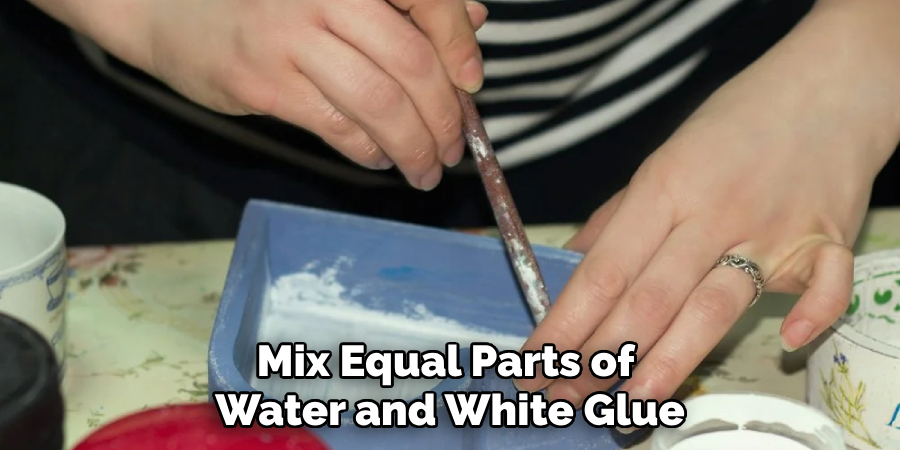
In a bowl, mix equal parts of water and white glue. Stir well until fully combined. This mixture will act as the adhesive for your spun cotton ornament. But don’t worry about it being too watery, as the cotton will absorb most of it. This will also help to create a smooth surface for painting if desired.
You can also use Mod Podge or any other clear-drying glue for this step. You can experiment and see which one works best for you.
Step 3: Dip the Cotton Balls
Take your cotton balls, one at a time, and dip them into the glue mixture. Make sure to cover the entire surface of the ball with glue, as this will help it hold its shape better once dried. Use a toothpick or bamboo skewer to hold onto the ball while dipping to avoid getting your fingers sticky. It’s also helpful to have a paper towel nearby to wipe off any excess glue.
Step 4: Squeeze Out Excess Glue
Once dipped, gently squeeze out any excess glue from the cotton ball. You can do this by lightly pressing on the sides of the ball with your fingers. This will help prevent drips and create a smoother surface for painting. It’s okay if there are still some drips, as they can add a more textured look to your ornaments. But be sure to remove any large globs of glue.
Step 5: Set Aside to Dry
Place the dipped cotton balls onto a non-stick surface, such as wax paper or plastic wrap, and set them aside to dry. This may take a few hours, depending on how much glue you use and the humidity level in your area. You can also speed up the drying process by using a hairdryer or placing your ornaments in a warm, dry area.
Step 6: Repeat the Process
Once your cotton balls are completely dry, repeat steps 3-5 to add a second layer of glue. This will help to create a sturdier and smoother surface for painting. You can also repeat this step multiple times for a more solid and durable ornament. You can even experiment with different colors of glue for a more unique look. But make sure to let each layer dry completely before adding the next one.
Step 7: Cut Out Shapes
After your ornaments are fully dried and have multiple layers of glue, you can now cut out shapes from them. Use scissors to create various designs, such as stars, hearts, or even animals. You can also use a hole puncher to add small holes for hanging. Get creative and see what fun shapes you can come up with! Just make sure to leave some space around the edges of your ornament for stability.

Step 8: Paint It (Optional)
If you want to add more color and personality to your spun cotton ornaments, this is the perfect time to paint them! Simply use craft paint and a small paintbrush to cover your ornaments with fun designs. You can also use different techniques, such as sponging, stenciling, or even splattering.
Although this step is optional, it can take your ornaments to the next level. You can also leave them plain for a more natural look, or add glitter for some extra festive sparkle.
Step 9: Let It Dry
After painting, set your ornaments aside again to dry completely. Once they are dry, you can also coat them with a clear varnish or Mod Podge to seal the paint and add durability. This step will help protect your beautiful creations for years to come. You can also add a layer of glitter to the varnish for some extra shine. It’s entirely up to you!
Step 10: Add Finishing Touches
Once your spun cotton ornaments are fully dried and sealed, it’s time to add any finishing touches. You can attach a ribbon or string for hanging, or even hot glue some small decorations like beads or charms. These little details will make your ornaments stand out even more and give them a personalized touch.

If you added holes for hanging, make sure to reinforce them with a drop of glue for extra support. Otherwise, your ornament may not hang properly.
Step 11: Display and Enjoy!
Your spun cotton ornaments are now ready to be displayed and admired. Hang them on your Christmas tree, use them as garland, or place them in a bowl for a beautiful centerpiece. You can even gift these unique creations to your loved ones and spread the holiday cheer. Just remember to store them in a dry place when not in use to keep them looking their best. Now go and enjoy your handmade spun cotton ornaments!
Following these simple steps on how to make spun cotton ornaments will help you create beautiful spun cotton ornaments that are perfect for decorating your home or giving as gifts. The best part? Once you get the hang of it, you can make endless variations and designs using this technique. Have fun and let your creativity run wild! Happy crafting!
Additional Tips
- Experiment With Different Types of Glue for Various Effects, Such as Tacky Glue for a More Textured Look or Fabric Stiffener for a Sturdier Ornament.
- You Can Also Mix in Glitter or Paint With the Glue Mixture for a Sparkly Finish.
- Use Different Color Cotton Balls for More Vibrant Ornaments.
- Cut Out Different Shapes and Sizes to Create a Variety of Ornaments.
- Don’t Be Afraid to Get Creative and Think Outside the Box! The Possibilities are Endless When Making Spun Cotton Ornaments.
- You Can Use Multiple Techniques, Such as Layering or Wrapping the Cotton Balls Around Objects, to Create Unique and Intricate Ornaments.
- Don’t Forget to Share Your Creations on Social Media and Spread the Love for Spun Cotton Ornaments!
Now that you have learned how to make spun cotton ornaments, you can also use this technique to create other types of decorations. Try making wreaths, garlands, or even sculptures using spun cotton. The possibilities are endless! Remember to have fun and let your imagination guide you.
Frequently Asked Questions
Q1. How Long Does It Take for the Spun Cotton Ornaments to Dry?
A: It can take a few hours to dry completely, depending on the amount of glue used and humidity levels. You can speed up the process by using a hairdryer or placing them in a warm, dry area.

Q2. Can You Use Different Types of Glue for This Project?
A: Yes, you can experiment with different types of glue for various effects. Tacky glue will create a more textured look, while fabric stiffener will make the ornaments sturdier. It’s best to test a small amount on a cotton ball first before applying it to your ornaments.
Q3. Can You Use Other Materials Besides Cotton Balls?
A: Yes, you can use other materials such as yarn or string for a different texture. You can also wrap the cotton balls around objects like foam balls or wireframes to create different shapes and sizes. Get creative and see what other materials you can use!
Q4. Can You Make Spun Cotton Ornaments with Children?
A: Yes, this is a fun and easy project to do with children, but make sure to supervise them when using scissors or any potentially hazardous materials. Also, let the ornaments dry completely before handling them. If using hot glue for embellishments, make sure to assist your child or handle the glue gun yourself.
Conclusion
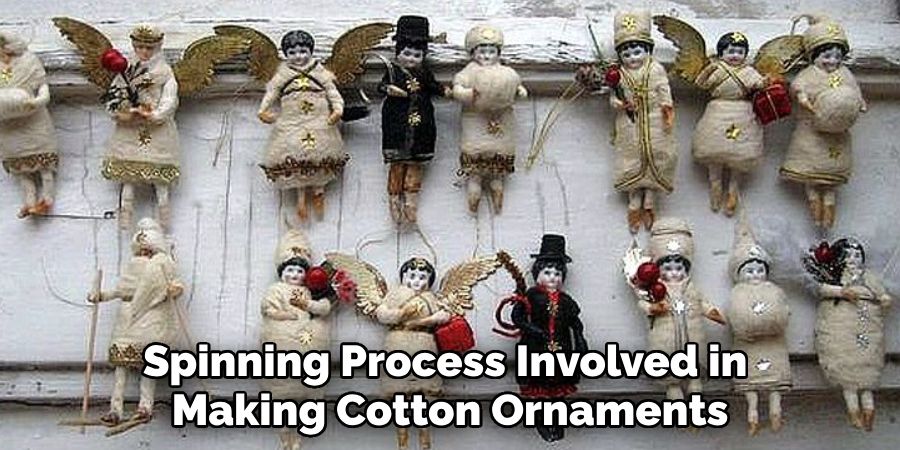
Now that you have an understanding of the spinning process involved in making cotton ornaments, why not give it a go yourself? If creating these unique decorations wouldn’t be fulfilled with the traditional methods, now you know there is an alternative.
You may end up with something that’s even more unique than what you had imagined! Experiment and practice until your loved ones will be amazed by your work – and possibly envious of your talents as they gaze upon something handmade and truly special. Who knows, maybe spool knitting will become one of your favorite hobbies from now on, being able to make hand-crafted pieces like a pro.
Don’t forget to take lots of pictures! It is relaxing and freeing, and it can help build up some necessary self-esteem as you watch your work come alive. Be creative and test out different possibilities and materials – any textile or thread can do! Cheap fibers usually have fewer unraveling issues due to a lack of twist or dyeing errors.
So get creative and start crafting your own heartfelt gifts with these homemade spun cotton ornaments today! Thanks for reading this article on how to make spun cotton ornaments.

