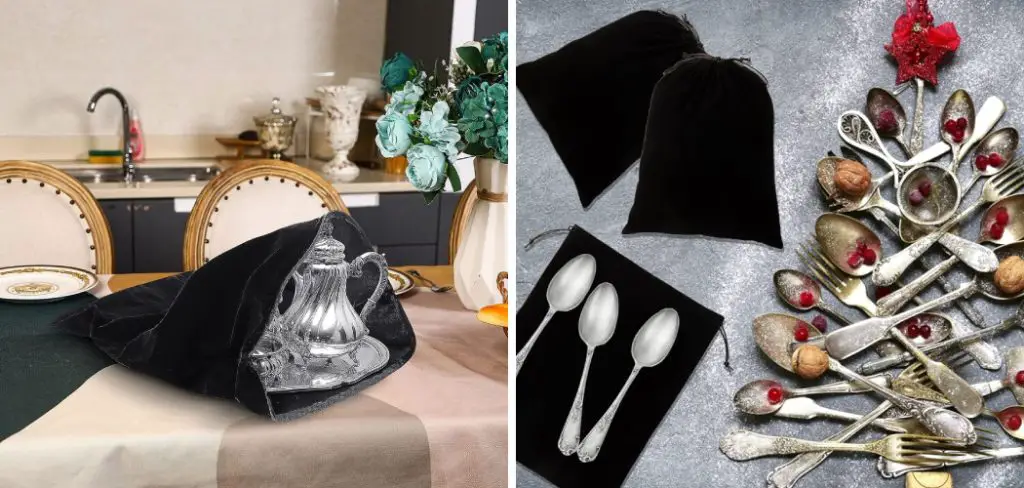
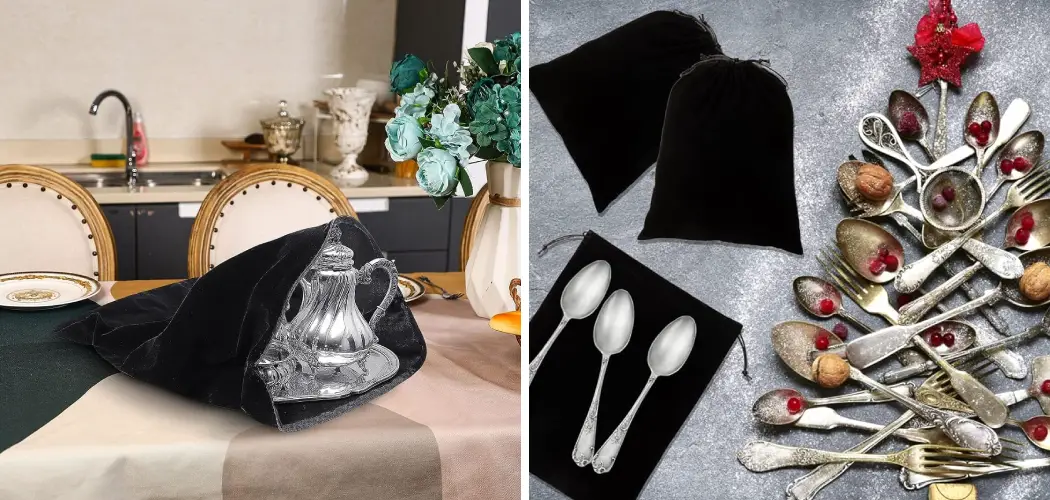
Embracing an organized and clutter-free lifestyle often begins with finding innovative solutions for storage. One such creative endeavor involves crafting your own silver storage bags to keep your prized silverware tarnish-free and in impeccable condition. These DIY storage bags not only serve a practical purpose but also add a touch of elegance to your storage solutions.

Creating them is a rewarding and straightforward process that allows you to customize the size and design according to your needs. In this guide, we’ll delve into the step-by-step process of how to make silver storage bags, offering insights into the materials required, and providing tips to ensure your silverware stays radiant for years to come.
Say goodbye to tarnished silver and hello to a personalized storage solution that combines functionality with a touch of handmade sophistication.
Importance of Storing Silver Items Properly
Storing your silverware correctly is crucial to maintaining its shine and preventing the dreaded tarnish that can accumulate over time. Silver items, when exposed to air and certain chemicals, can undergo a reaction that leads to discoloration and loss of luster. This is not only unsightly but can also devalue your silverware collection and heirlooms. Utilizing silver storage bags is a proactive measure to combat tarnish as they are typically lined with tarnish-prevention materials.
Additionally, these storage bags help to avoid scratches and dents that can occur when silver pieces are jostled together or come in contact with harder objects. By investing time to craft your own silver storage bags, you’re committing to the longevity and beauty of your silver items, ensuring that they remain pristine and gleaming for future generations to enjoy.
Materials Needed
To begin the journey of creating your custom silver storage bags, you’ll need to gather a few key materials. These will provide not only the functional aspects required for tarnish prevention but also allow you to inject personal style into your designs:

- Pure cotton fabric or flannel: This material will serve as the main component of your storage bags. It’s essential to use a cloth that does not contain any sulfur, as this can promote tarnishing. Flannel is often a favored choice due to its softness, which protects against scratches.
- Tarnish-resistant cloth: For added protection, include a layer of tarnish-resistant cloth, which can be found at most fabric stores or online.
- Coordinating thread: Pick thread that matches or complements your fabric choice.
- Sewing machine or needle: You can either machine-sew or hand-sew your bags, depending on your comfort level and the tools you have at hand.
- Scissors: A sharp pair of scissors is necessary for cutting your fabric and thread.
- Measuring tape or ruler: Precision is key when creating storage bags to ensure your silverware fits snugly without too much excess space.
- Ribbon or drawstring: This will be used to close the bag securely, so choose a material that is durable and complements your fabric choice.
With these materials ready, you’re set to move on to the construction phase of how to make silver storage bags, where you’ll cut, sew, and assemble your bags with step-by-step guidance.
Choosing the Right Fabric
Selecting the correct fabric material is a pivotal step in how to make silver storage bags. The fabric not only provides the base for the bag’s structure but also plays a vital role in protecting the silver items within. When choosing fabric, opt for a densely woven, non-treated, 100% cotton or flannel. These natural fibers have the right balance of breathability and softness to prevent scratches while also avoiding substances that may promote tarnishing.

Avoid fabrics with synthetic fibers as they may contain hidden chemicals that could cause tarnishing. Patterns and colors can be selected based on personal preference, ensuring they are colorfast to avoid dye transfer onto your silverware. Considering the scale of the pattern is important, too; smaller prints tend to look more elegant and are more forgiving of any irregularities in stitching for those less experienced with sewing.
Remember that each bag should include a tarnish-resistant inner liner. This liner works as a barrier, reducing the risk of tarnish due to atmospheric elements. Making the right choice in fabrics will ensure your silver storage bags are as functional as they are stylish, providing long-term protection for your valued items.
10 Methods How to Make Silver Storage Bags
1. Use Anti-Tarnish Cloth
One of the easiest and most effective ways to make silver storage bags is by using anti-tarnish cloth. This specialized fabric is designed to prevent tarnishing and can be easily cut and sewn into bags or pouches for storing silver items.
2. Sew Your Own Bags
For those who are handy with a sewing machine, making your own silver storage bags can be a fun project. You can use any fabric you like, but it’s recommended to choose a breathable material such as cotton or linen to prevent moisture buildup.
3. Purchase Pre-Made Bags
If sewing isn’t your forte, you can also purchase pre-made silver storage bags online or at specialty stores. These bags often come in various sizes and designs, making them convenient for storing different types of silver items.
4. Use Ziploc Bags
In a pinch, Ziploc bags can also be used as temporary storage for silver items. However, it’s important to note that these bags are not specifically designed for silver storage and may not provide the same level of protection against tarnishing.
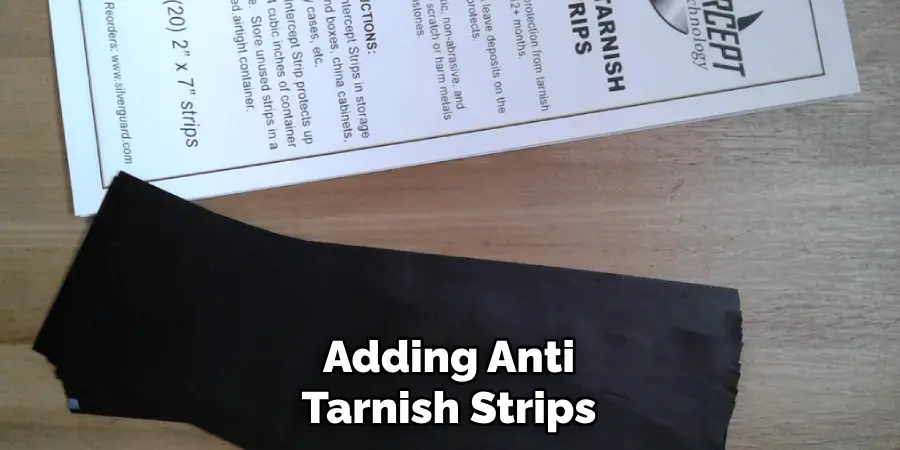
5. Add Anti-Tarnish Strips

To further protect your silver items, consider adding anti-tarnish strips inside your storage bags or pouches. These strips emit chemicals that prevent tarnishing and can be easily replaced when they lose their effectiveness.
6. Label Your Bags
To stay organized and easily identify which bag contains which silver item, it’s helpful to label your storage bags with a permanent marker or label maker.
7. Store in a Dark Place
Silver is sensitive to light and exposure to sunlight or artificial light can speed up the tarnishing process. It’s best to store your silver items in a dark place such as a drawer or closet.
8. Avoid Moisture
Moisture is another factor that accelerates tarnishing in silver items. Be sure to choose breathable materials for your storage bags and avoid storing them in damp or humid areas.
9. Use Silica Gel Packets
To absorb any excess moisture, consider adding silica gel packets to your silver storage bags. These packets are commonly found in shoe boxes or electronics packaging and can help keep your silver items dry.
10. Store Separately
To prevent scratches and damage, it’s important to store each silver item separately in its own bag or pouch. This will also make it easier to access and use individual items without having to dig through a larger storage bag.
Labeling and Organization
Proper labeling and organization are crucial for maintaining and quickly identifying your silver items within their storage bags. Create labels that not only specify the contents but also any special care instructions or dates of last polishing. Self-adhesive labels are convenient and can be easily secured to the tarnish-resistant cloth without damage. When labeling, use a waterproof pen to prevent any ink from running and potentially staining the silver or fabric.

For organization, categorize your silver items by type, such as flatware, jewelry, or serving pieces. Within these categories, you can further organize based on frequency of use or value. When storing, place heavier items at the bottom of the storage location to prevent them from damaging lighter, more delicate pieces.
Common Mistakes to Avoid
When learning how to make silver storage bags, it’s just as important to be aware of what not to do. Here are several mistakes to avoid when creating your silver storage solutions.
Using the Wrong Material
As previously mentioned, using the wrong type of fabric can lead to tarnishing. Synthetic materials or fabrics treated with chemicals can harm delicate silver. Stick to natural, breathable fabrics like untreated cotton or flannel.
Overlooking the Importance of a Liner
Failing to include a tarnish-resistant liner drastically reduces the effectiveness of your silver storage bag. Such liners act as a protective barrier against the tarnishing agents in the environment.
Not Sealing Seams Properly
Inattention to sealing the seams of your bags can lead to the infiltration of dust and pollutants, which may cause tarnishing. Make sure all seams are secure and do not leave any gaps that can let in the air and contaminants.
Conclusion
In conclusion, creating your own silver storage bags is not only a practical solution for keeping your precious metals safe from tarnishing, but it can also be a fun and rewarding DIY project! We have covered all the necessary steps, tips, and tricks for how to make silver storage bags to help you create durable and effective silver storage bags that will last for years to come.
By using simple materials and following our easy-to-follow guide, you can save money and have full control over the quality of your storage bags. And let’s not forget the added bonus of reducing plastic waste by reusing old fabric or repurposing items around your home. So why wait? Start protecting your silver today with your very own handmade storage bags.

