

If you’re new to crafting with your Cricut machine, you may not have realized you can use it to create personalized pen wraps. These practical and stylish accessories can add a touch of personal flair to your favorite writing instrument or even make great gifts for friends and family.
In this beginner’s guide, we’ll walk you through the process of how to make pen wraps with cricut from start to finish.
Can You Make Pen Wraps with Cricut?
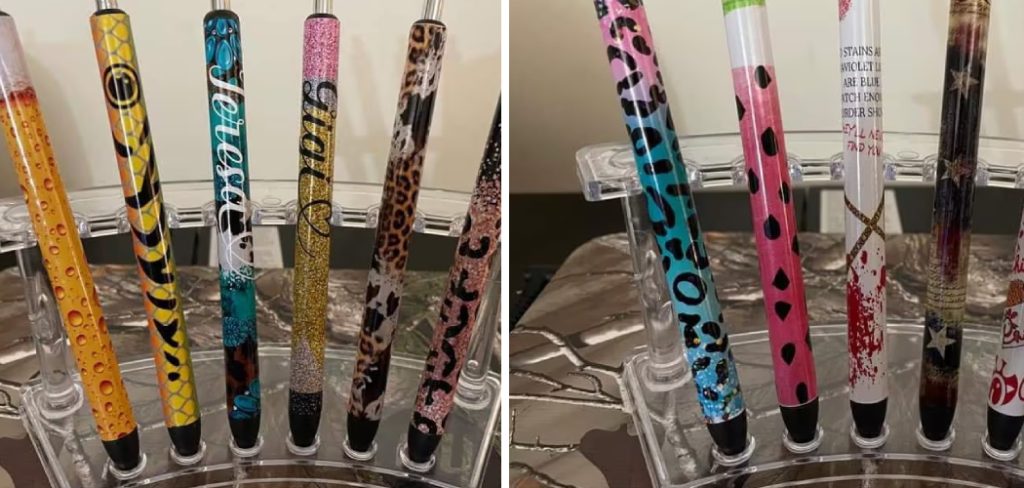
If you’re an avid pen enthusiast, you probably want to take your pens to the next level. Decorating them with unique and colorful pen wraps is one way to do just that. And if you’re wondering if you can make them with a Cricut machine, the answer is a resounding yes!
Cricut machines can precisely cut a wide variety of materials, including vinyl, which is ideal for creating pen wraps. With endless design options on Cricut Design Space, you can get creative with your pen wrap designs. Plus, creating personalized and beautifully decorated pen wraps with Cricut is a fun and easy way to take your pens from basic to eye-catching.
Why Should You Make Pen Wraps with Cricut?
Pen wraps are a great way to personalize and add flair to any pen. But why settle for basic pen wraps when you can create your own unique designs with Cricut? The Cricut machine offers endless possibilities for creating intricate and detailed designs that can be easily transferred onto your pen wraps.
With easy-to-use software and various materials to choose from, you can bring your creative vision to life and make one-of-a-kind pen wraps for yourself or as gifts for others. Plus, using Cricut takes out the guesswork and stress that comes with cutting and shaping your own designs by hand. So why settle for boring, store-bought pen wraps when you can make your own stunning designs with Cricut?
How to Make Pen Wraps with Cricut: A Beginner’s Guide
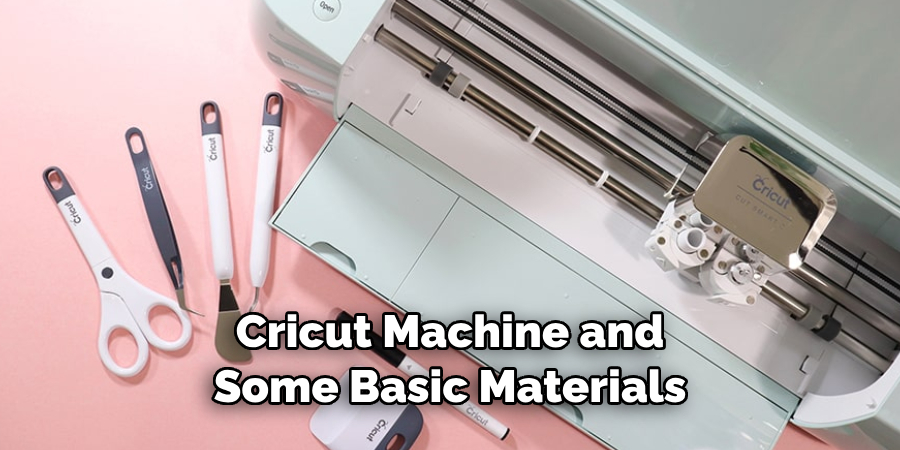
Step 1: Choose Your Design and Supplies
The first step is to decide on your desired design. You can use the pre-made designs in the Cricut Design Space or create your own using images or text. Next, you’ll need to choose your vinyl and transfer tape.
We recommend using a permanent vinyl at least 3 mils thick, such as Oracle 651 or Cricut Premium Vinyl. You’ll also need transfer tape to apply your design to the pen. Once you have your design and supplies, it’s time to start.
Step 2: Cut Your Design
Load your vinyl onto your Cricut mat and set your machine to the appropriate settings for your chosen vinyl. Then, select your design and adjust the size to fit your pen. Once you’ve done this, you can send your design to cut.
Step 3: Weed Your Design
After your design has been cut, it’s time to weed it. This means removing any excess vinyl from around your design. Use a weeding tool or tweezers to remove the vinyl carefully. Be sure to leave the backing paper intact.
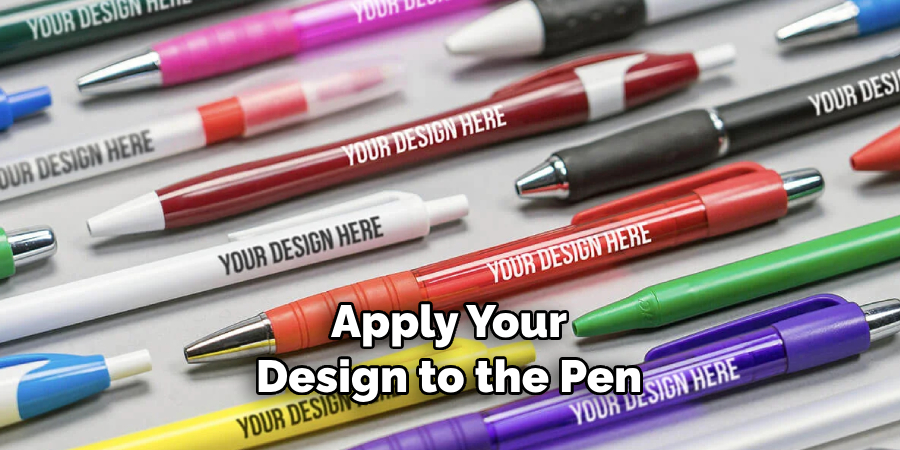
Step 4: Transfer Your Design
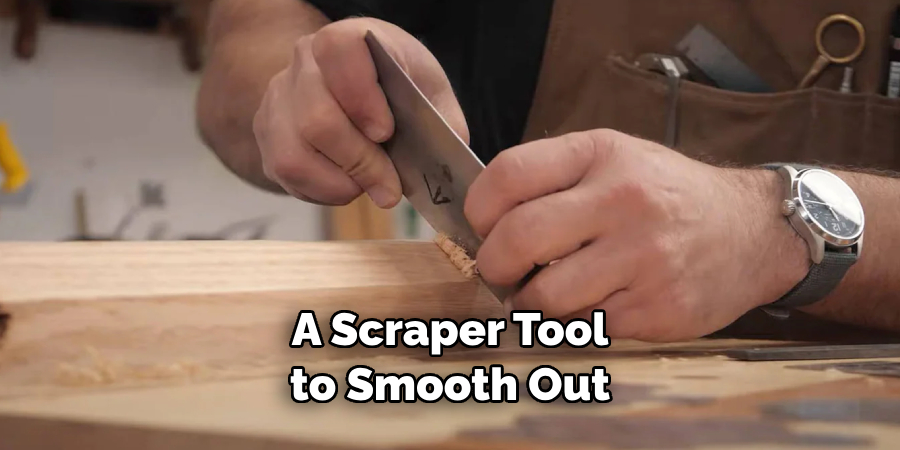
Once your design has been weeded, it’s time to transfer it to the pen. Apply a strip of transfer tape over your design, then smooth it down with your fingers or scraper tool. Next, carefully peel off the backing paper from the vinyl. This should leave your design stuck to the transfer tape. Position the vinyl on your pen, then smooth it down and remove the transfer tape.
Step 5: Finish and Admire Your Work
Once your vinyl design is applied to the pen, you’re almost finished! Use a scraper tool to smooth out any air bubbles or wrinkles. You can also add a sealant layer over the design to help protect it from wear and tear. Then, all that’s left to do is admire your personalized pen wrap.
Step 6: Optional Step – Add Glitter!
If you want to add an extra sparkle to your pen wrap, you can add glitter. Use a brush or sponge to apply a layer of Mod Podge onto the design, then sprinkle on some glitter of your choice. Be sure to let it dry completely before using your pen.
Step 7: Enjoy Your Pen Wrap!
After you’ve completed your pen wrap, it’s time to start using it! Enjoy writing or drawing with your personalized pen. You can also make these for yourself or give them as gifts – there are endless possibilities when it comes to customizing pens with Cricut. So grab some supplies and get creative!
5 Considerations Things When You Need to Make Pen Wraps with Cricut
1. The Size of Your Cricut Machine
One of the first things you need to consider when making pen wraps with your Cricut machine is the size of the machine. The Cricut Explore Air 2 is the largest machine and can cut materials up to 12″ x 24″. The Cricut Maker is the next largest machine and can cut materials up to 12″ x 10″. The Cricut Joy is the smallest machine and can only cut materials up to 5.5″ x 4″.
2. The Type of Material You Want to Use
Another consideration is the type of material you want to use for your pen wraps. Some popular materials include vinyl, cardstock, and heat transfer vinyl. Each material has its own benefits and drawbacks, so you’ll need to decide which one is right for your project.
3. The Design of Your Pen Wrap
The design of your pen wrap is another important consideration. You’ll need to decide what kind of design you want and how complex it should be. If you’re unsure where to start, plenty of free templates and tutorials are available online.
4. The Number of Pens You Need to Wrap
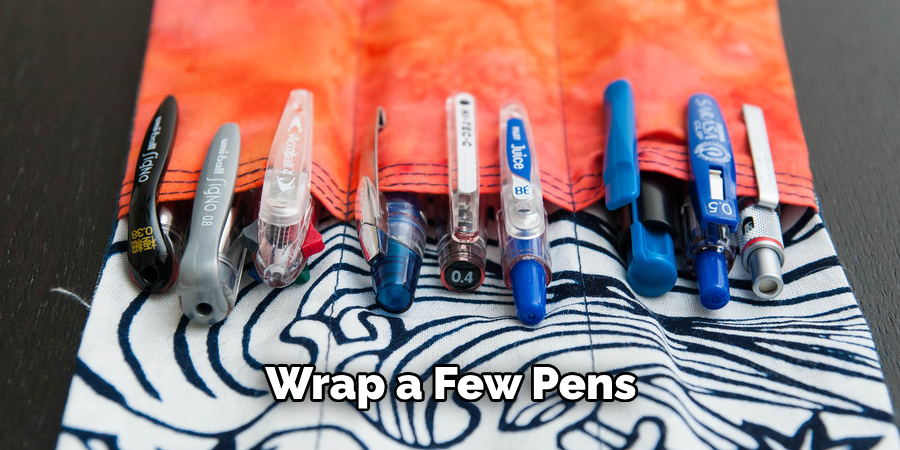
Another thing to consider is the number of pens you need to wrap. If you only need to wrap a few pens, you can probably get away with using a template or tutorial that only requires one sheet of material. However, if you need to wrap many pens, you’ll need a template or tutorial that uses multiple sheets of material.
5. The Cost of Materials
Finally, you’ll need to consider the cost of materials. Cardstock and heat transfer vinyl are inexpensive, but vinyl can be more expensive. If cost is a concern, consider using a cheaper material for your project.
5 Benefits of Making Pen Wraps with Cricut
1. Customizable
One of the great things about making your pen wraps with Cricut is that they are completely customizable. You can choose the colors, patterns, and designs you want and personalize them to match your style.
2. Easy to Make
Another benefit of making pen wraps with Cricut is that they are straightforward to make. All you need is a Cricut machine and some basic materials, and you can create professional-looking wraps in just a few minutes.
3. Cost-Effective
Making your pen wraps with Cricut is also a cost-effective option. You can save money by not having to purchase pre-made wraps, and you can also use cheaper materials if you wish.
4. Great for Gifts
If you want a unique gift idea, pen wraps made with Cricut are a great option. They are thoughtful and practical; your friends and family will surely appreciate them.
5. Fun Activity
Lastly, making pen wraps with Cricut is simply a fun activity. It’s a great way to express your creativity, and you’ll likely enjoy the process as much as the finished product. Not to mention, it’s a great way to spend some quality time with your Cricut machine!
Making pen wraps with Cricut can be a fun and rewarding activity. With the right materials, design, and size of the Cricut machine, you can create beautiful, unique wraps that will last for years. So give it a try and see what you can create!
Some Common Mistakes People Make When Trying to Make Pen Wraps with Cricut
When it comes to crafting with a Cricut, people make a few common mistakes when trying to create pen wraps. One of the biggest is not properly measuring the pen before selecting a design. This can result in a too loose or tight wrap, causing the design not to lay flat or even fit at all.
Another mistake is not using the proper material for the wrap. Using regular vinyl instead of heat transfer vinyl can cause the design to not adhere properly or even peel off over time.
It’s important to take the time to read instructions carefully and experiment with different materials to ensure a successful project. By avoiding these common mistakes, you can create beautiful custom pen wraps that make a perfect addition to any stationary collection.
Conclusion
Making pen wraps with your Cricut is a fun and easy way to add personal flair to your writing instruments. The key to success is choosing the right vinyl, using the appropriate settings for your machine, and taking your time during each step. With a little practice, you’ll create your unique pen wraps quickly. So go ahead and give it a try – the possibilities are endless! Thanks for reading our post about how to make pen wraps with cricut.